If your worm bin smells bad, the problem isn’t the worms — it’s what you’ve been putting in it. A properly maintained worm bin has a sweet, earthy smell, like forest floor after rain. If yours smells like rotting garbage, something has gone wrong in the feeding or bedding balance. The good news: it’s an easy fix once you know which of the three common mistakes you’ve made.
Vermicomposting indoors is one of the most efficient ways to process kitchen waste in an apartment. A 1-foot by 2-foot (30 x 60 cm) worm bin can process all the food scraps from a two-person household, produce a steady supply of castings for your houseplants, and take up less counter space than a bread box. The catches: it needs the right setup, consistent conditions, and the habit of feeding the right things in the right amounts.
The Bin Setup : What Size and Where to Put It
For two people generating daily kitchen scraps, a bin measuring 12 × 18 inches (30 × 45 cm) and 12 inches (30 cm) deep is the minimum that works without constant attention. Smaller bins dry out too fast or get over-fed too easily. Deeper bins are harder to manage for harvest because the worms tend to stay in the top 4–6 inches (10–15 cm).
Location matters more than most guides admit. Worms need temperatures between 55–80°F (13–27°C). Below 55°F (13°C) they slow down and stop reproducing; above 80°F (27°C) they begin to die. A cool kitchen corner, a bathroom cabinet, a closet shelf near the floor — all work. A warm kitchen appliance nearby (like a refrigerator or dishwasher with a heated coil at the back) can push the temperature above safe range in summer.
The Bedding Foundation
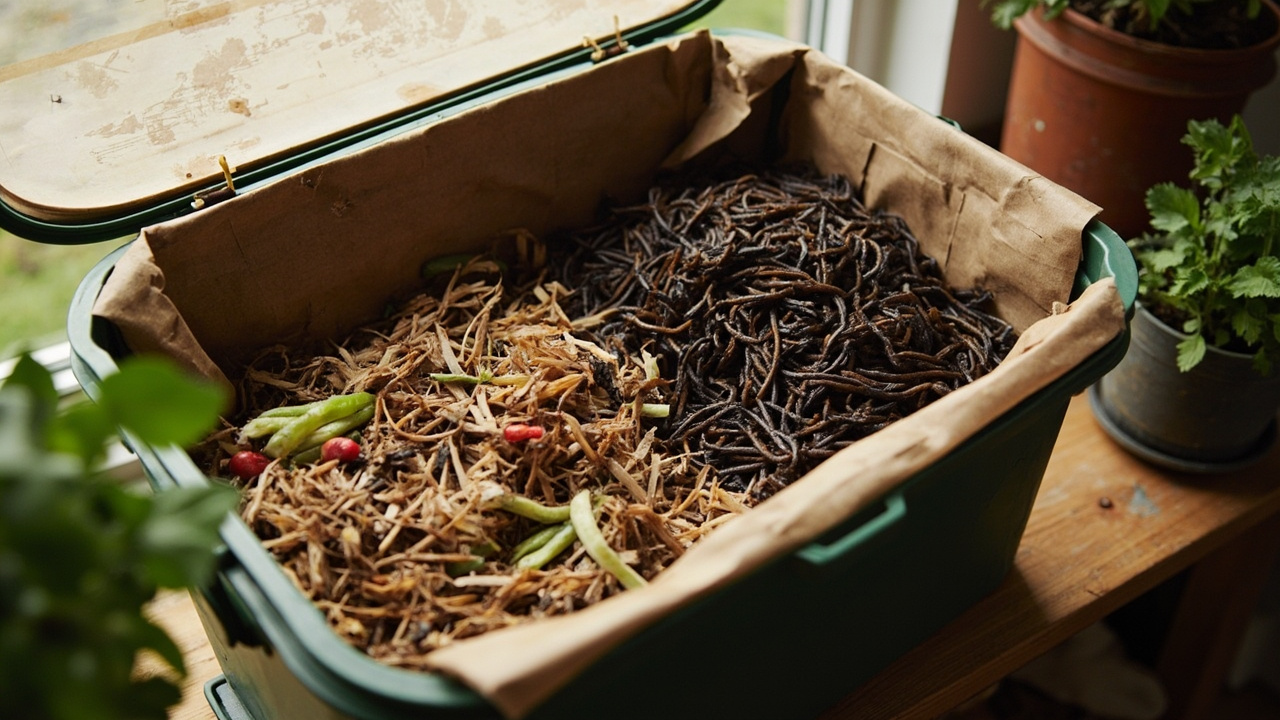
Start with 4–6 inches (10–15 cm) of bedding: shredded cardboard, newspaper (non-glossy), or coco coir — or a mix of all three. The bedding holds moisture and provides the carbon material the worms need to balance the nitrogen in food scraps. Without sufficient carbon in the bedding, the bin turns anaerobic and sour.
Before adding worms, moisten the bedding until it holds together when squeezed but doesn’t drip. It should feel like a wrung-out sponge. Dry bedding causes worms to migrate downward and avoid the surface where you add food. Waterlogged bedding creates anaerobic zones that smell like sewage.
Choosing a Bin
Plastic storage bins work fine — buy one with a lid that fits reasonably tight but isn’t completely airtight. Worms need some air exchange; a completely sealed bin builds moisture and anaerobic conditions. Drill 8–10 small holes (1/4 inch / 6 mm) in the sides near the top for ventilation, and a few in the lid if it seals tightly. Place the bin on a tray to catch any moisture that drains through.
Adding Worms and Starting the First Batch
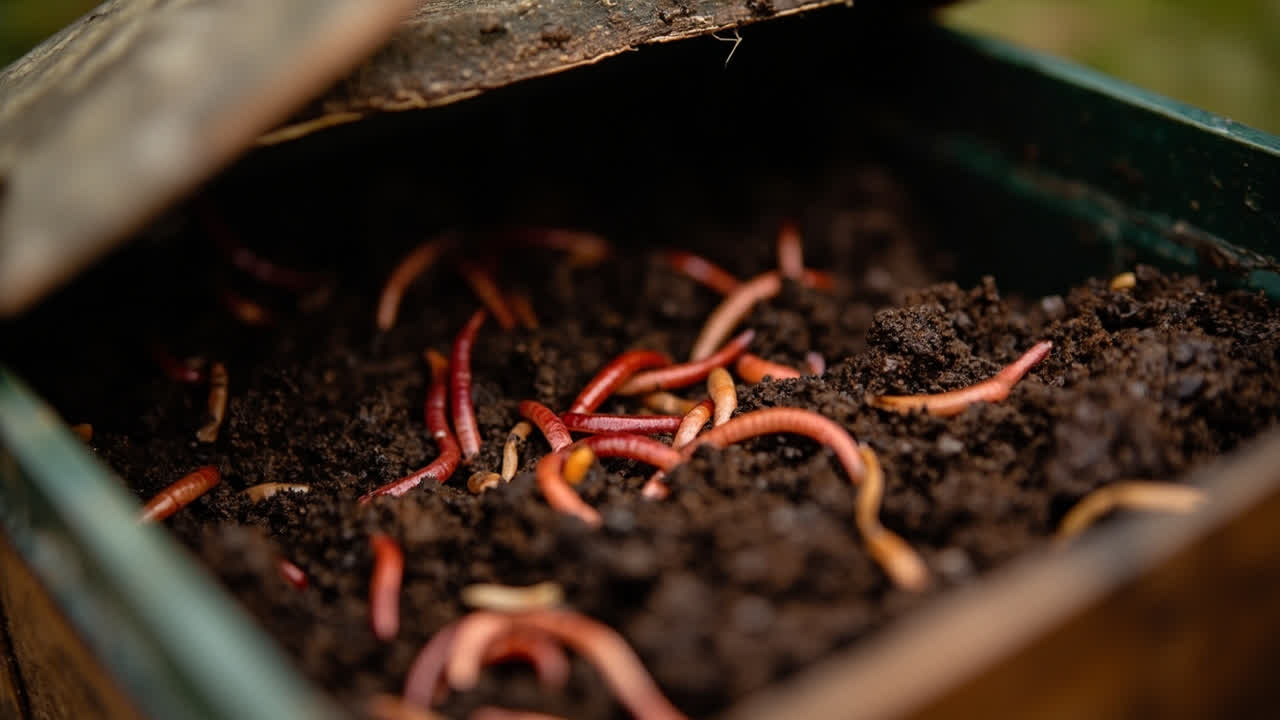
Order red wigglers (Eisenia fetida) — not earthworms from your garden. Red wigglers are surface-dwelling worms adapted to decaying organic matter. Garden earthworms burrow deep and will die in a shallow bin. Buy from a vermiculture supplier or fishing bait shop — 1 pound (450g) of red wigglers is enough to start a bin of the size described above. They’ll process roughly 1/2 pound (225g) of food scraps per day once established.
Release the worms onto the surface of the prepared bedding — they’ll disappear into it within an hour if the conditions are right. Don’t add food for the first 3–4 days while they settle in. The bedding is their first food source as it begins to break down.
What happens next: once the worms are established, add food scraps gradually. Bury the first few additions under a corner of the bedding, not in a pile on top. Surface feeding is what causes fruit flies — burying food keeps the surface dry and unattractive to flies.
The First Week : What to Watch For
After adding worms, check the bin every 24 hours for the first week. The worms should be active at the surface within an hour of dark — they’re nocturnal. If they’re not visible after lights-out, they’re either too cold, too dry, or still acclimating. Signs of trouble: worms trying to escape up the sides of the bin (too wet or too hot) or clustering at the bottom (too dry or too acidic from too much citrus or onion).
Feeding : What to Add and What to Avoid
The short list of what worms eat: fruit and vegetable scraps, coffee grounds (including the filter if it’s paper), tea bags (without staples), shredded cardboard, cereal scraps, bread, and cooked grains. What to never add: meat, fish, dairy (attracts rodents and causes odors), citrus in large amounts (acidifies the bin), onions and garlic in quantity (toxic to worms), and anything oily or greasy.
Feed 2–3 times per week, not daily. Add food before it starts to smell — if you’re adding scraps and they’re still visible under the bedding at the next feeding, you’re adding too much. A good working rate: 1 cup (150–200g) of food scraps per 1 pound (450g) of worms, twice weekly. When the scraps disappear within 24 hours, you can increase the amount slightly.
Composting Coffee Grounds
Worms love coffee grounds — but grounds are highly acidic and can lower bin pH significantly if that’s all you feed. Mix coffee grounds with shredded cardboard or paper to balance the acidity, or limit coffee grounds to 25% of the total food input. A single cup of grounds per week in a bin of this size is fine.
Maintaining the Bin : Moisture and pH
The moisture level in a worm bin should be maintained like a wrung-out sponge. Check it weekly by squeezing a handful of bedding from the active zone. If it drips, it’s too wet — add dry shredded cardboard or newspaper. If it crumbles and won’t hold together, it’s too dry — mist with water from a spray bottle while turning the bedding.
pH balance: worms prefer slightly acidic to neutral conditions (pH 6.5–7.0). A bin that’s been fed mostly fruits, vegetables, and coffee will trend acidic over time. The signs: worms cluster at the bottom, the bin develops a sour smell, and castings look crumbly and don’t hold together when squeezed. If this happens, add a handful of agricultural lime (calcium carbonate) or crushed eggshells mixed in with the next food addition. Eggshells also provide grit for the worms’ digestion.
Troubleshooting by Smell
Sour/anaerobic: bin is too wet or food is rotting faster than worms can process it. Aerate by turning the bedding with a hand fork, add dry carbon bedding, and remove any visibly rotting food.
Ammonia smell: over-fed or food scraps are piling up faster than worms process them. Stop feeding for 1 week, aerate the bin, and add dry carbon bedding.
Rotten egg smell (hydrogen sulfide): completely anaerobic conditions, usually from a large mass of food that wasn’t buried properly. Empty the bin, salvage the worms and top 3–4 inches of castings (the worms stay near the surface), and rebuild the bin with fresh bedding.
Harvesting Worm Castings
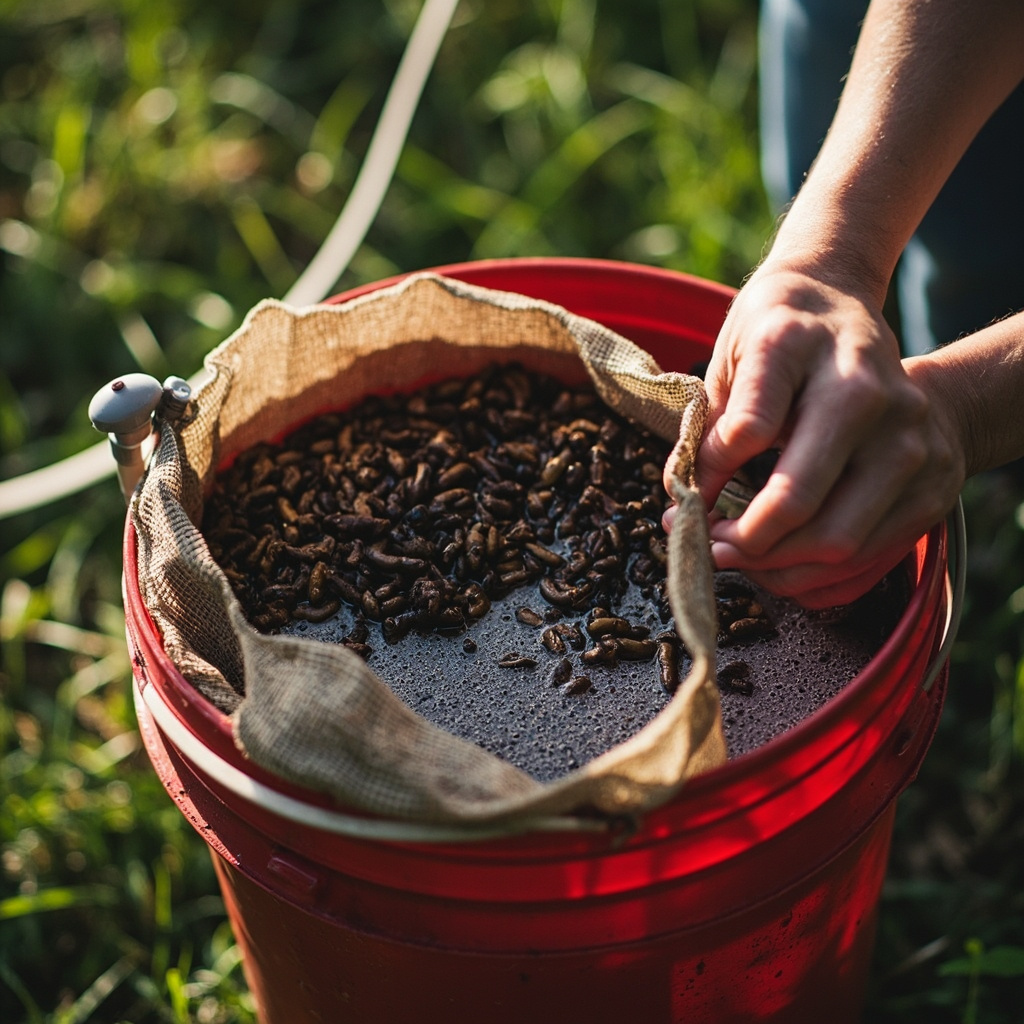
The easiest method: stop feeding the bin for 2 weeks before you plan to harvest. Worms will consume all available food and migrate toward the bottom. When 80% of the material in the bin looks like dark, rich, crumbly earth — that’s your casting. The worms will be in the bottom 3–4 inches (7–10 cm) or clustered at the fresh food source if you’ve left one.
What happens next: scoop the top castings into a bucket. Pick through by hand or on a tarp in bright light — worms avoid light and will migrate downward, leaving the castings behind. Return the worms to fresh bedding in a clean bin (or the same bin with fresh bedding added) and use the castings immediately or store them in a closed bag in a cool place.
vermicomposting for beginners starts from the beginning with the bin setup — no prior experience assumed. The method here covers the most common points of failure that most guides skip over.
For using your finished castings specifically with houseplants, worm castings for gardens covers application rates, when to mix with potting medium, and what castings actually do for soil structure that synthetic fertilizers don’t.
Turn PDF Bank Statements Into Workable Spreadsheets
Your bank statement is a mess of numbers, but your books shouldn't be. Use our converter to get Excel, CSV, or QBO files — ready for QuickBooks.
Try It Free Now