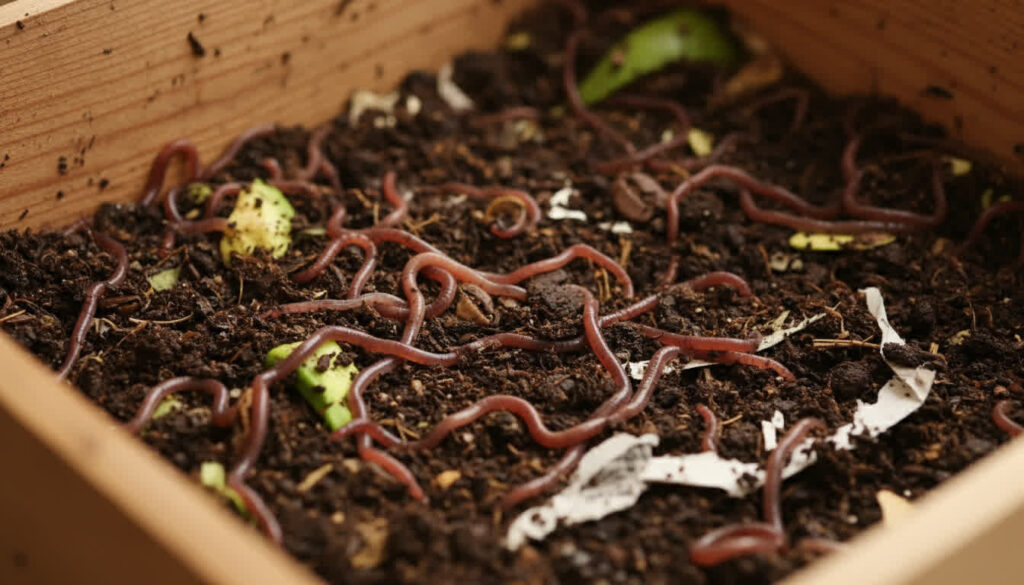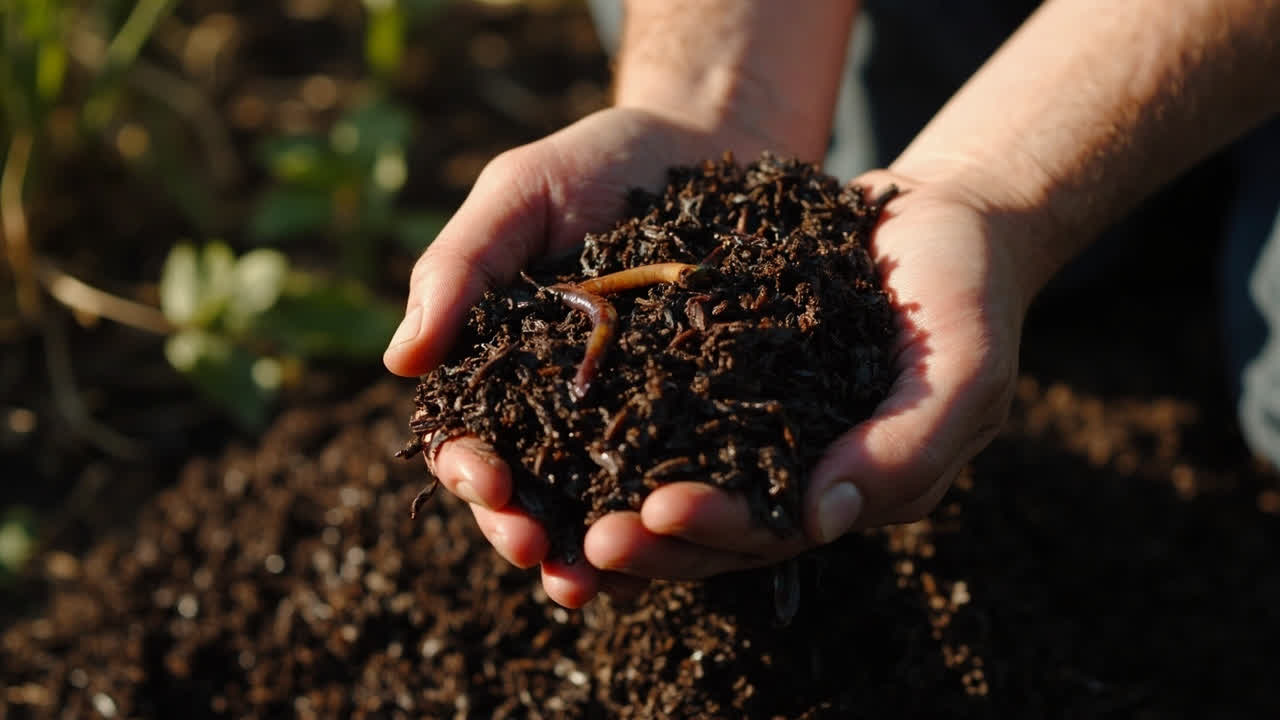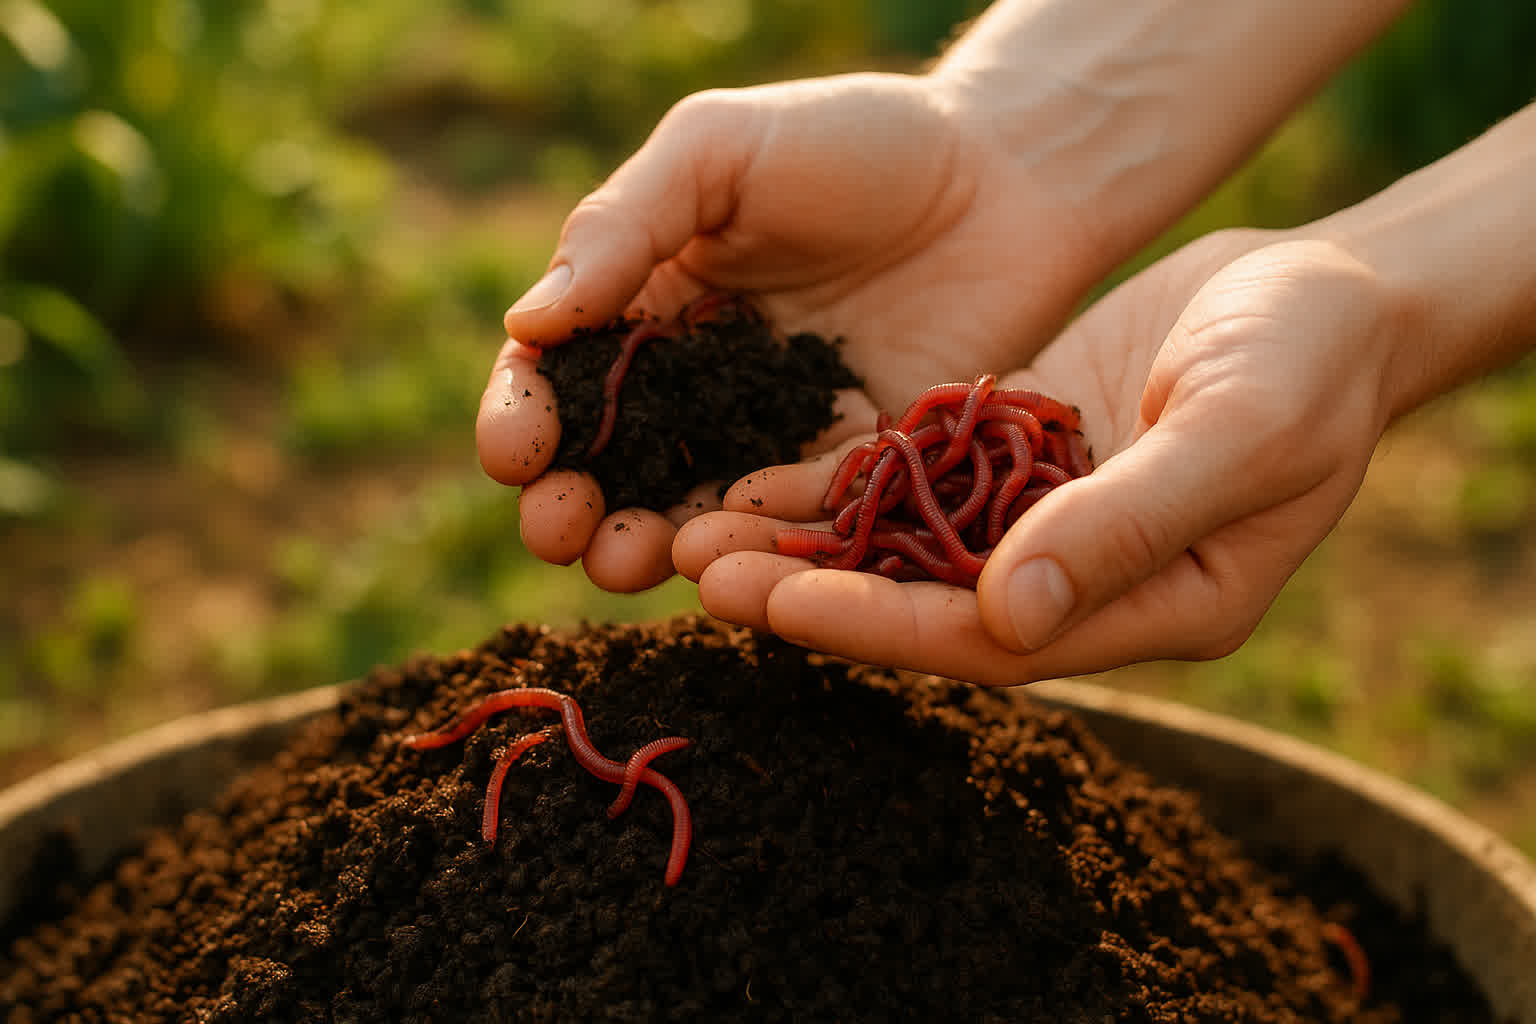

You’ve finished a batch of worm castings — dark, rich, and earthy. The problem: your red wigglers are still buried in there, and you need them out without wrecking the pile or stressing the worms.
Separating worms from worm castings is one of the most common bottlenecks for vermicomposters. Whether you’re harvesting from a small home bin or processing material from a continuous flow system, every method has trade-offs that affect worm health, castings quality, and your time. Choosing wrong means lost worms, contaminated castings, or a process so slow you avoid doing it again.
Three approaches dominate: the light-and-temperature method, physical screening, and hand-sorting. Each works — but not equally well for every situation.
Why Worms Stick to Their Castings in the First Place
Worms don’t avoid their own castings out of preference — they’re following behavior shaped by their natural environment. Eisenia fetida (the red wiggler, the most common composting species) evolved to process decomposing organic matter in the top layers of soil. When conditions change — when castings cool, dry out, or get exposed to light — the worms interpret that as a signal to migrate downward.
The behavior isn’t just reflex. Cocoons (worm eggs) are mixed throughout the castings during processing, and worms stay close to protect the next generation. Moisture gradients in the pile also concentrate certain bacteria and fungi that worms prefer — moving away from finished castings means moving toward fresher food.
Understanding this mechanic is what makes separation possible. You create conditions that push worms downward (light, cool air, dry surface) while keeping castings intact below.
The Light and Temperature Method
The light method works by exploiting the red wiggler’s aversion to light and warmth. When you expose the surface of a casting bin to bright light and cool air, worms burrow deeper to escape the discomfort.
Spread your finished castings in a thin layer — no more than 2–3 inches deep — on a flat surface under direct sunlight or a bright lamp. Ambient temperature should be cool, ideally between 55–65°F. The worms will migrate downward within 15–30 minutes. Scrape off the top layer of castings (where most of the material is now worm-free) and repeat until you’re left with a concentrated mass of worms and minimal castings.
The catch: extended exposure to light and heat causes worm stress. Red wigglers can tolerate 15–20 minutes of bright light, but beyond 30 minutes you’re risking mortality in sensitive individuals — especially juveniles and cocoons near the surface. If you’re processing more than a few pounds of castings, you’ll need to work in stages and keep the process moving.
This method works best for batch sizes under 5 pounds of finished castings — a single harvest from a standard 2-tier or 4-tier home worm bin.
Dark, rich worm castings with red wigglers ready for harvest
Physical Screening and Sorting
Screening uses mechanical agitation and size difference to separate worms from castings. Castings fall through a mesh screen; worms, being larger and more mobile, stay on top or get pushed aside.
A standard hardware cloth screen with 1/4-inch mesh works well for red wigglers. Place the screen over a collection container and dump portions of castings onto it. Shake gently or use gloved hands to work material through. Worms that get caught in the screen can be manually picked out and added to your worm colony.
The tradeoff is in the fine particles. Worm castings smaller than your mesh size — typically the richest, most beneficial fraction — fall through with the rest and can be lost in runoff if you’re not careful. You’ll also catch some cocoons in the screened material, which means you’re moving worm eggs into whatever you’re using the castings for.
Screening is most efficient for operations processing 10+ pounds of castings at a time, or for anyone running a continuous flow bin who harvests weekly. It requires more equipment than the light method but moves faster on large batches.
Red Wiggler Species Differences That Affect Separation
Not all composting worms separate the same way. Eisenia fetida (red wiggler) is the most common in vermicomposting systems. Eisenia andrei — sometimes called the “manure worm” — looks nearly identical but behaves differently: it tolerates slightly higher temperatures and tends to stay deeper in the pile during processing.
If your bin has a mix of both species, you may notice uneven separation. Eisenia fetida migrates upward toward light faster; Eisenia andrei holds position longer. This matters if you’re using the light method — one species may clear faster than the other, and you’ll need to adjust your timing accordingly.
A simple field indicator: red wigglers (E. fetida) have distinct banding (the stripes) and prefer the top 4 inches of bin material. If your worms spend most of their time near the surface even in undisturbed bins, you’re likely working with E. fetida, and the light method will be highly effective.
Batch Size: Home Bin vs. Continuous Flow System
Home worm bins — the 2-tier or stacking kind popular for apartment composting — typically yield 1–2 pounds of finished castings per harvest. That’s small enough that the light method or hand-sorting is usually the right call. You can process the entire batch in one session without rushing.
Continuous flow bins (also called flow-through or chinchilla-style systems) accumulate 10–30 pounds of castings at the bottom tray before harvest. At that scale, screening becomes the practical choice. Hand-sorting is too slow and too physically demanding for volumes that large; the light method requires you to work in stages and expose material for too long, increasing worm stress.
For continuous flow systems, most operators use a three-stage approach: rough screen to remove large bedding chunks, fine screen to separate worms and cocoons, then a final hand-sort of the concentrated worm mass. That’s three steps instead of one, but each step handles a fraction of the material.
Whatever your batch size, the timing matters. Wait 2–3 weeks after feeding before you harvest — this gives worms time to process the most recent organic matter, ensures the material is fully stabilized, and reduces the chance of hot, ammonia-rich fragments contaminating your finished castings.
Tradeoffs of Each Method
The light method is fast when batch size is small, but it risks worm stress if you lose track of time or try to process too much at once. The worms you save may be sluggish or injured if they were exposed to heat or bright light for more than 20 minutes.
Screening preserves more castings per batch and processes large volumes quickly, but you lose fine particles and some cocoons fall through with the material. Your finished product will be slightly less potent.
Hand-sorting gives you the cleanest separation — you can see exactly what worms are present, remove damaged individuals, and preserve every particle of casting. But at scale, it’s impractical. A trained operator can process about 2 pounds of castings per hour by hand; a screener handles 10–15 pounds in the same time.
No method is perfect. Choosing the right one means deciding what you can afford to trade: speed vs. worm health, volume vs. precision, convenience vs. product quality.
Choosing the Right Method for Your Situation
Pick the light method if you have a home bin with under 3 pounds of finished castings and you need the job done in under 20 minutes. It’s also the right choice if your worms are valuable — for breeding stock or a specific species — and you can’t afford any mortality.
Pick screening if you process more than 5 pounds per harvest regularly, or if your bin design makes physical separation practical. The efficiency gain is real, and the fine-particle loss is an acceptable tradeoff for most gardeners.
Pick hand-sorting if precision matters more than speed — if you’re preparing castings for a specific application where any bedding contamination is unacceptable, or if you’re doing quality control on a small breeding batch.
Most home gardeners with a single stacking bin will use the light method. Most small-scale vermicomposting operations with continuous flow bins will use screening. Hand-sorting is a specialist tool, not a default.
Reusing Worms and Storing Excess Castings
Once you’ve separated your worms, they go straight back into fresh bedding — not the same bin you just harvested from. That bin still contains residual castings and possibly pathogens. Setting up a worm bin correctly means preparing a new or cleaned bin with moist shredded cardboard or coconut coir, adding the separated worms, and letting them settle for 24–48 hours before feeding.
For castings you can’t use immediately, storage matters. Stored improperly, castings can reheat, compact, and lose the microbial diversity that makes them valuable. Spread castings in a thin layer in a breathable container and keep them slightly moist — like a wrung-out sponge. Store in a cool, dark place. Use within 3–6 months for best results.
If you’re applying stored castings to soil, work them in rather than leaving them on top. Surface-applied castings dry out quickly and the beneficial bacteria on the surface die without organic matter to feed on.
When you make your own worm castings at home, the separation step becomes part of a cycle: harvest castings, return worms to fresh bedding, apply castings to soil, feed the worms again. It’s a closed loop that raising worms specifically for castings production depends on. Do it right, and you never need to buy worm castings again.
Turn That PDF Into a Spreadsheet in Minutes
You've seen how to do it manually — now let the tool handle the heavy lifting. Upload your bank statement and get Excel, CSV, or QBO in a few clicks.