
Ferns have a reputation among plant owners that borders on mythical — they’re either thriving with luminous green fronds or collapsing into a crispy, brown heap with almost no warning. A single day of dry soil can trigger weeks of decline you might not notice until fronds turn brown at the edges and the whole plant looks like it gave up overnight. If you’re wondering how to save a dying fern, the answer starts with understanding why the plant declined in the first place — because the recovery approach depends entirely on identifying the specific cause.
A fern is a shade-loving plant with delicate fronds and a shallow root system that evolved in forest understories where soil stayed consistently moist. Unlike most common houseplants, ferns lack the water-storing tissues and waxy leaf coatings that help plants like pothos or snake plants survive inconsistent care. Their roots spread horizontally just below the soil surface, designed to grab moisture quickly from decomposing leaf litter rather than reach down into deeper, drier soil layers. This makes them particularly vulnerable to a specific set of conditions that most other houseplants handle without issue. If you’re looking for houseplants that thrive with less attention, ferns generally aren’t the right fit — but that also means when a fern does decline, it’s sending a clear, specific signal about what’s wrong.
The reason a fern can look fine one week and visibly decline within days of a missed watering comes down to physiology. Thin fronds lose water rapidly through transpiration, and the shallow root system has no buffer to draw from when the top layer of soil dries out. Once frond cells collapse from water stress, they don’t bounce back the way more resilient houseplants would. The longer you wait to identify the specific problem, the harder it becomes to reverse — which is why a structured diagnostic approach matters more than guesswork.
Overwatering: The Mistake That Looks Like Underwatering
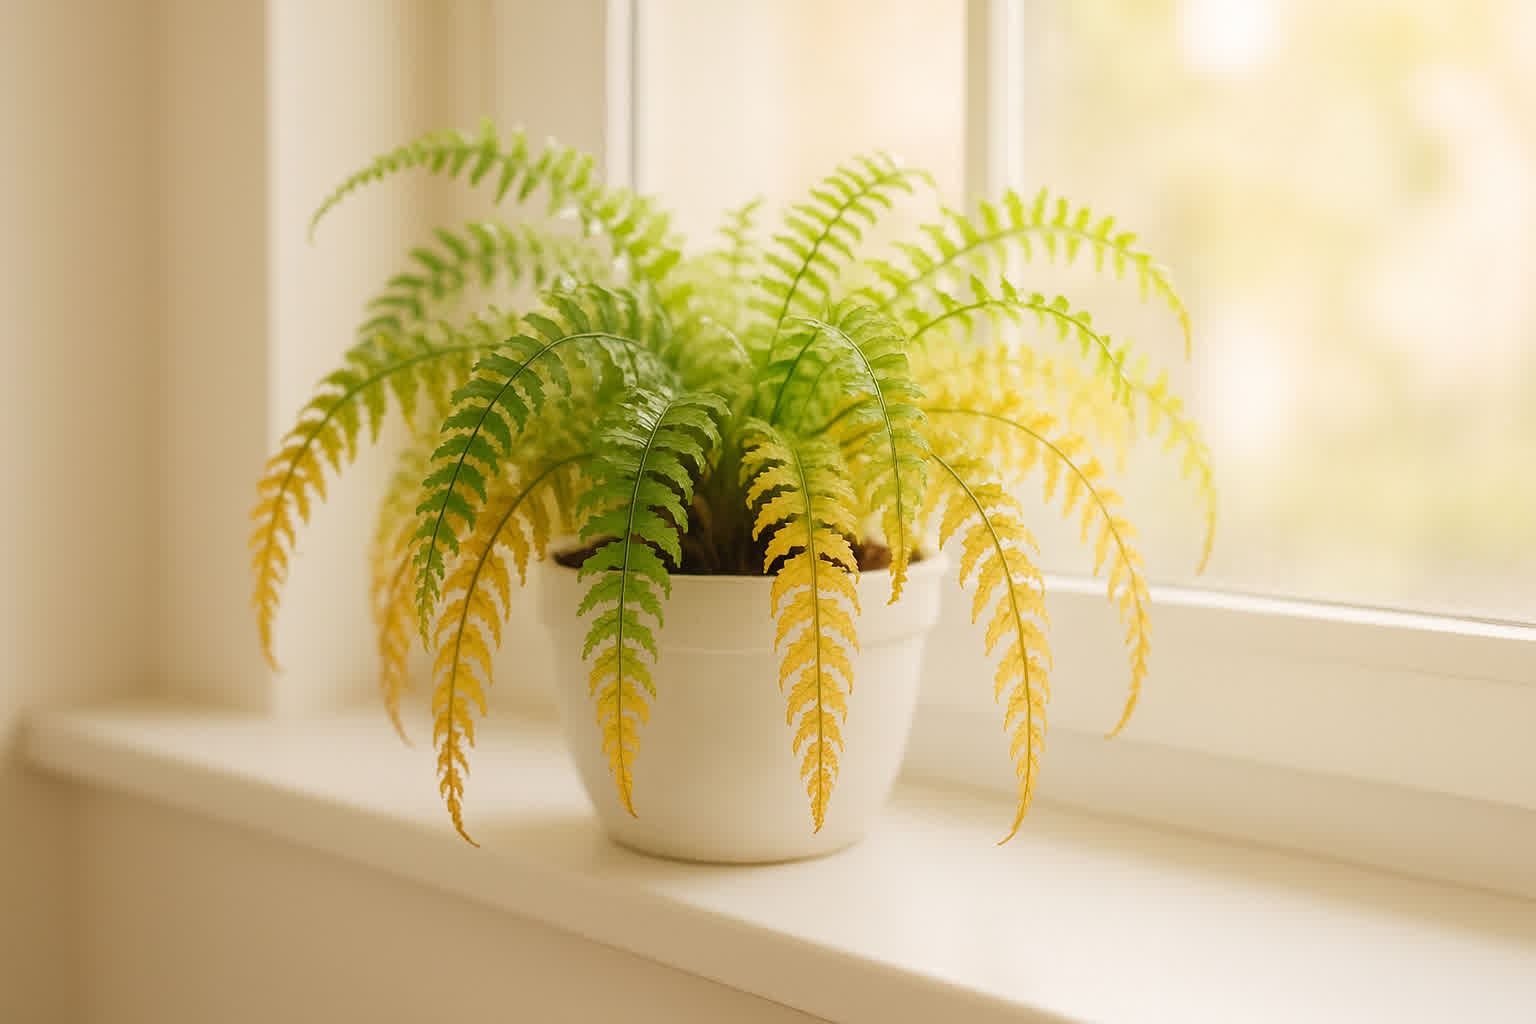
Overwatering is the most common killer of indoor ferns, and the cruel irony is that its early symptoms often look identical to underwatering. Both cause fronds to yellow and droop. Both make the plant look thirsty. Most people respond by watering more, which makes the problem worse until the roots begin to rot. For a full explanation of how root rot develops and how to prevent it in any house plant, see our guide to preventing root rot in house plants.
The distinguishing signs of overwatering appear in the rhizome and soil rather than the fronds alone. A fern that has been overwatered typically develops yellowing fronds that affect older growth first — the base of the plant yellows while the newer fronds at the center still look somewhat green. The rhizomes feel soft and mushy when you gently press them against the pot wall. There may be a sour, fungal odor rising from the soil surface. These are the signatures of root hypoxia: the roots are drowning in waterlogged substrate, cutting off oxygen and allowing anaerobic bacteria to colonize the root zone.
Recovery Steps for Overwatered Ferns
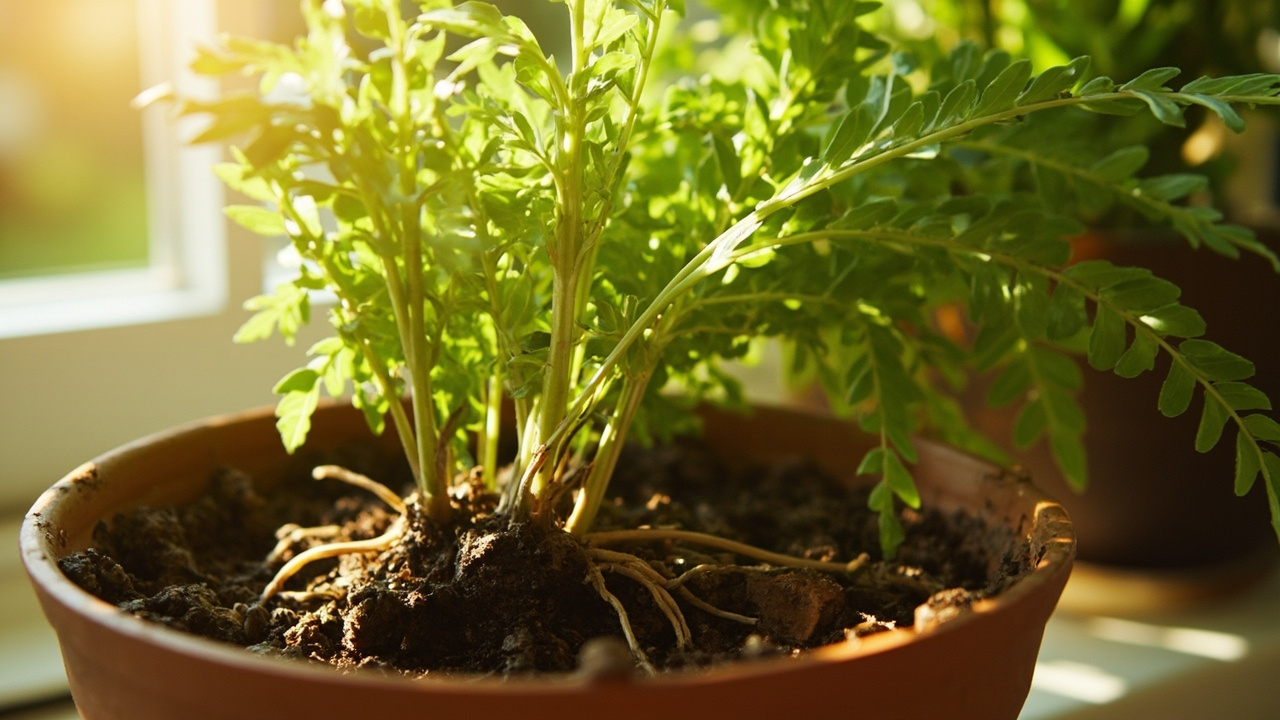
The recovery process starts with removing the plant from its pot. Gently shake off the wet soil and inspect the roots directly — healthy fern roots are firm and light-colored, while rotting roots are dark, slimy, and smell bad. Trim away all soft, dark roots with clean scissors. Repot in fresh, fast-draining mix — a blend of half standard potting soil and half perlite or coarse sand works well for most indoor ferns. Make sure the new pot has drainage holes and is only slightly larger than the root mass, because a pot that’s too big holds excess moisture against the roots. Water only when the top inch of soil is dry, and never let the pot sit in a saucer of standing water.
Underwatering: The Easier Problem to Fix
Underwatering produces different symptoms than overwatering, and it’s easier to recover from — but only if you catch it before the fronds have completely crisped and died back. An underwatered fern displays fronds that droop and curl inward, with edges that feel crispy and dry rather than soft. The entire plant looks limp, and fronds may shed individually from the center of the plant rather than yellowing evenly.
What separates underwatering from other decline patterns is the soil check: insert your finger into the top two inches of soil and feel for moisture. If it comes out completely dry and clean, the fern has been under-watered. Ferns are surprisingly responsive to rehydration if you act before the rhizomes have collapsed entirely.
Rehydration Technique
Bottom-watering is the most effective rehydration method for severely dehydrated ferns. Place the pot in a tray of room-temperature water and let it absorb moisture from the bottom up for 30 to 60 minutes. The soil will draw water evenly through the root zone rather than running straight down the sides of a bone-dry pot, which is what happens with top watering on a severely dry plant. After bottom-watering, allow the pot to drain fully, then return it to its usual spot. Expect the fronds to perk up within 24 to 48 hours if the roots are still alive. Fronds that have already turned fully brown won’t recover — remove them with clean scissors so the plant can redirect energy to new growth.
A stressed fern — diagnosis determines the right recovery approach
Low Humidity: The Hidden Damager That Doesn’t Show Up Until Fronds Brown
Even if you’re watering correctly, low indoor humidity can quietly damage a fern over weeks or months. Most homes keep humidity between 30% and 50%, especially with air conditioning or heating running — well below the 60% minimum that most ferns need to sustain healthy fronds. The damage doesn’t appear overnight, which makes it easy to misdiagnose.
The frond browning pattern tells you whether low humidity is the culprit. If the tips of the fronds turn brown first while the rest of the frond still looks green, humidity stress is the likely cause — this is called tip burn. Tip burn starts at the newest fronds first (the center of the plant) and spreads outward, because those fronds are the most physiologically active and the most vulnerable to water loss through transpiration.
Humidity Correction Methods
The fastest fix is grouping your fern with other houseplants on a pebble tray filled with water — the evaporating water raises the humidity immediately around the leaves. A humidifier running nearby is more reliable for consistent correction, especially in dry climates or during winter when heating systems strip humidity from indoor air. Misting the fronds offers temporary relief but not lasting correction, because the water evaporates within minutes and frequent wet-dry cycles on fronds can encourage fungal issues. The goal is to maintain 60% to 70% relative humidity around the plant consistently, not periodically.
Light Problems: Too Dark or Too Much Direct Sun
Ferns need bright, indirect light — the kind that filters through a sheer curtain or bounces off nearby walls. They cannot handle direct sun, which scorches their thin fronds quickly. A fern placed in a south-facing window without protection will show fronds with faded, bleached patches within a few days, followed by browning at the scorched spots.
The opposite problem — too little light — is more common and harder to spot because the decline happens slowly. A fern that isn’t getting enough light grows leggy, with long sections of stem between fronds and fronds that are smaller and paler than they should be. The fronds also droop more readily because the plant is stretching toward whatever light source is available, weakening the structural cells in the process.
If your fern is pot-bound — meaning the roots have circled the entire interior of the pot and have no room to grow — it will show stress symptoms even with perfect watering and humidity. The plant stops producing new fronds, existing fronds yellow and decline faster than the plant can replace them, and water runs straight through the pot in seconds because the root mass has displaced most of the soil. A pot-bound fern needs to be divided or repotted into a container one size up (about 2 inches larger in diameter) with fresh soil around the root ball.
The Trade-Off of Cutting Fronds Back
When a fern looks terrible, the instinct is to cut everything back and start fresh. This approach has real merit in some situations — but it also carries risks that most guides don’t explain. Cutting fronds removes photosynthetically active tissue, which means the plant loses its ability to generate energy through photosynthesis while it waits for new fronds to emerge from the rhizome. If you cut all the fronds back at once and the rhizomes are already weakened from root damage, the plant may not have enough stored energy to push new growth at all.
The better strategy is selective, gradual pruning rather than a hard cutback. Remove fronds that are fully brown and dead at the base, but leave fronds that still have any green tissue — even if they look tattered — because that green tissue is still photosynthesizing and supporting root recovery. If more than half the frond is still green, leave it. Only fully dead fronds should be cut, and cut them as close to the rhizome as possible without damaging the rhizome itself.
Fern Types and Their Slightly Different Recovery Thresholds
Not all ferns recover at the same pace, and knowing which type you have helps set realistic expectations. Boston ferns (Nephrolepis exaltata) are among the most forgiving — if your fern does not make it, the same diagnostic approach applies across all our save-a-dying plant guides on aqualogi. — they tolerate a wider range of humidity and temperature than most and bounce back from mild dehydration reliably. Their fronds are arching and can grow 2 to 3 feet long, and they recover from root stress within 2 to 3 weeks when conditions improve.
Maidenhair ferns (Adiantum) are the opposite end of the spectrum — they are dramatically sensitive and will collapse within hours of dry soil or low humidity. Recovery is possible but requires immediate correction of every environmental factor simultaneously. If even one variable (humidity, light, water quality) is off, the plant will not recover. Don’t attempt to rehabilitate a maidenhair fern unless you can commit to daily monitoring and consistent conditions.
Bird’s nest ferns (Asplenium nidus) behave differently again — they produce new fronds from a central rosette, and as long as the central growth point (the crown) is intact, the plant can recover even from significant root damage. Cut away any rotting roots, repot, and wait. New fronds emerge from the center within 3 to 4 weeks if the plant is going to recover.
Asparagus ferns (Asparagus setaceus, often sold as ferns but actually a member of the asparagus family) are more resilient than true ferns. They tolerate inconsistent watering better and can recover from mild drought stress within days. They’re also more tolerant of average indoor humidity and are better choices for beginners who want the fern aesthetic without the high maintenance.
When to Save a Dying Fern vs. When to Replace It
For other common house plant problems, see our guides to saving a dying orchid and rescuing a dying hibiscus, which use the same step-by-step diagnosis method.
Honest guidance matters here, because not every fern is worth the rehabilitation effort. If the rhizomes have completely rotted through — meaning they feel mushy all the way through and crumble when you touch them — the plant cannot recover. That damage is irreversible, and no amount of care will bring it back. At that point, the most practical choice is replacing the plant.
A new Boston fern costs between $15 and $30 at most garden centers, which is a reasonable investment compared to the weeks of daily attention required to rehabilitate a severely damaged fern. The math shifts if you’re attached to a specific plant or if it’s particularly large or mature — in that case, attempt recovery for 3 to 4 weeks and evaluate. If you see no new frond growth after a month of corrected conditions, the plant has exhausted its capacity to recover and replacement is the practical path.
The decision framework is simple: recover if the roots still have firm, living tissue and the crown shows signs of new growth. Replace if the entire root system is mushy, the rhizomes are disintegrating, or the plant shows no new growth after a month of optimal conditions. A replacement plant started in the right conditions will outperform a struggling rehabilitated fern every time — and will give you a fresh start with a plant you can actually maintain. If you’re also considering pet-safe houseplant options alongside ferns, rest assured that Boston ferns, bird’s nest ferns, and asparagus ferns are generally non-toxic to cats and dogs, making them safer choices for homes with curious pets.
From PDF to Excel in one click
Forget retyping line by line. Upload any bank statement, get a spreadsheet you can actually use. Your files are never stored, and you can test the converter with 3 free conversions.
Try it free