
Your spider plant is dying, and you want to save it. That instinct is exactly right — spider plants (Chlorophytum comosum) are tougher than they look, and most decline cases are reversible if you catch them early enough.
This guide walks you through every major cause of spider plant death, shows you exactly how to diagnose what’s happening, and gives you a clear recovery plan that works.
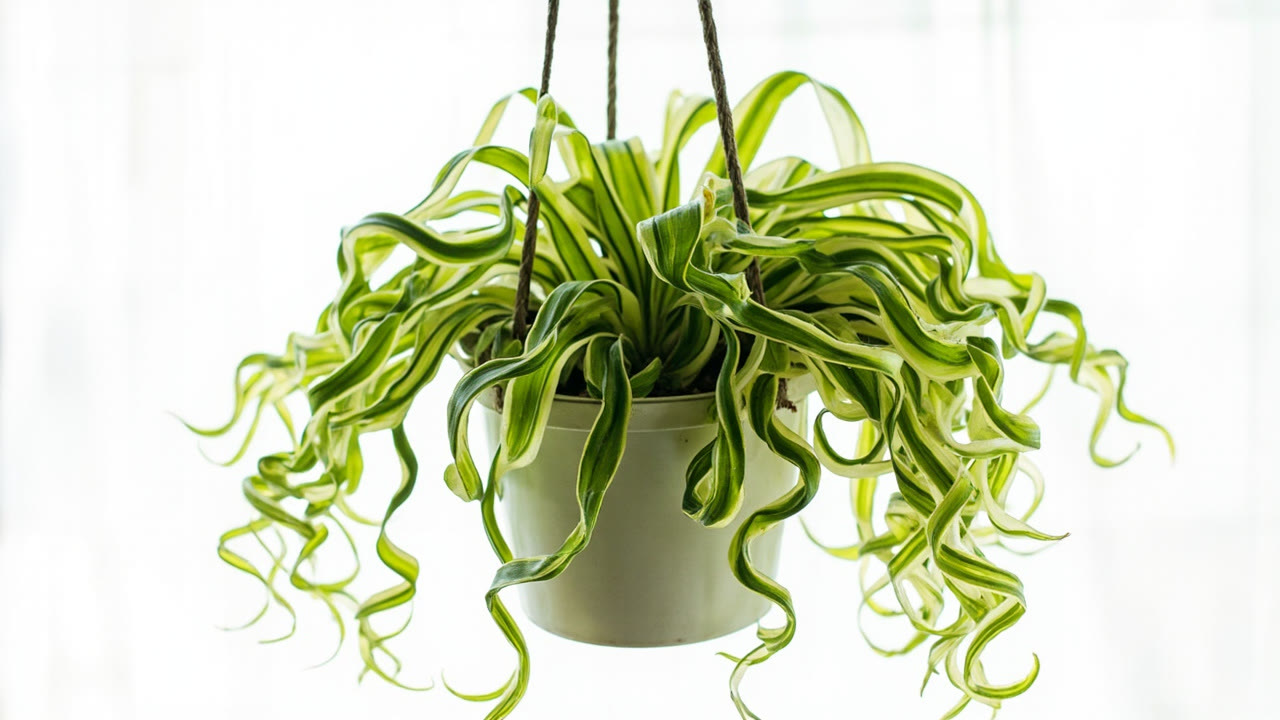
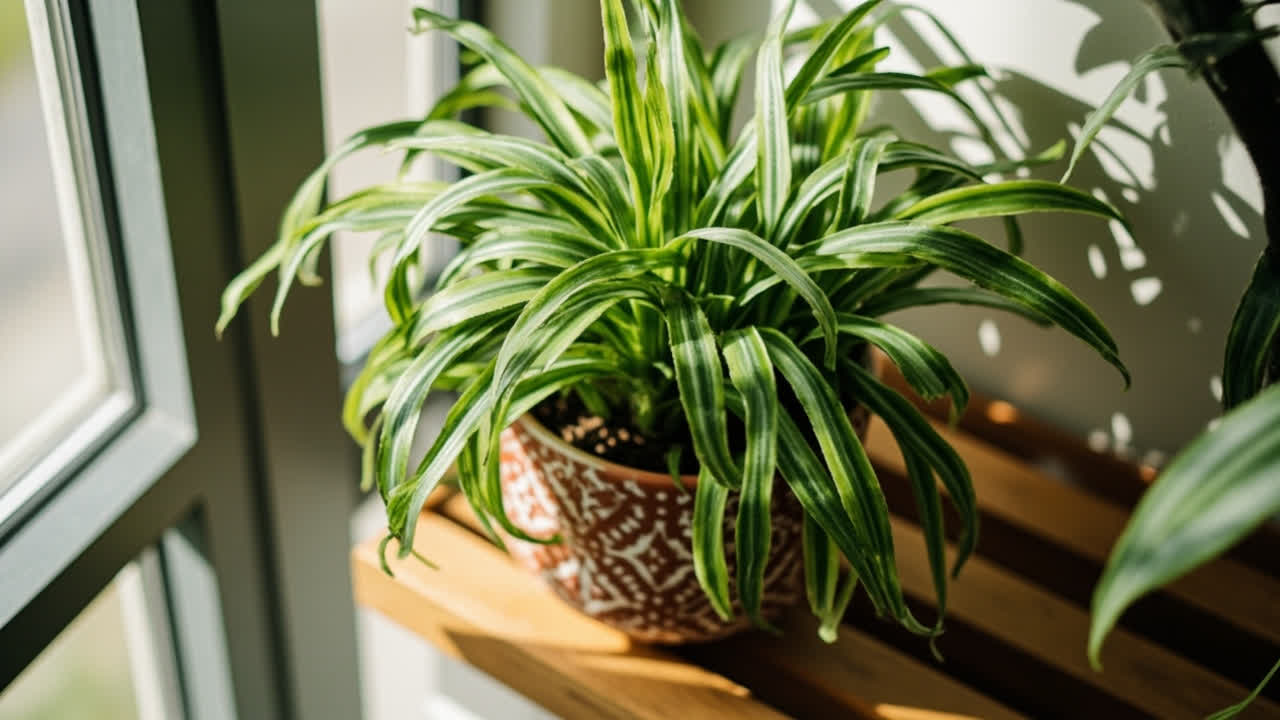
Spider plants are known for their arching, variegated leaves — the cream-and-green striped foliage that makes them instantly recognizable — and their famous “babies” (called spiderettes) that dangle from long stems like little spiders on a web.
They’re among the most forgiving house plants you can grow, which is why it’s so frustrating when one starts declining. The good news: over 90% of dying spider plants are suffering from one of five preventable causes, and fixing all of them costs less than a new plant from the garden center.
Before you buy anything or do anything drastic, read through this guide in order. Each section covers one cause, how to identify it, and how to fix it.
Diagnose the Problem First : Common Spider Plant Symptoms
Successful recovery starts with accurate diagnosis. A spider plant that looks “dying” could be dealing with root rot, chemical burn, light stress, or a combination. Each cause has distinct symptoms, and treating the wrong one can make things worse.
Use this quick symptom checker before you do anything:
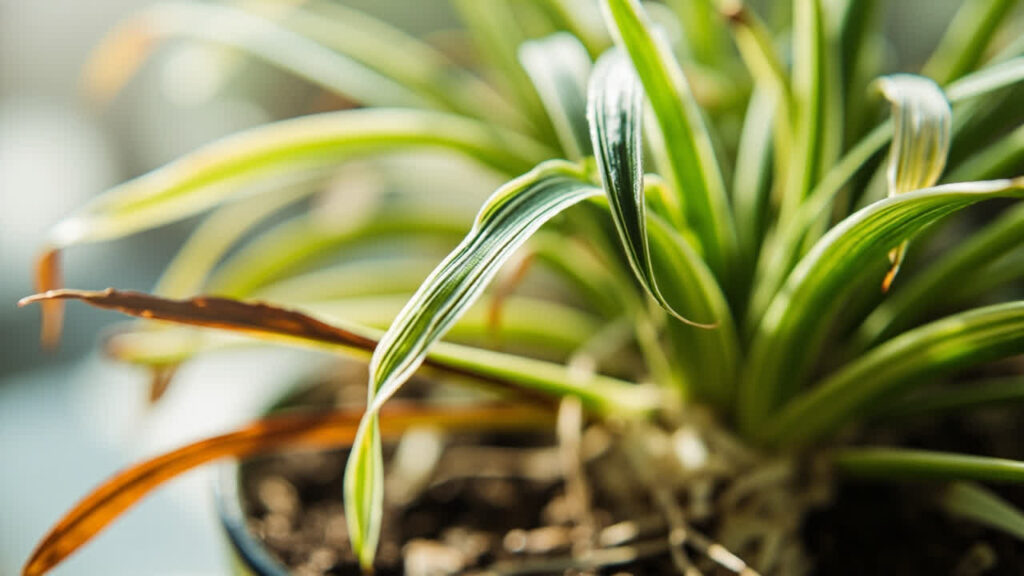
- Brown leaf tips — fluoride, chlorine, or salt buildup from fertilizer
- Yellow leaves, especially from the base — overwatering or nutrient deficiency
- Soft, mushy stems or roots — root rot from consistently wet soil
- Crispy, paper-like leaves — underwatering or very low humidity
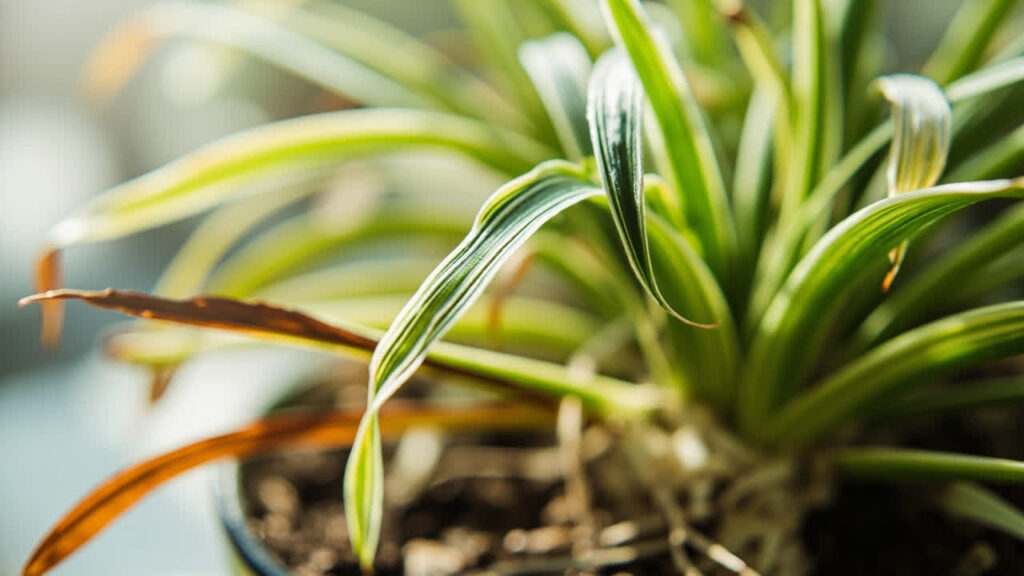
- Pale, washed-out variegation — too little light to sustain the striped coloring
- Drooping despite wet soil — root rot blocking water uptake
If your spider plant’s leaves are turning yellow, especially from the base outward, the most common cause is yellow spider plant leaves triggered by overwatering, nutrient deficiency, or natural aging of older leaves. Each source has a distinct pattern — overwatering yellowing starts at the base and spreads upward, while deficiency yellowing appears more uniform across the leaf. Older leaves at the bottom of the plant yellow and die off as a normal part of the plant’s growth cycle, so one or two yellow lower leaves isn’t a crisis if the rest of the plant looks healthy.
Cause 1: Overwatering and Root Rot : The Number One Killer
Overwatering causes more spider plant deaths than all other causes combined. Spider plants have thick, fleshy roots (called rhizomes) that store water efficiently, making them surprisingly drought-tolerant. But those same roots rot quickly when kept in constantly wet soil.
Root rot develops when the soil stays too wet for too long. The water fills air pockets between soil particles, and the roots literally drown. Without oxygen, the roots die and begin to break down. Dead roots can’t absorb water, which is why you might see a spider plant that looks wilted even though the soil is damp — the root system is already gone.
The rot spreads from the dead roots upward into the rhizome and base of the leaves. You might notice a musty smell from the soil, or the base of the plant may feel soft when you gently squeeze it. If you pull the plant out and see brown, mushy roots instead of firm white ones — that’s root rot.
How to confirm root rot: Gently remove the plant from its pot and inspect the roots. Healthy spider plant roots are firm, pale tan to white, and slightly brittle. Rotting roots are dark brown to black, mushy, and may smell foul. If most of the root mass is dark and soft, you have a severe case.
The good news: root rot in spider plants is treatable even in advanced cases. Remove all affected roots, repot in fresh, fast-draining soil, and adjust your watering schedule — only water when the top 50–75% of the soil is dry. For more on preventing this across your house plants, see our guide to root rot in spider plant care — the same principles apply to any plant in your collection.
Cause 2: Brown Tips : Fluoride and Chemical Sensitivity
If your spider plant’s leaf tips are turning brown and crispy, the problem is almost certainly chemical sensitivity — specifically to fluoride, chlorine, or excess fertilizer salts in the water or soil. Spider plants are unusually sensitive to these compounds compared to most house plants, which is why brown tips are one of the most common spider plant problems.
Fluoride is the primary culprit. It’s found in many municipal water supplies and accumulates in the leaf tips over time, causing the cells to die. The result is the classic brown tip pattern — a crisp brown end on otherwise healthy green leaves. This isn’t a disease; it’s simple chemical burn from fluoride uptake through the roots.
Chlorine from tap water works the same way. And if you’ve been fertilizing heavily, salt buildup in the soil creates a similar pattern, often with a white crust visible on the soil surface or pot edges. Spider plants are particularly vulnerable to fluoride because they absorb it readily through their root system and the compound translocates quickly to the leaf margins where it concentrates at the tips.
How to fix brown tips:
- Switch to filtered or distilled water for all watering and misting. Most tap water contains enough fluoride and chlorine to keep aggravating the problem.
- Flush the soil thoroughly: water the plant generously, let it drain, repeat 2–3 times to wash out accumulated salts.
- Reduce fertilizer application by half — spider plants need feeding only every 6–8 weeks during the growing season.
- Trim the brown tips at an angle (don’t cut into green tissue) to restore appearance while the plant recovers.
Brown tips won’t reverse on existing leaves, but new growth will come in clean if you fix the water quality. This is one of the easiest spider plant problems to solve once you identify the cause.
Cause 3: Light Problems : Too Much or Too Little
Spider plants tolerate a wide range of light conditions, but they have clear preferences. Getting the light wrong won’t usually kill a spider plant outright, but it causes gradual decline that makes the plant vulnerable to other problems.
Too much direct sun burns the leaves, causing faded yellow patches, bleached spots, or crispy edges on the sun-facing side of the plant. South and west-facing windows in summer are the most common source of this damage. The plant’s variegated leaves — those creamy white stripes that make spider plants so attractive — are actually more vulnerable to sun damage than solid green leaves because the pale sections have less chlorophyll to absorb light energy.
Too little light causes the plant to lose its characteristic variegation. The creamy white stripes fade to pale green, and the plant grows leggy with thin, elongated leaves reaching toward whatever light source is available. The plant becomes generally weak and less able to resist pests or other stress. Spider plants that have been in a dim corner for months often look pale and washed out — not dead, but significantly less healthy than they should.
Ideal spider plant light: Bright, indirect light. Near an east-facing window or several feet back from a south/west window where the leaves never receive direct sun. Spider plants handle lower light than most house plants — they originated as forest floor plants in the understory of African woodlands — but they thrive and maintain their best coloring in moderate indirect light. An east-facing window is often the sweet spot: enough morning light to sustain the variegation without the harsh afternoon sun that burns the leaf tips.
If your spider plant is in a low-light corner and declining, move it closer to a window. If it’s in direct sun and showing burn symptoms, move it back or use a sheer curtain to diffuse the light. Both adjustments often reverse the decline within a few weeks.
How to Save a Dying Spider Plant: Step-by-Step Recovery Plan
Once you’ve identified which causes are affecting your spider plant, work through this recovery plan in order. Start with Step 1 regardless of which problems you’ve found — it addresses the most common issues first and creates the conditions for all other fixes to work.
Step 1: Remove the Plant and Inspect the Roots
Gently tip the pot and slide the plant out. Brush off as much old soil as you can without tearing the roots. Spread the roots out and examine them — you’re looking for firm white roots versus soft brown ones.
If you find rot: take clean scissors or pruning shears and cut away all dark, soft roots back to firm, pale tissue. Cut until you see clean, white flesh. Sterilize your tools with rubbing alcohol between cuts if you’re working on multiple plants.
Step 2: Rinse the Pot and Use Fresh Soil
If you’re reusing the same pot, scrub it thoroughly with a 10% bleach solution, rinse well, and let it dry completely. Old soil carries the fungal spores that caused the root rot in the first place — don’t put the plant back into it.
Use a fresh, fast-draining potting mix. A standard house plant mix works, but add perlite (about 20% of total volume) to improve drainage. Spider plants need better drainage than most people expect — the rhizomes rot quickly in dense, water-retentive soil. If you want to mix your own: 3 parts standard potting mix, 1 part perlite, 1 part coarse sand.
Step 3: Repot at the Correct Depth
When you place the plant back in the pot, keep the crown (where the leaves meet the roots) at the same depth it was before — not deeper. Planting too deep causes the base of the leaves to rot. The top of the root mass should sit about 1 inch below the pot rim to allow room for watering.
Choose a pot that’s only slightly larger than the trimmed root ball — 1–2 inches larger in diameter. A pot that’s too big holds excess soil that stays wet too long and invites rot to return. Terra cotta pots are a good choice for spider plants because the clay wicks moisture away from the soil faster than plastic pots, reducing the risk of overwatering.
Step 4: Water Correctly and Switch to Filtered Water
After repotting, water thoroughly until water flows from the drainage holes. Then let the soil dry out significantly before watering again. This initial thorough watering settles the soil around the roots; all subsequent waterings should follow the “mostly dry” schedule described below.
Switch to filtered or distilled water immediately — this alone often resolves brown tip problems within 2–3 weeks. If your tap water is very hard, the difference will be visible on new leaf growth. The fluoride concentration in most municipal water supplies is enough to keep causing tip burn as long as the plant is exposed to it, so filtered or distilled water isn’t optional — it’s essential for keeping brown tips from recurring.
Step 5: Place in the Right Light and Wait
Move the repotted plant to a spot with bright, indirect light. Don’t place it in direct sun while it’s recovering — the damaged root system can’t take up water efficiently, and direct sun will stress it further. A north or east-facing window (or several feet back from a south/west window) is ideal.
Spider plants show visible improvement within 2–3 weeks of proper care. New leaves will emerge from the center of the plant in healthy green color. The outer leaves may continue to look rough for a while — that’s normal. Don’t pull off damaged-looking leaves unless they’re completely dead, since the plant reabsorbs nutrients from them as they decline.
How to Propagate Spider Plant Babies and Turn a Problem Into Success
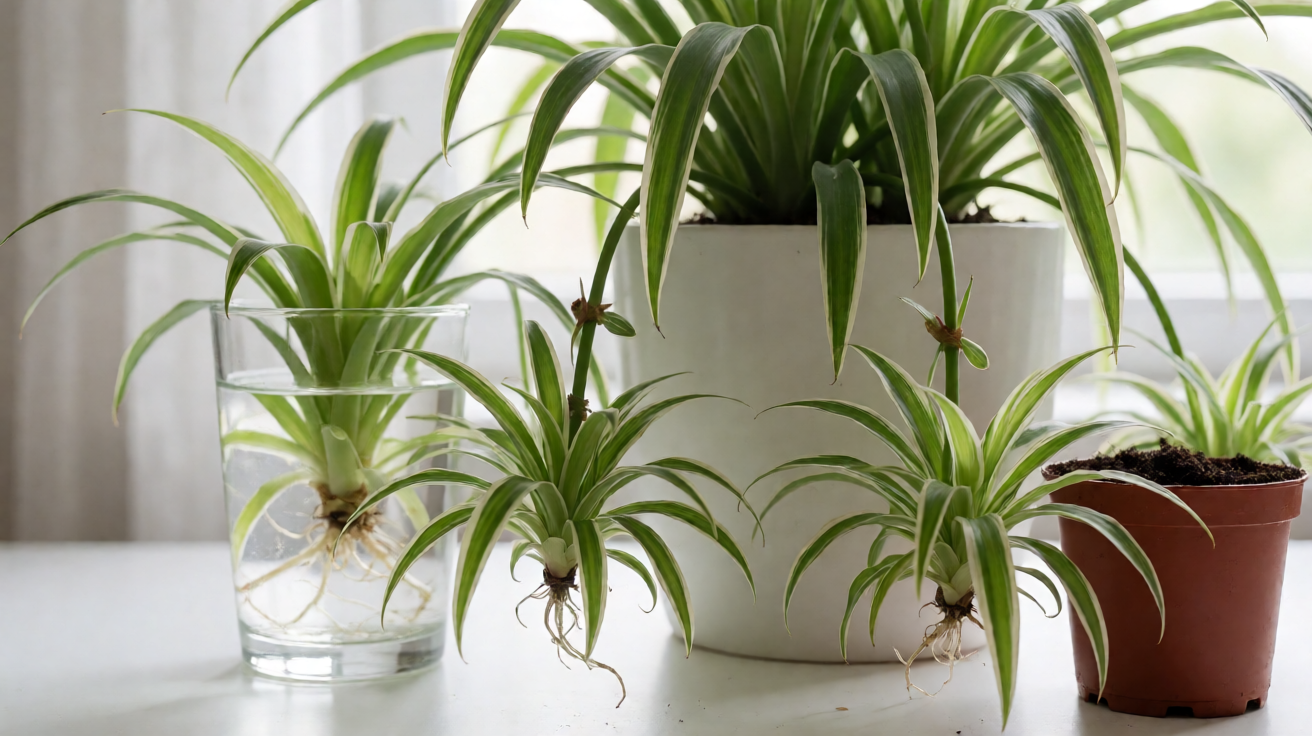
Spider plants produce one of the most reliable propagation systems of any house plant — the spiderettes or baby plantlets that grow on the long arching stems. Once your plant recovers, you can use these babies to grow new plants, expand your collection, or replace an aging parent plant.
Propagation is simple and works reliably even on very small plantlets. The babies develop their own roots while still attached to the parent, which means you don’t need any special equipment or skill to multiply your spider plant. The spiderettes are so reliable at rooting that you can often simply lay one on top of moist soil and it will root within a few weeks without any intervention.
Method 1 — Rooting in water:
- Identify a healthy plantlet with visible root nubs (small bumps at the base of the baby where roots will emerge).
- Cut the stem connecting the baby to the parent plant with clean scissors.
- Place the baby in a small glass of filtered water, roots submerged, leaves above water.
- Change the water every 2–3 days. Roots appear within 1–2 weeks.
- Once roots are 1–2 inches long, pot in standard house plant mix.
Method 2 — Rooting directly in soil:
- Fill a small pot with damp, fast-draining potting mix.
- Cut a healthy plantlet from the parent, keeping a 1–2 inch stem segment attached to the baby.
- Make a small hole in the soil and insert the roots and stem base.
- Keep the soil lightly moist and the pot in bright indirect light.
- Roots establish within 2–4 weeks — you’ll feel resistance when you gently tug the plant, meaning it’s anchored.
To learn the full process and see which method works best for different situations, see our complete guide to propagate spider plant techniques — the spider plant is one of the easiest house plants to multiply using these methods.
Spider Plant Care to Keep It Healthy Long-Term
Once your spider plant has recovered, keeping it healthy is mostly about getting three things right: watering, light, and water quality. Spider plants aren’t demanding — they’re actually quite forgiving — but they do best when you respect their basic preferences rather than imposing a rigid schedule on them.
Watering Schedule
Water when the top 50–75% of the soil is dry. In practice, this means checking the soil with your finger every 5–7 days during the growing season (spring and summer) and every 10–14 days in winter. Spider plants show visible thirst cues — the leaves may look slightly less turgid, the pot will feel lighter, and the soil will pull away from the pot edges slightly.
When you water, water thoroughly until it flows from the drainage holes, then stop. Never let the pot sit in a tray of standing water for more than an hour — this re-saturates the soil and invites root rot to return.
Water Quality
Use filtered or distilled water if your tap water is heavily treated or if you continue seeing brown tips despite proper watering. If you only have tap water, let it sit uncovered for 24 hours before using — this allows chlorine to evaporate, though fluoride will remain. For persistent tip burn, permanent transition to distilled water is the most reliable fix.
Light
Bright, indirect light keeps spider plants at their best — full variegation, strong arching growth, and consistent production of spiderettes. They handle lower light than most house plants, but you’ll see the variegation fade and growth slow significantly in dim corners. Direct hot sun burns the leaves, so filtered light near a window is the sweet spot.
Feeding
Fertilize every 6–8 weeks during spring and summer with a standard liquid house plant fertilizer diluted to half strength. Spider plants are not heavy feeders — over-fertilizing causes salt buildup that manifests as brown tips, exactly the same as chemical burn from water. In fall and winter, skip feeding entirely — the plant’s growth slows and it can’t use the nutrients, which accumulate in the soil.
Repotting
Spider plants grow relatively fast for house plants and regularly produce spiderettes. If you see roots circling the bottom of the pot or growing out of the drainage holes, it’s root-bound and needs a larger pot. Go up 1–2 inches in diameter. The best time to repot is spring, at the start of the active growing season.
When to Expect Full Recovery
With correct treatment, spider plants typically show noticeable improvement within 2–3 weeks. New growth emerges from the center in fresh, healthy green. Existing damaged leaves may not recover their appearance, but they’ll support the plant while new leaves develop. A spider plant that was severely declined can look fully recovered within 2–3 months given consistent proper care.
The most important thing you can do for a recovering spider plant is resist the urge to over-care for it. Check the soil before watering, use filtered water, keep it in the right light, and then leave it alone. Spider plants are resilient — once you remove the stressors causing the decline, they recover on their own.
From Bank Statement to QuickBooks-Ready File
That manual cleanup you just read about? This tool skips it. Turn your PDF into QBO for QuickBooks without storing your data anywhere.
Start Converting