
Plant propagation is the practice of creating new plants from existing ones — and it is one of the most rewarding skills a house plant owner can develop.
Instead of buying a replacement every time a plant struggles, you learn to multiply what you already have.
A single healthy Monstera deliciosa can become three or four new plants within a year. A leggy Pothos that has lost its shape can be restored simply by taking better cuttings next time.
The plants propagation techniques covered here work reliably for most common house plants. You do not need special equipment. You need a clean pair of scissors or a razor blade, a small container, and some patience. That is all.
Understanding Nodes: The Most Important Part of Any Cutting
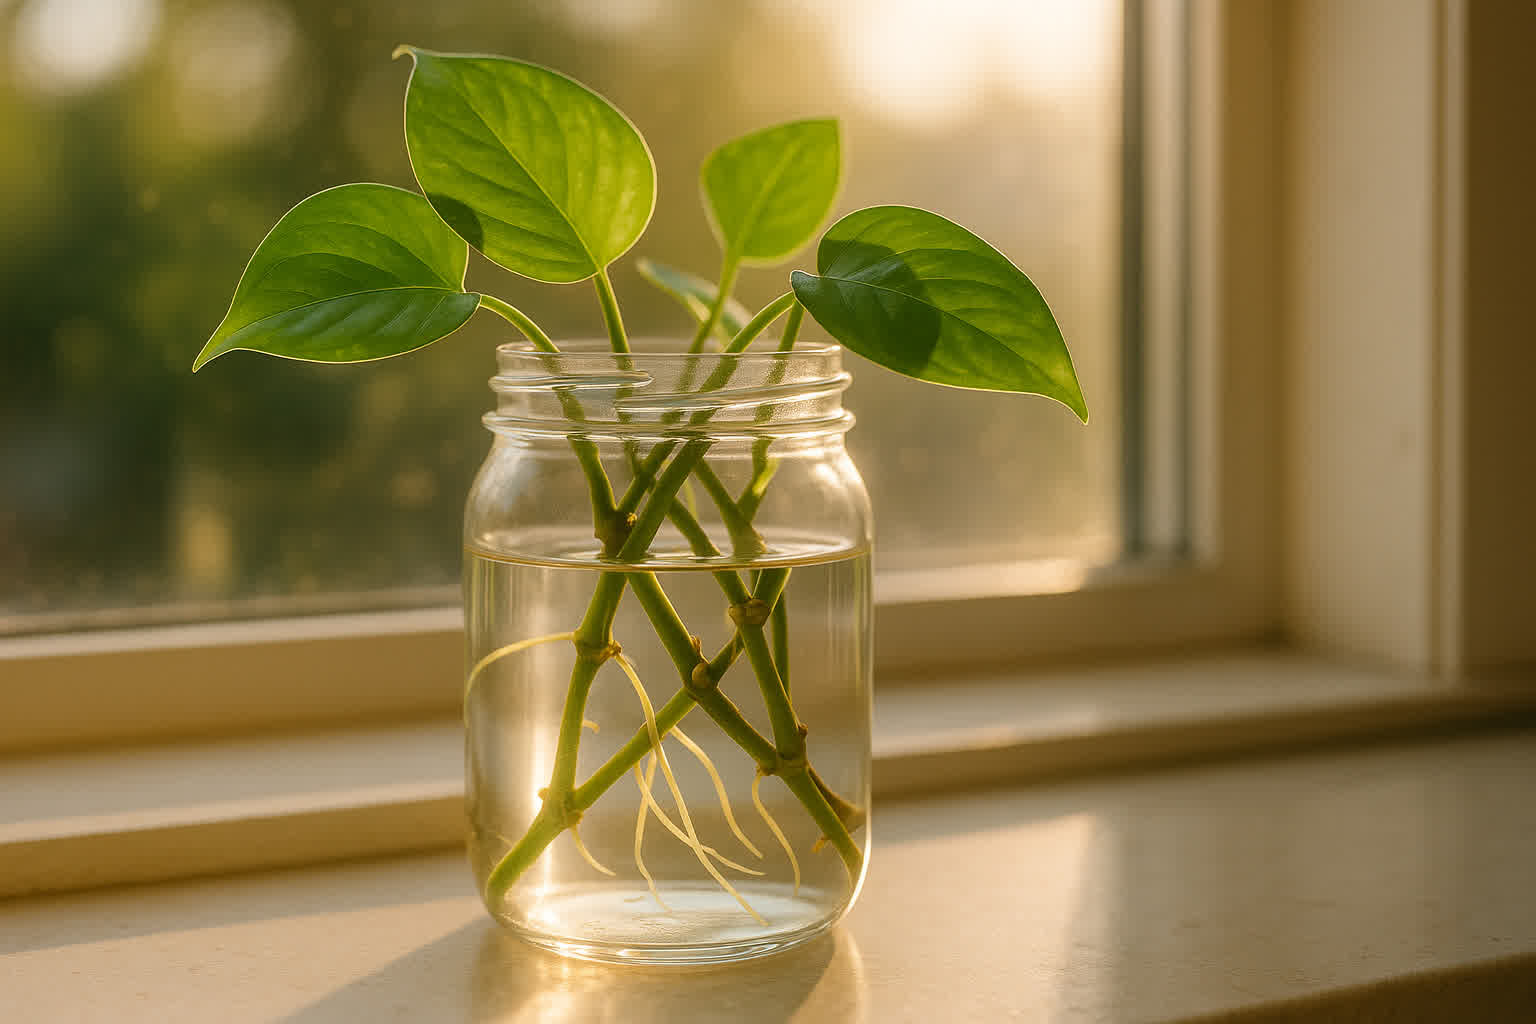
Before you make your first cut, you need to understand what a node is — because plant propagation succeeds or fails largely at the node. A node is the small bump or ridge on a stem where a leaf attaches. It is also where roots will emerge when you place a cutting in water or soil.
Every cutting you take must include at least one node. A leaf alone — no matter how large or healthy it looks — will not produce roots. It will simply rot. This is the single most common reason why propagation fails: people see a beautiful leaf, stick it in water, and wonder why nothing happens.
For aroids like Pothos, Philodendron, and Monstera, the node is typically found just below a leaf aerial root or root bump. Look for the slight swelling on the stem where the petiole meets the main vine. That is your target.
Water Propagation: The Most Accessible Method
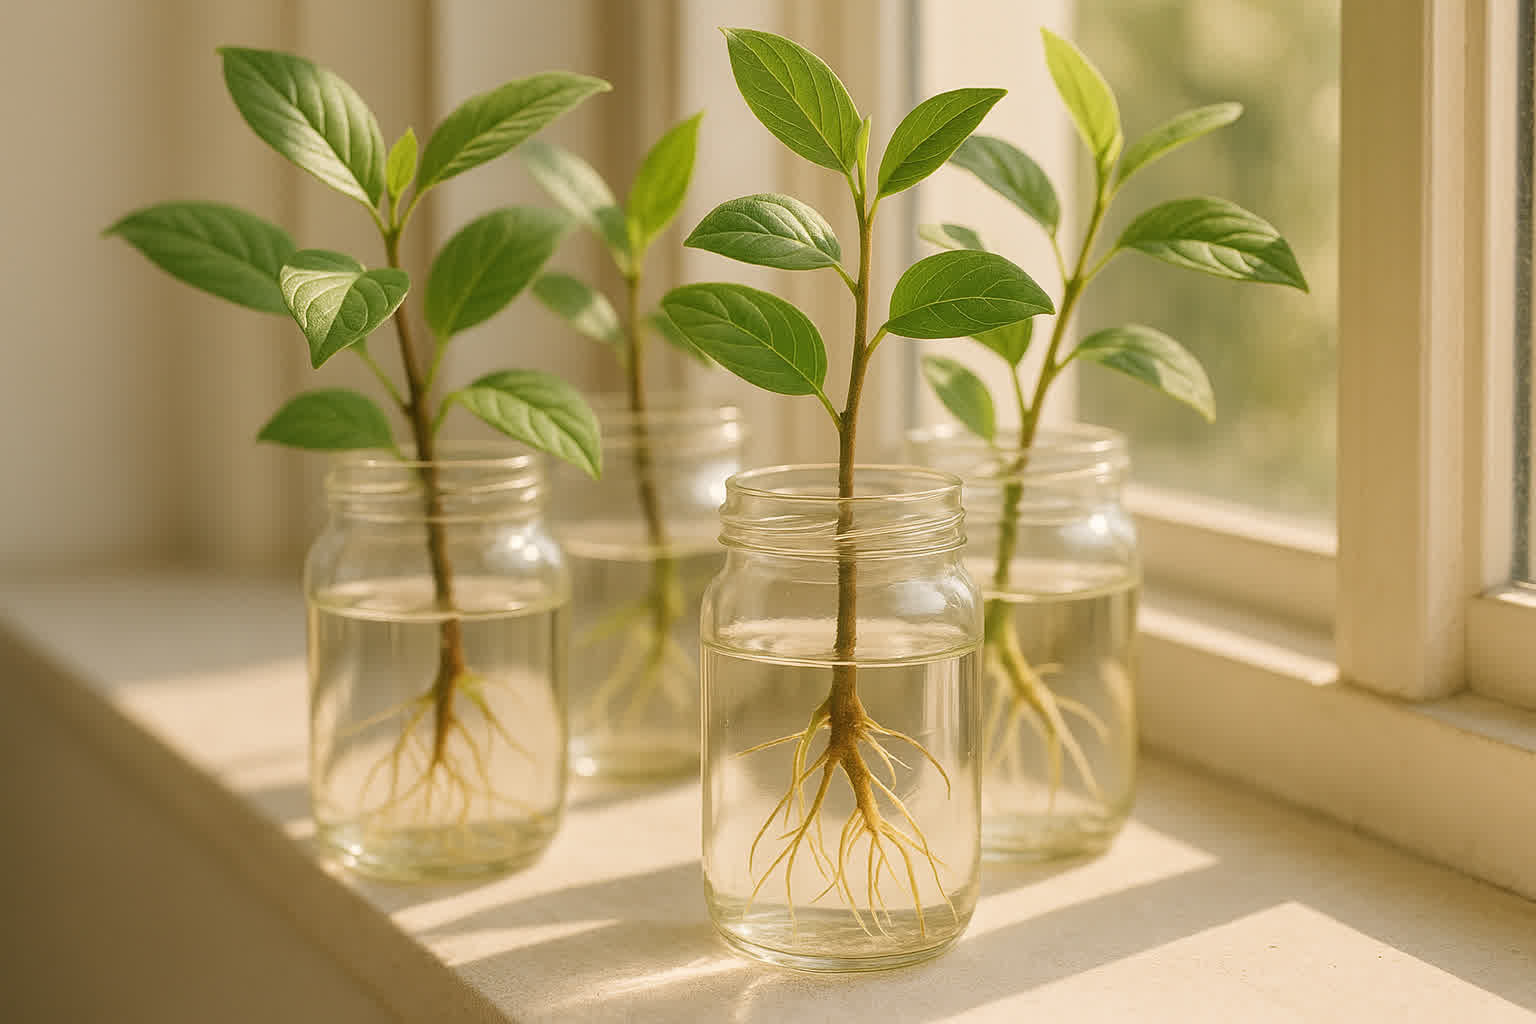
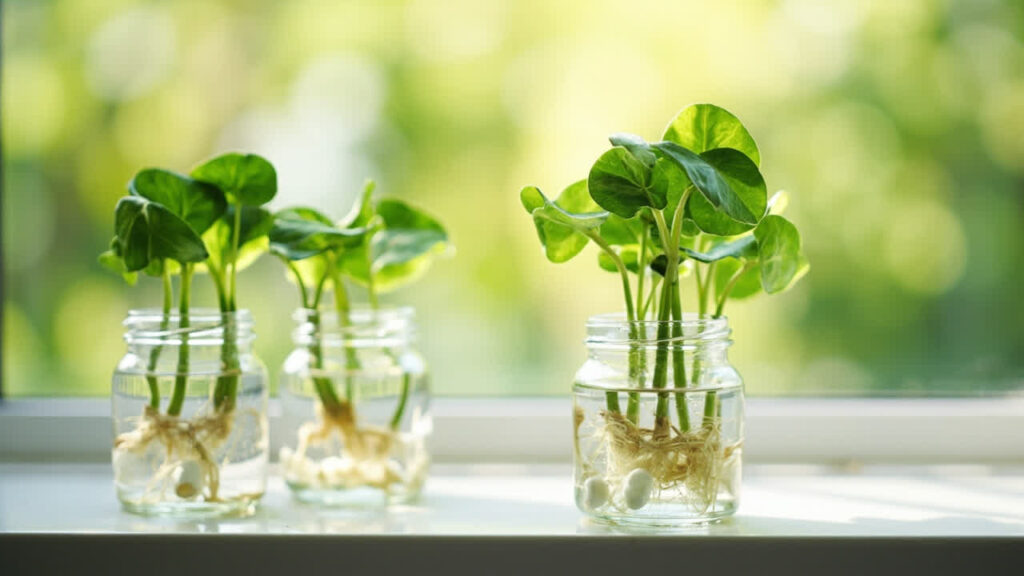
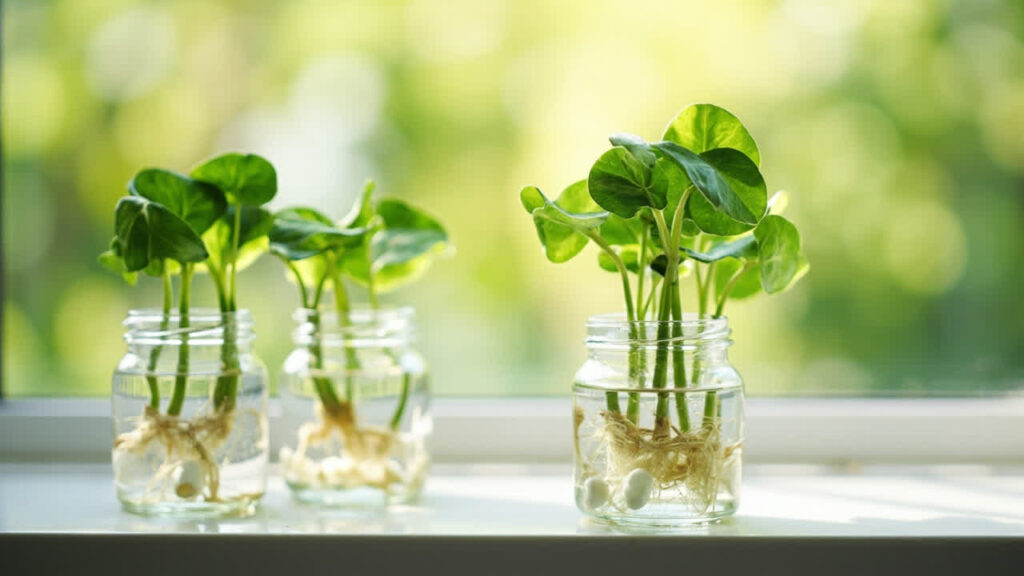
Water propagation is the best starting point if you are new to this practice. It lets you watch roots develop in real time, which is both useful and satisfying. Most aroid-style plants root extremely well in water, especially Pothos, Philodendron Brasil, and Monstera cuttings.
To start, identify a healthy stem with at least one node and two to three leaves. Cut just below the node using a clean, sharp blade. Remove the lowest leaf or leaves so they do not sit submerged in water — submerged leaves rot and cloud the water quickly. Place the cutting in a glass jar or vase filled with room-temperature water, making sure the node is underwater but leaves are not.
Change the water every three to five days. Place the container in bright, indirect light. Avoid direct sunlight, which heats the water and encourages algae rather than roots. Within one to three weeks, you should see roots emerging from the node. Once roots reach two to three inches long, you can move the cutting into fresh potting mix.
Soil Propagation: A Stronger Root System from the Start
Soil propagation produces roots that are adapted to growing in solid medium from the beginning, which can mean less transplant shock when you finally pot your new plant. It is a slightly more advanced method, but it is not difficult once you understand the principle: the cutting needs steady moisture without being waterlogged.
Take a cutting with at least one node, just as you would for water propagation. Dip the cut end in rooting hormone powder if you have it — this is optional but it does improve success rates and shortens the time to root development. Tap off any excess powder. Insert the node into a small pot filled with a light, well-draining propagation mix. A standard house plant soil blended fifty-fifty with perlite works well.
Keep the soil consistently moist but not soggy. Cover the pot with a clear plastic bag or a humidity dome to reduce moisture loss while roots develop. Place in bright, indirect light and check every few days. Root development in soil is invisible, which is why many people prefer water propagation for their first attempts. However, once you see new growth emerging from the top of the cutting — a new leaf or runner — you will know the roots are established and it is safe to treat it as a独立 plant.
Division: The Best Method for Clump-Forming Plants
Not every plant needs to be propagated from cuttings. Clump-forming plants like snake plants, Peace Lilies, Ferns, and Spider Plants can be divided at the root ball, essentially separating one mature plant into two or more smaller ones.
Division is the fastest and most reliable method because each new section already has its own root system. There is no waiting for roots to form, no risk of rot, and very little transplant shock when done properly.
The best time to divide is during repotting in spring or early summer, when the plant is entering its active growth phase. Water the plant a day before you plan to divide it. Remove it from the pot and gently shake away excess soil so you can see the natural separations in the root ball. Some plants pull apart by hand; others need a clean knife or serrated blade to separate the root mass. Make sure each division has at least one growth point — a fan or crown — and a healthy section of roots.
Pot each division into fresh fresh potting mix appropriate for the species, water well, and place in bright indirect light. Resume normal care after a week or two. This method works exceptionally well for snake plants, which produce new fans from underground rhizomes every spring.
Runner Propagation: For Spider Plants and Similar Species
Spider Plants produce long, arching stems called stolons — commonly called runners — that end in small plantlets. These plantlets are essentially baby spiders ready to root. Propagation via runners is almost effortless, and it is the reason Spider Plants are among the easiest house plants to multiply.
Wait until a plantlet has developed small knuckle-like root initials at its base before you cut it free. You do not need to wait for full roots — even a few visible nubs are enough. Clip the runner close to the mother plant, then nestle the plantlet into a small pot of moist potting mix. Keep the soil lightly damp for the first two weeks while the roots establish. The plantlet will anchor itself within days if you press it gently into the surface.
You can also root plantlets in water first, similar to the water propagation method for Pothos. Once roots reach an inch or so, transfer to soil. Either way works. The key is not to let the plantlet dry out before its roots take hold.
Timing and Season: When to Propagate for Best Results
Propagation is not a year-round activity, or at least it is not equally successful in every season. Most house plants grow most actively from late spring through summer. During these months, the plant is pumping energy into new growth, which means cut stems heal faster and roots develop more quickly.
Late spring through mid-summer is the ideal propagation window. You can attempt it in other seasons — cutting a Pothos in December will not kill the mother plant — but expect slower root development and lower success rates. Plants are essentially dormant in fall and winter, redirecting energy to survival rather than new growth.
If you are following a plant care calendar for your collection, schedule your propagation efforts for the same period you would repot: when daylight hours are longest and growth is most vigorous. This single timing choice can mean the difference between roots forming in ten days and roots forming in ten weeks.
Humidity Domes and Enclosure Techniques to Boost Your Success Rate
One of the most effective ways to improve propagation success — especially for cuttings in soil — is to increase humidity around the cutting while roots are forming. A humidity dome or propagation chamber creates a microenvironment that slows moisture loss from leaves, keeping the cutting alive and vigorous until its root system is established.
You do not need to buy a specialized propagation box. A clear plastic food storage bag placed loosely over a small pot works well. A plastic drinking glass turned upside down over the pot is another option. The goal is not to create a seal — trapped stale air can encourage fungal problems. Loose, breathable cover is ideal.
For high-humidity lovers like Philodendron and Monstera, a humidity dome can make a significant difference, particularly if your home tends toward dry air from air conditioning. Lift the cover every few days for a brief moment to refresh the air inside. Remove the dome entirely once you see new growth emerging, which signals that roots have likely formed.
Rooting Hormone: When to Use It and Whether It Is Necessary
Rooting hormone — typically in powder or gel form — contains synthetic or naturally derived auxins that stimulate root cell development at the cut site. It is not essential, but it genuinely helps in several situations: when propagating woody or semi-woody cuttings, when working with slower-to-root species, or when you want to speed up the process and reduce rot risk.
For soft-stem tropicals like Pothos and Philodendron, rooting hormone is helpful but rarely required — these plants root so readily in water that many growers skip it. For snake plant leaf cuttings or Fern divisions, it makes less difference still. But for anything semi-woody, or for soil propagation where rot risk is higher, it is a worthwhile step.
To apply, trim your cutting, dip the cut end briefly in water, then into the powder or gel. Tap off any excess — too much can actually delay root formation rather than help it. Place as directed for your chosen propagation method.
Common Propagation Mistakes and How to Avoid Them
Even experienced plant parents make propagation mistakes. Knowing what tends to go wrong helps you avoid the most frustrating failures.
- Using leaves instead of nodes: A leaf alone will never root. Always include a node.
- Overwatering soil cuttings: Roots need oxygen as much as moisture. Soggy soil means rot. Keep it damp, not drenched.
- Placing cuttings in direct sun: Direct sunlight overheats water and stresses cuttings. Bright, indirect light is correct.
- Moving cuttings to soil too early: Roots in water develop differently from roots in soil. Wait until water roots are at least two inches long before transplanting.
- Not changing water: Stagnant water becomes oxygen-depleted and harbour bacteria. Change it every few days.
- Expecting fast results in winter: If you propagate in October and expect roots by November, you will be disappointed. Growth is slow in low-light months. Try again in spring.
Building Your Plant Propagation Skills Over Time
Once you have successfully propagated one or two plants, you will start to notice patterns. Some species root almost before your eyes. Others take weeks and require patience.
The more you work with your plants, the better you become at reading the early signs — a slight thickening at the node, a new root hair emerging, a leaf that holds its shape a little longer than expected.
Start with Pothos. It is nearly impossible to fail. Move on to Philodendron and Monstera once you are comfortable with the basics. Add a snake plant division when you are ready for something slower but equally satisfying.
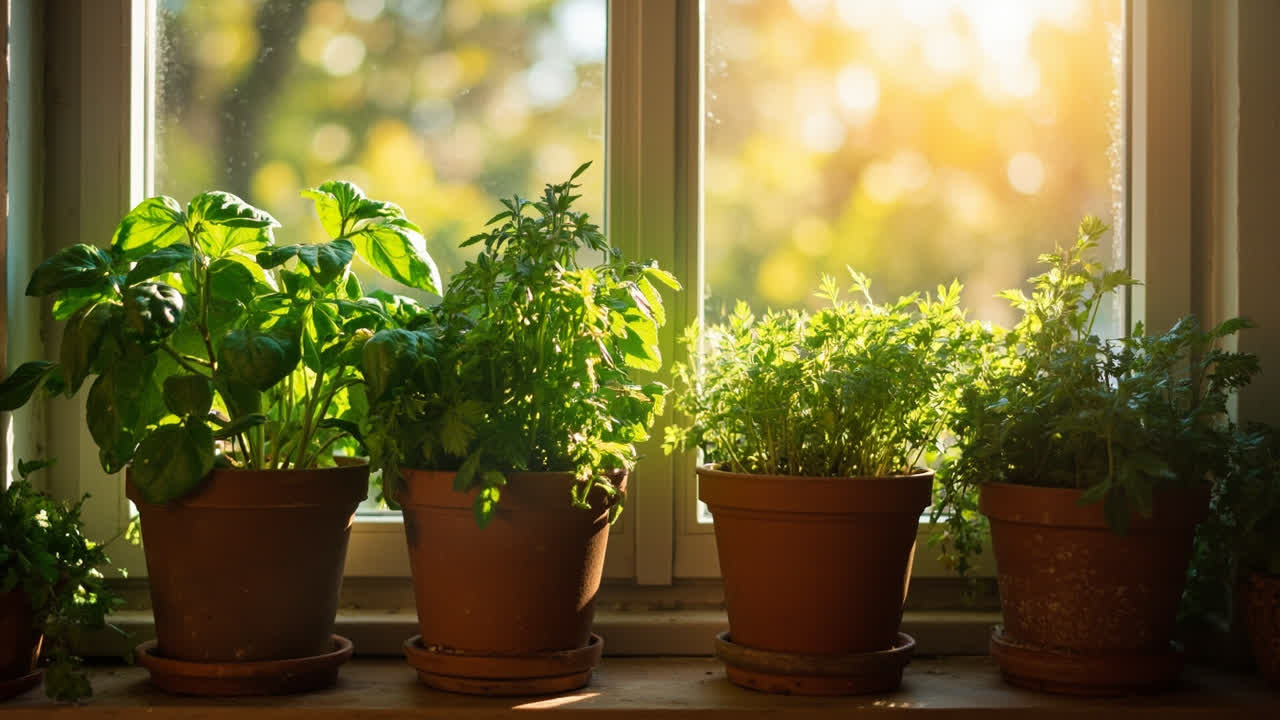
Set up a small herb garden propagation corner with mint or basil cuttings using the same water method — the principles are identical across species.
Plant propagation is not a skill you perfect in a weekend. It is a gradual craft that improves as you pay attention to what your plants are telling you.
Each successful cutting is a small win, and before long your collection will have grown in ways you never expected when you started.
From Bank Statement to QuickBooks-Ready File
That manual cleanup you just read about? This tool skips it. Turn your PDF into QBO for QuickBooks without storing your data anywhere.
Start Converting