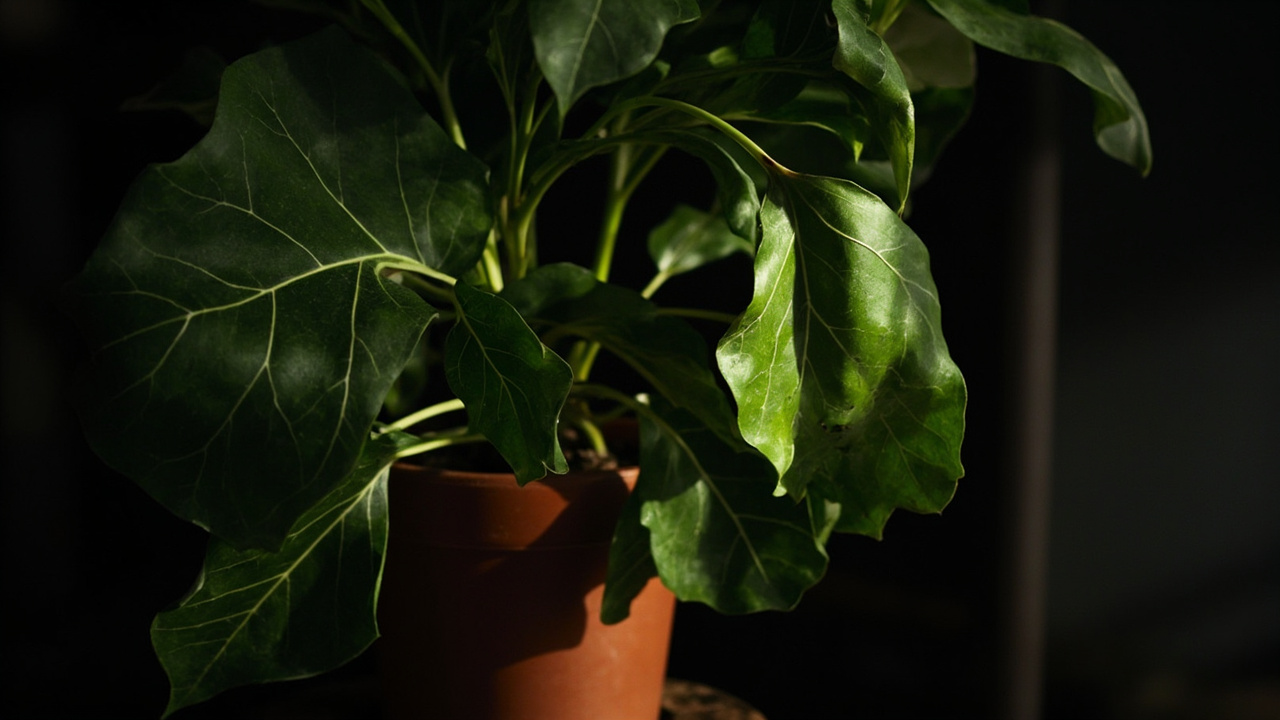
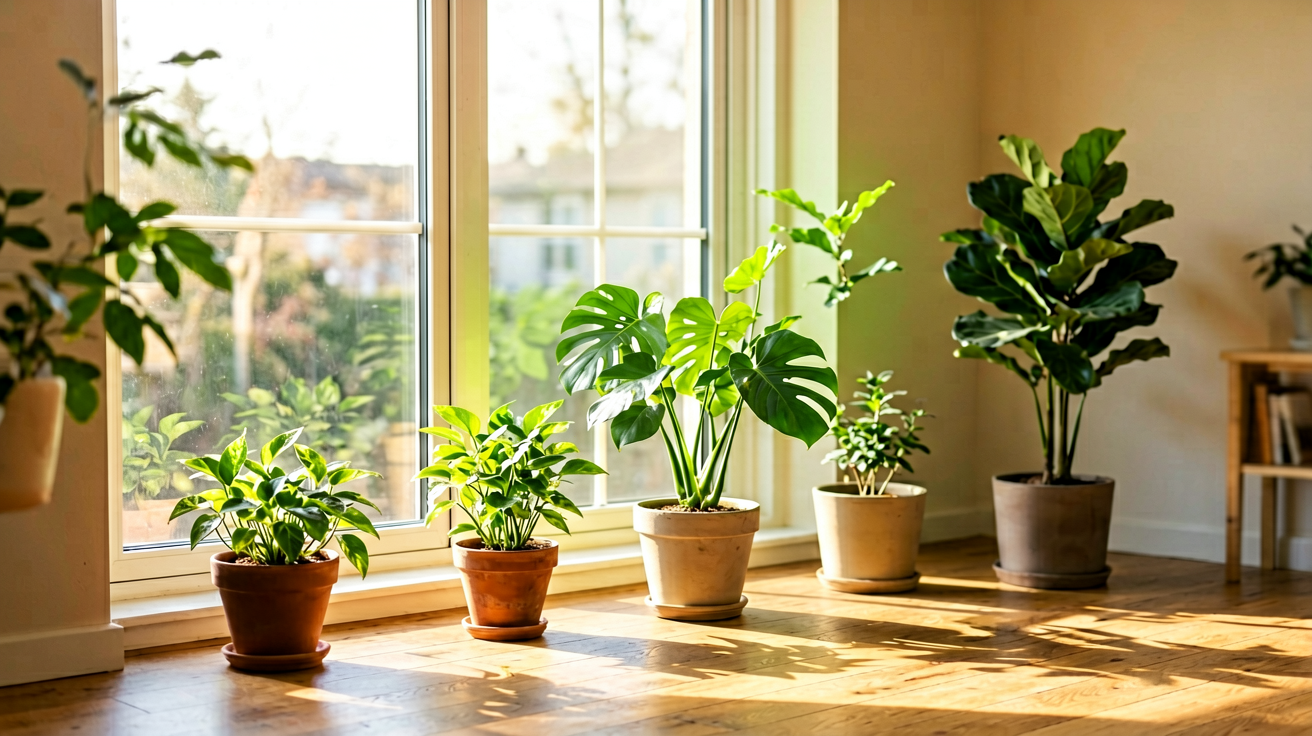
Every indoor plant eventually outgrows its pot. When roots circle the drainage holes or growth slows for no clear reason, the fix is usually repotting — not fertiliser, not more water, just more room. This step-by-step guide covers exactly when to repot, how to do it without damaging the plant, and what soil mix makes the difference.
Step 1 — Know When to Repot
Not every slow-growing plant needs a bigger pot. Check for at least two of these signs before acting:
- Roots growing out of the drainage holes or coiling above the soil surface
- Water runs straight through the pot — soil may have broken down and shed its roots
- Growth has noticeably slowed during the active growing season
- The plant tips over easily despite being in a stable pot
- It has been more than two years since the last repot
Spring and early summer are the ideal time — the plant is entering its active growth phase and will recover faster. Avoid repotting in late autumn or winter unless the plant is in distress.
Step 2 — Choose the Right Pot and Soil
Size matters more than most people realise. Go up only one pot size — roughly 2 to 3 cm larger in diameter. A pot that is too large holds excess moisture against the roots, which is one of the fastest ways to trigger root rot.
Every pot must have working drainage holes. Decorative pots without drain holes are fine as outer containers — just keep the inner nursery pot with holes intact.
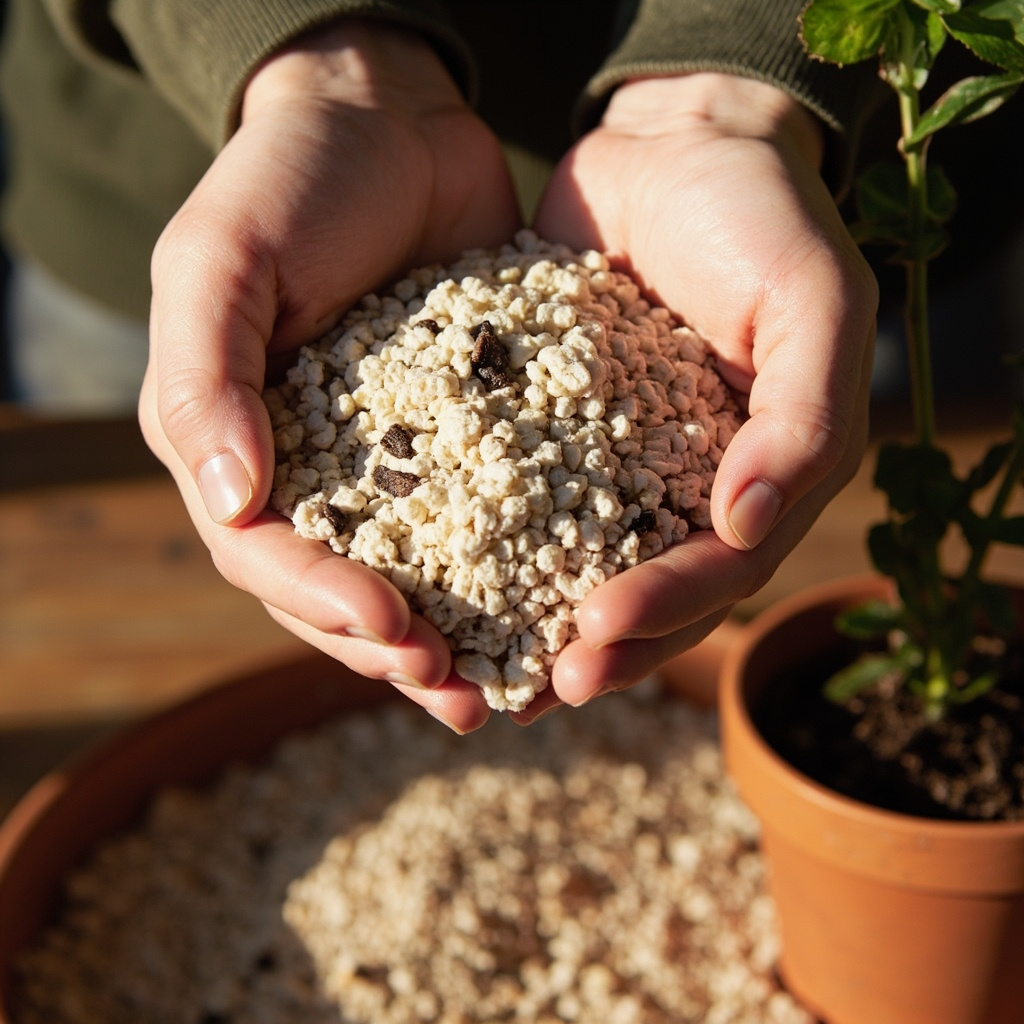
For soil, use a well-draining potting mix rather than garden soil. Most houseplant mixes contain peat or coco coir as a base, which gives good water retention without becoming waterlogged. Adding roughly 20% worm castings to the mix gives the root zone a gentle, varied nutrient boost that sustains the plant through the adjustment period.
Step 3 — Prepare the Plant
Water the plant thoroughly one to two days before repotting. A well-hydrated root ball slides out more easily and the roots are more pliable, reducing the risk of tearing. Let the soil surface dry slightly before attempting removal.
Turn the pot sideways, hold the base of the stem, and gently tip the pot to guide the plant out. If it sticks, run a clean knife or chopstick along the inside edge of the pot to free the root ball. Never pull by the stem — this can snap the plant at the crown.
Step 4 — Inspect and Prune the Root Ball
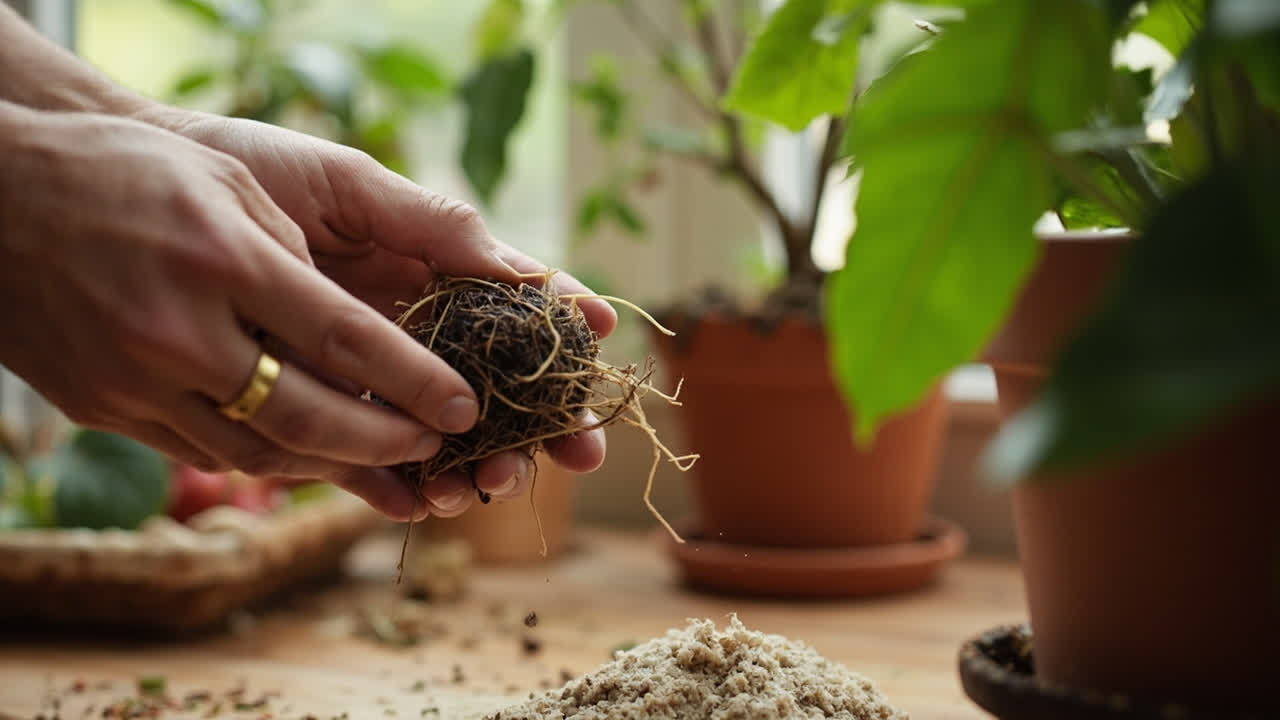
This is the step most people skip. Pull the root ball gently apart and examine the roots:
- Healthy roots are firm and white or pale yellow
- Mushy, dark, or smelly roots indicate root rot — trim these back completely
- If the roots have circled the pot many times (a condition called root binding), score three or four vertical cuts in the root ball with a clean knife and spread the roots outward when planting. This redirects growth outward instead of continuing to spiral
Shake off as much of the old soil as possible without forcibly ripping roots. Old soil can harbour pests or fungal pathogens that are best left behind.
Step 5 — Position in the New Pot
Place a layer of fresh soil mix in the bottom of the new pot so that the top of the root ball sits about 2 cm below the pot rim. This gives room to water without overflow.
Set the plant in the centre and check the depth from above — the crown of the plant should sit at roughly the same level it was in the old pot. Planting too deep buries the stem and invites rot. Backfill around the sides, pressing gently to close air pockets, but do not compact the soil aggressively.
Step 6 — Water and Settle In
Water thoroughly immediately after repotting — until water flows freely from the drainage holes. This settles the fresh soil around the roots and eliminates air channels that can dry out root tips.
Place the repotted plant in a shaded spot for three to five days. Direct bright light immediately after repotting adds stress when the root system is still adjusting. After the settling period, move it back to its normal position.
Hold off on fertiliser for at least four to six weeks. The fresh soil mix provides nutrients for the first month, and damaged roots are vulnerable to fertiliser burn. Resume feeding once new growth appears at the tips of stems — a clear signal that the root system is functioning again.
Step 7 — Ongoing Care After Repotting
Most houseplants need repotting every 12 to 24 months depending on their growth rate. Fast-growing species like mass cane plant and peace lily will show signs of root binding within a year. Slower-growing plants like spider plant can often go two years before needing a move.
Monitor the soil moisture carefully for the first two weeks after repotting. The fresh soil mix may dry faster or slower than the old one depending on its composition — check with your finger before every watering rather than following a fixed schedule.
Key Takeaways
- Repot when you see two or more signs: circling roots, slow growth, water running straight through, or two or more years since the last repot
- Increase pot size by only one step — 2 to 3 cm larger in diameter is sufficient
- Always use pots with drainage holes and a well-draining potting mix
- Prune circling roots and score root-bound balls before replanting
- Water thoroughly after repotting, then keep in shade for three to five days
- Skip fertiliser for four to six weeks — fresh soil sustains the plant initially
- Expect a short adjustment period; new growth at the tips confirms successful recovery
Repotting is the single most effective intervention for an indoor plant that looks tired but is not obviously diseased. Done correctly at the right time, it can restore vigorous growth within weeks.
Turn PDF Bank Statements Into Workable Spreadsheets
Your bank statement is a mess of numbers, but your books shouldn't be. Use our converter to get Excel, CSV, or QBO files — ready for QuickBooks.
Try It Free Now