
Most houseplant death starts with the same mistake: too much water. Not underwatering — the opposite.
New plant parents worry their plants are thirsty, so they pour water too often, too soon. The roots sit in saturated soil, oxygen disappears, and the rot sets in before the leaves even look different.
Learning how to water houseplants correctly is the foundation of everything else in plant care.
This guide to watering houseplants covers the right technique, how to read your plant’s signals, and how to adjust your approach across seasons and species.
Check Before You Pour: The Finger Test
Before you reach for the watering can, stick your finger into the soil. Push it about two inches deep — roughly to the second knuckle on most hands. If it comes out dry, the plant is ready for water. If it still feels damp, leave it alone. This is the single most reliable method for knowing when to water, and it costs nothing.
Why two inches? That’s where most houseplant roots are active. The surface can dry out quickly, especially in bright light or low humidity, but the root zone below stays moist longer. Watering based on surface appearance is the fastest path to overwatering. A moisture meter works too, but your finger is free and gives you a direct read on what the plant actually experiences.
Some signs that the soil is still moist:
- The soil feels cool to the touch at two inches
- Dark color — wet soil is darker than dry soil
- Soil sticks together when you pinch it
- The pot feels heavier than it did right after watering
Water Thoroughly: The Soak-and-Drain Method
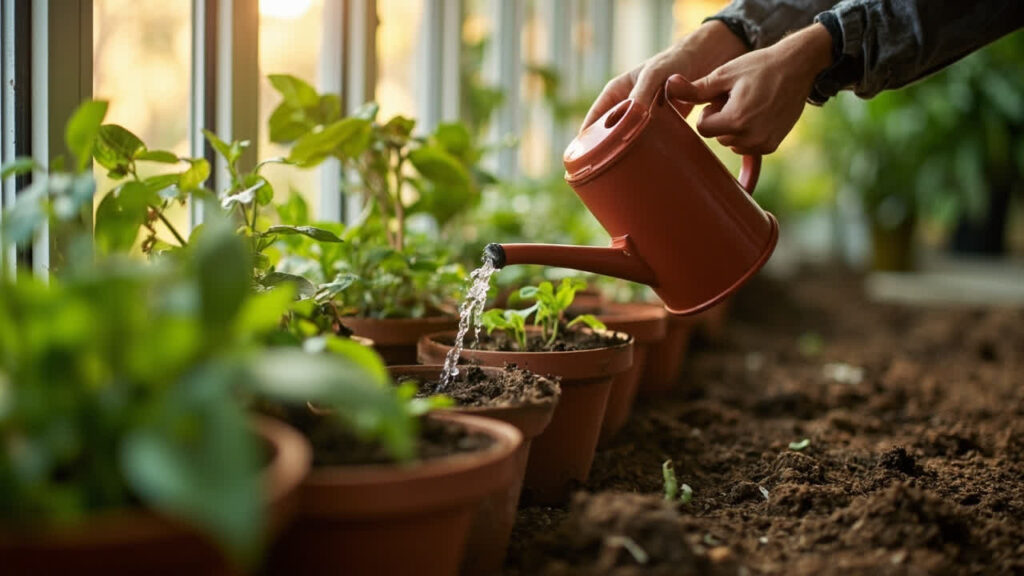
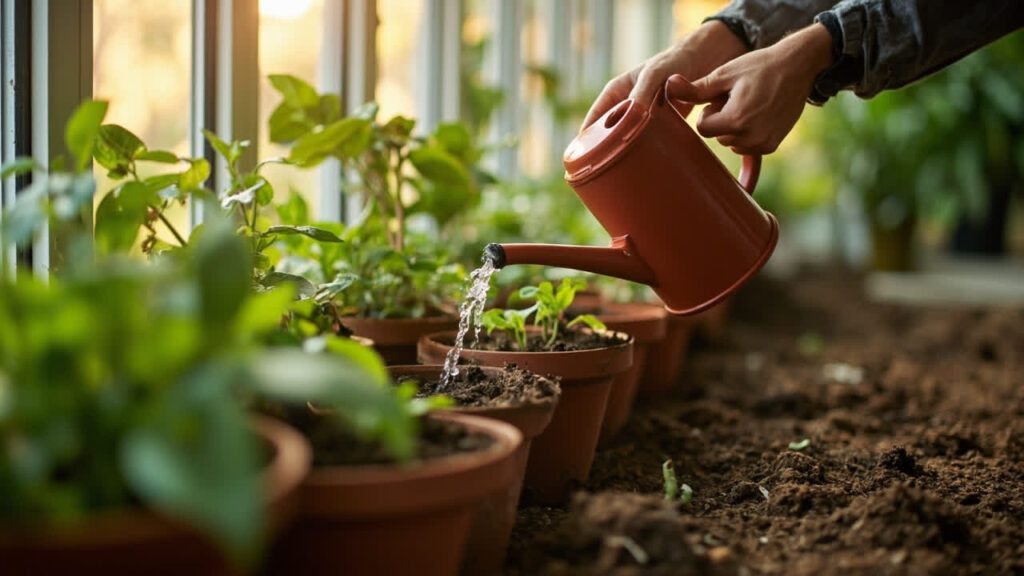
When you do water, water properly. Pour slowly around the base of the plant until you see water flowing freely from the drainage holes at the bottom. This is the soak method — you’re not just wetting the surface, you’re saturating the entire root ball. A light drizzle from the top that only dampens the top inch does almost nothing for the roots below.
After watering, let the pot drain fully. If it sits in a saucer, empty that saucer. This is non-negotiable. Plants sitting in pooled water develop root rot faster than almost any other cause. The roots need oxygen as much as they need water, and standing water displaces the air in the soil. If you have a decorative cachepot without drainage, either drill a hole or water the plant in a nursery pot first, let it drain completely, then set it inside the decorative outer pot.
The key principle: roots absorb water from the soil around them. If you water a little bit everywhere in the pot, you encourage roots to stay shallow. If you water thoroughly and let the soil dry between waterings, roots grow deeper and stronger, searching for moisture. Deep watering produces resilient plants.
Reading Your Plant’s Signals
Plants communicate their water status — you just have to know what to look for. Overwatering and underwatering look different, and understanding the physiology behind the symptoms helps you act correctly the first time.
Signs of overwatering:
Yellow leaves are the most visible symptom. When roots are waterlogged, they can’t absorb nutrients properly, and the lower leaves yellow first as the plant redistributes resources. If you’re seeing yellow across many leaves, not just the oldest one or two, overwatering is likely the cause.
Mushy stems at the base are a serious warning sign. Firm stems should feel firm; if they squish or feel soft, rot has set in. This is especially common in plants with thick stems like pothos, tradescantia, or succulents. By the time you see this, the damage is already done below the soil line.
Fungus gnats are an annoying indicator of overwatering. These small flies lay eggs in consistently moist soil. If they’re hovering around your plants, the soil is staying wet too long between waterings. Letting the top two inches dry out consistently breaks their breeding cycle without any sprays.
A musty smell coming from the pot is another red flag. Healthy soil smells earthy; stagnant, rotting soil has a sour smell. If you catch this early, you can often save the plant by letting it dry out more between waterings or repotting into fresh, fast-draining mix.
Signs of underwatering:
Drooping leaves are the classic signal, but here’s what many people miss: a plant that is simply thirsty will often perk up within a few hours of watering. If a plant droops and stays droopy for days, the problem may be root rot rather than drought — the roots are damaged and can’t absorb water even though the soil is wet.
Crispy leaf edges are a symptom of prolonged underwatering or very low humidity. The leaf tips and margins are the first areas to dry out when the plant is losing water faster than it can absorb it. In heated indoor spaces in winter, this can happen even if you’re watering regularly, because the air is so dry that moisture evaporates from the leaves faster than the roots can replace it.
Dry soil that pulls away from the sides of the pot is a mechanical problem. When soil contracts as it dries, it shrinks away from the pot walls, creating gaps. Watering then just runs down the sides and out the drainage holes without soaking the root ball. If you see this, try bottom watering (more on that below) or repot into fresh mix that retains moisture better.
How Seasons Change Your Watering Schedule
There is no fixed schedule for watering houseplants. The same plant in the same pot might need water every five days in summer and every three weeks in winter. What changes is the evaporation rate and the plant’s metabolic activity.
In spring and summer, higher light levels, longer days, and warmer temperatures all increase how fast soil dries out. Most houseplants are actively growing, pulling water through their leaves as well as their roots. During this period, you’ll water more frequently — sometimes weekly or even more often for thirsty plants in bright windows.
In fall and winter, light diminishes, days shorten, and temperatures drop. Growth slows or stops for many species. The plant’s water needs drop significantly. This is where overwatering kills the most plants — people keep to a summer watering rhythm and drown dormant roots in cold, wet soil.
The indoor plant care calendar on Aqualogi tracks the seasonal shifts you need to watch for. Adjust your approach before your plant shows stress, not after. When daylight drops noticeably, ease back on watering before you see the first sign of yellow leaves.
How Humidity Changes Everything
Indoor air humidity is one of the most overlooked factors in watering. Homes in winter, especially with heating, can have humidity levels below 30% — comparable to a desert. In summer, air conditioning also dries the air significantly. Dry air pulls moisture from leaves through transpiration at a much higher rate, which means plants in dry conditions need more water even if the soil hasn’t fully dried out.
Signs that low humidity is affecting your plant include crispy leaf edges, browning tips, and leaves that look slightly curled or papery. These symptoms often get blamed on underwatering, but the real fix is increasing humidity around the plant — not necessarily watering more, which can make root rot worse.
Simple ways to raise humidity without a humidifier: group plants together so they create a slightly more humid microclimate, place a shallow tray of water and pebbles beneath pots (the water evaporates slowly around the leaves), and move plants away from heating vents and cold windows in winter. Our full guide to increasing humidity for indoor plants covers these methods in more detail.
What Type of Water You Use Matters
Most tap water is fine for most houseplants, but there are variables worth knowing. Chlorine in municipal water systems dissipates if you let tap water sit in an open container overnight. This is a simple practice that benefits sensitive plants like calatheas, ferns, and peace lilies, which can show leaf browning from chlorine and fluoride.
Temperature matters more than most people realize. Cold water shocks tropical plant roots. Aim for room-temperature water — roughly 68 to 72 degrees Fahrenheit. It doesn’t need to be exact, but pouring ice-cold water onto a warm tropical plant’s root ball can cause root stress that shows up days later as yellowing or wilt.
Rainwater or filtered water benefits plants that are sensitive to dissolved minerals — the types that develop brown edges or leaf tip burn on a regular basis despite otherwise good care. If you’re seeing persistent tip burn on a plant in good light with correct watering, the water quality may be the issue. Switch to filtered or rainwater for a few weeks and see if the new growth comes in clean.
Bottom Watering: When and Why
Bottom watering is a technique where you set a pot in a tray of water and let the soil absorb moisture upward through the drainage holes. It’s not a daily method for most plants, but it has specific situations where it outperforms top watering.
Succulents, snake plants, and other plants that prefer to stay dry benefit from bottom watering because it keeps the soil surface dry and reduces the chance of moisture sitting in the top layers where it evaporates slowly. For these plants, bottom watering once a month in winter is often enough.
Bottom watering also works well for plants in tight pots where the soil has shrunk away from the sides — the moisture is drawn up by capillary action and rehydrates the root ball evenly. It helps distribute water more uniformly than top watering, where water can channel down the sides of a shrunken root ball without saturating the center.
To bottom water effectively: fill a tray with room-temperature water, set the pot in it, and let it sit for 20 to 30 minutes. The soil will darken as moisture moves up. Remove the pot, let it drain for 10 minutes, and return it to its spot. Don’t leave plants sitting in water for hours — the goal is saturation, not submersion.
Building Your Own Watering Intuition
The real goal of understanding how to water houseplants isn’t following rules — it’s developing the ability to read what your plant needs. Every home has different light, humidity, temperature, and soil mix. What works in a bright kitchen won’t work in a dim corner across the hall. Plants don’t read care labels; they respond to their environment.
Check your plants every few days. Lift the pot to feel its weight after watering, then again after a few days. That tactile memory becomes your guide. When in doubt, wait a day — most houseplants recover from brief drought far more easily than they recover from root rot. Over the weeks and months you spend with your plants, this observational habit is what separates thriving plants from struggling ones.
If you’re dealing with a plant that has been overwatered, our guide to preventing root rot covers how to assess damage, trim dead roots, and repot for recovery. For propagation questions, water propagation walks through starting new plants from cuttings in water — a satisfying method that also builds intuition about how plants use water.
And if you’re looking for low-light tolerant species that give you more margin for error in watering, explore the selection of low-light plants on Aqualogi. Starting with forgiving species builds your confidence and intuition before you move into more demanding plants.
The Bottom Line on Watering Houseplants
Watering houseplants correctly comes down to three habits: check the soil before you water, water thoroughly and let it drain, and adjust frequency with the seasons. Most of the problems people encounter with houseplants trace back to watering — either too much, too often, or at the wrong time of year. Once you develop a feel for what your plant’s soil looks and feels like when it’s ready for water, everything else in plant care gets easier. The roots are where it starts.
From PDF to Excel in one click
Forget retyping line by line. Upload any bank statement, get a spreadsheet you can actually use. Your files are never stored, and you can test the converter with 3 free conversions.
Try it free