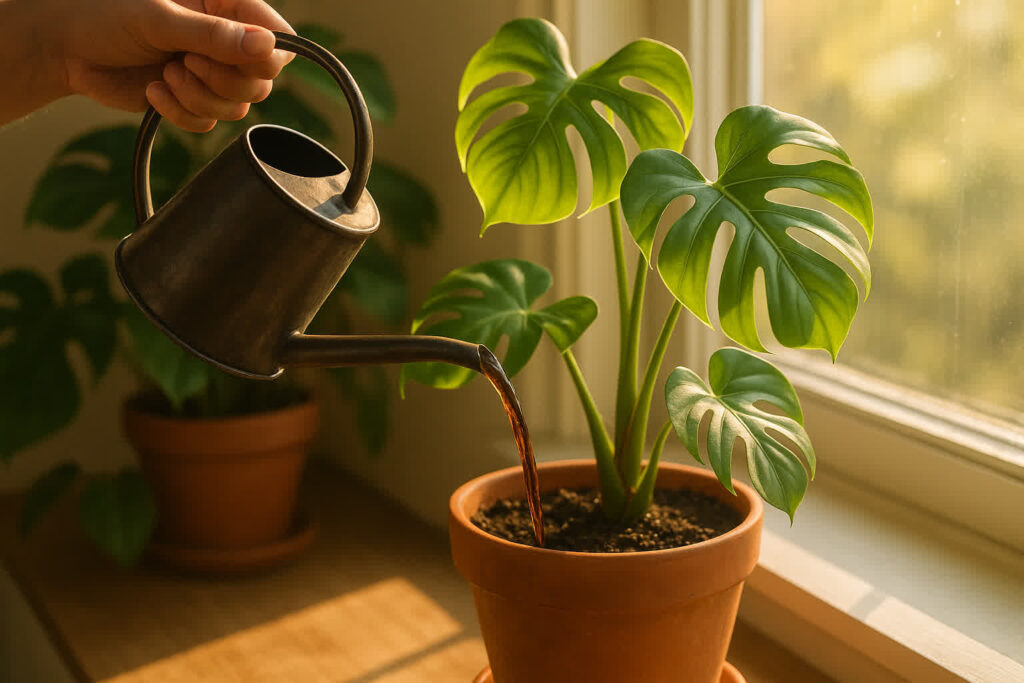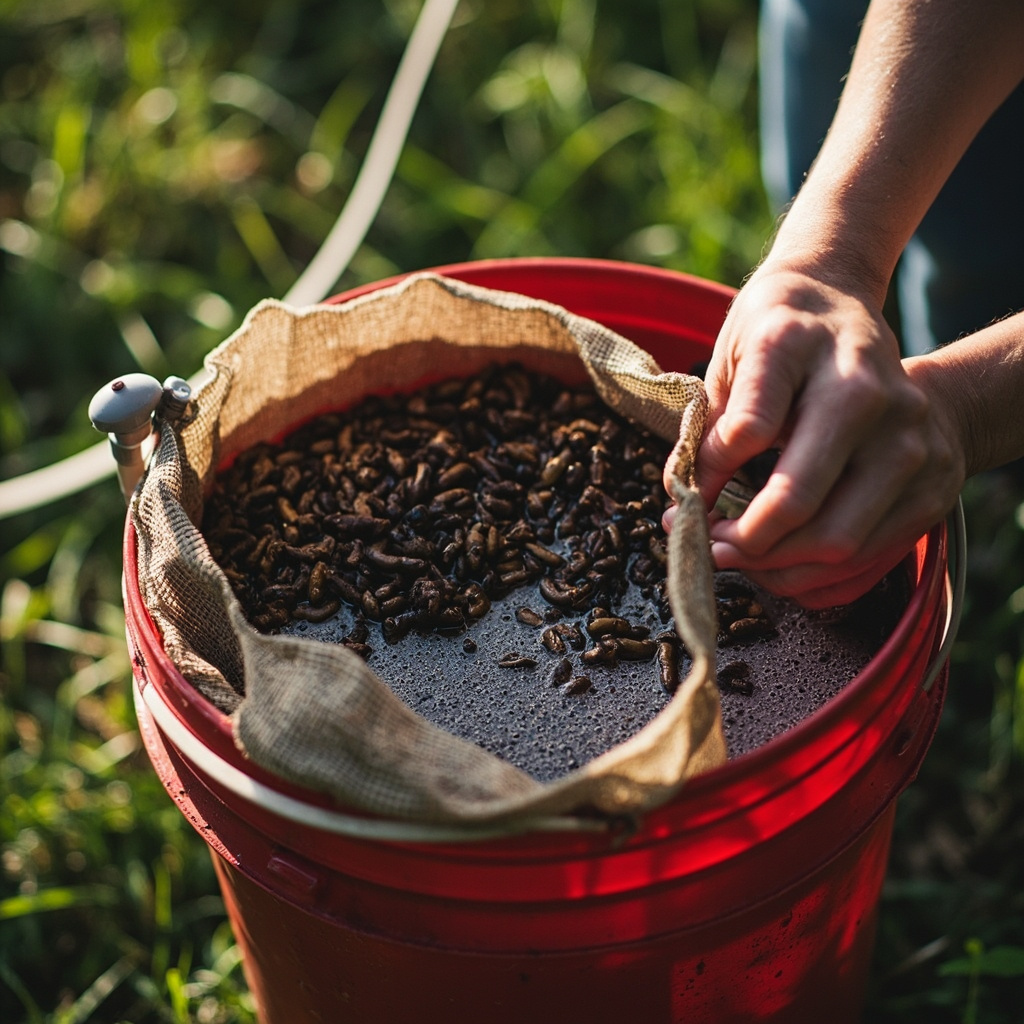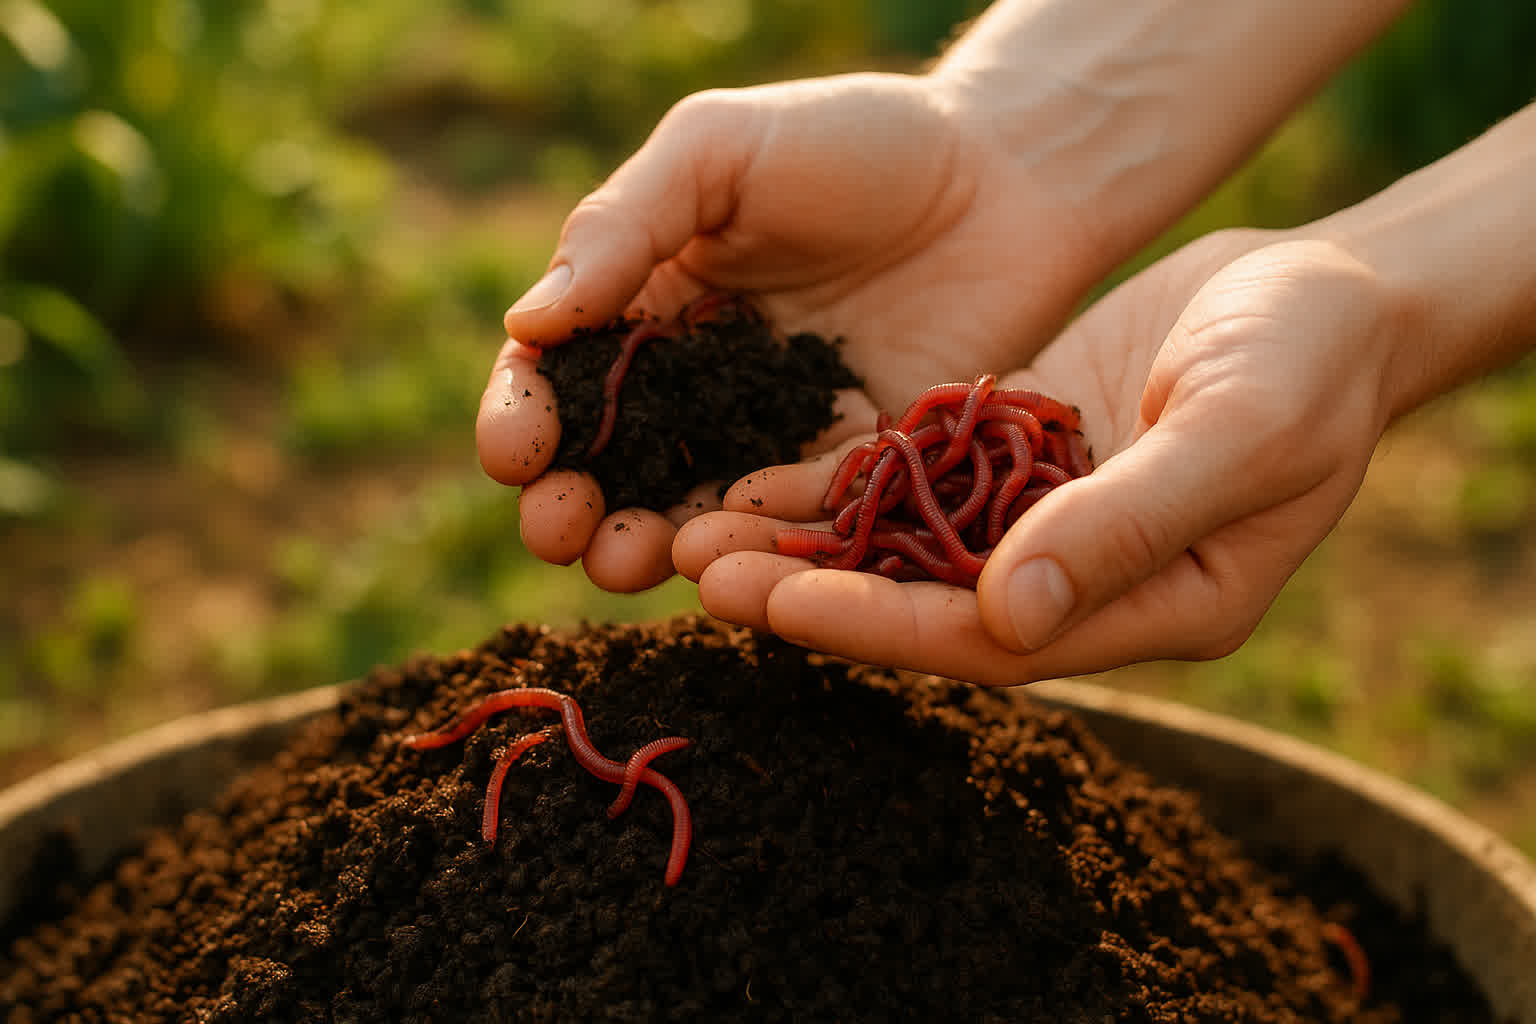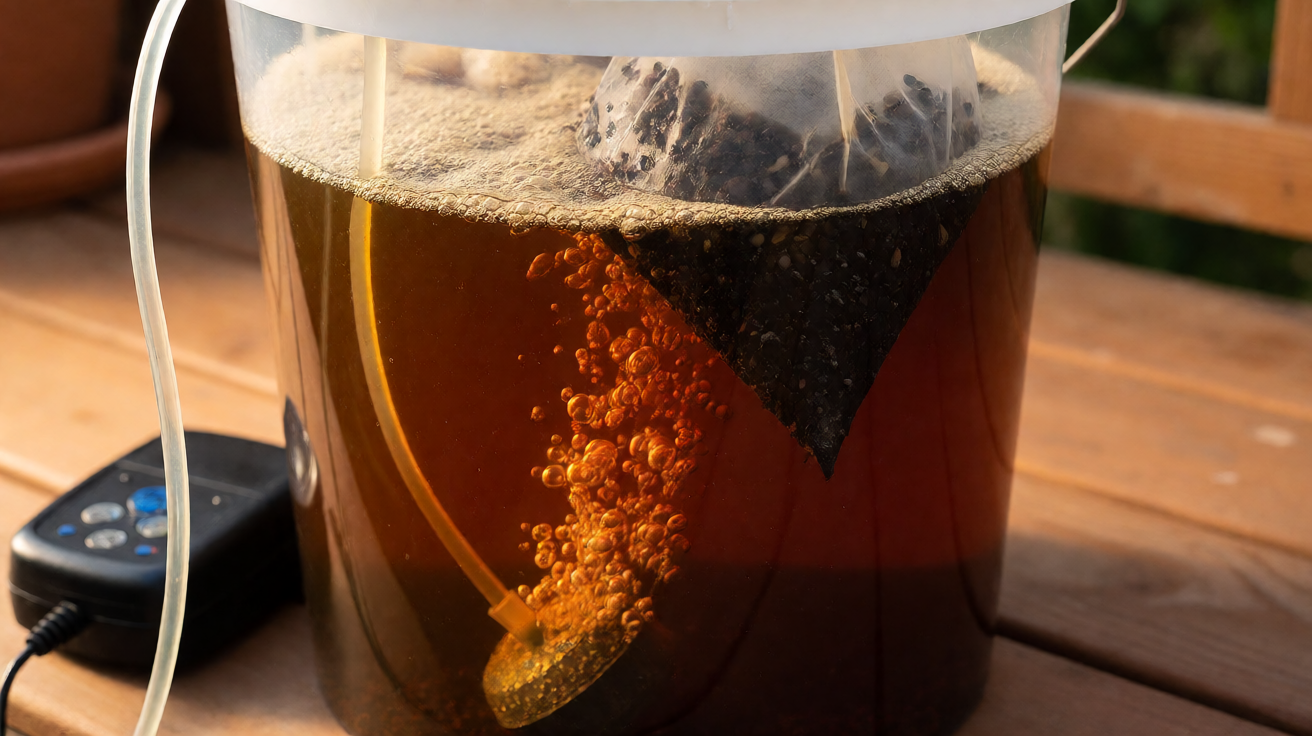

Worm castings tea is a brewed, oxygenated liquid extract of finished worm castings, applied as a soil drench or foliar spray for a dilute, microbe-rich dose of nutrition. The brown liquid that drains from the bottom of a worm bin is not worm tea; that drip is leachate, and most worm farmers do not recommend pouring it on food crops. Real worm tea is made on purpose: finished castings go into a mesh bag inside a bucket of dechlorinated water, an aquarium pump pushes air through the water for 18 to 24 hours, and a tablespoon of unsulfured molasses feeds the microbes. The result smells earthy and sweet.
What Worm Castings Tea Actually Is (And What It Isn’t)
Worm castings tea is the liquid you get when finished worm castings (vermicompost) steep in oxygenated water long enough for water-soluble nutrients and live aerobic microbes to move from the solids into the water. Brewed extract, not any brown liquid that drains from a worm bin.
The brew pulls a small amount of water-soluble NPK out of the castings and multiplies the resident microbes by 10 to 100 times inside the bucket. The second job is what the castings cannot do at speed: a dense microbial population lands on the root zone or leaf surface, suppressing pathogens and unlocking nutrients already in the soil.
The first disagreement most readers run into is leachate. Leachate is the dark water that drains from the leachate drain of a worm bin. It is anaerobic and can contain alcohols, phenols, and bacteria you do not want on a lettuce leaf. A bin producing a sour worm bin odor is producing leachate, not worm tea; send it back to the compost pile. Worm tea is brewed on purpose, with oxygen. Leachate drips by accident, without oxygen. Same starting bin, two different products.
The Real Benefits of Actively Brewed Worm Tea
The brew delivers three things plants can use: a dilute dose of soluble nutrients, a dense population of aerobic microbes, and a thin film of organic acids that helps those microbes colonize root and leaf surfaces. The value is in the biology, not the chemistry.
Research on aerated compost teas (worm tea brewed the same way) shows the brew increases rhizosphere microbial diversity and suppresses soil and leaf-surface pathogens like powdery mildew and early blight. The mechanism is competition for the niche the pathogens need.
Worm tea is an organic fertilizer in the broad sense and a biological supplement. Use it to keep a healthy plant moving, not to rescue a struggling one. Brewed tea speeds an alive-soil system up by 10 to 30 percent in the first 30 days; tea alone will not bring dead soil back. Pair it with dry worm castings worked into the top six inches of soil, or start a worm bin at home.
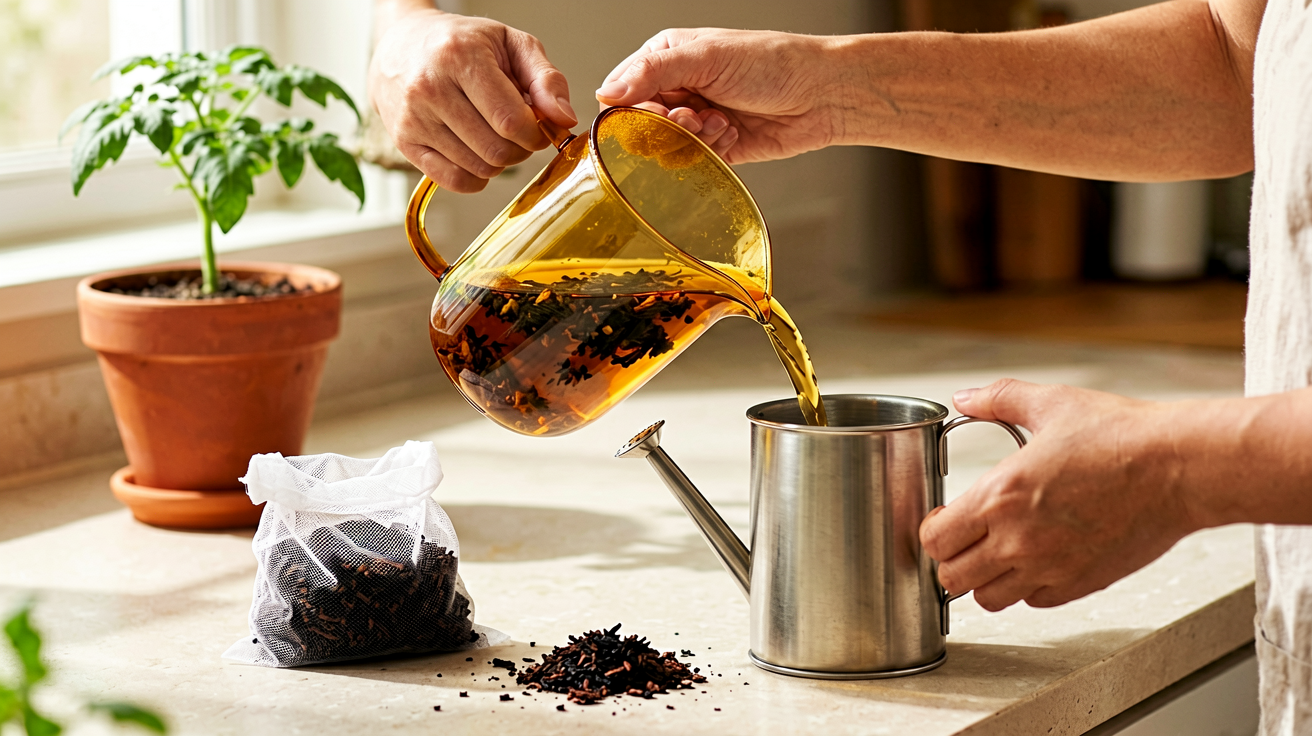
How to Brew Worm Castings Tea (The Standard Recipe)
The standard recipe is one gallon per batch with the same ratio every time. Per gallon of dechlorinated water, use a quarter pound (about half a cup) of finished worm castings, one half tablespoon of unsulfured molasses, and an aquarium air pump rated for a 5-gallon bucket.
Equipment is a clean food-grade 5-gallon bucket, a small aquarium air pump, an air stone, a mesh bag or an old clean cotton sock to hold the castings, and a half-tablespoon measure for the molasses. A grower who has none of these spends about twenty dollars for the pump and stone. Larger brews scale the same ratio: 4 gallons of water gets 1 pound of castings and 2 tablespoons of molasses.
Castings source matters as much as the recipe. The cleanest come from a bin stocked with red wiggler worms (Eisenia fetida, the compost worm species), fed food scraps and brown material like shredded paper and cardboard, plus coffee grounds, eggshell, and fruit scraps with vegetable scraps. The bin runs at the right ratio of brown and green material when castings come out earthy with no sour smell and no leachate pool. Coco coir as bedding holds moisture evenly, making harvest cleaner than newspaper alone.
Drop the castings in the mesh bag into the bucket, set the pump and air stone in, and turn the pump on before the molasses is added. Once bubbles are vigorous across the bottom of the bucket, add the molasses. Sugar without oxygen would let anaerobes win the first four hours.
Brew for 24 hours, no more; populations peak at 18 to 24 hours and then collapse as molasses runs out. Brew at room temperature (65 to 75°F). Cooler slows the brew, warmer can cook it.
Use the tea within 4 to 6 hours of turning off the pump, when populations start shifting toward anaerobes. Brew what you can apply that day; dump the rest on the compost pile.
Treat chlorine and chloramine seriously. A standard aquarium water conditioner (per the bottle) neutralizes both in five minutes. Letting tap water sit 24 hours off-gasses chlorine but not chloramine. If the brew smells like nothing after 24 hours, chlorine killed the microbes.
Aerated vs Non-Aerated Tea (The Microbial Difference)
Aerated and non-aerated teas look similar at first; the difference is invisible for six hours and unmistakable after twelve. Aerated tea smells earthy and sweet with a thin tan foam on top. Non-aerated tea smells sour, vinegary, or like rotten eggs. When the brew smells like a forest floor, use it. When it smells like the back of a refrigerator, do not.
Aerobic bacteria and fungi multiply ten to a hundred times across 24 hours when dissolved oxygen stays above 6 mg per liter; an aquarium pump and an air stone deliver that. Skip the pump, and the bucket becomes an oxygen-starved soup. Anaerobic bacteria take over within four to six hours, producing alcohols and short-chain fatty acids. The result is a sludge that smells wrong and damages roots and leaves.
An aerated setup (twenty to forty dollars for a pump and stone) is the price of reliable worm tea. Without the pump, the recipe works as a quick nutrient drench only. Brew it the same morning, smell-test it, skip the brew if the smell is off.
One trade-off worth knowing: an aerated brew that goes past 36 hours crashes. The microbes exhaust the molasses, populations dwindle, and the bucket tips toward anaerobic. A non-aerated brew does not crash because it never had a peak. Set a timer on the pump.
How to Apply Worm Tea (Drench, Foliar, Frequency)
Two application paths exist. Soil drench pours the brewed tea directly on the root zone. Foliar spray strains the tea and mists it onto leaves. Use both, but on different days, not on the same day. A back-to-back drench and foliar feed in a single morning is overkill and stresses leaves.
Soil drench at the base of the plant is the right choice for general health, root development, and the rhizosphere work the microbes do best. Use 1 to 2 cups per square foot of bed, or enough to saturate the root ball of a potted plant. For indoor plants, a half cup poured over a 6-inch pot once a month is plenty. Foliar spray is the right choice for foliar disease suppression (powdery mildew, early blight, downy mildew). Strain the brew through cheesecloth first so the sprayer does not clog.
Foliar spray wants cool leaves. Early morning or late afternoon, never midday. Hot leaves burn through droplet lenses and evaporate the liquid before microbes settle in. For prevention, spray every 7 to 14 days; for an active infection, every 5 to 7 days until symptoms stop spreading.
Worm tea is not where to dial in a balanced NPK number. Worm castings hover near 1-1-1, and a brewed tea dilutes that profile another tenfold into the parts-per-million range. Indoor plants rarely need more than the brew plus a twice-yearly top-dress of dry castings in the potting mix. Seedlings benefit from a 50/50 dilution at transplant, holding full dose until the second true leaf.
A reliable starter routine: brew monthly, drench the soil that week, foliar spray two weeks later, repeat with regular watering in between. Skip the routine while a plant is dormant; the microbes need actively growing roots or leaves to colonize. Resume in early spring.
When NPK numbers actually matter, the right comparison is worm tea against a balanced organic feed like the ones in our indoor-plant fertilizer guide. Worm tea’s NPK is in the parts-per-million range. Use them together, not as substitutes.
What Worm Tea Won’t Do (The Honest Limits)
Worm tea is a supplement, not a rescue. Three honest limits, before anyone reading this buys a pump.
First: worm tea will not fix severe nutrient deficiencies. A plant that is yellow across the whole canopy from nitrogen lockout needs a real nitrogen source fast, at rates the brew cannot deliver. A soluble synthetic or measured liquid concentrate at label rate, then add worm tea to keep soil biology happy. Tea’s ppm-range NPK is fine for maintenance; it is not fine for a plant in crisis.
Second: worm tea does not replace dry worm castings as a soil amendment. Spent castings from the mesh bag after a brew still hold most of the slow-release organic matter, humus, and the stable populations of beneficial microbes the brew pulled from. Spread them onto a garden bed or a potted plant’s top inch.
Third: worm tea does not work without a real brew. Skip the air pump, the molasses, the 24-hour window, or use chlorinated tap water and the bucket contains faintly earthy water that is not the same product. Pour it on the compost pile and start over. The brew is a biological process; it is closer to bread-making than mixing fertilizer.
Worm tea applied to food crops carries one more limit worth stating plainly. Aerated worm tea on edible plants is widely accepted by home growers. Non-aerated leachate or compost tea brewed without air should not be used on leafy greens, root vegetables, or any crop eaten raw. The recipe above (air pump and the 24-hour window) gives a result safe on tomatoes, cucumbers, peppers, lettuce, herbs, and strawberries.
Building a Worm Tea Routine That Works
A routine beats a recipe. Here is one that fits a home garden without taking over the weekend.
Brew one batch per month, four gallons at a time. Use it the same day, half as a soil drench, half strained into a pump sprayer for foliar use two weeks later. Set a phone reminder for the 24-hour mark. Smell-test before pouring: earthy means use it, sour or rotten means dump it.
Pair the brew with dry castings two or three times a year. One cup of dry worm castings in the top inch of a square meter feeds soil slowly while tea feeds fast. For indoor pots, a teaspoon on top of soil once a season plus a monthly drench covers the year.
The castings come from somewhere. Buy finished castings or build a small worm bin that produces them steadily. A pound of red wigglers fed kitchen scraps produces about a quarter pound of castings per week once stable, enough for one to two brews per month. Castings as a brew material differ from regular compost in microbial diversity and NPK balance; either works, but castings produce a more predictable batch.
For a raised bed or backyard outdoor garden, scale the routine up: one brew per month at one to two cups per square foot, plus a quarterly top-dress of dry castings, holds the bed from spring through fall. Tomato and leafy-greens patches respond within three brews; established herbs need only a quarterly drench.
Harvest worm castings by moving the worms aside and scooping the finished material from the bottom tray; it goes into the brew bucket or the top-dress jar.
One last habit: keep a small notebook with brew dates and smell results. Six entries in, you know your water source, your castings source, and your typical pump run. A few pieces are easy to overlook: afternoon sunlight through a south window can heat a small bucket and stall microbes, so brew in a shaded corner; good drainage at harvest separates usable castings from sludge; the bin bottom tray should sit elevated. A pinch of dry castings in a seed starting mix at planting gives seedlings the same microbial start; cuttings during propagation benefit from a 25 percent dilution of brewed tea after roots form.
Turn PDF Bank Statements Into Workable Spreadsheets
Your bank statement is a mess of numbers, but your books shouldn't be. Use our converter to get Excel, CSV, or QBO files — ready for QuickBooks.
Try It Free Now