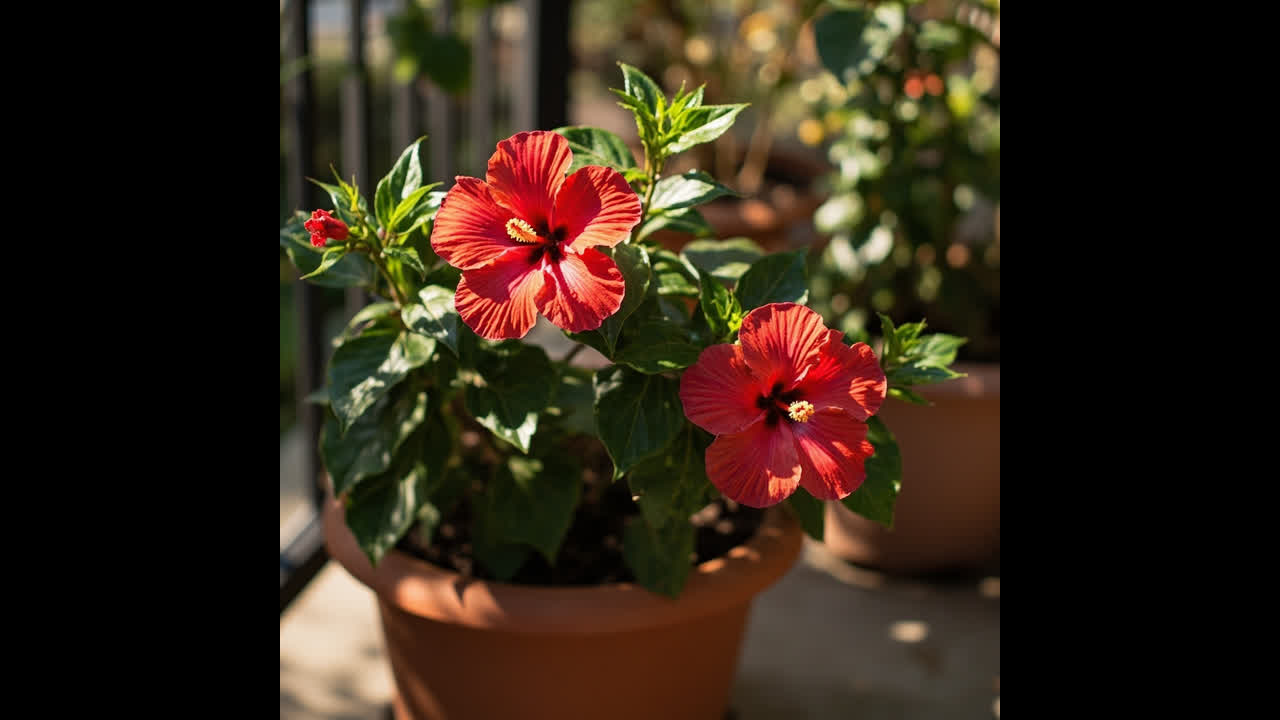
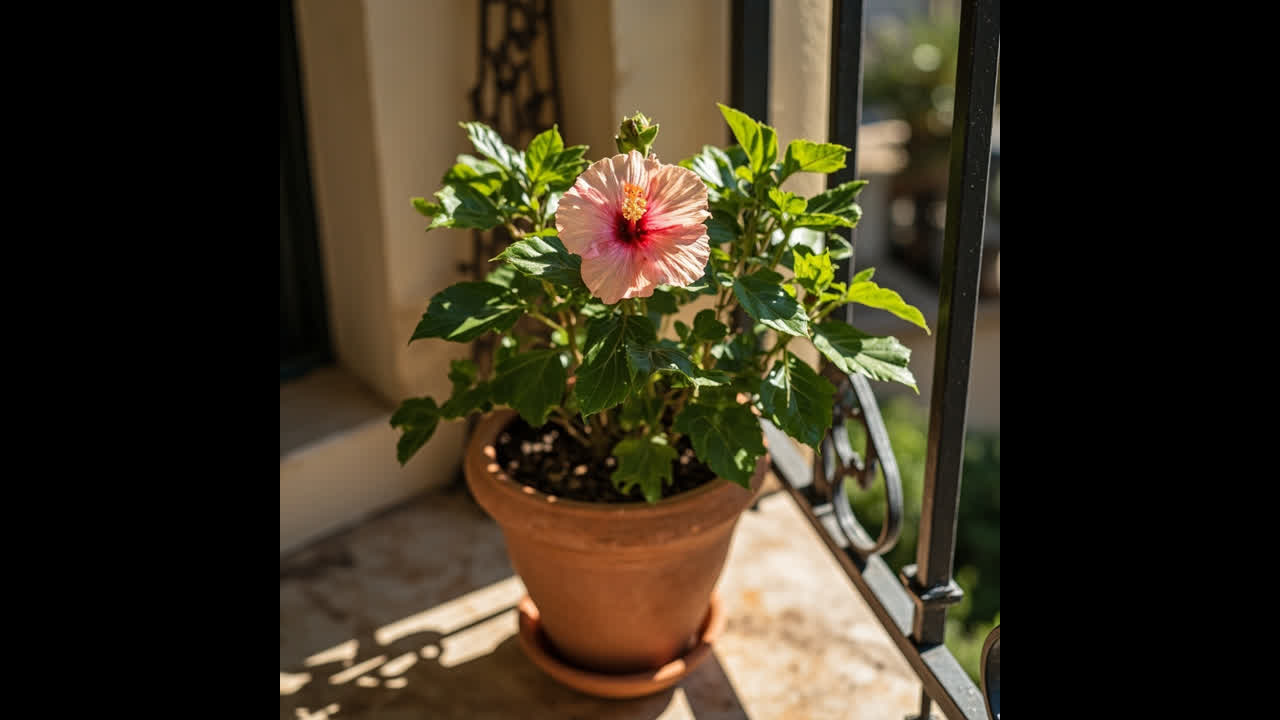
Your hibiscus looks wrong. The leaves are yellowing or dropping, maybe the newer growth looks pale, and you are wondering if this is a watering issue, a nutrient problem, or something worse.
You have been watering more carefully — but it is not improving. Here is what you need to know about root rot in hibiscus, how to identify it, and what to do before it is too late.
Hibiscus root rot is one of the most common killers of hibiscus, and the reason it is so dangerous is that the plant often looks like it is just thirsty. The wilting, the yellowing — it points you toward giving more water, which makes the problem worse.
Understanding this condition is the first step to saving your plant.
What Root Rot Is and How It Works
Root rot is a fungal infection — most commonly caused by Pythium or Phytophthora species — that attacks the root system of the plant. These fungi live in wet soil and reproduce rapidly when conditions are moist and warm. As they spread through the roots, they destroy the tissue responsible for absorbing water and nutrients. The plant starves from the roots up, even if the soil appears moist.
The irony of root rot is that the first symptoms — wilting and yellowing — look exactly like drought stress. If you respond to those symptoms by watering more, you are feeding the fungal infection and accelerating the plant’s decline.
The Four Primary Causes in Hibiscus
1. Overwatering
Overwatering is the most common cause of root rot in hibiscus. The plant needs consistently moist soil, not saturated soil. When the soil stays wet for days at a time — especially in cool weather or in containers without adequate drainage — the roots are submerged in waterlogged conditions that these fungi thrive in.
A useful rule: hibiscus wants moisture, not a swamp. Check the soil before watering — the top 2–3 cm should feel dry before you water again. In winter or cool weather, hibiscus uses significantly less water; reduce frequency accordingly.
2. Poor Drainage
Soil that does not drain quickly creates the same waterlogged conditions as overwatering. Heavy garden soil, soil mixes that have compacted, and pots without drainage holes all prevent oxygen from reaching the roots and create a moist environment where root-rot fungi establish.
The fix is straightforward: use a well-draining potting mix with perlite added (about 20%), and ensure every container has drainage holes at the base. If you use a decorative pot without holes, use it as an outer shell — place the hibiscus in a nursery pot with holes, then set it inside the decorative outer pot. After watering, empty any water that collects in the outer pot.
3. Container Hibiscus in Water Trays
Many people place a drip tray under their container hibiscus to protect floors. If that tray fills with water and the pot sits in it, the roots are effectively submerged. Even brief periods of standing in water are enough to start fungal colonization of the root system.
Raise the pot above the water line: place the pot on feet, stones, or a inverted saucer so the base of the pot does not touch the water in the tray. This allows excess water to drain freely without pooling under the roots.
4. Overwatering in Cool Weather
Even careful gardeners make this mistake in autumn and winter. As outdoor temperatures drop, hibiscus slows its growth and uses less water. If you maintain the same watering frequency as summer, the soil stays wet for far longer. Root rot in hibiscus often appears in late autumn or early winter for exactly this reason.
Reduce watering frequency by roughly half once temperatures drop below 60°F (15°C) and growth slows. Always check the soil moisture before watering — do not follow a set calendar schedule.
Symptoms by Stage: What to Watch For
Early Stage
The first signs are subtle. Older leaves turn yellow — typically the lower leaves first. The plant looks slightly dull, less vigorous than usual. You might think it needs fertilizing or more water. The soil may feel consistently moist even when you have not watered recently.
If caught at this stage, recovery is straightforward. Adjust watering, improve drainage, and treat with a fungicide — the plant has a strong chance of bouncing back.
Moderate Stage
As the infection spreads, more obvious symptoms appear. Leaf drop increases, particularly of the lower and older leaves. New growth emerges pale, yellowish, or with distorted shapes. The soil stays wet for three or more days after watering. You may notice a faint sour or musty smell from the soil surface.
At this stage, recovery is possible but requires more aggressive intervention — and the plant will need several weeks to show signs of improvement.
Severe Stage
If the problem has gone undetected for weeks, the fungus has reached the main stem and major root structure. Stems darken at the base — they may look black, soft, or water-soaked. The soil smells strongly sour. Leaves drop rapidly, and the plant may collapse entirely. In severe cases, the roots are brown, mushy, and disintegrate when touched.
At this stage, saving the plant is unlikely. But if the upper stems are still firm and green, there may still be a chance — proceed to the recovery steps below immediately.
How to Confirm: Is It Root Rot or Something Else?
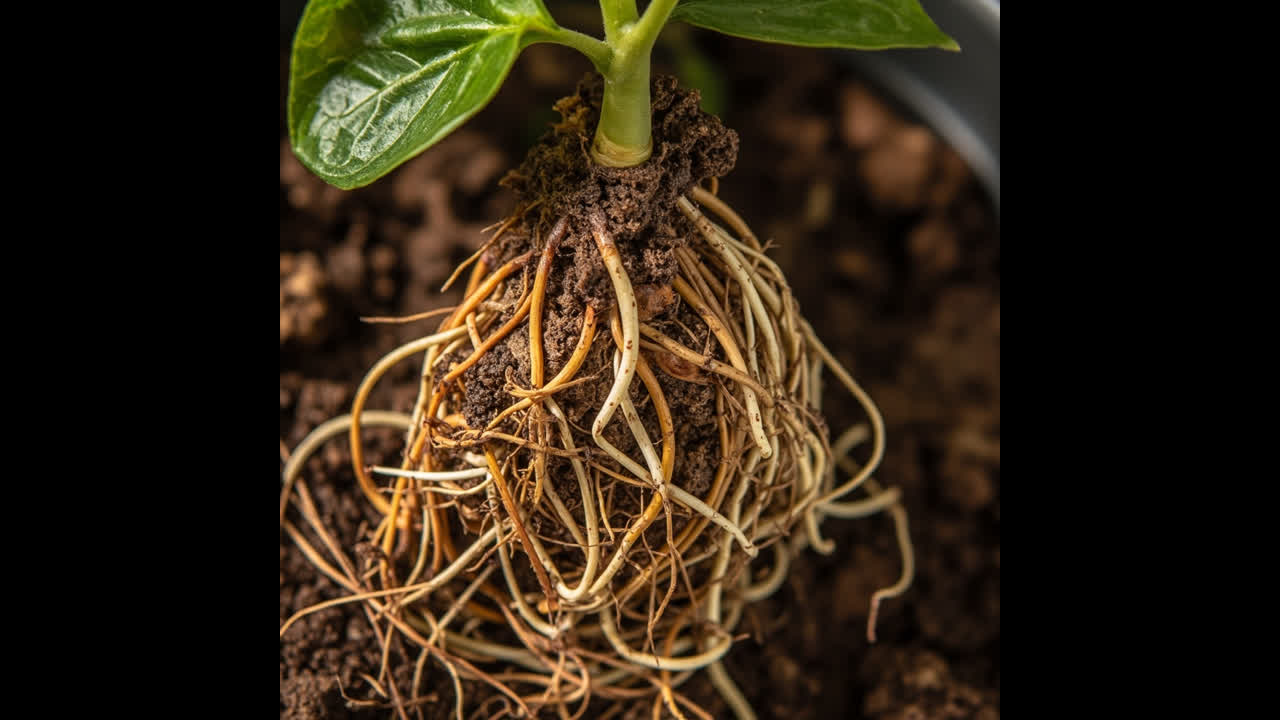
The surest diagnostic is the root examination. Gently remove the plant from its pot (or dig around the base if in-ground). Healthy hibiscus roots are firm and white to light tan in colour — they look clean and fleshy. Root rot roots are brown to black, soft, and mushy — they collapse when you touch them and may smell foul.
The smell test is useful: if the soil smells sour, musty, or like rotting vegetation, root rot is likely. If the soil smells normal (earthy, fresh), the problem is probably something else.
Here is how root rot compares to other common hibiscus problems:
- Overwatering without rot: soil is wet, leaves may yellow and drop, but roots remain firm (brown but not mushy). The fix is just to let the soil dry out.
- Underwatering: soil is bone dry, leaves are crispy at edges, plant wilts. Roots are brittle but not mushy. A thorough soak will revive it.
- Nutrient deficiency: general yellowing across many leaves, often with older leaves affected first; soil may be fine. Responds to fertilizing — but if root rot is present, fertilizing burns damaged roots.
One common misdiagnosis: root rot looks like underwatering. Both cause wilting. But if the soil is moist and the plant is wilting, you are almost certainly dealing with root rot. Watering now makes it dramatically worse.
The pH Connection
Root rot fungi thrive in acidic soil conditions below pH 5.5. If your hibiscus soil has become excessively acidic — through prolonged use of acidifying fertilizers, or through organic matter decomposition over time — the conditions become more favourable for fungal root disease.
Alkaline soil does not prevent root rot, but maintaining a slightly acidic to neutral pH (6.0–7.0) is generally less hospitable to the most common root-rot fungi. After the plant has been treated and is recovering, test the soil pH and correct it if it has drifted below 5.5.
How to Save a Hibiscus with Root Rot
If you catch it early or moderate, here is what to do:
- Remove the plant from its pot. Gently shake off all soil from the roots. Rinse the root ball with clean water to remove soil clinging to damaged tissue.
- Trim all affected roots. Using clean, sharp scissors or a knife, cut away all soft, brown, mushy roots. Cut well above the damaged section — only keep firm, white/cream coloured roots. If you have to remove more than half the root system, the plant will need a recovery period but can survive.
- Spray remaining roots with a fungicide — a copper-based fungicide or potassium phosphonate product labelled safe for hibiscus. This protects the remaining healthy tissue from further infection.
- Repot in fresh, clean soil. Do not reuse the old soil — it is contaminated. Use a fresh, well-draining mix with perlite added. The new pot should be clean and have drainage holes. Do not use a pot significantly larger than the root ball — excess soil holds moisture and invites recurrence.
- Water lightly — just enough to settle the soil around the roots. Then leave it alone. The soil should be slightly moist, not wet.
- Place in bright indirect light — not direct sun while the plant is recovering. Direct sun while the root system is compromised adds stress.
- Do not fertilize until new growth is visibly emerging — typically 4–6 weeks after repotting. A weak liquid fertilizer at half strength can be applied once new leaf growth confirms the plant has recovered.
What to expect: if you acted at early or moderate stage, you should see new leaf growth within 2–3 weeks and visible improvement within 4 weeks. If no new growth appears after 6 weeks, the root damage was too extensive. The plant at that point is unlikely to recover.
For the complete recovery process including when and how to repot, see our guide to saving your hibiscus from root rot.
Prevention: The Long-Term Approach
Root rot is far easier to prevent than to cure. The practices that prevent it are simple:
- Water only when the top few centimetres of soil are dry — never on a fixed schedule.
- Ensure every pot has working drainage holes.
- Elevate pots above their drip trays so they never sit in standing water.
- Use a well-draining soil mix with perlite; avoid heavy garden soil in containers.
- Reduce watering frequency in cool weather when the plant is not actively growing.
- Do not fertilize a struggling plant — damaged roots cannot process nutrients and fertilizer burn worsens the situation.
For more on container drainage specifically, see our guide to container hibiscus drainage requirements.
For the full hibiscus care context that keeps plants healthy and resistant to stress, see the hibiscus care requirements guide.
From PDF to Excel in one click
Forget retyping line by line. Upload any bank statement, get a spreadsheet you can actually use. Your files are never stored, and you can test the converter with 3 free conversions.
Try it free