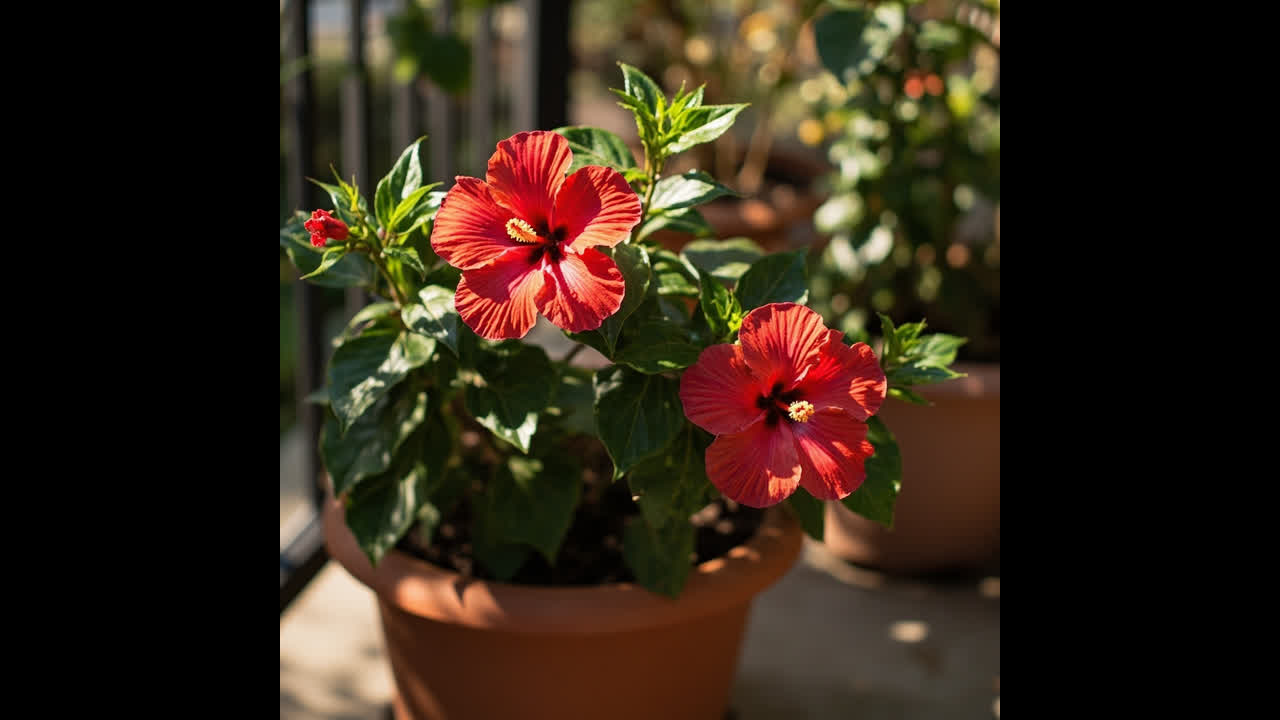

Identifying hibiscus bugs correctly is the single most important step in protecting your plant — get it wrong and you’ll waste time treating the wrong problem while the real pest keeps spreading. This guide covers the six most common hibiscus pest insects, with clear visual identifiers, damage patterns, and exactly what to do next so you can act fast and with confidence.
You noticed something wrong with your hibiscus — sticky residue on the leaves, tiny moving dots, yellowing foliage, or flower buds that refuse to open. You’re not imagining it. Hibiscus plants attract bugs more readily than many other ornamental plants because they produce tender new growth continuously throughout the growing season, and that fresh, succulent tissue is irresistible to sap-feeding insects. The faster you identify what you’re dealing with, the faster and more effectively you can respond — and the less damage your plant will sustain.
This article walks you through every common hibiscus pest: what the insect looks like, where it hides on the plant, the specific damage it causes, and whether it’s more of an indoor or outdoor problem. A quick-reference comparison table is up front so you can jump straight to a match, and each pest section gives you everything you need to confirm the diagnosis before you reach for any treatment.
Why Hibiscus Attracts Pests
Hibiscus plants are perennially attractive to pests for a combination of biological reasons that are worth understanding before you start any treatment. The hibiscus genus (Hibiscus rosa-sinensis) grows rapidly and produces soft, new tissue constantly — young leaves, expanding buds, and tender stem tips. This new growth has higher nitrogen content and thinner cell walls than mature foliage, making it far easier for sap-feeding insects to pierce and extract nutrients. The result is a plant that is essentially a perpetually open buffet for aphids, spider mites, and their relatives.
Indoor hibiscus faces a distinct problem: the dry, stable environment of most homes eliminates the natural predator pressure that keeps pest populations in check outdoors. Lady beetles, lacewings, and parasitic wasps that would normally consume aphid and whitefly colonies are absent from the average living room. Meanwhile, the low humidity that central heating creates in winter is exactly the condition that spider mites thrive in, which is why indoor hibiscus and spider mites are a notoriously common pairing from roughly October through March.
Outdoor hibiscus encounters a wider range of pest species but also benefits from seasonal predator activity. Summer populations of aphids often spike in late June, then collapse in July as ladybug populations catch up. Understanding which pests are more likely indoors versus outdoors helps you narrow your identification quickly — and prevents you from panicking over a pest that is actually under natural control.
Regular pruning plays a direct role in pest prevention by removing the spent blooms, damaged stems, and dense interior growth where thrips and mealybugs hide and breed. A well-pruned hibiscus has fewer protected pest habitats and better airflow through the canopy, which makes the environment less welcoming for sap-feeding insects overall.
Quick Pest Identification Table
Use this table to narrow down which pest you have based on what you’re seeing. After the table, each pest has its own detailed section with the full diagnostic picture.
| Pest | What It Looks Like | Where on Plant | Key Damage Signs | Indoor / Outdoor |
|---|---|---|---|---|
| Aphids | Small pear-shaped insects; green, black, or yellow | New growth, leaf undersides, buds | Curling leaves, sticky honeydew, distorted buds | Both; more common outdoors |
| Spider Mites | Tiny red or beige dots; fine webbing between leaves | Leaf undersides, especially near petioles | Stippling on upper leaf surface, yellowing, webbing | Primarily indoor |
| Whiteflies | Tiny white flying insects; cloud up when plant is disturbed | Leaf undersides in clusters | Yellowing leaves, sticky honeydew, sooty mold | Both; common in greenhouses |
| Mealybugs | White, waxy oval masses; cotton-like residue | Leaf joints, stem junctions, root zone | Yellowing, wilting, honeydew and sooty mold | Primarily indoor |
| Thrips | Slender brown or black insects; visible inside damaged buds | Inside flower buds, on foliage | Silvery stippling on petals and leaves, distorted buds | Both; more common outdoors |
| Scale | Raised brown or tan bumps on stems; do not move when touched | Stems, leaf midribs | Yellowing, dieback, sticky honeydew | Both |
How to Identify Each Pest: Visual Guide
Aphids on Hibiscus
Aphids are the most frequently encountered hibiscus pest and the one most likely to cause visible alarm. They are small — roughly 2–4 mm — and pear-shaped, with soft bodies that can be green, black, yellow, or even pink depending on the species and the plant they are feeding on. They cluster in dense colonies on the newest growth: the unfolding leaves at the tips of branches and the surface of developing flower buds. Their mouthparts are designed to pierce plant tissue and draw out phloem sap, which is why the first signs are often new leaves that emerge curled or crumpled rather than flat.
The most unmistakable secondary sign of an aphid infestation is sticky honeydew — a sugary liquid excreted by the insects as they process plant sap. This honeydew coats the leaves below the infestation and creates the perfect surface for sooty mold (a black fungal growth) to establish. If you see shiny, sticky leaves on your hibiscus and no obvious insects, look directly above on the newest growth and you will usually find the aphids responsible.
Spider Mites on Hibiscus
Spider mites are not insects — they are arachnids, closely related to ticks and spiders — which means many common insecticides have no effect on them at all. They are extraordinarily small, typically 0.3–0.5 mm, which is roughly the size of a grain of ground black pepper. They are usually red, beige, or pale green in color, and their presence is most reliably detected not by seeing the mite itself but by the damage they leave behind: a fine stippling pattern of tiny yellow or white dots on the upper surface of leaves. As the infestation progresses, you will also see fine silken webbing stretching between leaves and along stems, which is their protective housing.
The condition most responsible for spider mite explosions is low ambient humidity. Homes with forced-air heating in winter regularly drop below 30% relative humidity indoors, which is precisely the environment spider mites are evolved to colonize. A hibiscus that looked healthy in October can be stippled and webbed by February if the indoor air is dry. The mites themselves are often too small to see without magnification, so the stippling damage pattern is the primary diagnostic tool — if the leaves look dusty or stippled and no insects are visible to the naked eye, spider mites are the leading candidate.
Whiteflies on Hibiscus
Whiteflies are small — about 2 mm — pure white insects that look less like flies and more like tiny white moths. They are unusual among hibiscus pests in that they are strong fliers and will readily disperse when a plant is disturbed, so the diagnostic test for whiteflies is simply tapping a branch or brushing your hand across the foliage: if a cloud of white specks rises from the plant, you have whiteflies. They colonize the undersides of leaves in clusters, and like aphids they feed by extracting phloem sap and excreting honeydew.
The damage pattern from whiteflies shares several features with aphid damage — yellowing leaves, honeydew, and secondary sooty mold — but the whitefly’s preference for the underside of older leaves rather than new growth helps distinguish the two. If the lower and middle canopy is yellowing and sticky while the newest leaves at the tips look relatively unaffected, whiteflies are the more likely culprit.
Mealybugs on Hibiscus
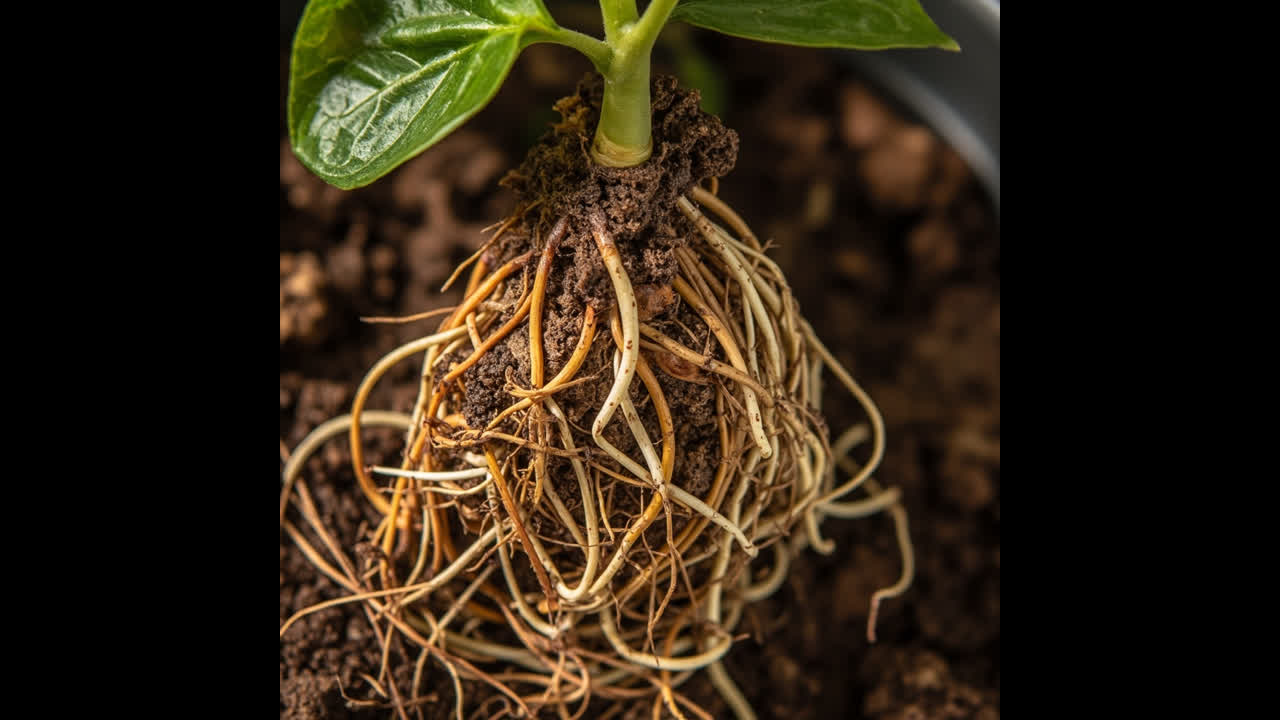
Mealybugs are among the most distinctive-looking hibiscus pests because of the white, waxy coating that covers their bodies — it looks almost like a smear of cotton or loose dandruff pressed into the joints and crevices of the plant. They are roughly 3–5 mm in length and are relatively slow-moving compared to aphids or whiteflies. They tend to cluster in protected locations: the junction where a leaf petiole meets the stem, the crease between a stem and a branch, and — importantly — the root zone near the base of the plant.
A mealybug infestation is often more advanced by the time it becomes obvious because the pests prefer concealed locations. Visible white wax residues at stem joints, wilting despite adequate watering (because the root-zone mealybugs are disrupting the plant’s vascular system), and widespread yellowing are the usual indicators. Like the other sap-feeding pests on this list, mealybugs produce honeydew and can support sooty mold populations.
Thrips on Hibiscus
Thrips are slender, elongated insects — typically 1–2 mm — that range from translucent yellow to dark brown. They are unusual among hibiscus pests because they are primarily a flower pest: they burrow inside developing buds and feed on the petal tissue from within. The damage they cause is distinctive: silvery or bronze stippling on the surface of petals, often followed by buds that open partially or fail to open at all, and petals that emerge already scarred or torn.
On foliage, thrips cause a fine stippling similar to spider mite damage but without the webbing. Thrips are also cryptic — they are small, fast-moving, and tend to hide deep inside buds where they are difficult to see. To confirm thrips, gently shake an affected bud over a white piece of paper and look for the slender, active insects that fall out.
Scale on Hibiscus
Scale insects on hibiscus are among the easiest pests to misidentify because the mature insects — which are the form most commonly seen — do not look like animals at all. They appear as small, raised, brown or tan bumps attached to stems and leaf midribs. These bumps are the protective covering of the scale insect, which embeds itself permanently into the plant surface and does not move once it settles. The insect beneath the shell feeds on phloem sap, and a heavily infested hibiscus can be severely weakened by even a modest number of scale insects.
The easiest mistake to make with scale is confusing it with a fungal spot or a bud because it is raised and unmoving. The distinction is simple: fungal spots are flat and often have a defined ring pattern; scale insects are dome-shaped, hard when pressed with a fingernail, and cannot be scraped off without effort. Scale also produces sticky honeydew, so if you see both a sticky residue and raised bumps on stems, scale is almost certainly the diagnosis.
Pest vs. Disease: Quick Check
Before treating your hibiscus for pests, rule out the possibility that the problem is a disease. The two most common hibiscus diseases — black spot and rust — produce symptoms that can resemble pest damage if you are not looking carefully.
| Symptom | Cause | How to Tell |
|---|---|---|
| Black spots with concentric rings on leaves | Fungal black spot | Flat spots, not raised; often surrounded by yellow halo |
| Orange powdery pustules on leaf undersides | Hibiscus rust | Bright orange raised dots; rust is a fungal disease, not a pest |
| Yellow stippling without webbing | Thrips (pest) | Active slender insects fall from buds onto white paper |
| Yellow stippling with fine webbing | Spider mites (pest) | Webbing visible between leaves; stippling fine and even |
| Raised brown bumps on stems | Scale (pest) | Dome-shaped, hard; does not rub off easily |
If the problem turns out to be fungal rather than pest-related, treating with insecticides will not help and may make things worse by killing beneficial insects that help keep actual pest populations low. For a full inventory of hibiscus problems including both pests and diseases, the common problems with hibiscus plants hub article covers both categories in detail.
Natural vs. Chemical Treatments
Most hibiscus pest infestations — even moderate ones — respond well to natural treatment methods when applied correctly and consistently. The two most widely used natural options are neem oil and insecticidal soap, and both work by disrupting the pest’s surface physiology rather than through systemic toxicity.
Neem oil is pressed from the seeds of the neem tree (Azadirachta indica) and contains azadirachtin, a compound that interferes with insect feeding and reproduction. It works on contact, so thorough coverage — especially on leaf undersides — is essential. Neem oil is considered safe for indoor use around pets and humans when used at labeled concentrations, and it has the advantage of affecting a broad range of pest types including aphids, spider mites, whiteflies, and mealybugs.
Insecticidal soap — typically a potassium salt of fatty acids — works by dissolving the waxy outer coating of soft-bodied insects, causing them to dehydrate. It is highly effective against aphids, spider mites, and whiteflies but has no residual activity: it only kills what it directly contacts at the time of application. This means repeat applications every 2–3 days are necessary to catch newly hatched immatures that were in egg or pupal stages during the previous spray.
For broader-spectrum control of heavy infestations that do not respond to natural treatments, the how to get rid of bugs in houseplants guide covers chemical insecticide options in more detail. Chemical insecticides — particularly systemic neonicotinoids such as imidacloprid — are more effective at eliminating heavy scale, mealybug, and thrips infestations that have not responded to multiple natural treatments. However, systemics are toxic to pollinators and beneficial insects including bees and parasitic wasps. On an outdoor hibiscus, applying a systemic during bloom season poses a real risk to pollinators visiting the flowers. Reserve chemical intervention for severe infestations where natural methods have been tried for at least two full treatment cycles without meaningful reduction in pest activity.
How to Match Treatment to Pest and Severity
The right treatment depends on three factors: which pest you have, how severe the infestation is, and whether your hibiscus lives indoors or on a patio where chemical options are less desirable. Use this severity ladder alongside your pest identification to choose the right approach.
For a light infestation — meaning a few insects visible on one or two stems, no visible damage beyond minor stippling or a single curling leaf — begin with insecticidal soap applied every 2–3 days for two weeks. This covers the hatching cycle of most sap-feeding pests. For spider mites specifically, increase humidity around the plant (mist the leaves daily or place on a pebble tray with water) alongside the soap spray, since mites are particularly sensitive to moisture.
For a moderate infestation — visible pest colonies on multiple stems, clear leaf damage, honeydew present — move to neem oil applied weekly, combined with physical removal: pick off heavily infested leaves or buds, seal them in a bag, and dispose of them outside. If the hibiscus is showing significant stress (widespread yellowing, wilting, or bud drop), consider the save a dying hibiscus recovery steps alongside your pest treatment, since pest damage often compounds other stressors.
For a severe infestation — heavy scale coverage on stems, extensive webbing, multiple generations visible — chemical treatment is justified. Apply a targeted insecticide labeled for the specific pest (not a broad-spectrum product), and follow up with a natural maintenance program once the immediate crisis is controlled. Severe infestations on indoor plants may require isolating the affected plant from other houseplants to prevent spread.
How to Treat Each Pest: Step-by-Step
Treating Aphids
Step 1 — Inspect the newest growth and buds with a hand lens to confirm aphid presence and estimate colony size.
Step 2 — Isolate the affected plant from other houseplants to prevent the colony from spreading.
Step 3 — Spray the entire plant — upper and lower leaf surfaces, stems, and buds — with insecticidal soap, focusing on the new growth where aphids concentrate.
Step 4 — Repeat the spray application every 2–3 days for two weeks to catch nymphs hatching from eggs laid before the first treatment.
Step 5 — If the infestation persists after two cycles, switch to neem oil applied once weekly until the colony is eliminated.
Treating Spider Mites
Step 1 — Hold a white piece of paper under an affected leaf and tap the leaf sharply. If red or beige mites fall onto the paper and are visible moving, spider mites are confirmed.
Step 2 — Raise the humidity around the plant immediately: mist the foliage daily, use a humidity tray, or move the plant to a more humid room. Spider mites cannot reproduce effectively above 60% relative humidity.
Step 3 — Apply neem oil or insecticidal soap to the entire plant, paying particular attention to the undersides of leaves and the junctions where leaves meet stems.
Step 4 — Reapply every 3 days for a minimum of three weeks, since spider mite eggs can remain dormant and hatch after a single treatment. Consistent repeat coverage breaks the reproductive cycle.
Treating Whiteflies
Step 1 — Hang yellow sticky traps near the affected hibiscus to monitor the whitefly population and reduce the number of flying adults.
Step 2 — Apply insecticidal soap to the undersides of all leaves, where whitefly nymphs and egg masses are attached.
Step 3 — Apply neem oil as a follow-up treatment 4–5 days after the soap spray to add the feeding-disruption effect.
Step 4 — Continue weekly inspections and retreat at the first sign of a new generation — whiteflies can complete their life cycle in as few as 3–4 weeks under warm indoor conditions.
Treating Mealybugs
Step 1 — Inspect hidden zones carefully: leaf joints, stem junctions, and the soil surface at the base of the plant. Root-zone mealybugs are often the source of recurring infestations.
Step 2 — Dip a cotton swab in rubbing alcohol (isopropyl alcohol) and apply it directly to each visible mealybug cluster. The alcohol dissolves the waxy coating and kills the insect on contact.
Step 3 — Follow up with a thorough neem oil spray covering the entire plant, including the soil surface.
Step 4 — For severe or root-zone infestations, drench the soil with a diluted neem oil solution to reach the underground insects. Repeat after 7 days.
Treating Thrips
Step 1 — Gently shake a damaged bud over white paper and look for slender brown insects that fall out and move quickly. This confirms thrips.
Step 2 — Remove and dispose of all visibly damaged buds and flowers — these contain the highest concentration of thrips and their eggs.
Step 3 — Apply neem oil to the entire plant, including the inside of buds that are still developing. Good coverage into the bud interior is critical since thrips hide deep within.
Step 4 — Apply insecticidal soap as a follow-up spray 4 days after the neem oil to kill any adults or nymphs that survived the first treatment.
Step 5 — Continue weekly inspections for at least a month; thrips have a multi-stage life cycle and eggs can hatch after initial treatments.
Treating Scale
Step 1 — Examine stems and leaf midribs carefully. Adult scale are the hard, dome-shaped bumps; the younger, softer crawler stage is what responds to sprays.
Step 2 — Apply neem oil directly to each visible scale covering, using a cotton swab or a small brush. The oil suffocates the insect beneath the shell.
Step 3 — Spray the entire plant with neem oil or insecticidal soap to kill the crawler stage, which is the only mobile phase and the one most vulnerable to spray treatments.
Step 4 — Repeat the spray application every 7–10 days for at least a month to cover the crawler emergence window.
Common Identification Mistakes
Even experienced gardeners regularly misidentify hibiscus pests. The most common confusions are worth addressing directly so you do not waste time and money treating the wrong problem.
Spider mites confused with dust. The stippling damage from spider mites can look like accumulated dust on leaf surfaces, particularly on lower leaves. The distinction is that dust can be wiped off with a damp cloth; stippling from mites is embedded in the leaf tissue and will not wipe away. If wiping does not restore the leaf surface appearance, mites are the cause.
Scale confused with fungal spots. Both are raised and both are brownish, but the texture and behavior differ. Fungal spots are typically flat with a defined margin and may have concentric rings. Scale is smooth and dome-shaped, and it cannot be scraped off with a fingernail without effort. If what you are seeing does not respond to a fungicide and persists despite treatment, scale is a more likely diagnosis.
Mealybug wax residue confused with powdery mildew. Powdery mildew appears as a flat, dusty white coating across leaf surfaces. Mealybug wax appears at joints and junctions and has a definite texture — almost like cotton fiber pressed into a crevice. It also has small insects visible beneath or adjacent to the wax masses.
How to Prevent Future Infestations
Prevention is substantially easier than treatment, and a few consistent habits will dramatically reduce the frequency and severity of hibiscus pest problems over time. Prevention is most effective when it addresses the specific environmental vulnerabilities that each pest exploits.
Inspect every new plant before bringing it indoors. This is the single most effective preventive step and the one most frequently skipped. A hibiscus purchased from a nursery — especially one that has been grown in a greenhouse — is a very common vector for introducing spider mites, mealybugs, and scale into your home. Examine the undersides of leaves, the stems, and the soil surface before the plant crosses your threshold. Quarantine new additions for 1–2 weeks if you have other houseplants, and re-inspect before placing them alongside existing plants.
Maintain humidity for indoor hibiscus. Because spider mites thrive in dry air, keeping indoor relative humidity above 50–55% during the heating season is an effective preventive measure. Pebble trays beneath pots, grouping plants together, and running a humidifier near the hibiscus collection all contribute to a less mite-friendly environment.
Remove spent blooms and damaged growth promptly. Thrips and mealybugs both shelter in the residual tissue of spent flowers and damaged stem tips. Removing these promptly — a process called deadheading — eliminates their preferred habitat and disrupts the reproductive cycle. Regular deadheading also improves airflow through the canopy, which is less hospitable to sap-feeding insects generally. For full guidance on proper hibiscus pruning technique, the how to prune a hibiscus plant guide covers timing, tool selection, and the specific cuts that reduce pest habitat most effectively.
Monitor weekly. A 2-minute weekly inspection of your hibiscus — flipping leaves, checking new growth, looking for honeydew — catches infestations at the light stage when a single insecticidal soap spray is sufficient to resolve the problem rather than a multi-week treatment protocol. Early detection is genuinely the most important factor in how quickly and completely a hibiscus recovers from a pest problem.
For a broader set of pest prevention strategies that apply to your entire indoor plant collection, the keep bugs away from indoor plants article covers the preventive habits and environmental conditions that make indoor plants in general less hospitable to common pests year-round.
What to Use: Product Context
No brand names are required to treat hibiscus pests effectively — what matters is the product type, the active ingredient, and the correct application method. Here is what to look for.
Neem oil — look for a cold-pressed neem oil product with a stated azadirachtin concentration (higher is more potent). Mix at the labeled rate for sap-feeding insects — typically 1–2 teaspoons per quart of water — and apply as a fine mist to all leaf surfaces until they are evenly coated. Neem oil solutions degrade quickly in sunlight and should be used within 8 hours of mixing.
Insecticidal soap — available as a ready-to-use spray or as a concentrate you mix yourself. The ready-to-use form is more expensive per application but eliminates measuring errors. Potassium salts of fatty acids are the active ingredient in effective products; check that this is listed rather than purchasing products labeled “insecticidal soap” without confirming the active ingredients.
Predatory insects — for outdoor hibiscus with aphid problems, introducing lacewing larvae (often sold as “lacewings” at biological control suppliers) provides effective long-term suppression because they actively hunt and consume aphids across the growing season. For spider mites on outdoor or greenhouse hibiscus, Neoseiulus californicus is a predatory mite that preys on spider mite eggs and juveniles and establishes persistent biological control. Both are available from biological pest control suppliers and require no special equipment to deploy.
Your Hibiscus, Pest-Free
The worry you felt when you first noticed something wrong on your hibiscus was warranted — untreated pest infestations do real damage and can severely weaken or kill a plant over time. But you now have the tools to identify exactly what you are dealing with, distinguish pests from diseases, and apply the right treatment at the right intensity. Early identification, which you have already taken the critical first step toward, is the single most important factor in how quickly and completely a hibiscus recovers. With consistent monitoring and the preventive habits outlined here, your hibiscus can remain healthy, blooming, and largely pest-free for years to come.
From PDF to Excel in one click
Forget retyping line by line. Upload any bank statement, get a spreadsheet you can actually use. Your files are never stored, and you can test the converter with 3 free conversions.
Try it free