Two methods. Both work. The difference is in what you can see happening, how fast you get results, and how reliably the cutting transitions to soil after rooting. If you have tried one method and had mixed results, the other method might be the answer. Here is the honest comparison.
Water Rooting: The Visual Method
How It Works
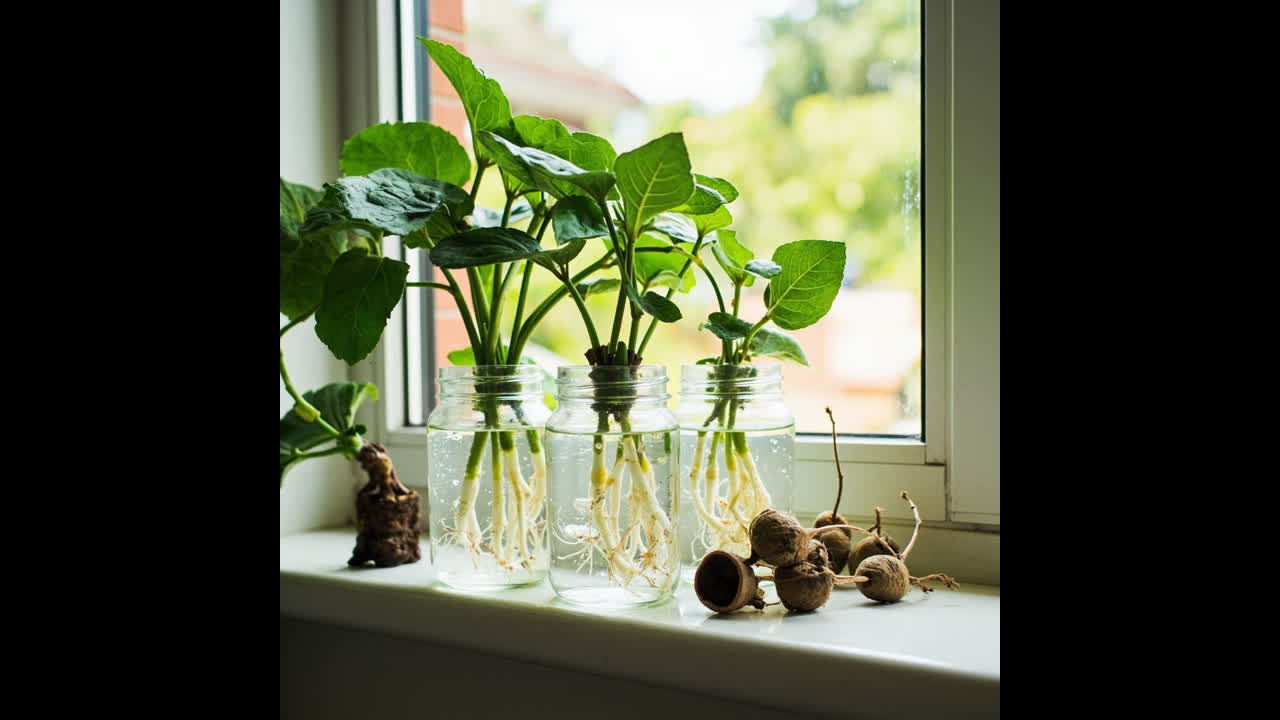
A hibiscus cutting is suspended in a clear glass of water — just enough to submerge the nodes where leaves were removed. The glass is placed in bright indirect light, and the water is changed every three to four days. Roots become visible through the glass as they grow.
The appeal of water rooting is obvious: you can see the roots growing. This makes the process satisfying and allows you to monitor progress without disturbing the cutting. You can tell when rooting has occurred without guessing.
Pros of Water Rooting
- Visible progress — you can see roots as they develop, which reduces uncertainty
- Easy to monitor for problems — if the water goes murky or the cutting looks stressed, you see it immediately
- Low cost — requires only a clear glass and fresh water
- Good learning tool — watching roots grow helps you understand how hibiscus propagation works
- Easy for beginners — minimal setup, minimal technique required
Cons of Water Rooting
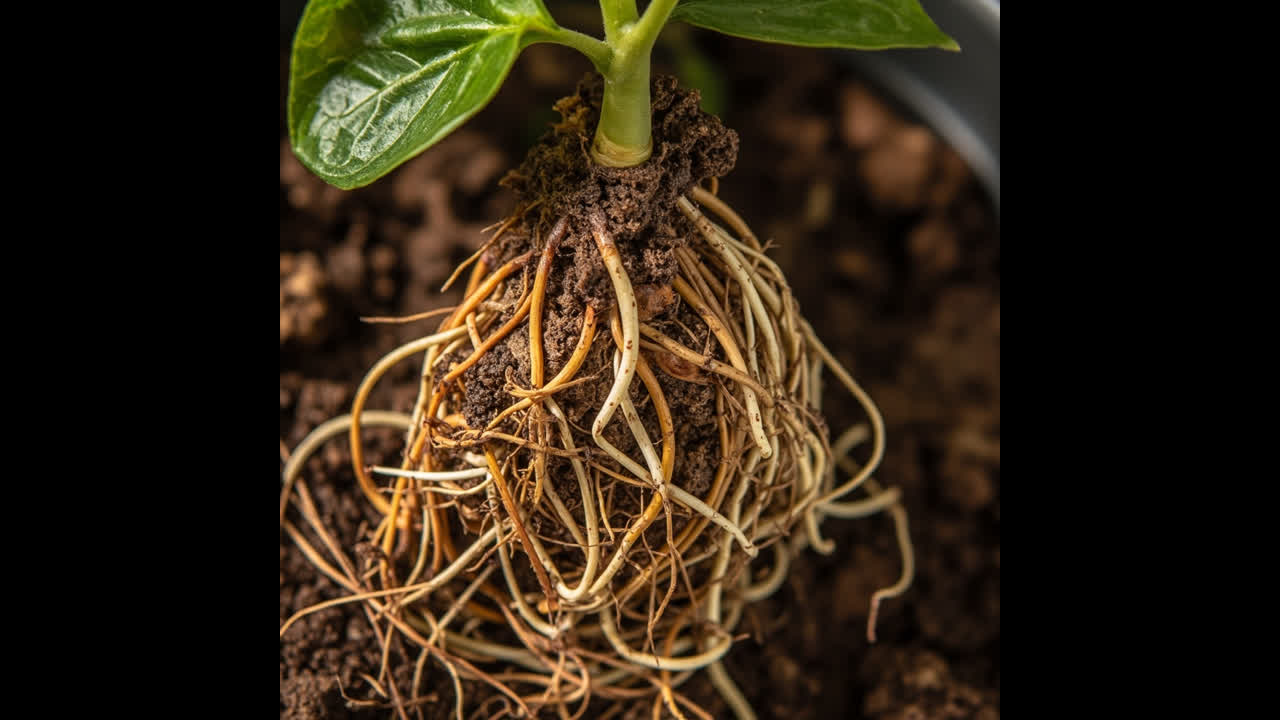
- Roots grown in water adapt to water and must transition to soil — this transition is the most common failure point
- Water roots are structurally different from soil roots — they are thinner, more fragile, and more susceptible to damage during transplanting
- Higher failure rate at the soil transition stage — estimates suggest 20–30% of water-rooted cuttings fail within the first month after transplanting
- Slower to transplant because you need to wait for roots to be long enough (at least 5 cm) before soil transition
- Higher risk of rot if water is not changed regularly
Soil Rooting: The Direct Method
How It Works
A hibiscus cutting is inserted directly into a moist rooting medium — perlite, a perlite-peat mix, or a seed-raising mix. The cutting is kept humid (often covered with a clear plastic bag or propagator lid), in bright indirect light, and the medium is kept consistently moist but not waterlogged. Roots develop underground over four to six weeks.
The trade-off is obvious: you cannot see what is happening below the soil. But the advantages of roots that are adapted to their final growing medium from the start are significant.
Pros of Soil Rooting
- Roots grow in the medium they will stay in — no transition shock, no fragile water roots
- Higher survival rate after rooting — plants establish faster and with less check in growth
- Generally faster overall establishment — roots go directly into the growing medium instead of spending time in water then re-adapting
- Less monitoring required once set up — no daily water changes, just check moisture every few days
Cons of Soil Rooting
- You cannot see if rooting has occurred — must use the gentle tug test after week 4 to avoid disturbing early root development
- Requires more setup: proper medium, small pot, humidity cover
- Medium must be kept consistently moist — too wet and the cutting rots, too dry and it fails
- Less satisfying for beginners — the invisible process makes it harder to know if things are working
Head-to-Head Comparison
- Success rate: Soil rooting consistently outperforms water rooting in long-term survival and establishment. Water rooting produces roots more quickly but a significant portion fail at the soil transition.
- Speed: Water rooting shows visible roots in 2–4 weeks. Soil rooting takes 4–6 weeks to show root establishment. Overall time to a saleable plant is roughly equal.
- Beginner suitability: Water rooting is more forgiving of minor mistakes because problems are visible early. Soil rooting requires more precise moisture management.
- Long-term plant health: Plants rooted directly in soil tend to establish more vigorously and with less transplant check than those transitioned from water.
Which Method Should You Use?
Use water rooting if:
- You are new to plant propagation and want to see what is happening
- You have limited materials and just need a simple setup
- You are propagating as a teaching exercise and want visual feedback
- You are taking cuttings that are already very fresh and vigorous — high-quality cuttings root reliably in water
Use soil rooting if:
- You want the highest overall success rate and healthiest established plant
- You are propagating multiple cuttings at once (more efficient use of space and materials)
- You have experience with propagation and can judge moisture levels accurately
- You are rooting less-than-ideal cuttings (older wood, slightly stressed parent plant) — soil rooting is more tolerant of marginal cutting quality
For the full step-by-step soil rooting guide, see our propagating hibiscus guide. For the care routine for your newly propagated plants, see the hibiscus care guide.
Turn any PDF statement into a clean sheet
Skip the typos and the hours of copying. Our converter handles any bank statement format and outputs Excel, CSV, or QBO for QuickBooks. No file retention, free to try.
Convert your statement