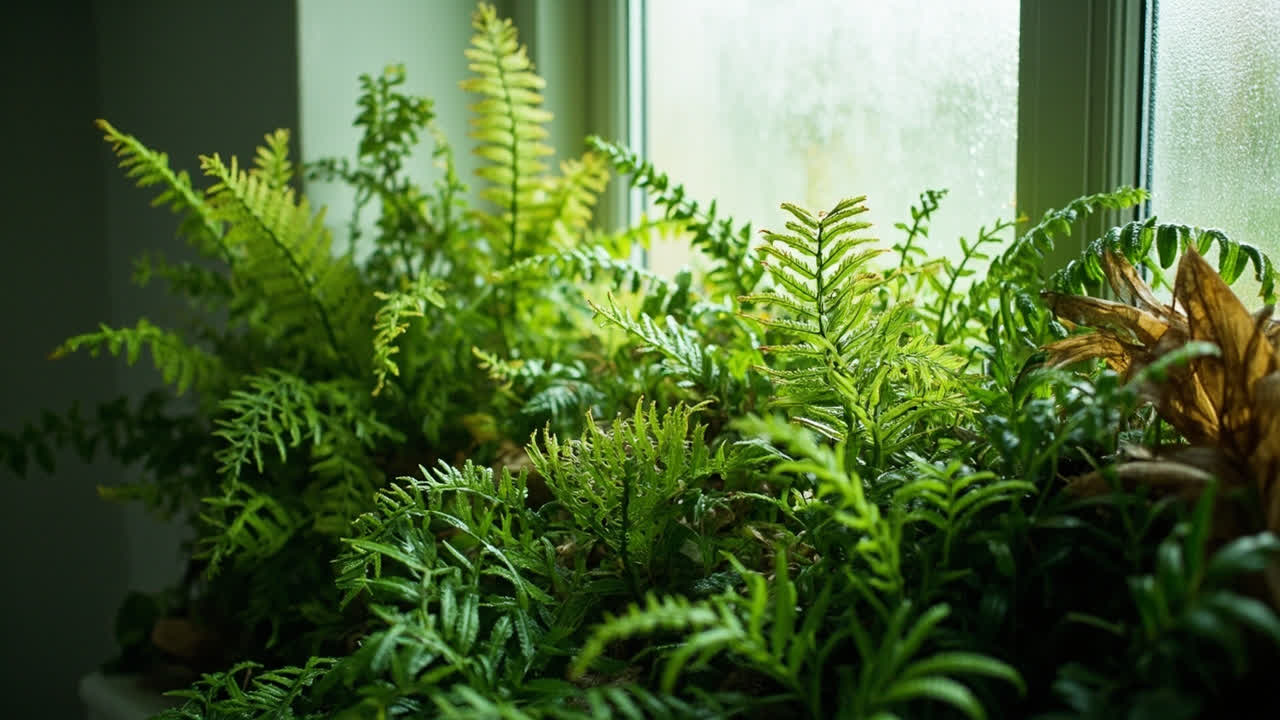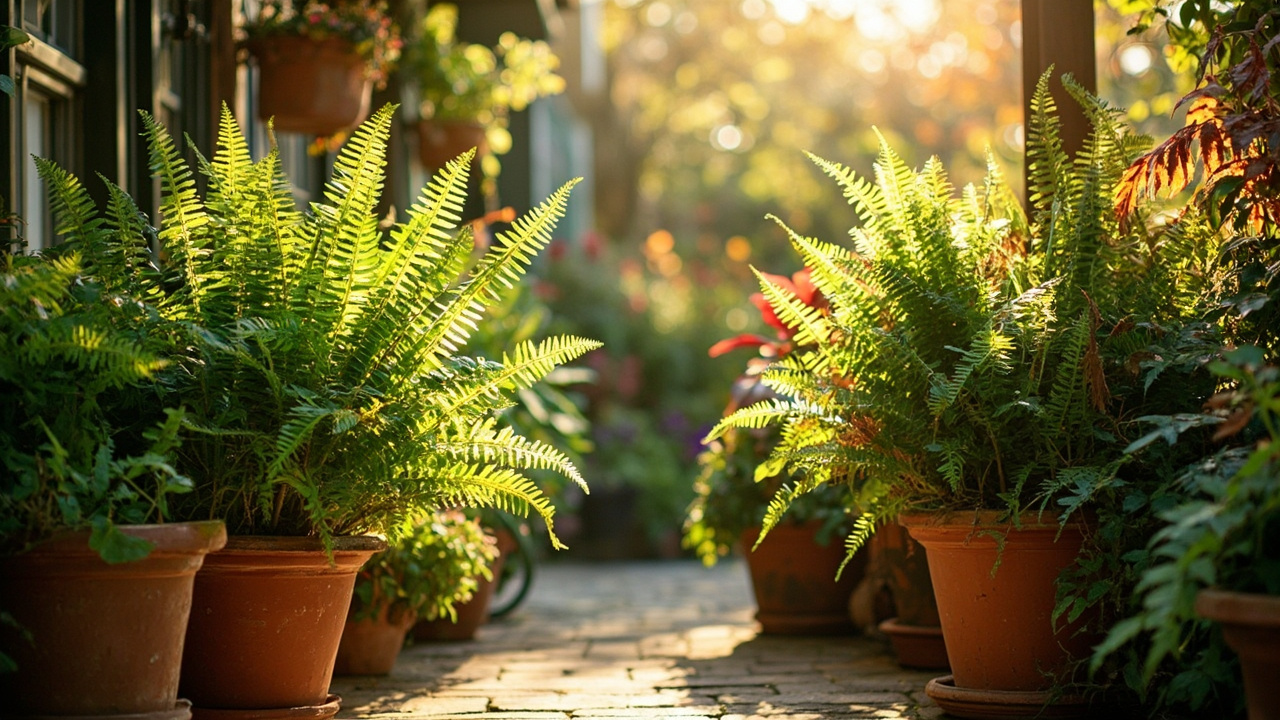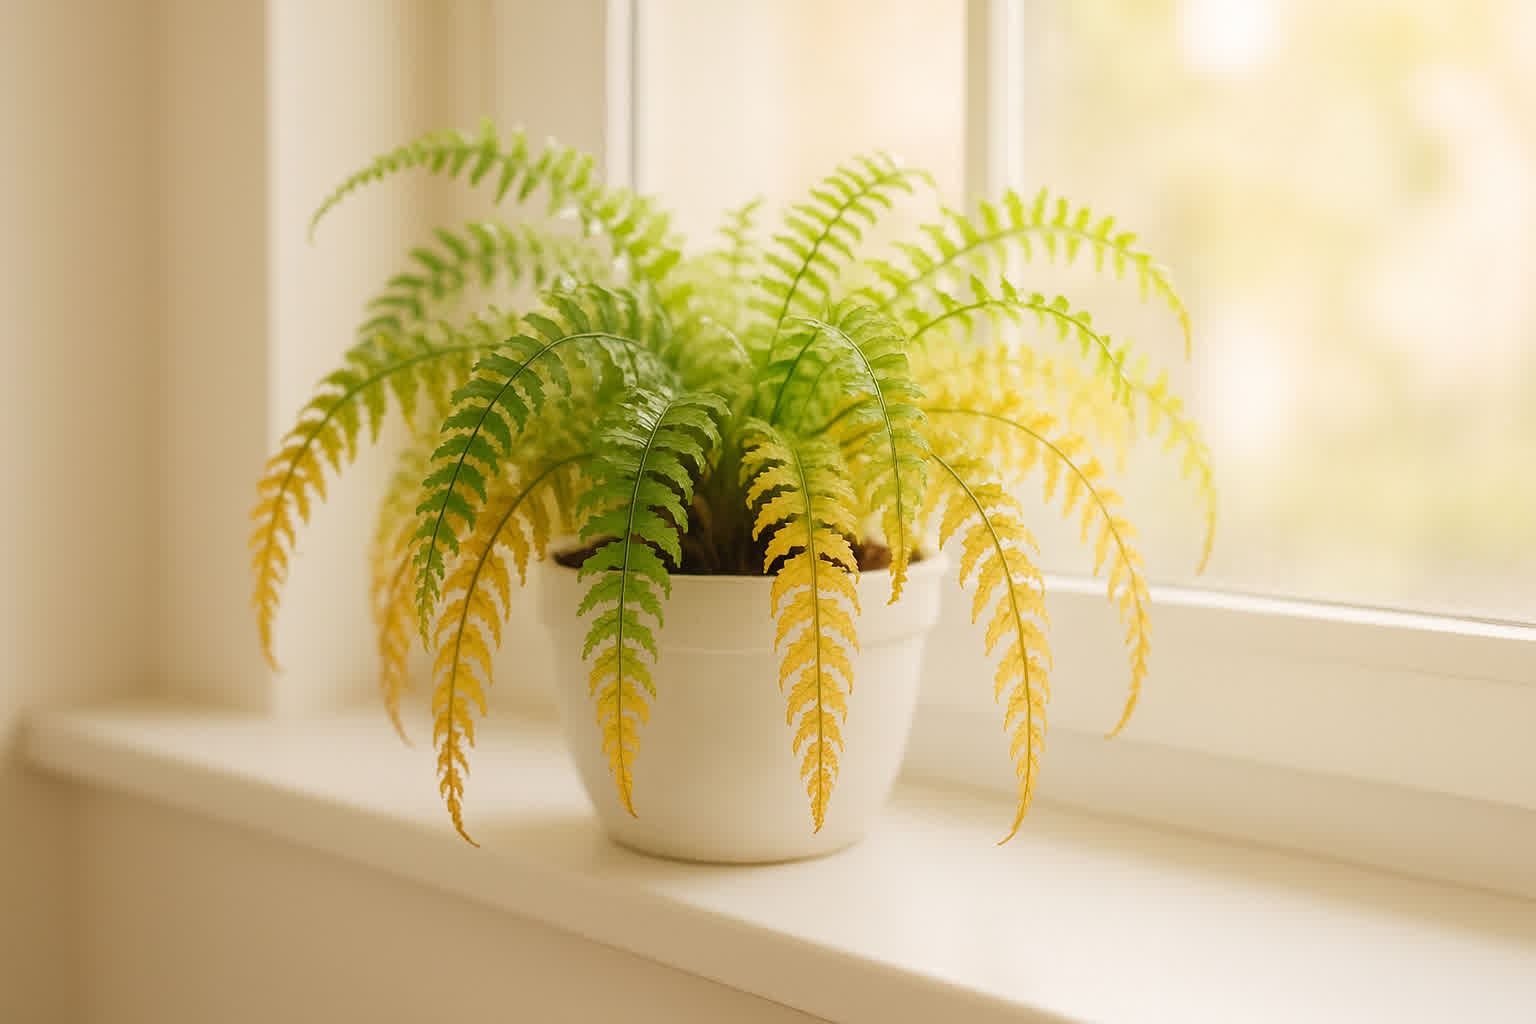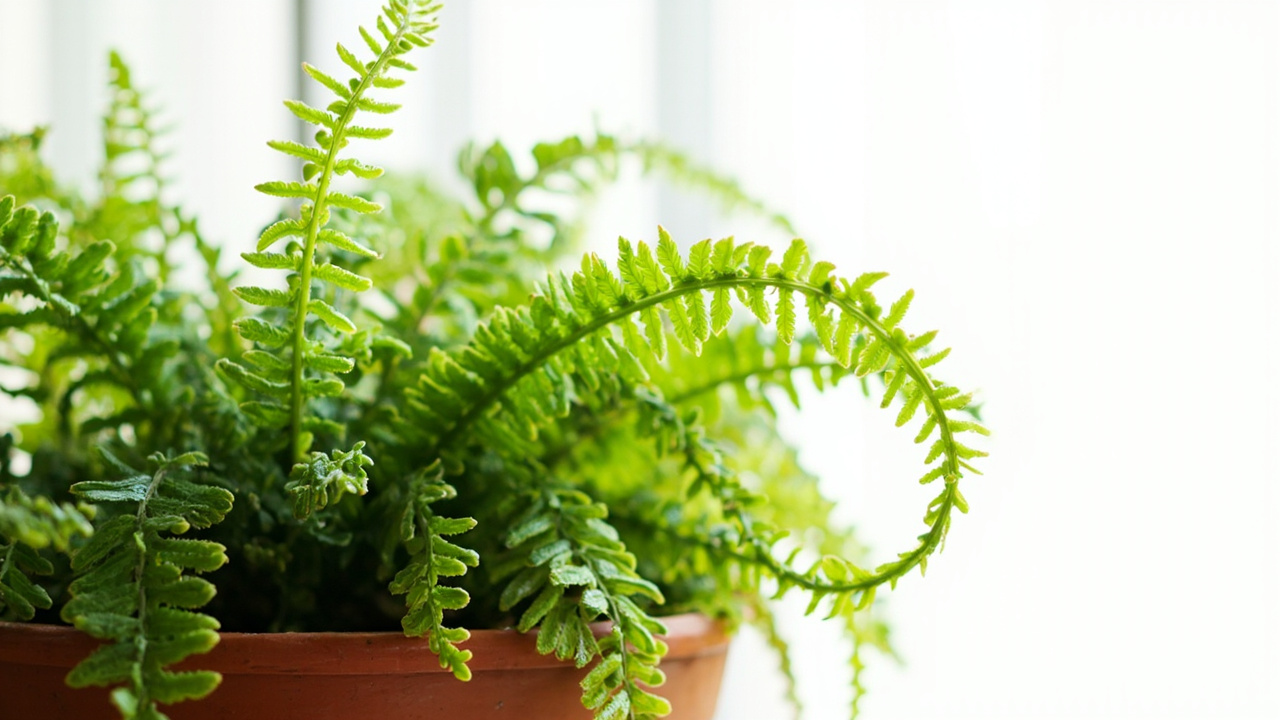

Most ferns sold as houseplants don’t behave like houseplants. They evolved in humid forest understories where the air stayed moist, the light was filtered and consistent, and the soil never dried out completely. A typical home — with its heating, air conditioning, and irregular watering — is close to the worst possible environment for them. That’s not a knock on ferns. It’s just the reality of matching a plant to its conditions.
The good news: ferns respond quickly when you give them what they need. The bad news: most care instructions treat “water regularly” as sufficient, when the real issues are humidity consistency, soil moisture management, and light quality. This guide covers all three.
If you are choosing your first fern, the variety matters as much as the care routine. Boston fern and Bird’s Nest fern tolerate inconsistent watering and lower humidity better than most species; Kangaroo Paw fern tolerates dry air more than any other common fern; Staghorn fern survives neglect that would kill most others. For a full breakdown of the five easiest ferns for new growers, including the one fern to skip, see our guide to ferns for beginners.
Understanding Why Ferns Need Different Care Than Most Houseplants
Ferns are among the oldest surviving plant lineages on earth — they predate flowers by hundreds of millions of years and evolved without any need to conserve water the way drought-tolerant plants do. Their fronds transpire freely, they pull water continuously from the soil, and they have no mechanism for going dormant the way a succulent can. That makes them extraordinarily sensitive to moisture consistency in a way that most common houseplants simply aren’t.
The practical consequence: a fern that dries out even once may drop a significant portion of its fronds within days. A fern that stays too wet will develop root rot quietly, below the surface, and by the time the fronds start to yellow the roots are already compromised. Both extremes are common failure modes, which tells you that the real skill in fern care is moisture consistency — not watering more or less, but maintaining a steady moisture level in the root zone.
The Humidity Misunderstanding
Ferns need humidity — but most people hear “humidity” and think “mist the leaves.” Mist provides a temporary, localized humidity spike that dissipates within minutes. What ferns actually need is ambient humidity in the 60–80% range sustained over hours, not seconds. In most homes, particularly in winter or summer when climate control is running, ambient humidity falls well below that range. A pebble tray can help in a modest way, but for species like the Maidenhair fern — which is notoriously humidity-sensitive — even a pebble tray won’t be enough without a humidifier nearby.
Watering Ferns Correctly: The Core Skill
The single most important habit for fern care: never let the soil dry out completely, and never let it stay waterlogged. That sounds obvious, but the implementation is where most people fail. “Water regularly” is useless advice without a precise definition of what “regularly” means in the context of your specific pot, soil, and environment.
Step 1: Check the soil surface every day during the growing season. Insert your finger to the first knuckle — if it feels dry at that depth, water. If it still feels moist, check again in 24 hours.
Step 2: Water thoroughly until you see water flowing freely from the drainage holes. This is not optional — a light watering from above that only dampens the top inch leaves most of the root ball dry. The roots of ferns are shallow and spread wide, so slow, thorough watering ensures the whole root zone gets wet.
Step 3: Empty the saucer after 30 minutes. Ferns left sitting in standing water develop root rot quickly, especially in cooler temperatures or lower light when the plant’s water demand is reduced.
Step 4: In winter or lower-light conditions, reduce frequency but not thoroughness. The soil will take longer to dry out, so checking daily and watering only when the top inch is dry remains the rule — but the interval between waterings may stretch from 2–3 days to 5–7 days.
What happens next: with consistent moisture, new fronds will emerge from the center of the plant — that distinct spiral unfurling that makes fern growth so satisfying to watch. If the oldest fronds (on the outside) are browning while new ones are still emerging, that’s normal renewal. If the new fronds themselves are coming in damaged or stunted, check light and humidity before assuming it’s a water issue.
Water Quality for Ferns
Ferns are notably sensitive to chlorine and fluoride, both of which are present in most tap water supplies. Chlorine dissipates if left overnight in an open container. Fluoride does not. Persistent tip burn on fern fronds — especially on the newer growth — is often a dissolved salt issue rather than a watering issue.
If your fern shows brown tips despite otherwise correct care, try switching to filtered water or rainwater. Many fern species also prefer slightly acidic conditions, which filtered water tends to deliver more reliably than hard tap water.
Light for Ferns: The Detail That Matters
Ferns want bright, indirect light — but the quality of that light matters more than most care guides acknowledge. Direct sun will scorch fern fronds quickly, even through a window. Deep shade will cause the plant to grow slowly or stop growing entirely, with fronds that stay small and pale.
The best position for most ferns is a few feet back from a north or east-facing window, or in a location where the light is bright but diffused — behind a sheer curtain, or in a room with consistent ambient light from multiple directions. South and west-facing windows can work if the fern is positioned to avoid direct rays, typically 3–5 feet back from the glass.
A useful signal: if your fern’s fronds are reaching toward the light source — leaning obviously in one direction — it needs more light. If the fronds are bleached or scorched looking, it’s getting too much direct sun. The middle ground is what you’re looking for.
Maidenhair ferns (Adiantum) are the most light-hungry of the common indoor ferns and will struggle even in bright indirect light through the winter months. For low-light rooms, Boston ferns (Nephrolepis exaltata) are more tolerant, though they still need more light than most non-fern houseplants.
Temperature and Placement
Most common indoor ferns prefer temperatures between 60–75°F (16–24°C). They are generally less tolerant of temperature fluctuations than most houseplants, and placement matters as much as the thermostat setting.
Keep ferns away from hot or cold drafts — not just the obvious spots like heating vents, but also gaps around windows and doors where cold air can seep in during winter. A fern placed near a frequently opened door will suffer in ways that a thermometer in the same room won’t capture. Air movement that dries the soil quickly is also the enemy of consistent moisture.
The trade-off with placement: putting a fern in the bathroom where humidity is naturally higher seems logical, but bathrooms often have insufficient light or poor air circulation. A bathroom fern may have perfect humidity but be too dark to sustain healthy growth long-term. The ideal is a location that has both — bright enough light and reasonably high ambient humidity, which is why kitchens can work better than bathrooms for some species.
Seasonal Temperature Changes
Ferns are sensitive to sudden changes in temperature and will show stress — frond drop, yellowing, or stunted new growth — in response to shifts in their environment. Moving a fern from a sheltered indoor position to a patio in summer, or moving it back inside in autumn, should be done gradually over a week or two to allow the plant to acclimate.

Soil and Repotting for Ferns
Ferns need a fast-draining, moisture-retentive growing medium — which sounds contradictory but is actually specific. The soil should hold moisture consistently without becoming waterlogged or compacted. A standard potting mix works as a base but benefits from amendments.
Mix a quality potting mix with perlite and peat moss or coco coir in roughly equal parts — the perlite improves drainage and aeration while the peat or coir improves moisture retention without compaction. Commercial fern potting mixes are also available and designed for this balance.
Repotting is needed less often than most people assume. Ferns have shallow, wide-spreading root systems rather than deep ones, and they tolerate being slightly root-bound. Repot when you see roots emerging from drainage holes, when growth has slowed despite correct care and adequate fertilizing, or when water runs through too quickly (a sign of compacted soil). Spring is the best time to repot, at the start of the growing season.
What happens next: after repotting, keep the soil consistently moist for the first 2–3 weeks as the roots re-establish, then return to normal watering frequency.
Common Fern Problems and How to Fix Them
Yellowing Fronds
Yellowing fronds on a fern usually indicate one of two things: over-watering or underwatering. The difference shows up in the soil and in the pattern of the yellowing. If the soil is wet and stays wet, you’ve been watering too often — cut back and check the drainage. If the soil is dry, the plant has been underwatered. In both cases, the oldest fronds are affected first.
The trade-off: cutting back on watering to avoid over-watering can swing the plant into underwatering stress if the ambient humidity is high but the plant isn’t getting enough water at the roots. When adjusting, make small changes and observe the plant’s response over a week before adjusting further.
Brown Leaf Edges or Tips
Brown edges and tips on fern fronds most commonly result from low humidity, exposure to drafts, or dissolved salt buildup from tap water. Start with the humidity check — increase ambient humidity around the plant and monitor for 2–3 weeks. If that doesn’t help, try switching to filtered water and flushing the soil with clean water to leach out any accumulated salts.
If the brown tips appeared after a cold draft — near a door or window opened in winter — the plant may have experienced a cold shock. Remove the affected fronds at the base and move the plant to a warmer, more sheltered position. New fronds should emerge healthy if the temperature stabilizes.
Fern Pests: Scale and Mealybugs
Ferns are particularly vulnerable to scale insects and mealybugs, both of which feed on the plant’s sap and can cause frond yellowing, stunted growth, and plant decline if left untreated. Scale appears as small brown or tan bumps on the fronds or stems — they look almost like part of the plant surface until you look closely. Mealybugs appear as white, cottony masses in the leaf joints or on the undersides of fronds.
Treat both with a cotton ball dipped in rubbing alcohol applied directly to the visible insects, followed by a diluted neem oil spray applied to the whole plant. Repeat every 7–10 days for at least a month to catch hatching eggs. Isolate the affected fern from other plants while treating to prevent spread.
For a complete guide to diagnosing and treating pest problems, see our guide to identifying indoor plant pests.
Ferns in Bathrooms: What Works and What Doesn’t
Bathrooms are appealing for ferns because the shower or bath creates humidity spikes, but they often fail in bathrooms for two reasons: insufficient light and poor air circulation. A bathroom with a north-facing window or no window at all won’t provide enough light for most ferns to sustain growth long-term. A bathroom with good natural light but poor ventilation can develop fungal issues on ferns if the air doesn’t circulate.
If your bathroom has adequate light and you want to grow ferns there, choose Boston ferns or Bird’s Nest ferns, which are more tolerant of the consistently humid but less ventilated conditions. Avoid Maidenhair ferns unless your bathroom is genuinely bright and humid — they are the least forgiving of bathroom conditions among the common indoor ferns.
For more guidance on bathroom-appropriate plants, see our guide to the best ferns for bathrooms.
Humidity is the biggest challenge for ferns in most homes. Our guide to increasing humidity for indoor plants covers practical methods that actually work — including humidifier placement, which matters for ferns.
If your fern is already in decline, our guide to rescuing a dying fern walks through the recovery process step by step, including root inspection and repotting.
Root rot is the most common cause of sudden fern decline and is often caused by over-watering or poor drainage. Root rot explained covers what to look for and how to address it.
From Bank Statement to QuickBooks-Ready File
That manual cleanup you just read about? This tool skips it. Turn your PDF into QBO for QuickBooks without storing your data anywhere.
Start Converting