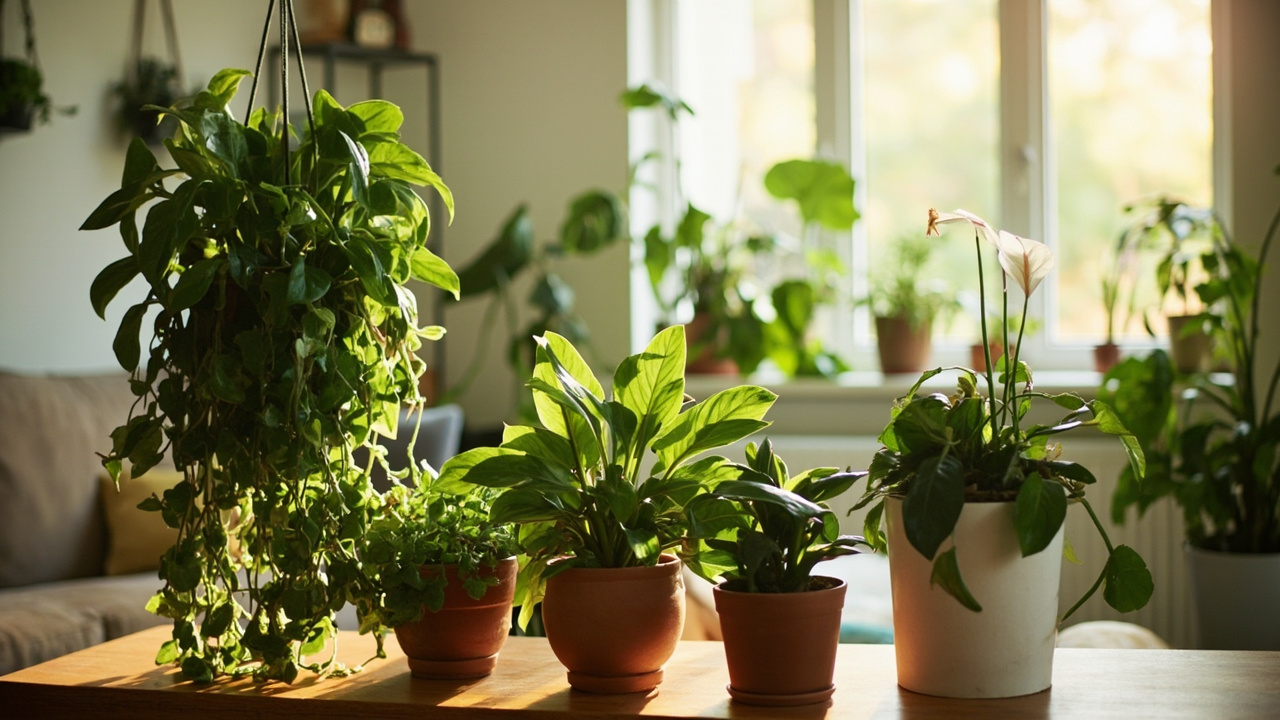
Microgreens in an apartment work, but only when you match the tray, seed, and light to the actual square footage you can give them, not to the setup shown in grow-light ads.
Most renters who fail at microgreens do not fail because the crop is hard. They fail because they sowed a 10×20 tray in a corner that gets 80 foot-candles.
The reason microgreens fit apartments better than herbs or lettuce is the harvest window. Microgreens are harvested at the cotyledon stage, with a typical 7-14 days window from sowing to clean cut.
Microgreens are not the same crop as sprouts or propagation cuttings. Sprouts are eaten root-and-all before the true leaf emerges. Microgreens are the edible seedling cut at the soil line after the cotyledons have spread, leaving the seed tray and roots behind.
The University of Arizona Controlled Environment Agriculture Center puts the minimum daily light integral for cotyledon-stage microgreens at about 6 to 8 mol per square meter per day.
An apartment below about 200 foot-candles at the tray surface will not produce dense microgreens without supplemental light, and no amount of seed selection or watering discipline changes that.
Why microgreens are different from full plants in an apartment
The crop finishes before most apartment problems show up. A head of lettuce in a windowsill has to manage six weeks of inconsistent light, repeated watering, and slow nutrient drawdown. A tray of radish microgreens has to manage ten days from sowing to harvest.
That single fact is why microgreens are one of the few crops a renter can finish without a grow tent or greenhouse.
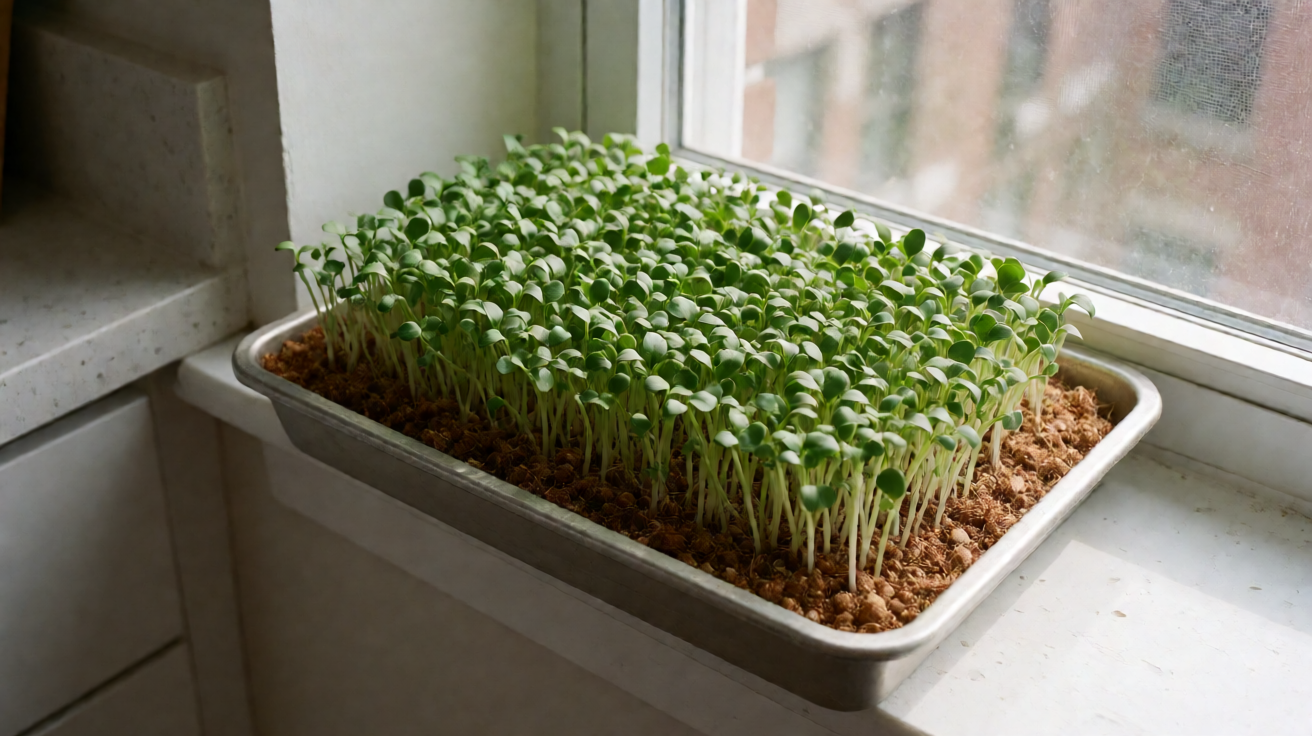
The second reason microgreens fit apartments is that the crop does not need a deep root zone. A 10×20 tray with 1 to 1.5 inches of moist coco coir or peat-based growing medium is enough to carry the cotyledon through to harvest.
The third reason is the harvest yield per square foot. The USDA Microgreens Production Guide notes that a 10×20 tray yields roughly 100 to 200 grams of fresh microgreens at harvest.
That is enough for a daily garnish or smoothie additive for a single-person household for a full week of light meals.
The light floor every apartment microgreens setup must clear
Microgreens do not grow at the light levels most apartment dwellers assume they will. A living-room corner that looks bright during the day often reads 50 to 100 foot-candles on a meter.
That is below the threshold for dense cotyledon development. The trays will germinate, but the stems will stretch, the cotyledons will stay pale, and the harvest will taste grassy and weak.
The light floor for dense harvestable microgreens is around 200 foot-candles at the tray surface for 14 to 16 hours a day. Below that floor, the setup is a seed-growing experiment rather than a harvest.
A south-facing windowsill on a clear winter day at 10 a.m. in a mid-latitude city delivers roughly 400 to 600 foot-candles at the tray surface. The same windowsill in late spring delivers 800 to 1,200 foot-candles.
An east-facing windowsill that gets direct sun from 7 a.m. to 11 a.m. delivers 250 to 400 foot-candles during that window, then drops to 80 to 120 foot-candles in the afternoon.
The light type matters as much as the foot-candle count. A full spectrum LED in the 4000 to 6500 Kelvin range covers the blue and red wavelengths microgreens use to drive cotyledon expansion. Sunlight through a south-facing window delivers the same spectrum for free.
A fluorescent light or a daylight bulb of similar color temperature works almost as well. Cheap warm-white LEDs in the 2700 Kelvin range skew yellow and under-deliver blue.
The photoperiod matters as much as the peak number. Microgreens need 14 to 16 hours of usable light per day to keep the cotyledons compact and the stem length under control.
Above 78 F with low light, the stems stretch fast and the crop becomes leggy before the cotyledons open, and a tray that looked promising on day 5 is on the floor by day 9.
The cleanest apartment microgreens light rule is this: 250 to 350 foot-candles at the tray surface, 14 to 16 hours a day, with tray temperature held between 65 and 75 F.
If the peak number falls short, the answer is a clip-on full spectrum grow light that costs 20 to 35 dollars and clamps to the shelf above the tray. The fixture should sit 6 to 10 inches above the tray and run on a 7 dollar outlet timer.
Three apartment setups that actually work (pick by your space)
The first setup, and the cheapest, is a single 10×20 tray on a south-facing windowsill. The tray sits on the sill or on a small stand directly in front of the glass.
The 10×20 tray is the standard apartment microgreens seed tray because it fits on any windowsill and holds enough volume for the 1 to 1.5 inches of growing medium the crop needs. A shallow tray dries faster and asks for more frequent watering.
The growing medium inside the seed tray matters too. Coco coir and peat-based mixes are the apartment standard because they hold moisture without compacting. A peat mat or hemp mat is a clean alternative for renters who do not want to handle loose medium.
Perlite and vermiculite are sometimes mixed in for drainage, but a plain coco coir or peat mix works fine for radish, broccoli, kale, and pea shoots.
Blackout the tray for two days with a second inverted tray, then move it to the light. Harvest in 8 to 11 days.
The blackout period is the part most renters skip. Without two days of dark, the cotyledons emerge pale and the stems stretch before they harden. An inverted second tray on top of the sown seed tray creates the weighted blackout dome the crop needs.
The second setup is the north or east windowsill plus a clip-on LED, which is the configuration most renters actually need. The tray sits on a small stand or a shelf at the windowsill, and a 25 dollar full spectrum clip-on LED is mounted 6 to 10 inches above the tray.
The clip-on LED compensates for the photoperiod gap that north and east windowsills always have.
The third setup is a two- or three-shelf unit with a single LED panel per shelf. Each shelf holds one 10×20 tray. Each shelf gets its own LED panel running on the same timer. Sow dates are staggered by three or four days so the harvest comes in rotation.
A 3-shelf setup produces roughly 300 to 600 grams of microgreens per week from a 24-by-36-inch floor footprint.
What does not work, and is worth naming clearly, is a single tray on a kitchen counter away from any window. The ambient light in an apartment kitchen at night is roughly 5 to 15 foot-candles.
In the daytime with no direct sun it is roughly 50 to 100 foot-candles. The trays germinate but the cotyledons stay pale and the stems fall over by day 9.
Best microgreen species for apartment conditions
Radish is the most forgiving species for an apartment microgreens setup. The seed is large, germinates in 2 to 3 days, and the cotyledons open by day 5 to 6 under adequate light.
Radish tolerates a 10 to 20 percent shortfall on the light floor better than broccoli or kale, which makes it the right starter species for any renter who has not measured their windowsill light yet. The flavor is spicy and the harvest window opens at day 8 to 10.
Broccoli is the second-best starter and the one most microgreens growers settle on after a few cycles. The seed is small and slow to germinate (3 to 4 days), but the cotyledons are dense and the harvest yields a clean mild flavor.
Radish, broccoli, kale, arugula, and mustard all share the brassica cotyledon pattern, which is why the dense sowing density numbers above apply to all of them in roughly the same range.
Pea shoots are the highest-yield species per tray but the most space-demanding. The seed is large, the soaking step adds a day, and the trays need 4 to 5 inches of vertical clearance because the shoots stretch to 3 to 4 inches before the tendril stage.
Pea shoots are also the most forgiving on low light. They finish in dim apartments where broccoli struggles. The full seed-density and harvest protocol for each species is covered in the microgreens seeds guide.
The harvest window for pea shoots is wider than radish or broccoli, ranging from day 8 to day 14 depending on whether the renter wants shoots or tendrils. Cilantro and basil microgreens are slower and most renters should not start with them.
Sunflower microgreens are a fourth option for renters with steady heat. Sunflower stalls below 65 F and is a poor fit for chilly apartments in winter.
Mold and damping off in low-light apartments
Mold shows up in apartment microgreens trays more often than it does in greenhouse or commercial setups. The reason is humidity without airflow.
A bathroom or kitchen windowsill with the door closed can hold 70 to 80 percent relative humidity. That is the range where damping off (Pythium) and surface mold (Penicillium, Aspergillus) both take hold.
The first sign is a white fuzz at the base of the stem or a web across the medium surface. Once mold is visible, the tray is usually unsalvageable, so prevention matters more than recovery.
The first prevention move is airflow. A small clip-on fan running across the tray for 30 to 60 minutes twice a day drops the boundary-layer humidity enough that mold spores cannot colonize the stem base.
The second prevention move is seed density. The standard microgreens sowing density for a 10×20 tray is roughly 1 to 1.5 tablespoons of small seed (broccoli, radish, kale, arugula, mustard) or 1.5 to 2 cups of large seed (pea, sunflower).
Dense sowing is the single biggest mold risk in an apartment setup, because dense sowing creates a canopy that traps moisture and blocks airflow at the medium surface.
A humidity dome over the seed tray during germination keeps the surface moist without saturating it. Misting with a spray bottle on day 0 and day 1 is enough.
Bottom-watering (pouring water into the tray and letting it wick up through the drainage holes) keeps the canopy dry and is the single best apartment-specific watering move for any 10×20 tray.
The fourth prevention move is seed quality. Old seed or seed stored in a humid kitchen pantry carries a higher mold-spore load. Seed stored in a sealed container in the refrigerator for under a year is the cleanest baseline for cotyledon-stage food safety.
When an apartment setup actually fails (and what to do)
Yellow, stretched, leggy microgreens are the most common apartment failure, and the cause is almost always light shortfall. The cotyledons open but stay pale because the plant is putting energy into stem elongation to find more light.
The recovery move is to add light immediately by moving the tray to a brighter spot, adding a clip-on LED, or raising the tray closer to the existing light source.
A second failure is a tray that germinated well but stalled at the cotyledon stage with no further growth. The cause is usually temperature. Below 60 F, the cotyledons open but the meristem stalls.
A third failure is a tray that germinated, then collapsed at the base. This is damping off, and the cause is a combination of overwatering, low airflow, and contaminated seed. The tray is not salvageable.
A fifth, less common, failure is a tray that grew fine but tastes off or makes the renter queasy. This is a food safety flag, not a light or water issue.
Microgreens are cut at the cotyledon stage with clean scissors and rinsed briefly under cold water before they go into a meal. If the tray sat wet for too long or the seed was old, the cotyledons can carry surface bacteria that a quick rinse will not fully remove.
Across all five failure modes, the diagnostic rule is the same. Identify whether the failure is light, temperature, water, or seed, and fix that single variable. For renters who want a deeper treatment of the harvest, storage, and clean-cut side of the crop, the harvest window guide covers day-by-day indicators that the crop is ready to cut.
The temptation is to change everything at once, which means the next tray teaches nothing. Apartment microgreens debugging is a one-variable-at-a-time discipline.
An apartment microgreens setup is realistic when the renter accepts the light, the tray footprint, and the 8 to 14 day harvest window as fixed constraints rather than variables to optimize.
The configurations on this page assume the tray sits in 250 to 350 foot-candles for 14 to 16 hours a day and the apartment sits between 65 and 75 F. Outside that envelope, the setup will not produce dense harvestable microgreens, and no seed or watering schedule changes that.
From Bank Statement to QuickBooks-Ready File
That manual cleanup you just read about? This tool skips it. Turn your PDF into QBO for QuickBooks without storing your data anywhere.
Start Converting