A Haworthia with yellowing leaves is telling you something specific — but the message depends on the pattern. Four distinct yellowing patterns exist in this genus, and they are easy to confuse because the symptom looks the same at first glance. A Haworthia with mushy yellow lower leaves has a completely different problem from one with bleached upper leaves, and the fix for one will kill the plant if applied to the wrong pattern.
The three signals that separate the patterns are leaf firmness, which leaves are affected, and the leaf surface condition. Firm leaves mean the cells are hydrated and intact. Soft or mushy leaves mean cell walls have broken down from rot or physical damage, which creates the soft yellow-brown translucency that distinguishes overwatered roots from sun-damaged or nutrient-deficient plants. Translucent yellow leaves that collapse at the touch are almost always root rot. Dry yellow or brown patches on the surface of the upper leaves are sunburn. Uniform pale yellow across all leaves with elongated spacing indicates etiolation. And a single yellowing wrapper leaf at the base of a healthy rosette is normal senescence — no action needed.
Below is the step-by-step diagnostic for each pattern, starting with the quick key that routes you to the correct fix within thirty seconds of examining your plant.
The Four Yellowing Patterns — A Quick Diagnostic Key
Run through these three questions in order. First: are the yellow leaves mushy and translucent, or are they firm but pale? Mushy = water problem. Firm = light or nutrient problem. Second: which part of the rosette is affected — the outer/lower leaves, the top/new leaves, or every leaf evenly? Outer/lower leaves point to root zone issues (overwatering or age). Top leaves point to surface issues (sunburn or light quality). All leaves evenly points to a systemic issue (chronic low light or lack of essential nutrients). Third: is the plant also stretching or has it maintained its compact form? Stretching plus pale color equals etiolation, which is the easiest and most reversible cause.
Use this cheat sheet: mushy + lower + compact = overwatering root rot → go to H2. Bleached + upper + compact = sunburn → go to H3. Pale + all + stretched = etiolation → go to H4. Firm + lower + compact + single leaf = natural aging → no action. Firm + all + compact = nitrogen or nutrient deficiency → go to H5. For a full overview of Haworthia anatomy and normal leaf color, the Haworthia plant care complete guide covers the healthy baseline.
Overwatering — Mushy Yellow Lower Leaves
Overwatering is the most common cause of yellow leaves in Haworthia and the most dangerous because by the time leaves turn yellow, the roots have already been damaged. The mechanism: when the gritty mix — which needs sharp drainage — stays wet for more than ten days, anaerobic bacteria multiply in the root zone and begin breaking down the fine fibrous roots. The damaged roots cannot deliver water or nutrients to the outer leaves, which respond by yellowing and softening in a pattern that starts at the leaf tip and spreads toward the base. If you squeeze a yellow lower leaf between your fingers and it feels watery and collapses, the root system is already compromised.
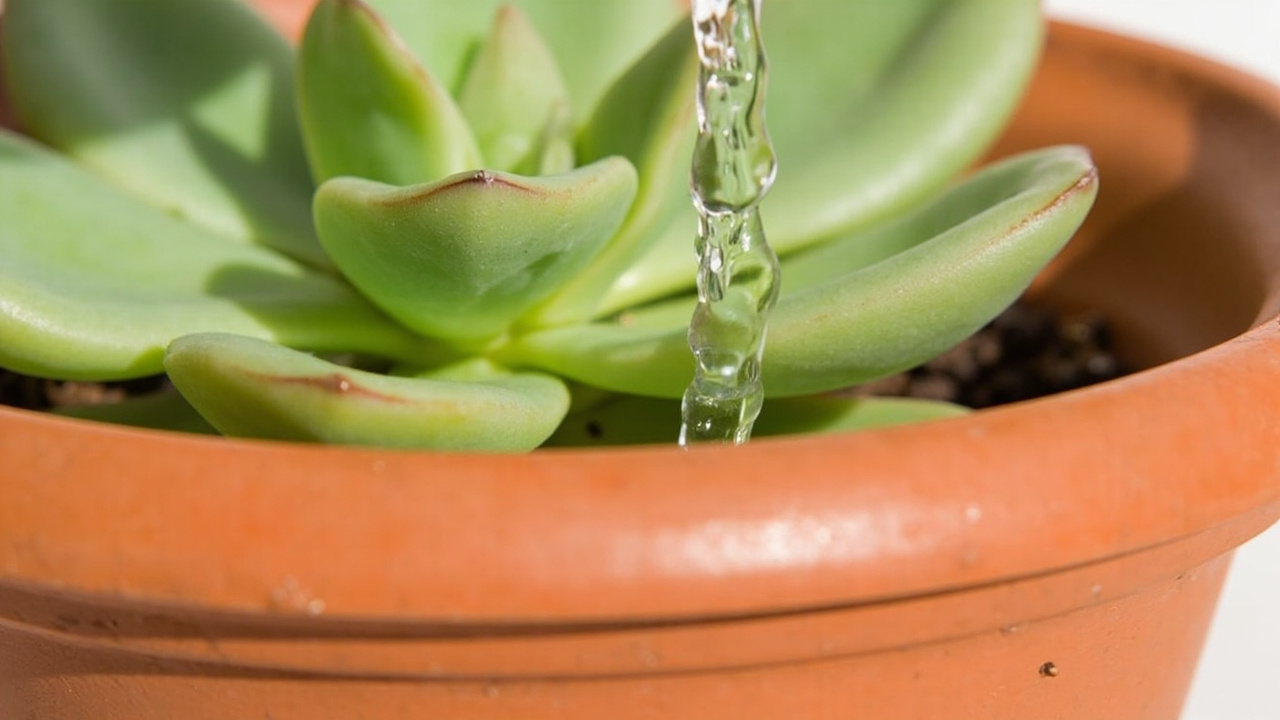
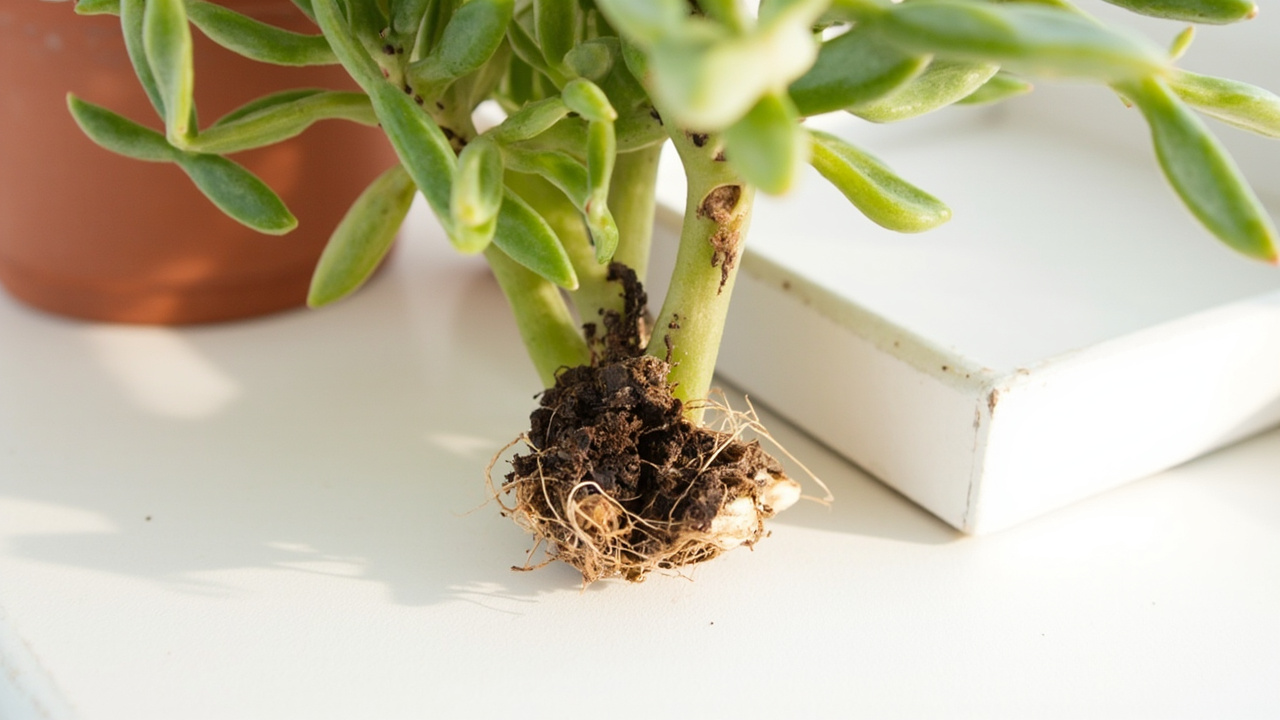
The fix depends on whether the damage has reached the crown. If only a few lower leaves are mushy-yellow and the upper rosette is still firm, stop water immediately and check that the pot has proper drain holes. The standard gritty mix for Haworthia — pumice, scoria, and minimal organic matter — should promote soak and dry cycling, not constant moisture. Let the pot dry out completely — this can take ten to fourteen days in a standard gritty mix, longer if the pot is oversized, glazed, or lacks adequate drain holes. A terracotta pot is ideal for recovery because it wicks moisture from the soil. After the medium has dried, check whether the roots have any firm white sections left. If yes, repot into fresh dry gritty mix and wait five to seven days before the first watering. If the entire root system is brown, mushy, or hollow, the rot has progressed past the point where drying alone can fix it. Remove all rotten roots, trim the remaining healthy tissue, and treat as a fresh cutting — let it callus for 48 hours before replanting in dry mix. The Haworthia watering guide covers the soak-and-dry watering rhythm that prevents recurrence once the roots have recovered.
One caveat: do not confuse overwatering yellow with the dry-mush pattern of severe underwatering. An underwatered Haworthia also develops soft lower leaves and may wilt at the tips, but the leaf surface looks deflated and wrinkled rather than translucent. When you squeeze an underwatered leaf, it feels hollow and leathery, not watery. The next section covers the low-light pattern that produces a similar pale color without the leaf collapse.
Sunburn — Bleached or Scorched Upper Leaves
Haworthia is a low-light succulent that grows under shrubs and rock overhangs in its native South Africa. When moved from a bright indoor windowsill directly into afternoon sun, the leaf windows — the translucent tips that let light into the inner leaf — blanch as the chlorophyll breaks down faster than the plant can replace it. The result is a bleached, papery yellow or whitish patch on the upper side of the leaves, concentrated on the newest leaves at the center of the rosette because those are the most exposed.
The fix is relocation, not surgery. Move the Haworthia to bright indirect light and the bleached leaves will not recover their original color — they are permanently damaged — but the next flush of new growth at the center will emerge with normal dark green pigmentation. The damaged outer leaves can stay on the plant until they crisp and fall off naturally; removing them early creates open wounds that invite pests. New leaves in the center that emerge green confirm the light level is now correct. The Haworthia light requirements guide has the exact foot-candle and placement recommendations for each species.
Severe sunburn also causes brown necrotic patches — these are leaf sections where the temperature under direct sun exceeded what the cell walls could tolerate. Trim only the dead tissue with sterile scissors if you find brown spots; leave the surrounding green tissue intact because it is still photosynthesizing. A Haworthia with mild sunburn bounces back within one growing season as long as ambient humidity stays moderate and the plant is not subjected to drought stress.
Low Light and Etiolation — Pale, Stretched, Yellow-Green
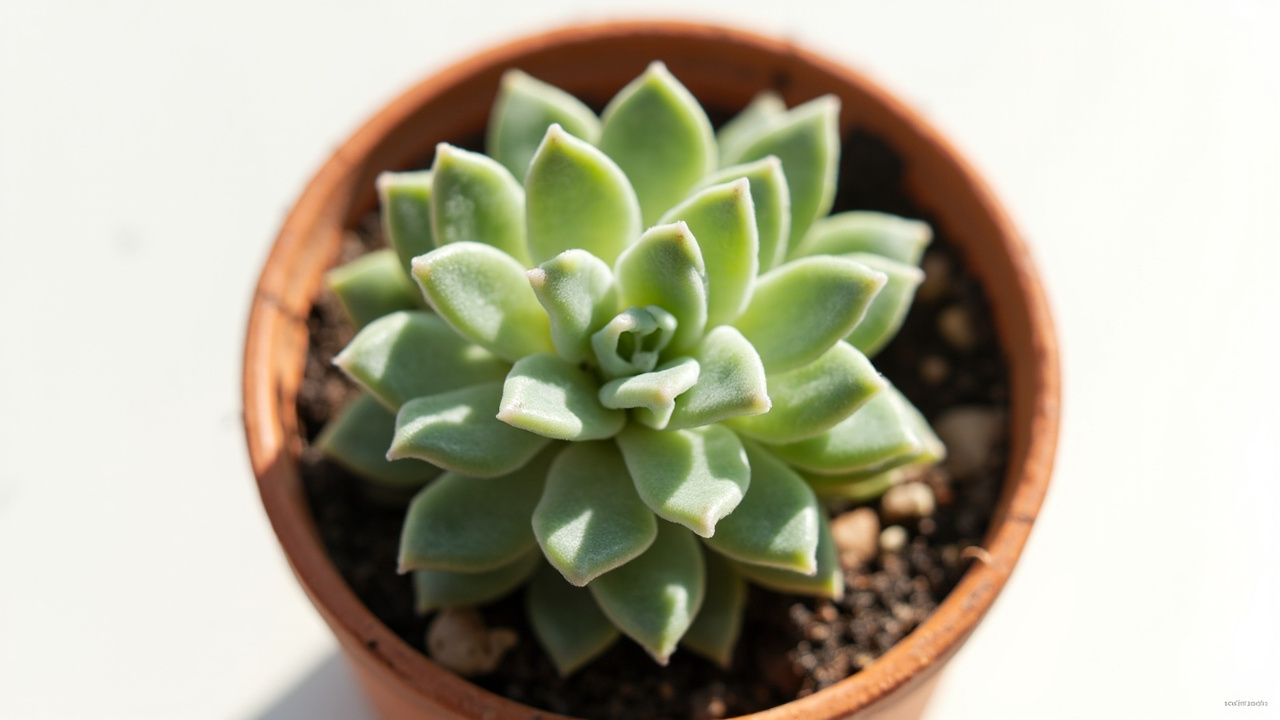
When a Haworthia does not get enough light, it stops producing the dark anthocyanin and chlorophyll pigments that give the leaves their rich green or brown-green color. The new leaves that emerge at the center are pale yellow-green, narrower than normal, and spaced farther apart than on a compact plant. This combination of pale color and elongated spacing is etiolation, and it is the most reversible yellowing pattern if caught early.
The cause is insufficient light intensity — usually a north-facing window or a spot more than three feet from an east-facing window. Unlike aloe species that tolerate full sun, Haworthia needs bright indirect light at 1,500 to 2,500 foot-candles — it evolved in the shade of shrubs for at least six hours daily to maintain compact growth and normal pigmentation. Under LED grow lights, place the plant six to eight inches below the grow light running 12 to 14 hours per day.
To reverse etiolation, move the plant gradually to brighter light over one week — sudden high light after low light causes sunburn, which compounds the problem. The existing stretched leaves will not become shorter, but the new center growth will emerge compact and dark green once light levels are adequate. If the stretching is severe and the rosette has lost its shape entirely, beheading and re-rooting the compact crown is the fastest path to a normal-looking plant. The Haworthia stretching and etiolation guide covers the beheading technique in full detail.
Nutrient Deficiency and Natural Aging
Nitrogen deficiency produces a uniform pale yellow across all leaves, not concentrated on the lower leaves or upper leaves. The leaf surface stays firm and smooth — no translucency, no mushiness, no dry patches. This pattern is rare in recently potted Haworthia because fresh gritty mix contains enough organic matter to supply nitrogen for the first growing season. It appears after two or more years in the same pot especially when the plant has become rootbound and the organic component of the growing medium has decomposed fully and the mineral substrate holds no nutrients.
The fix is to repot into fresh gritty mix that contains a small organic fraction, or to apply a diluted succulent fertilizer at quarter-strength during the growing season. Use a fertilizer with an NPK ratio of 2-7-7 or similar low-nitrogen succulent formula — high-nitrogen fertilizers cause soft, leggy growth in Haworthia that is worse than the original yellowing. One application per month from April to September, after any transplant shock from repotting has subsided, outside the winter dormancy period, is enough on a plant that has been in the same pot for over two years.
Natural aging, by contrast, affects only the outermost ring of leaves — the oldest leaves on a healthy rosette. These leaves turn yellow, then brown, then crisp and drop off one at a time. The rest of the rosette stays dark green and compact. This is normal leaf turnover and requires no action. Do not remove the yellowing leaves prematurely; the plant is reabsorbing mobile nutrients from them. Pulling them off interrupts this process and wastes resources the rosette could have used for new root growth. The Haworthia soil mix guide has the gritty mix recipe and repotting schedule that prevent nutrient deficiencies from developing.
When to Cut Your Losses and Propagate
There is a point where the rosette is too far gone to save. The four clear signals are: the entire crown has turned yellow, soft, and translucent (crown rot has reached the growth point); the trunk collapses when you squeeze it gently above the soil line (internal rot has hollowed out the stem); every leaf on the plant is yellow and mushy regardless of position (the root system has completely rotted and the vascular tissue is gone); or the plant has been pale and stretched for more than six months with no improvement after correcting light and water (chronic weakness, not normal winter dormancy).
In these cases, save the healthy offsets or leaves before the rot spreads. Haworthia offsets that are still firm and green at the base can be separated from the mother plant with a clean knife and potted in fresh dry gritty mix. Even single leaves that are fully turgid — not mushy, not translucent — can be propagated as leaf cuttings, though Haworthia leaf propagation is slower and less reliable than offset division. Discard any leaf that shows translucency, mushiness, or brown rot at the base. The Haworthia propagation guide has the exact cutting, drying, and rooting steps for offsets and leaf cuttings.
Turn any PDF statement into a clean sheet
Skip the typos and the hours of copying. Our converter handles any bank statement format and outputs Excel, CSV, or QBO for QuickBooks. No file retention, free to try.
Convert your statement