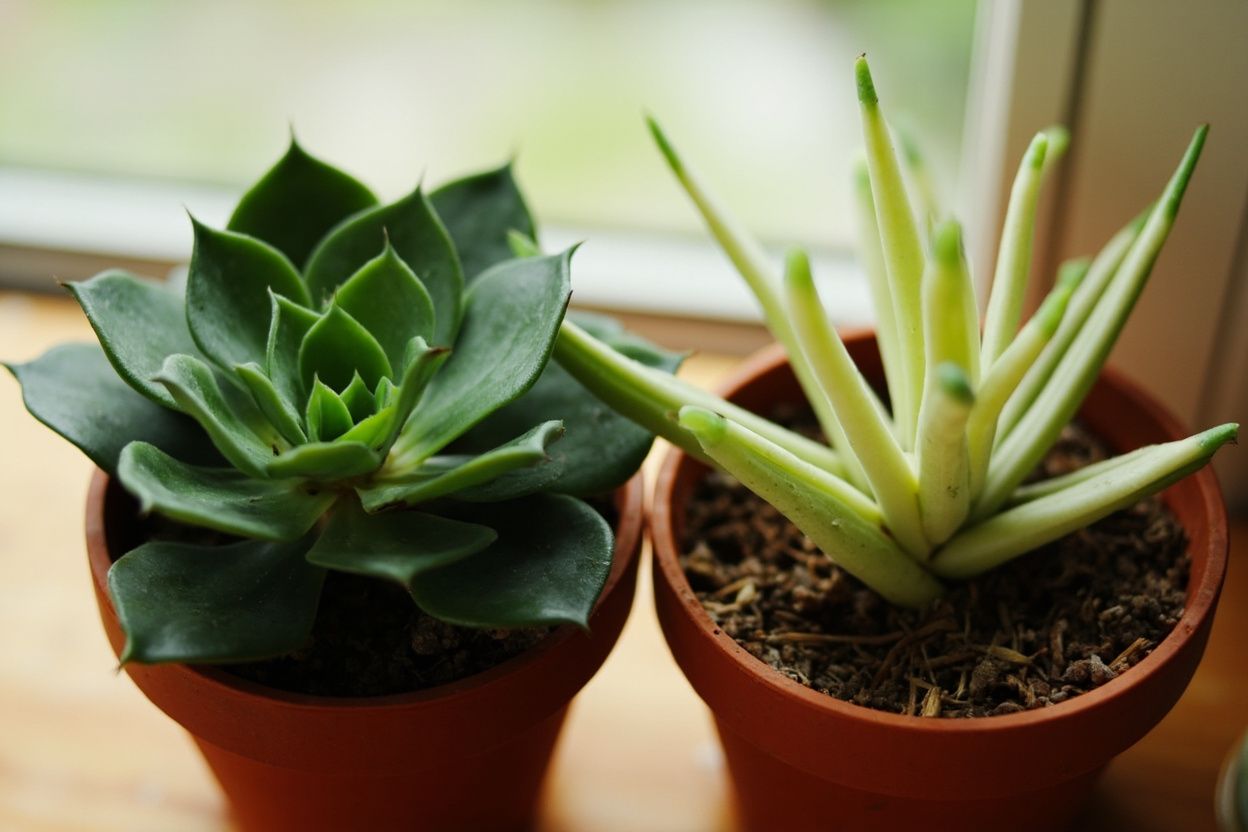
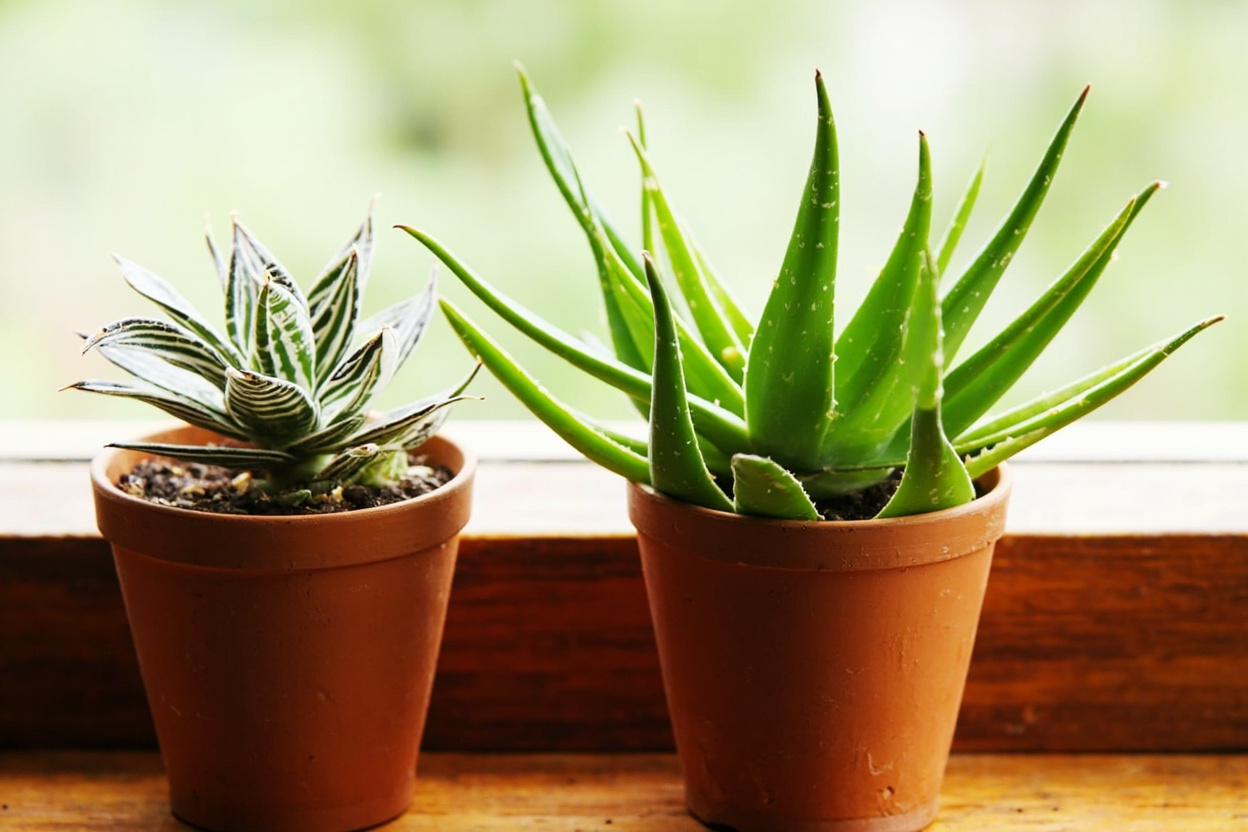
Haworthia propagation runs on three methods — division of offsets, leaf cuttings, and seed starting — and they are not interchangeable. Division is the most reliable because the offset already carries a working root system, leaf cuttings on Haworthia hover around a 30 to 40 percent success rate, and seed-grown plants take two to three years to look like recognizable Haworthia. If you have a mature Haworthia that has produced pups, division is the path of least resistance and the one I reach for first.
Why offsets root so easily comes down to biology: a pup is not a cutting, it is a small rosette with its own crown and fibrous roots that has been quietly feeding off the mother plant. Pull it away with even a sliver of root attached and it behaves like a transplant, not a wound. That is why the Echeveria leaf-twist method, which works beautifully on Echeveria, fails on Haworthia — the leaf is the whole plant in one genus, and only a wounded limb in the other.
Below is a procedural guide covering separation timing, the first four weeks of aftercare, the specific leaf-cutting technique that improves your odds, seed-starting with stratification, and the three failure modes that kill most home propagations.
Why Division Is the Most Reliable Haworthia Propagation Method
Division works on Haworthia because the offset, sometimes called a pup, is a self-contained young rosette. By the time it is large enough to handle, typically one-third to one-half the diameter of the mother, it has its own root system branching off the shared basal stem. Lift the mother out of its pot, brush away the gritty mix, and you can usually see the connection point as a pale neck between the two crowns.
Reliability ranking for the three methods, in practical terms: division sits at the top with success rates above 90 percent for healthy clumps, leaf cuttings trail behind at 30 to 40 percent, and seed germination is variable but generally strong when fresh. The ranking is not a value judgement on the other methods — leaf cuttings and seed are worth doing for variegated cultivars and rare forms that do not pup freely.
Because the pup already has roots, division skips the slowest part of propagation. There is no callus to form, no weeks of waiting for a leaf to push a plantlet, and no risk of the offset collapsing from drought before it can establish. If your Haworthia has produced offsets, that is the method to use, full stop. For broader care context on the mother plant, read the Haworthia plant care complete guide before you start.
When and How to Separate Haworthia Offsets
Best timing is spring through early summer, when the rosette is out of its winter dormancy and pushing active growth. Pups separated during the warm months root within three to four weeks after separation and resume normal watering quickly. Avoid dividing in deep winter when the plant is resting; cuts made in cold, dry conditions heal slowly and the pup may sit for months without rooting.
Step one: stop watering the mother plant five to seven days before you plan to divide. A slightly dry root ball is easier to tease apart and the wound will be cleaner. Step two: tip the pot, slide the entire root mass out, and crumble the gritty mix off the roots with your fingers. You should see the offsets attached to the mother by a short stem or a shared rhizome. Step three: with clean hands or a sterile knife, snap or cut the connecting stem, keeping as much of the pup’s own fibrous roots intact as possible. Roots torn from the mother heal; roots torn from the pup set you back.
If the offset is still small and tightly fused to the mother, leave it for another season rather than forcing the separation. A pup under one-third the mother’s diameter often has underdeveloped roots and will sulk after division. A light tug test helps: if the offset resists and the mother rocks when you pull, wait. The Haworthia soil mix guide covers the right ratio of pumice to organic matter for a freshly separated pup.
Potting and Aftercare for Separated Haworthia Pups
Set the separated pup aside in a shaded, dry spot for 24 to 48 hours so any torn roots or cut surfaces can form a thin callus. This is non-negotiable for offsets with damaged roots; it is optional for pups that came away with a clean break and full root system. Skip the callus step and you invite rot the first time you water.
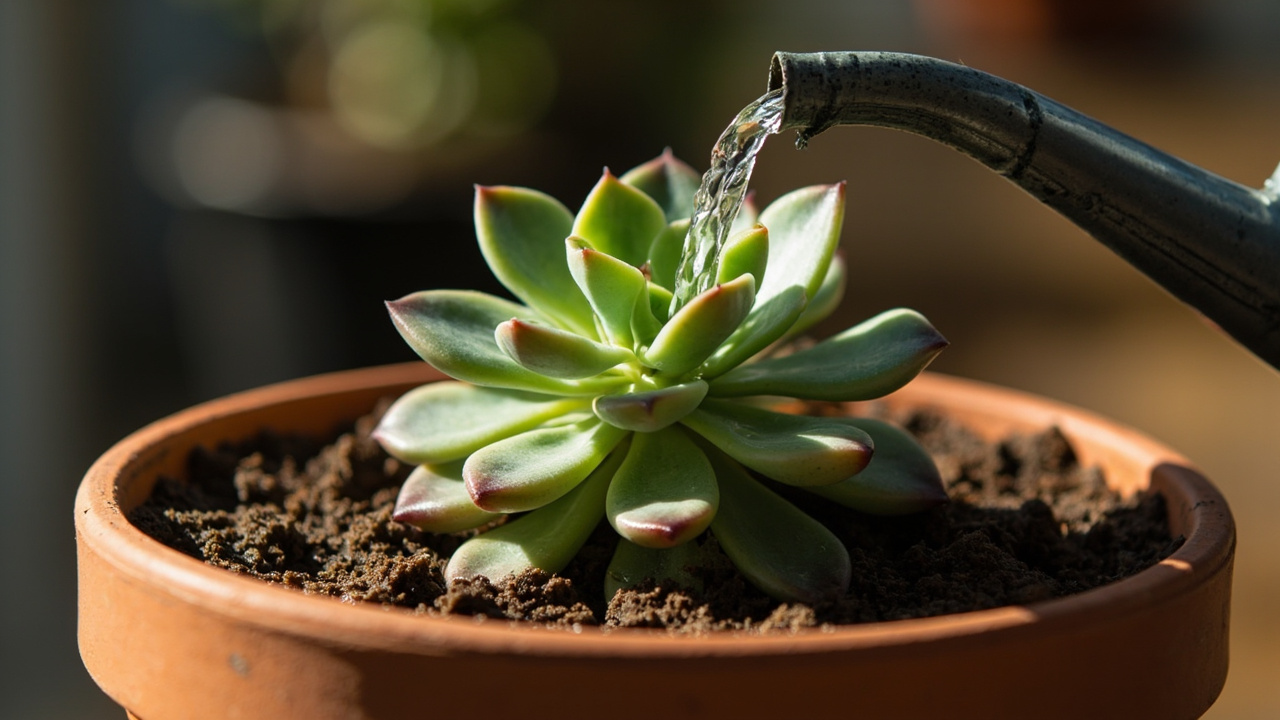
Pot in a small terracotta container — a two-inch pot is plenty for a single small pup — using a gritty mix built for mineral substrate drainage. Pure pumice or a 60/40 pumice-and-loam blend both work; the goal is fast drainage and air around the roots. Do not water for the first seven to ten days. The pup has stored moisture in its leaves and any new roots it pushes will seek moisture downward on their own.
First month schedule: bright indirect light only, no direct midday sun, and water sparingly once roots have begun to regrow. You can confirm rooting with a gentle tug after week two — resistance means new roots have anchored. By week four to six the pup should look like a mature plant: compact rosette, plump leaves, no wilting. Resume your normal watering routine from there, soak-and-dry cycles rather than frequent misting. The Haworthia watering guide goes deeper on the soak-and-dry rhythm for established plants.
Haworthia Leaf Cuttings — Lower Success but Worth Trying
Yes, you can propagate Haworthia from a single leaf, but the technique differs from Echeveria in one critical way: you need a clean pull that includes a small wedge of stem tissue at the base of the leaf. Haworthia leaves attach to a short underground stem, and the meristematic tissue that produces a new plantlet lives in that junction, not in the leaf body itself. A clean snap that leaves the white basal tissue intact has a real chance; a tear that rips the leaf away from the stem has none.
Grip a healthy outer leaf close to the stem, twist slowly, and listen for a soft pop. If the leaf detaches with a visible white dot at the base, you have what you need. If it tears green, discard it and try another. Set successful pulls on a paper towel in a shaded spot and let the cut end form a callus in five to seven days. Dipping the callused end in a light dusting of rooting hormone is optional but improves odds on stubborn species like Haworthia cooperi and Haworthia truncata.
Lay the callused leaves on top of a moist, sterile gritty mix — do not bury them — and place the tray under bright indirect light with steady warmth. Mist the surface every few days rather than watering from below, because the emerging plantlet is feeding off the parent leaf and sitting in wet medium is the fastest way to lose the whole cutting to root rot. Expect a tiny rosette and a fragile root system to appear within six to ten weeks, then another three months before the plantlet is large enough to pot on its own. The Haworthia light requirements guide covers the positioning and grow light setup that prevents etiolation in young plantlets.
Growing Haworthia From Seed — The Long Game
Growing Haworthia from seed is the slowest propagation method but the only way to produce large quantities of rare or variegated cultivars that rarely produce offsets. The South African National Biodiversity Institute recommends fresh seed sown within four weeks of harvest for best germination, though properly stored dry seed in a refrigerator can remain viable for up to eighteen months. Expect germination rates between 50 and 70 percent with fresh seed under ideal conditions.
Sow seed on top of a fine-grade gritty mix in a shallow germination tray. Do not bury the seed — Haworthia seed needs light to germinate. Mist the surface with distilled water, cover with a clear dome to maintain humidity around 70 percent, and place the tray under bright indirect light at a steady 70 to 75 degrees Fahrenheit. Germination takes two to four weeks. Remove the dome once the first true leaves appear to prevent damping off.
The honest limit: Haworthia seedlings grow slowly. After eight to twelve months they reach transplant size — roughly a quarter-inch rosette that can be moved into individual two-inch pots. Full mature form with species-typical leaf shape and translucency takes two to three years. Seedlings are prone to etiolation in the first winter if light levels drop, so a grow light set six inches above the tray is a worthwhile investment if you are serious about seed propagation. The Haworthia varieties guide helps you identify which traits to look for as your seedlings mature.
Common Haworthia Propagation Mistakes and How to Avoid Them
Mistake one: watering a freshly separated pup before roots have formed. A pup without an active root system cannot take up water, and moisture in the soil around the wound site triggers bacterial rot that kills the offset within days. The fix is a dry period of seven to ten days after potting — the pup lives off stored leaf moisture until new fibrous roots reach into the gritty mix.
Mistake two: sunburn on recently separated offsets or leaf cuttings. Pups that were previously shaded under the mother’s rosette are adapted to low light, and placing them directly on a south-facing windowsill after division causes the leaves to bleach and shrivel within 48 hours. Acclimate young propagations gradually: start under bright indirect light with no direct sun for the first two weeks, then introduce morning sun in week three.
Mistake three: using a potting medium that holds too much moisture. Standard potting soil with peat or compost stays wet for days around tender Haworthia roots and leaf cuttings, which is exactly the environment that promotes rot. A gritty mix with at least 50 percent mineral grit — pumice, scoria, or coarse sand — drains fast enough that the cutting or pup stays aerated even after watering. If you see yellow translucent leaves or a soft base on your cutting, pull it out, trim the rot, let it callus for another week, and replant in a drier mix. The Haworthia plant care complete guide has the full troubleshooting section for post-propagation issues.
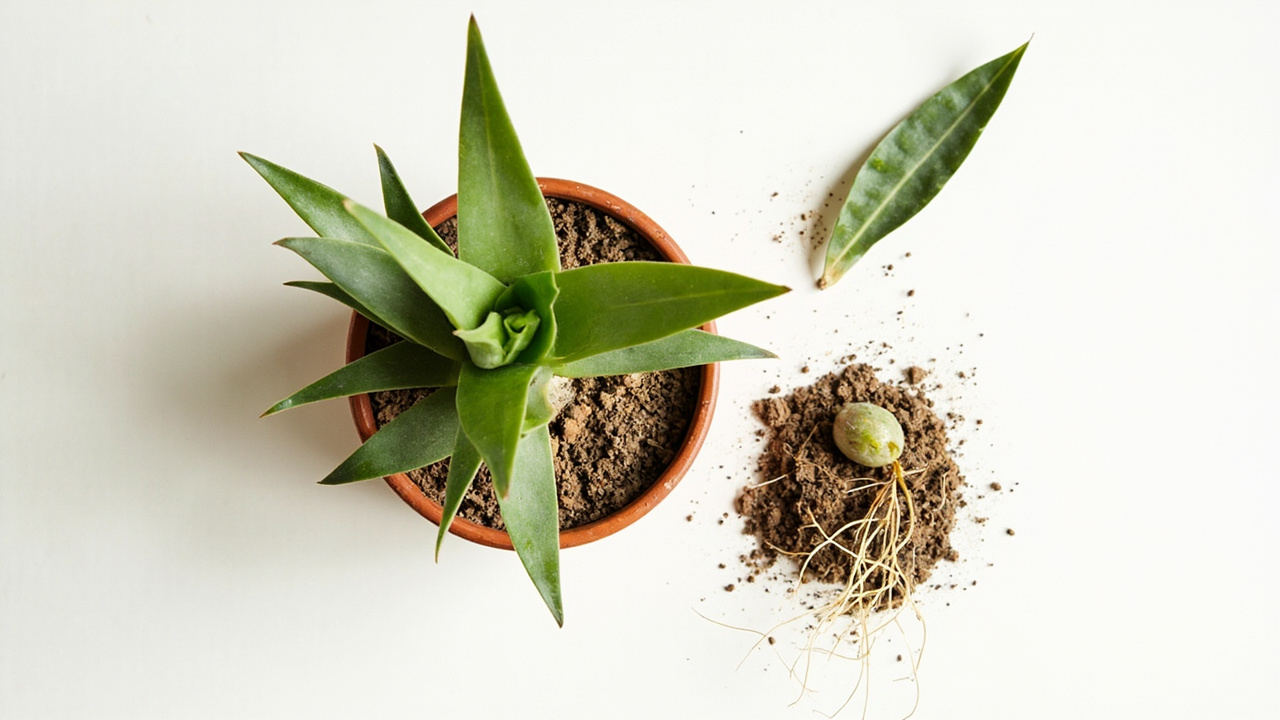
If your propagated offsets develop yellowing leaves, diagnose the cause early before it spreads to the mother plant.
Turn PDF Bank Statements Into Workable Spreadsheets
Your bank statement is a mess of numbers, but your books shouldn't be. Use our converter to get Excel, CSV, or QBO files — ready for QuickBooks.
Try It Free Now