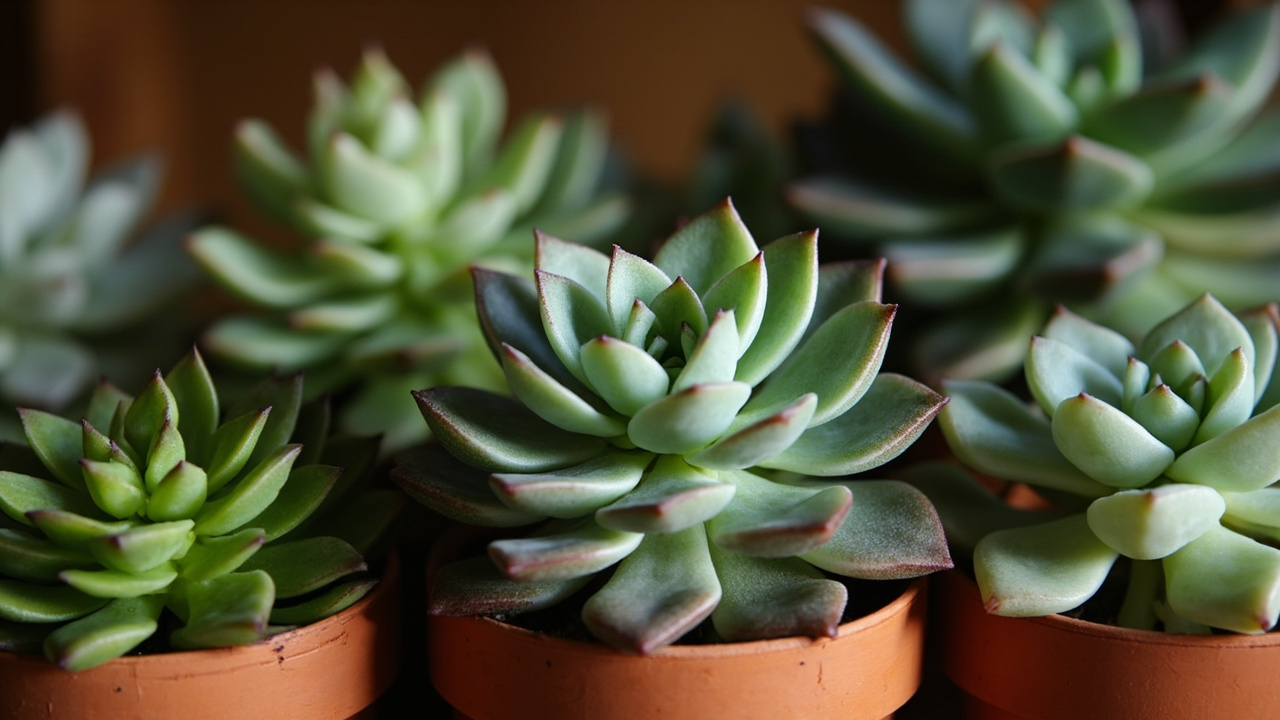
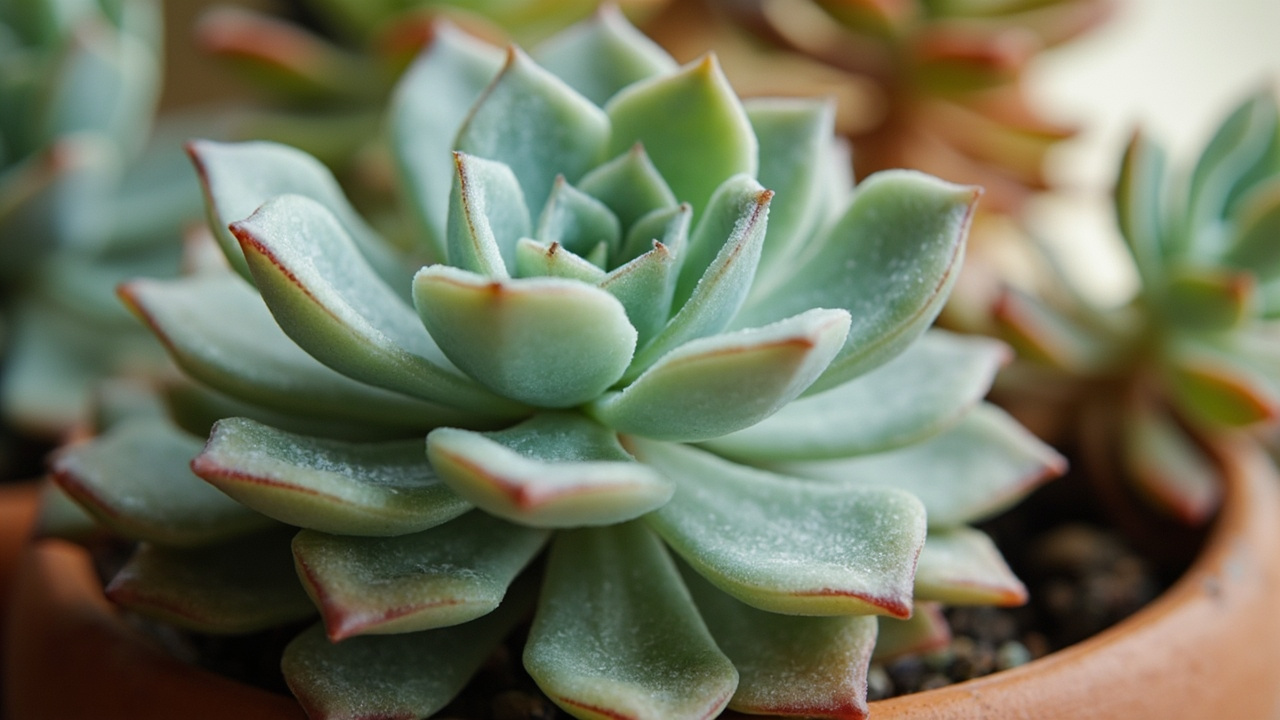
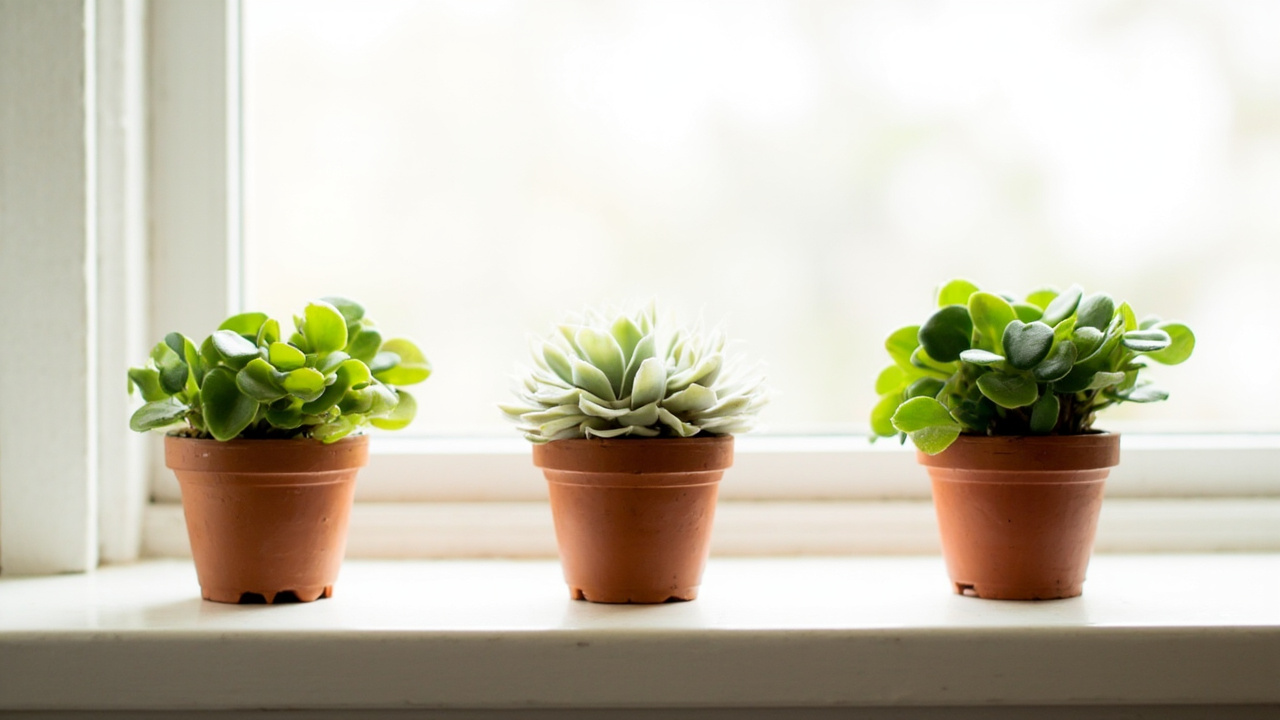
Haworthia needs repotting when the roots fill the container, the soil degrades, or growth stalls despite good care. Three reliable signs tell you which of these is happening: roots pushing through the drain holes means the pot is too small, water that runs straight through without wetting the medium means the gritty mix has broken down, and a rosette that has not pushed new leaves in two months during the growing season means the plant is running out of space or nutrients. If any of those describes your Haworthia, it is time to repot.
The key principle that drives Haworthia repotting is that this genus prefers tight, aerated root spaces over roomy containers. Haworthia roots are fibrous and relatively thin compared to other succulents — they do not form a thick taproot, and they do not spread aggressively. A pot that is one size larger, no more, gives the roots fresh mineral substrate to colonize without leaving wet pockets that trigger root rot.
Below is a step-by-step guide covering the diagnostic signals, pot selection, the actual repotting sequence with root handling, the first month of aftercare including the dry period and delayed watering, and the four mistakes that set back more repots than the procedure itself.
How to Tell Your Haworthia Needs Repotting
Signal one: roots visible through the drain holes. Haworthia grows a dense ball of fibrous roots, and when that ball fills the pot, new roots have nowhere to go but out. A few root tips poking through the bottom is normal in a healthy plant. A thick mat of roots plugging the drainage hole means the plant is rootbound and the medium inside has been fully colonized. A rootbound Haworthia cannot access fresh nutrients and its growth rate drops noticeably even with adequate light and water.
Signal one, continued: roots wrapping the inside of the pot. When you lift the plant and see a tight spiral of roots circling the inner wall, the root system has run out of room. This circling pattern eventually strangles the lower roots, leading to root rot in the compacted center of the root ball. Repotting before the spiral tightens preserves the fibrous root network and prevents the decline that follows chronic rootbinding.
Signal two: the gritty mix has degraded. Fresh Haworthia soil is loose and drains in seconds. After two to three years in the same pot, the pumice and organic components break down into a dense sludge that holds water. If you poke a chopstick into the medium and it comes out wetter and darker than expected three days after watering, the mix has lost its drainage and needs replacement.
Signal three: stalled growth during active season. A Haworthia that sits unchanged through spring and early summer despite adequate light and water is signalling that its roots have no fresh soil to draw from. The plant is not sick — it is rootbound and under-resourced. Repotting into fresh gritty mix restores growth within four to six weeks. Note that Haworthia enters a winter dormancy period when growth naturally slows or stops; do not confuse seasonal rest with rootbound stalling. If the plant is compact and firm in winter, leave it alone until spring. Underwatering during active growth can also mimic rootbound stalling, so check that the potting medium is not bone-dry before deciding to repot. For broader seasonal expectations, the Haworthia plant care complete guide covers the full annual growth cycle.
Choosing the Right Pot Size and Material
Size rule: move up no more than one inch in diameter. A Haworthia in a three-inch pot belongs in a four-inch pot, not a six-inch pot. Excess soil volume around a small root ball stays wet for too long, and Haworthia roots in wet, unaerated medium are the fastest path to root rot. The goal is a pot that the roots can fill within one growing season. Overwatering is the most common cause of Haworthia death, and an oversized pot makes overwatering almost inevitable because the soil stays wet longer than the roots can tolerate. A healthy root system in a correctly sized pot shows firm white roots with no translucency or mushiness at the root tips.
Material: terracotta every time. Unglazed terracotta breathes, wicking moisture through the clay walls and drying the medium faster than plastic or glazed ceramic. Overwatering is the biggest risk with non-terracotta containers because plastic and glazed pots hold moisture longer than the Haworthia root system can tolerate without developing rot. This drying action is exactly what Haworthia needs — a wet-dry cycle that keeps the mineral substrate aerated between waterings. Glazed ceramic pots trap moisture and suit tropical plants, not succulents with fibrous roots that need air movement around the root zone.
Drainage is non-negotiable. A pot without a drain hole is unsuitable for Haworthia regardless of how careful you are with watering. If you have a decorative container you want to use, nest a terracotta nursery pot inside it and lift the inner pot to water and drain. The Haworthia soil mix guide details the gritty mix ratios that pair best with terracotta for optimal drainage.
How to Repot a Haworthia Step by Step
Start by stopping water five to seven days before repotting. A dry root ball holds together better and crumbles off the old mix cleanly, which means less root damage during extraction. Step one: tilt the pot, tap the rim gently against a hard surface, and slide the entire root mass out. If the roots are gripping the pot walls, run a thin knife around the inside edge before pulling.
Step two: crumble the old gritty mix off the roots with your fingers. Work from the bottom and sides, brushing gently inward. Haworthia fibrous roots are thin but surprisingly tough — they tolerate gentle teasing. Remove any dark, mushy, or dried roots with clean scissors. Healthy Haworthia roots are white to pale beige and firm. Brown, hollow, or slimy roots indicate root rot or old die-off and should be trimmed to clean tissue.
Step three: add a half-inch layer of fresh gritty mix to the bottom of the new terracotta pot. Place the Haworthia root mass in the center and fill around the sides with mix, tapping the pot to settle the medium. The crown of the rosette should sit at the same soil level it had in the old pot — never deeper. Burying the crown invites rot at the leaf base where moisture collects. Water is not needed yet. The Haworthia light requirements guide covers the post-repot positioning that prevents etiolation during recovery.
Post-Repot Aftercare — First Month
Day one to seven: do not water. The roots have been disturbed and any torn or trimmed surfaces need time to form a callus. Watering a freshly repotted Haworthia before the roots have settled guarantees rot — the damaged roots cannot take up moisture and the wet medium around the wound site promotes bacterial growth. Place the repotted plant in bright indirect light with no direct sun for the first week.
Week two: water sparingly for the first time. Use a soak at the base rather than overhead watering. The fresh gritty mix drains quickly, so water until it runs through the drain holes, then let the pot drain completely. Do not let the saucer hold standing water. After this first watering, wait until the medium is fully dry before watering again — typically seven to ten days in terracotta depending on your indoor temperature and humidity.
Weeks three to four: resume normal soak-and-dry cycles. By week four the roots should have begun colonizing the fresh medium. You can confirm this by a gentle tug — if the plant resists lifting, the roots have anchored. If it lifts easily, the roots are still working and you should wait another week before tugging again. Wilting or translucent lower leaves during the first month is normal transplant shock and resolves on its own as the roots establish. The Haworthia watering guide covers the soak-and-dry rhythm for fully settled plants.
Common Repotting Mistakes and How to Fix Them
Mistake one: overpotting into a container two or more inches larger. A Haworthia in a pot that is too wide or too deep struggles because the roots cannot dry the surrounding medium fast enough. The combination of overwatering risk and slow dry-down in an oversized pot creates the exact conditions that trigger root rot. The fix is to downsize to a pot one inch larger than the root ball. If you have already overpotted, wait for the medium to dry completely — this can take ten to fourteen days in overpot conditions — then water sparingly until the roots catch up.
Mistake two: planting too deep. Burying the crown of the rosette under the gritty mix traps moisture against the lower leaves and leads to crown rot, which is often fatal. The fix: lift the plant, remove the excess mix from below the root ball, and reposition so the crown sits at the surface. If crown rot has already started, trim the affected leaves, let the wound dry for 48 hours, and replant at the correct depth.
Mistake three: immediate full sun exposure after repotting. A stressed root system cannot pump enough water to the leaves to keep up with transpiration demand under direct sun. Leaves bleach, shrivel, or develop brown scorch spots within 24 to 48 hours. The fix: keep the repotted Haworthia in bright indirect light for the first two weeks, then gradually introduce morning sun in week three. The Haworthia propagation guide covers the same recovery principles for offsets, which apply equally to repotted mother plants.
Mistake four: watering on a fixed schedule instead of checking soil dryness. Repotted Haworthia in fresh gritty mix dries faster than old degraded medium, and a calendar-based schedule either overwater or underwaters until the new dry-down rhythm is established. The fix: stick a dry bamboo skewer into the medium to the bottom of the pot every five days. If it comes out with damp particles clinging to it, wait. If it comes out clean and slightly dusty, water. This skewer test removes the guesswork during the vulnerable establishment period after repotting.
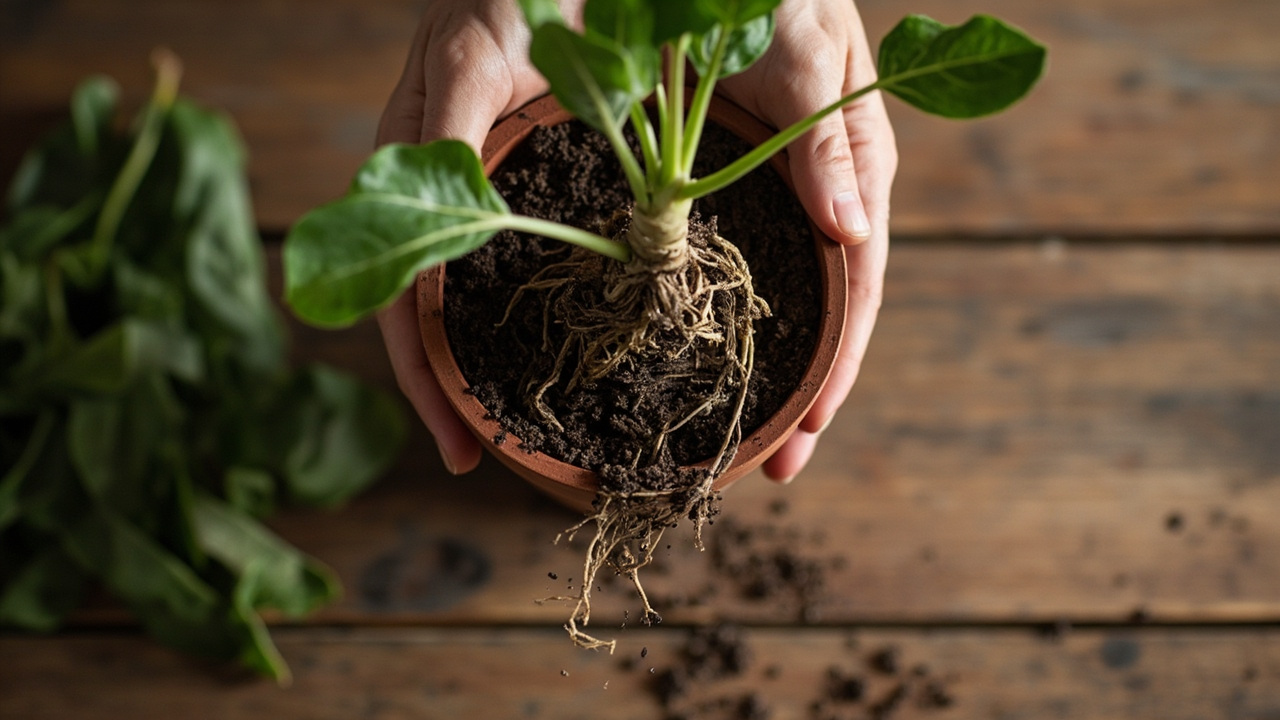
After repotting, watch for curling or soft leaves that signal transplant stress rather than a watering problem.
From PDF to Excel in one click
Forget retyping line by line. Upload any bank statement, get a spreadsheet you can actually use. Your files are never stored, and you can test the converter with 3 free conversions.