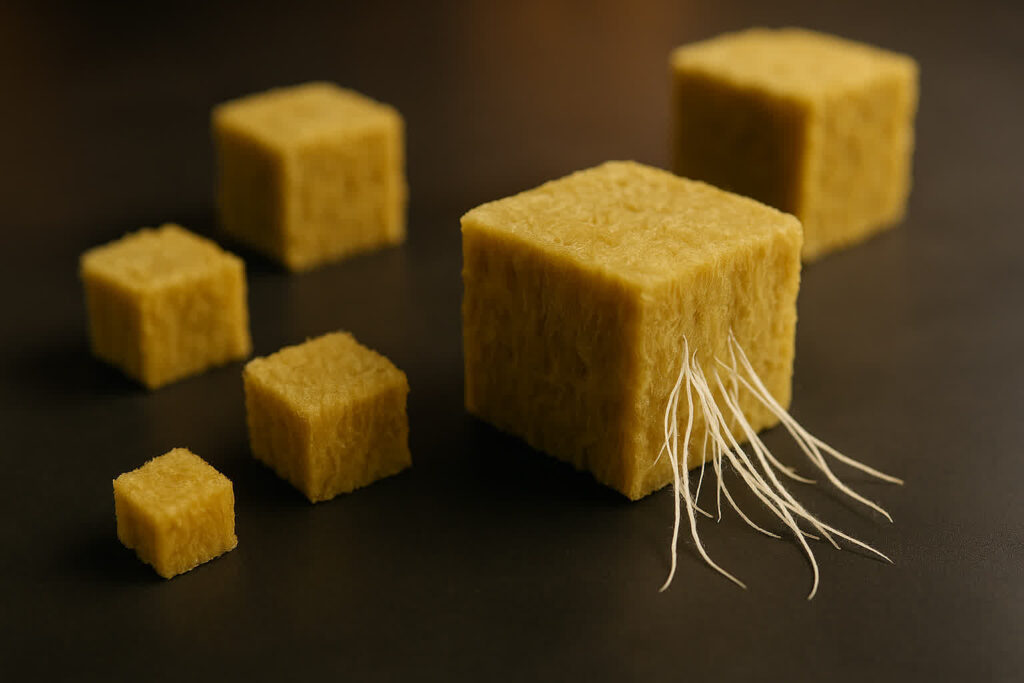
Transplant seedlings into rockwool cubes when they have at least one set of true leaves, a steady stem, and roots that can be moved without tearing. The cube should be pH-soaked, drained, and moist before the roots touch it.
The main transplant failure is not a weak seedling. It is a wet, poorly prepared cube around damaged roots. Rockwool can hold a lot of water while still looking clean, so the root zone can run out of oxygen if the cube is saturated after transplanting.
This guide focuses on the transplant itself: when the seedling is ready, how to prepare the cube, how deep to set the roots, and what to watch during the first 48 hours.
Transplant Only When the Seedling Is Ready
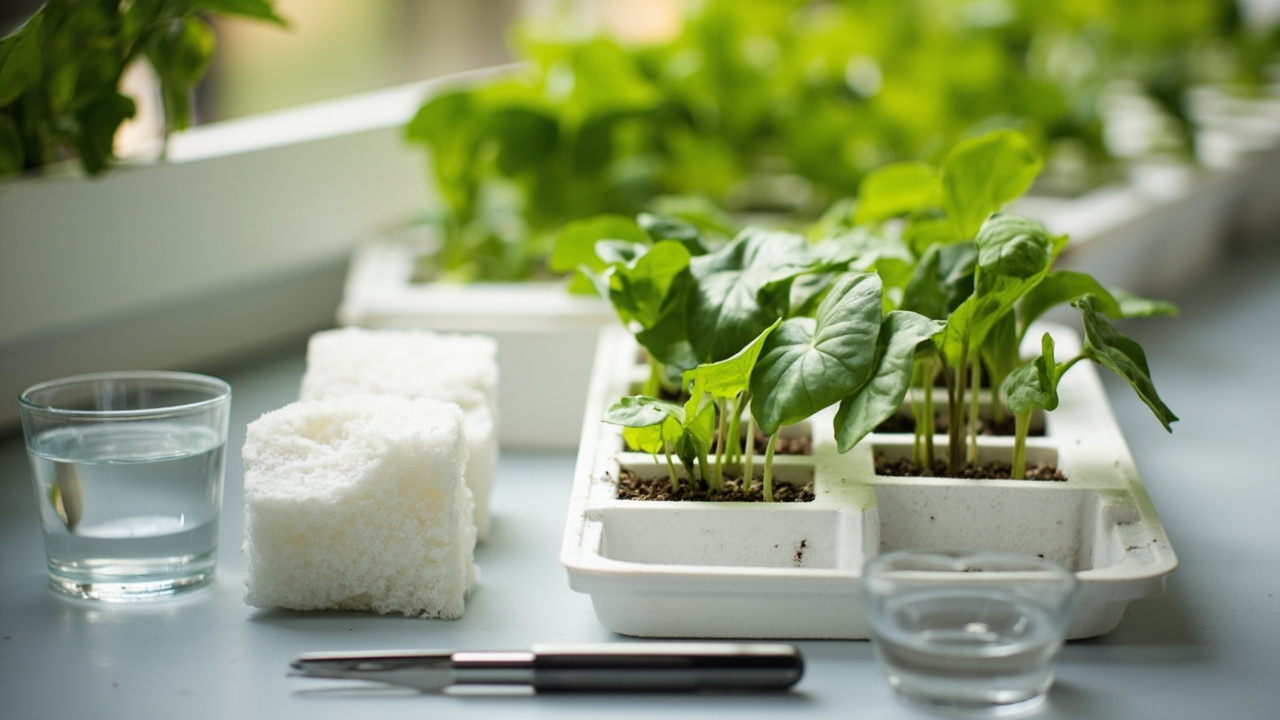
A seedling is ready for rockwool when it has moved beyond the fragile germination stage. Look for one to two sets of true leaves, a stem that can stand without collapsing, and roots that are visible at the edge of the starter plug or seedling cell.
Do not transplant at the cotyledon-only stage unless the seedling is already rooted in a small plug that can move as one piece. Bare-rooting a tiny seedling too early is the fastest way to create transplant shock. The plant has too little root mass to recover from tearing.
Moisture matters too. Move seedlings when the original medium is damp, not soaking wet and not dry. Damp media holds the root ball together. Wet media smears and breaks apart, while dry media pulls fine roots with it.
The broader rockwool hydroponic guide explains why this medium behaves differently from soil. For transplanting, the key difference is that rockwool needs careful water management from the first hour.
Prepare the Rockwool Before Roots Touch It
Rockwool should be conditioned before transplanting because new cubes are naturally alkaline. If you put seedlings into untreated cubes, the root zone can sit outside the pH range young plants expect.
- Soak the cubes in pH-adjusted water around 5.5 to 6.0.
- Let them sit for at least 30 minutes so the cube is evenly conditioned.
- Lift the cubes and let excess water drain away naturally.
- Do not squeeze the cube hard; compression damages the air spaces that make rockwool useful.
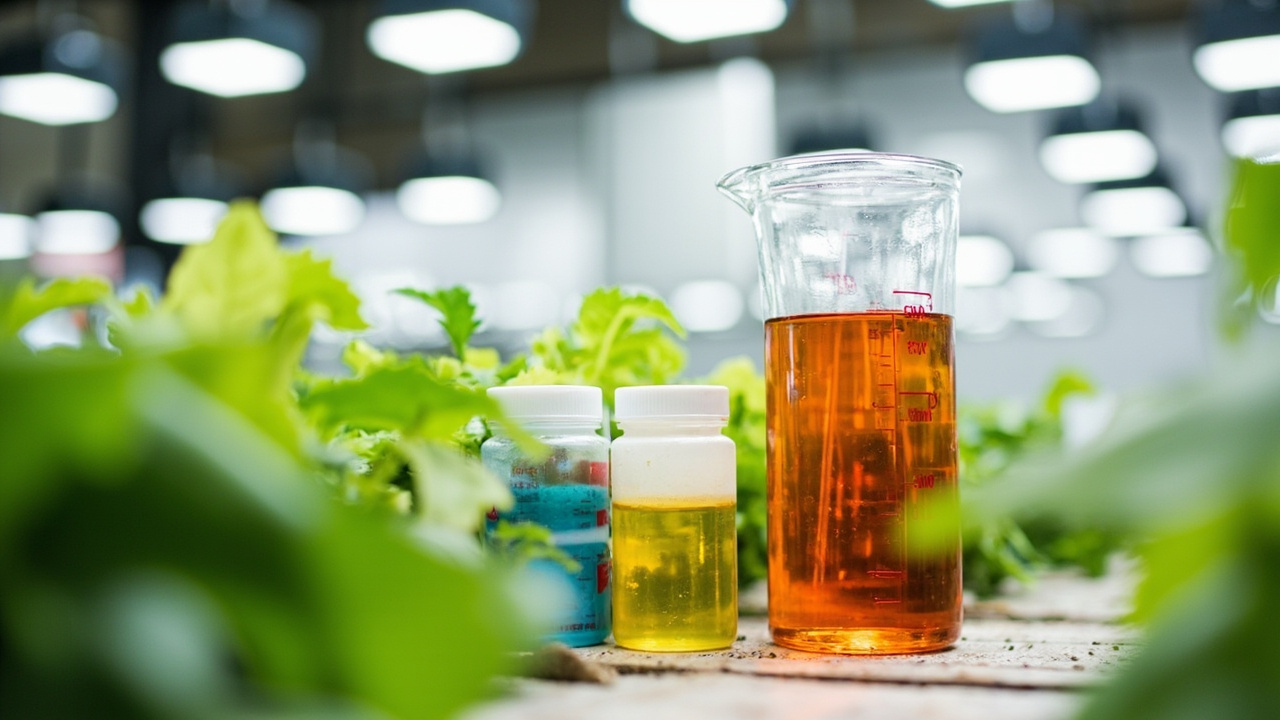
- Use only a very mild nutrient solution, if any, for young seedlings.
The cube should feel evenly moist but not dripping. If water pools around the bottom after you set it in the tray, it is too wet for a fresh transplant. If the cube surface looks pale and dry before roots are inserted, re-moisten it lightly.
If the cube has not been conditioned yet, follow the full guide on preparing rockwool for hydroponics before transplanting.
Match the Seedling to the Cube Size
Use the smallest cube that can hold the roots comfortably. A tiny seedling in a large saturated block is easy to overwater because the roots cannot pull moisture from the full cube volume yet.
For most leafy greens and herbs, a small starter cube is enough until roots show through the sides or bottom. Fruiting crops such as tomatoes and peppers may move from a starter plug into a larger block, but only after the root system is active enough to use the added moisture zone.
The trade-off is stability versus wet volume. A larger cube gives more root room and physical support, but it also stays wet longer. Use the rockwool cube size guide if you are unsure whether to use a starter cube, block, or slab.
Step-by-Step Transplant Method
Work slowly. The goal is to move the seedling with as much root contact intact as possible, then settle it into rockwool without crushing the stem.
- Make the planting opening first. Use a clean dibber, pencil, or sterile tool to open the cube just wide enough for the root ball or plug.
- Loosen the seedling from its current cell. Hold the seedling by the leaves or plug, not the stem. A bruised leaf is survivable; a crushed stem is not.
- Keep roots covered and moist. Do not leave bare roots exposed under lights or airflow while you prepare other seedlings.
- Set the seedling at the same depth. The base of the stem should sit just above the cube surface unless the crop is one that tolerates deeper planting.
- Close the cube gently around the roots. The cube should touch the roots without being packed tight.
- Place the cube in a tray or net cup. Keep it upright and stable so the stem does not lean while roots re-anchor.
After transplanting, the cube should be damp through the root zone but not sitting in standing water. A small air gap below the cube helps keep the lower part from becoming stagnant.
Aftercare for the First 48 Hours
The first two days decide whether the seedling adapts cleanly or stalls. Keep the conditions steady instead of trying to force fast growth.
- Light: use moderate light for the first day, then return to normal seedling intensity if leaves stay firm.
- Humidity: slightly higher humidity helps reduce wilt, but avoid sealing the tray so tightly that the cube surface stays wet.
- Water: re-moisten only when the cube begins to lighten, not on a fixed hourly schedule.
- Nutrients: start weak. Young roots do not need full-strength hydroponic solution immediately after handling.
- Airflow: gentle airflow strengthens stems, but direct fan blast can dry exposed leaves faster than roots can replace water.
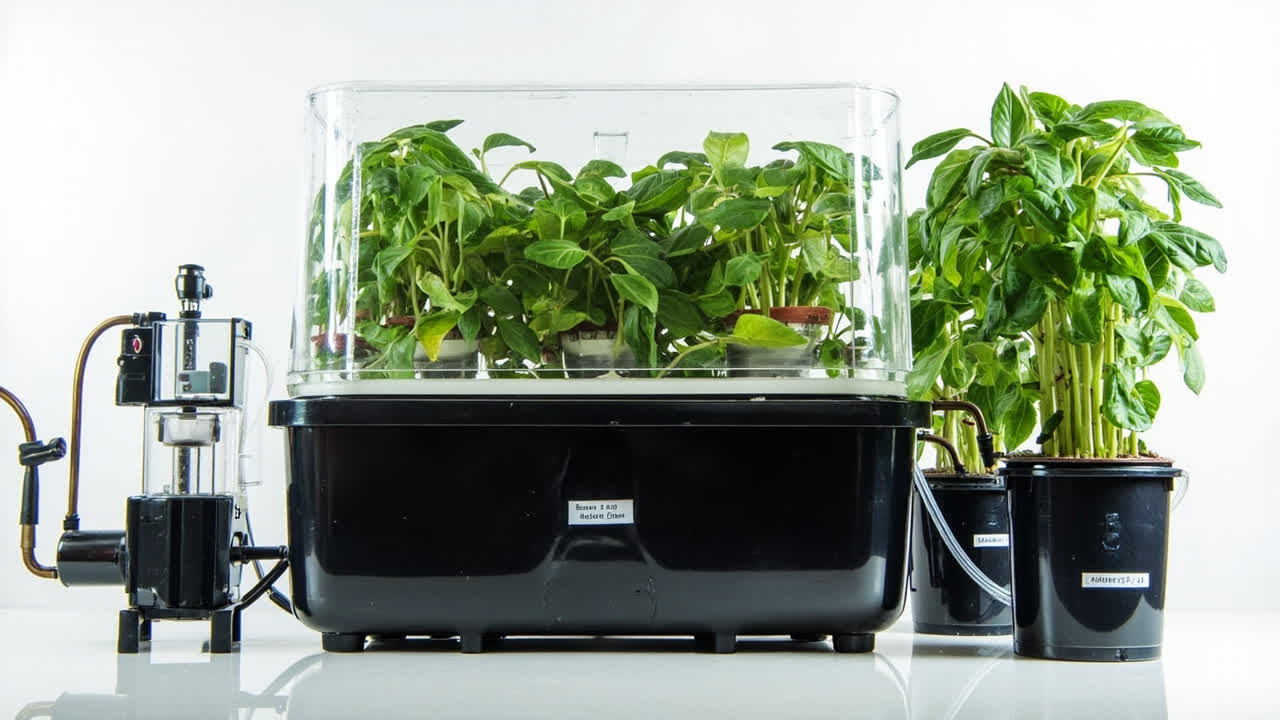
Once roots are growing through the cube, hydroponic systems for beginners helps match the cube to a simple setup.
What Goes Wrong After Transplanting
A little pause after transplanting is normal. The warning signs are persistent wilt, yellowing, algae, browning roots, or cubes that stay heavy and wet for days.
- Wilting within hours: roots were damaged, light is too strong, or humidity dropped too fast.
- Yellowing after a few days: pH may be off, nutrients may be too weak, or the roots are not taking up solution well.
- Green algae on the cube: the surface is staying wet and exposed to light.
- Brown roots: the cube may be too wet, too warm, or low in oxygen.
- No new growth: the seedling may be alive but stalled from transplant shock or poor root-zone conditions.
If symptoms continue after the first few days, compare them with the larger guide to common hydroponic problems.