If you’ve ever steeped worm castings like you would compost tea and wondered why your plants didn’t respond, you already know the problem: most recipes get two things wrong, and both matter equally.
The first is steeping time. Go past 24 hours and you’re not making tea — you’re making fertilizer broth that will burn tender roots. The second is aeration. Without it, the anaerobic bacteria in the tea do more harm than good. Your plants won’t just fail to thrive; some might actually wilt within days of application.
Worm casting tea is worth getting right. When it works, it delivers beneficial microbes directly to the root zone along with water-soluble nutrients that go exactly where plants need them most.
What Worm Casting Tea Actually Does (and What It Doesn’t)
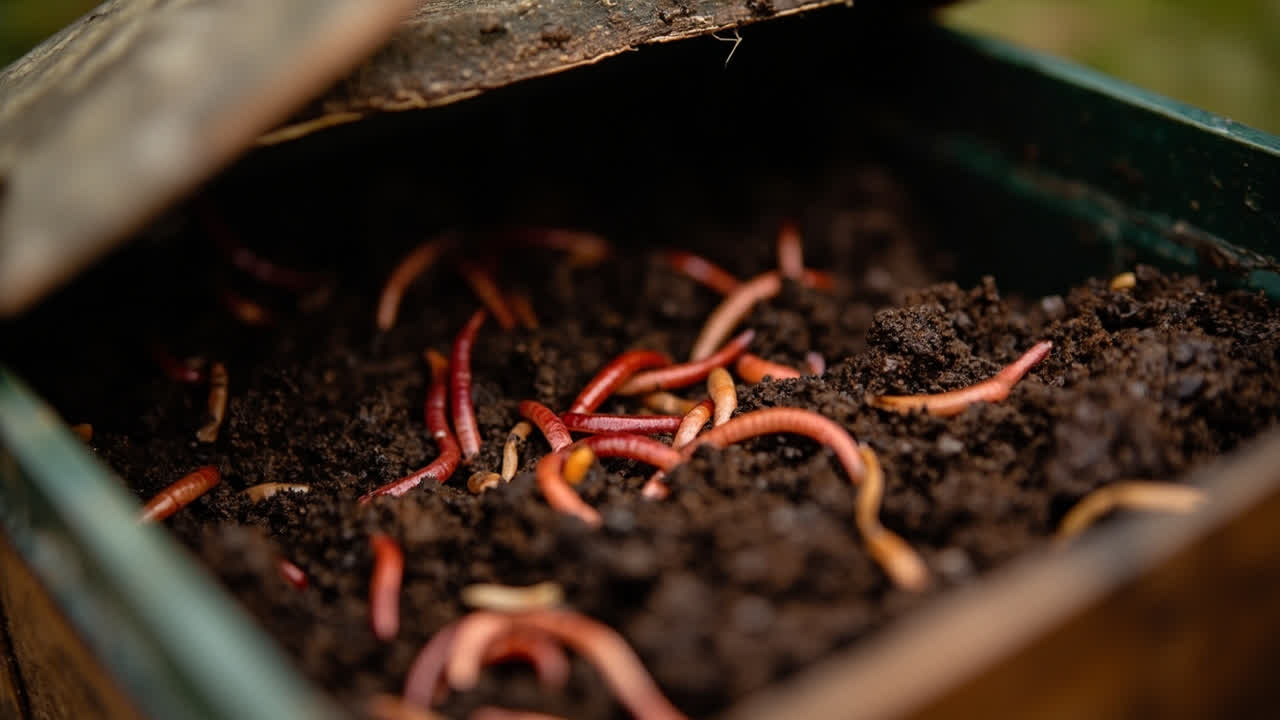
Fresh worm castings contain a microbial community — bacteria, fungi, and protozoa — that colonizes the soil around plant roots. When you brew the tea correctly, you’re amplifying that community and applying it as a liquid drench. That microbial colonization is the actual value of the tea, not the nutrients.
The trade-off: worm casting tea is not a substitute for quality potting mix or proper watering. If your soil structure is already poor, a tea drench will help temporarily but won’t rebuild what isn’t there. Plan to use it as a supplement, not a fix for bad growing conditions.
The Microbial Colonization Effect
Healthy potting mix already contains some microbial life, but repotting, overwatering, and synthetic fertilizers all reduce it over time. A quality worm casting tea re-inoculates that mix with biology that helps plants access nutrients they would otherwise miss.
What to Expect After Application
You’ll notice the earliest effect in newly repotted plants and transplants — they establish faster because the root zone is already colonized by beneficial microbes. Established plants show improvement in 7–10 days: deeper green in leaves, more consistent growth. The effect fades within 2–3 weeks, which is why regular application matters more than a single strong dose.
The Materials You Need (and One That Isn’t Optional)
The one non-negotiable item is an air pump with aquarium-style tubing. Without aeration, the tea turns anaerobic within 12–18 hours and becomes harmful rather than helpful. If you don’t have one, buy it before you start — it’s $8–15 and lasts years.
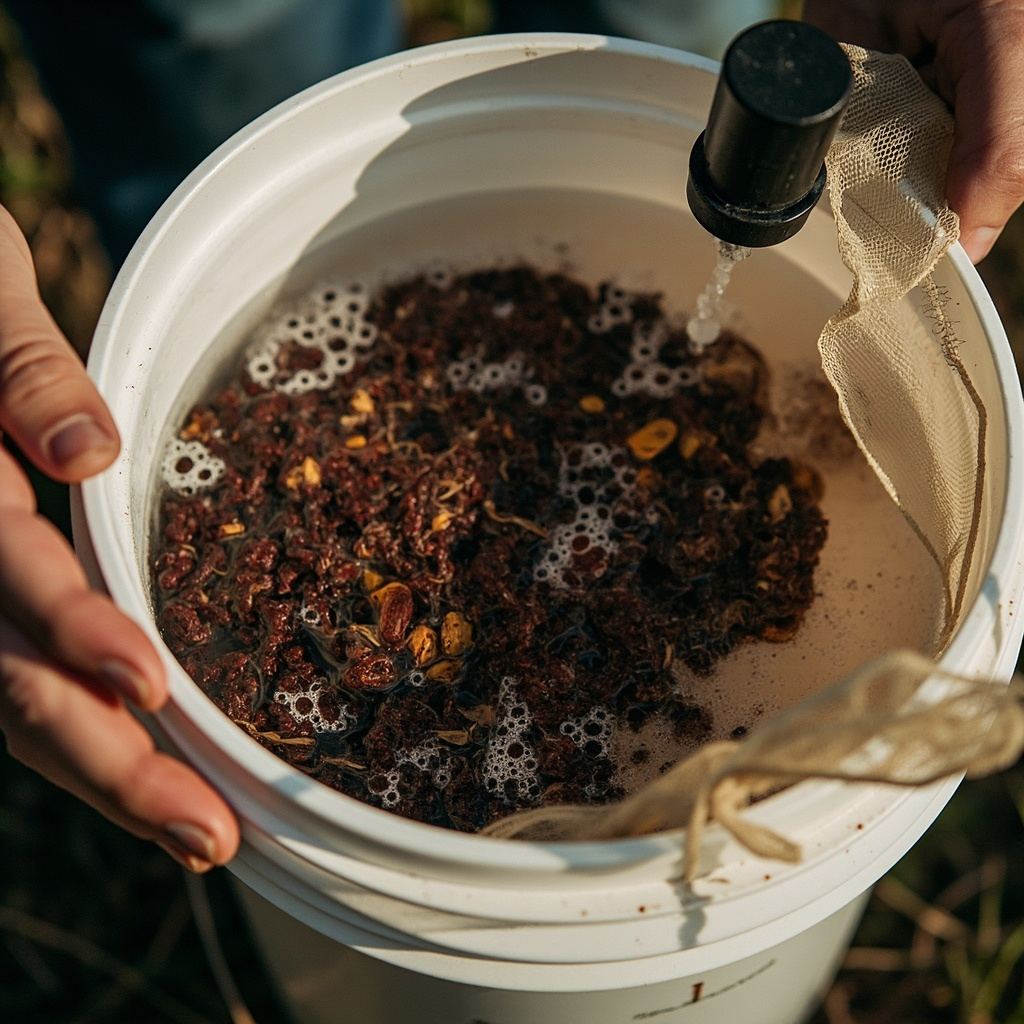
Beyond that: 1 cup of quality worm castings per gallon of non-chlorinated water, a 5-gallon bucket, and optionally a fine mesh bag to contain the castings so the tea stays clean enough to apply through a watering can without clogging.
The Water Question
Chlorinated water kills the microbes you’re trying to cultivate. If your tap water is chlorinated, fill your bucket the night before and leave it uncovered — the chlorine dissipates by morning. Or use rainwater collected after the first 10 minutes of a storm.
Worm Casting Quality
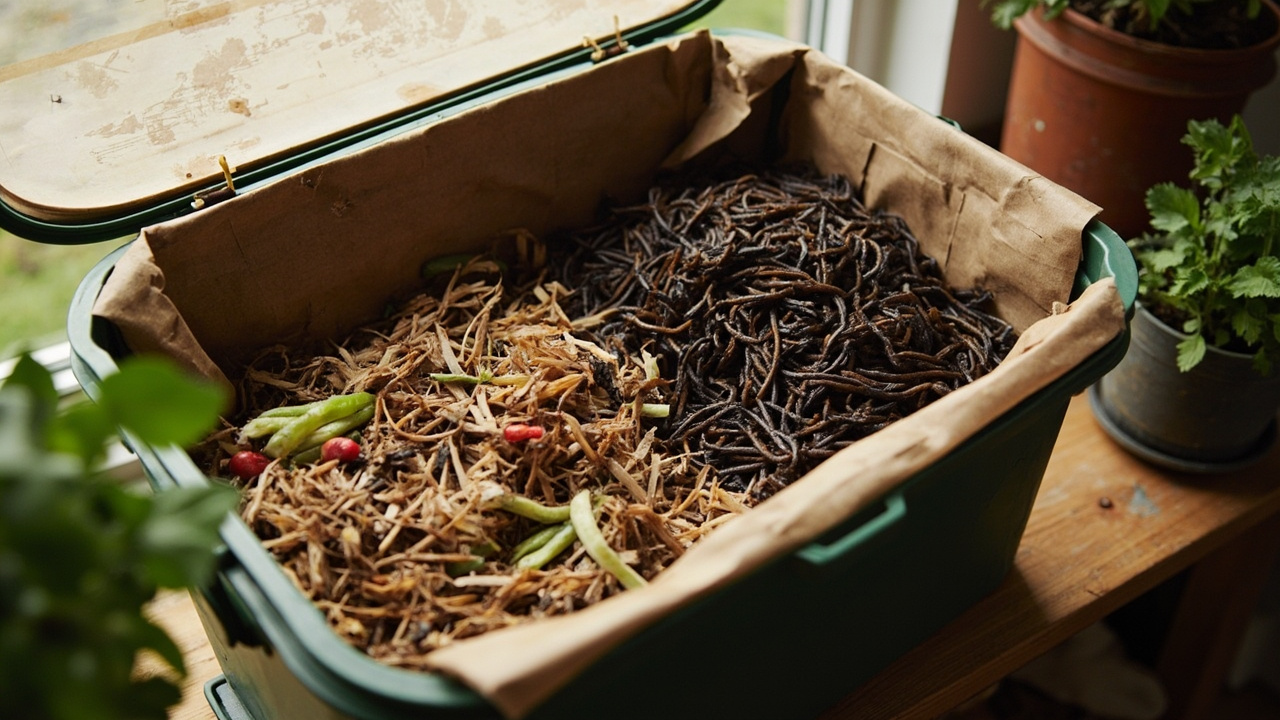
Not all worm castings are equal. What you’re looking for is castings from a working worm bin that has been fed a consistent diet of vegetable scraps and paper — not straight manure. Castings from cattle or horse manure can be too hot (nitrogen content too high) and can burn seedlings. If the castings smell intensely earthy with no ammonia, they’re ready to use.
The Brew Method : Step by Step
Step 1: Fill a 5-gallon bucket with 4 gallons of dechlorinated water at room temperature (65–75°F / 18–24°C). Cold water reduces microbial activity; hot water above 85°F (29°C) kills the beneficial organisms you’re brewing.
What happens next: the water sits while you prepare the casting bag.
Step 2: Place 4 cups of worm castings in a fine mesh bag (cheesecloth works if you twist the top shut) or open bag. Lower it into the water without squeezing — you want passive steeping, not pressing the castings dry.
What happens next: the castings begin releasing their microbial community into the water. You’ll start to see small bubbles within 30 minutes if aeration is working.
Step 3: Run the air pump tubing into the bucket and turn it on. The stream of bubbles keeps oxygen flowing through the tea, which prevents anaerobic bacteria from taking over and maintains the conditions the beneficial microbes need to multiply.
What happens next: the tea steeps while the pump runs continuously. If the pump stops for more than 2 hours during the brew, use the tea immediately — it will begin degrading.
Step 4: Brew for exactly 24 hours. Any longer and the microbial balance shifts toward organisms that compete with plant roots rather than support them. Set a timer so you don’t forget.
What happens next: at 24 hours, the microbial population peaks. Within 4–6 more hours it begins to decline, so use the tea the same day you finish brewing it.
Step 5: Remove the casting bag and squeeze it gently — don’t press hard, just drain. Dilute the finished tea 1:1 with water if applying to seedlings or young transplants. For established plants in containers, you can use it full strength as a drench around the root zone.
What happens next: apply immediately after diluting. The tea loses potency within hours of finishing the brew.
How to Apply Worm Casting Tea
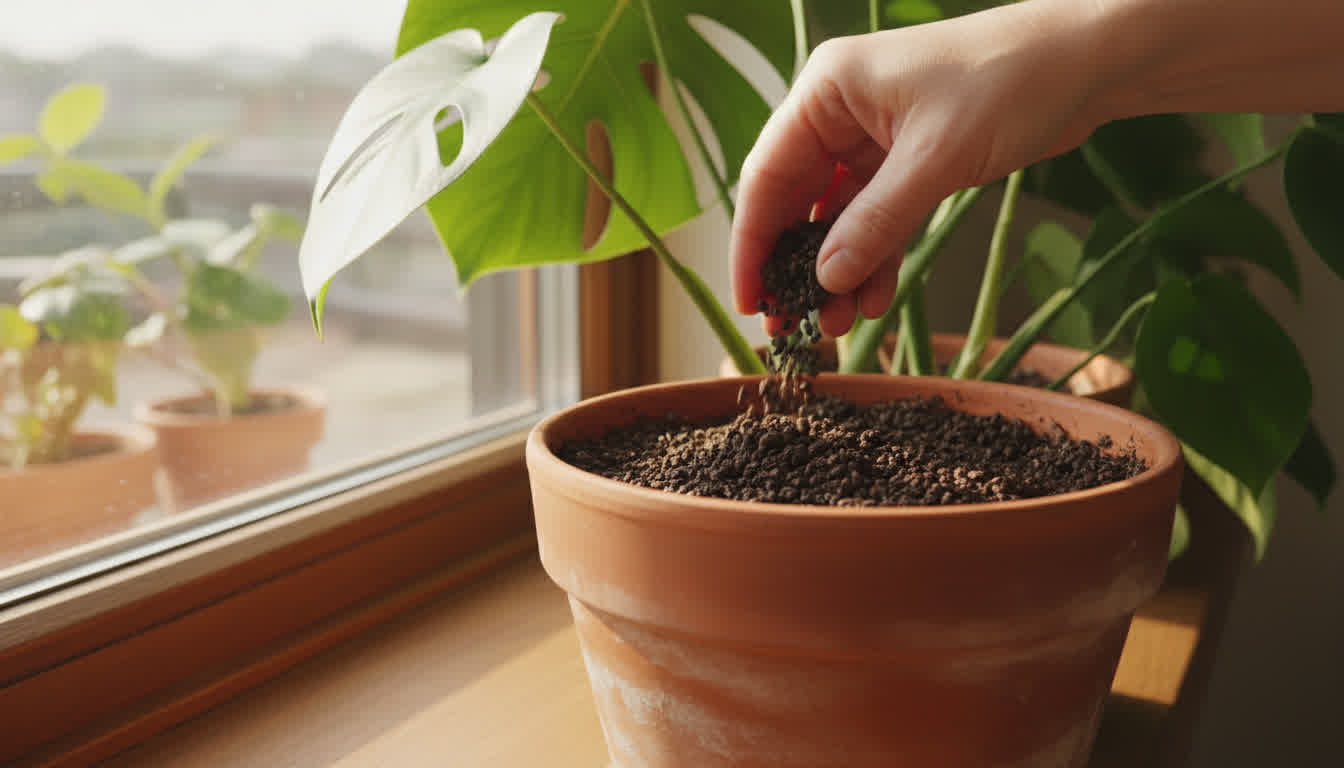
Use the tea as a soil drench around the base of plants — pour it directly onto the potting mix, not over the leaves. Foliar application is sometimes recommended but the evidence for it is weak compared to root-zone application, and applying to leaves on sunny days can cause burn spots.
Frequency: every 2–3 weeks during active growing season for container plants. For outdoor garden beds, monthly is sufficient because the soil microbiome has more stability. In hydroponics, worm casting tea can be applied as a light drench into the growing medium, but it’s not a substitute for a complete hydroponic nutrient solution.
Application Through a Watering Can
Pour slowly around the base of each plant until you see the soil surface darken and the water begins to flow through the bottom drainage holes. This tells you the root zone is reached — you’re not just dampening the surface.
Signs the Tea Was Applied Too Strong
If you see wilting or leaf scorch within 24 hours of application, the tea was likely too concentrated or too old. Flush the potting mix thoroughly with plain water and wait a week before reapplying at half strength.
Storing Leftover Tea (and Why You Usually Shouldn’t)
Worm casting tea is alive — storage isn’t simple. Without aeration, it goes anaerobic within 24 hours. With aeration it stays viable for up to 48 hours if kept at 65–75°F (18–24°C), but potency drops sharply after the first 24. The practical rule: brew only what you’ll use the same day.
If you need to stretch a batch because you have more plants than the batch covers, add an extra air pump to the storage container and keep it running. But even then, use everything within 48 hours and do not exceed the application rate you would use fresh.
The Aeration Exception
Some growers maintain a continuous-brew system: a large container with castings in a mesh bag, air pump running continuously, and tea drawn off as needed over 3–4 days. This works, but it requires daily attention — if the pump fails for even half a day, the tea turns and must be discarded. For most home growers, single-batch brewing is more reliable.
Troubleshooting Weak or Failed Tea
If the tea smells sour, muddy, or like ammonia rather than fresh earth, it’s anaerobic and should be discarded. The most common cause: the air pump wasn’t running continuously, or the brew time exceeded 36 hours.
Castings that don’t produce noticeable results even with correct brewing: the castings themselves may be low quality — either too old (microbial life has declined) or from an unreliable source. Try castings from a different supplier. The difference in plant response between quality and mediocre castings is significant and obvious within two applications.
worm castings work best when you understand what you’re actually cultivating. The tea is a microbial delivery mechanism, not a fertilizer — keep that straight and you’ll get better results than if you treat it like compost tea.
For more on building healthy soil biology from the ground up, vermicomposting for beginners covers building and maintaining a worm bin that produces consistent, high-quality castings.
From PDF to Excel in one click
Forget retyping line by line. Upload any bank statement, get a spreadsheet you can actually use. Your files are never stored, and you can test the converter with 3 free conversions.
Try it free