Your hibiscus is not doing what you expected. The leaves look off — the wrong colour, the wrong texture — and you are trying to work out whether it needs more of something, less of something, or something altogether different. The problem might be the soil.
Soil is the foundation of everything for a hibiscus. Get it right and the plant handles moderate care mistakes with grace. Get it wrong and no amount of watering or fertilizing will fully compensate. Here is what you need to know about hibiscus soil requirements and what happens when the soil is not quite right.
The Non-Negotiable: Drainage
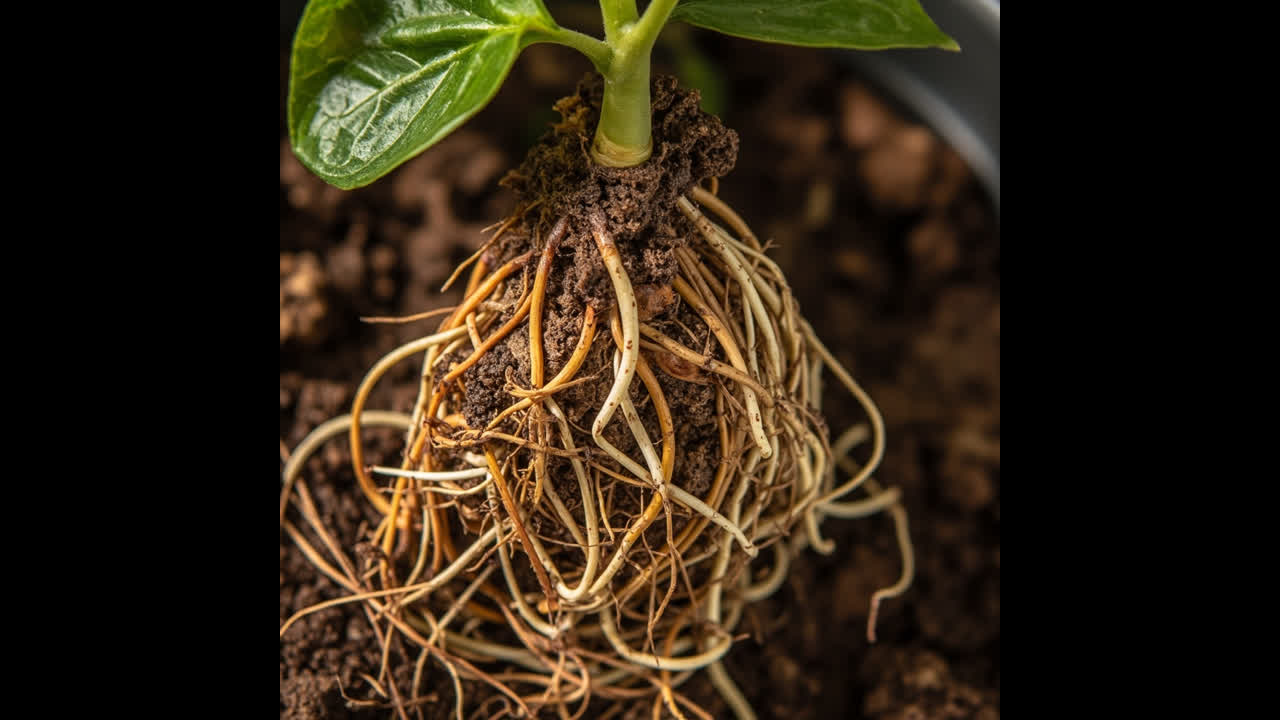
The single most important soil characteristic for hibiscus is drainage. Hibiscus roots need oxygen as much as they need water. In soil that stays waterlogged, air is pushed out and roots literally drown — root rot follows. In well-draining soil, water moves through quickly, roots get moisture, and air remains in the pore spaces.
For container hibiscus, a well-draining potting mix — not garden soil — is essential. Garden soil compacts in containers, drains poorly, and harbours fungal spores and pests. Use a commercial all-purpose potting mix with perlite added (roughly 20% perlite by volume). Perlite keeps the mix open and free-draining, which is exactly what hibiscus roots prefer.
For in-ground hibiscus in heavy clay soil, work compost or coarse sand into the planting area to improve drainage before planting. A raised bed filled with a free-draining soil mix is often the best solution for gardens with consistently wet soil.
pH: Slightly Acidic to Neutral
Hibiscus grows best in soil with a pH of 6.0–7.0 — slightly acidic to neutral. This range is where the plant can access the full range of nutrients it needs. Outside this range, certain nutrients become chemically locked in the soil and unavailable to the roots, no matter how much you fertilize.
The two common pH problems are:
Soil too alkaline (pH above 7.0): Leaves develop chlorosis — yellowing that starts between the leaf veins while the veins themselves stay green. Growth slows. The plant may not bloom even when everything else is correct. This happens because iron, manganese, and phosphorus become inaccessible to roots in alkaline conditions. To lower pH, apply elemental sulfur, use an acidifying fertilizer, or work acidic compost into the root zone. Test pH with a simple soil test kit from a garden centre.
Soil too acidic (pH below 5.5): Aluminum and manganese become toxic at very low pH, and root health declines. Root rot fungi also thrive in highly acidic soil. Hibiscus in naturally acidic soils (common in parts of Southeast Asia and tropical regions) benefit from periodic lime application to raise pH to the 6.0–6.5 range. Use agricultural lime and retest after four to six weeks.
If you are growing in containers and unsure of your mix pH, commercial potting mixes are typically around 6.5 — within the ideal range. If you use a very peat-heavy mix (which tends to be more acidic), add a small amount of horticultural lime to bring it toward neutral.
Soil Texture and Structure
Ideal hibiscus soil is loamy — a balance of sand, silt, and clay that drains well but retains enough moisture to keep roots consistently hydrated between waterings. The ideal texture:
- Sandy component: improves drainage, prevents compaction — important in clay-heavy soils
- Organic component: from compost or peat — retains moisture and provides some nutrients
- Clay component: provides structure and nutrient-holding capacity
For container growing, the practical formula is simpler: a quality commercial potting mix (which is formulated to be loamy and free-draining) plus 20% perlite. This achieves the right balance without needing to mix custom substrates.
For in-ground planting, if your natural soil is very sandy: add compost to improve moisture retention. If your soil is very clay-heavy: add coarse sand, compost, and perlite to improve drainage and structure.
Container Soil: Special Considerations
Container hibiscus soil behaves differently from in-ground soil over time. In a container:
- The soil compacts as organic matter breaks down, reducing drainage efficiency year over year
- Nutrients flush out with each watering and need regular replacement via fertilizing
- Soil temperature fluctuates more than in-ground — terracotta pots especially can stress roots in extreme temperatures
Repot hibiscus every one to two years with fresh soil. The best time is early spring before new growth accelerates. Remove the plant, shake off as much old soil as possible (roots can be gently rinsed), trim any dead or circling roots, and plant in fresh mix in the same or one size larger container.
If the plant is root bound — roots circling the inside of the pot, water running straight through without absorbing — repot immediately regardless of season. A root-bound hibiscus will decline rapidly if left in the same container.
For more on container-specific care including watering, fertilizing, and overwintering, see our guide to growing hibiscus in containers.
Fertilizer Interaction with Soil
Soil pH affects how well fertilizer works. In alkaline soil, phosphorus becomes locked and less effective even if you use a high-phosphorus fertilizer. In acidic soil, certain micronutrients become over-available (which can cause toxicity) while others become deficient.
This is why maintaining the correct pH matters more than fertilizing heavily. A plant in the correct pH range with moderate fertilizing will outperform an over-fertilized plant in the wrong pH range. For the complete fertilizing picture, see our hibiscus care guide.
What to Do If Your Soil Is Wrong
If your hibiscus is showing symptoms (yellow leaves, poor growth, no blooms) and you suspect soil is the cause, here is what to do:
- Test the pH — a simple soil test kit costs very little and gives you a clear answer within minutes.
- If pH is above 7.0 (alkaline): apply sulfur or an acidifying fertilizer; consider switching to an acidic potting mix if container-grown.
- If pH is below 5.5 (acidic): apply agricultural lime, retest after four weeks.
- If drainage is poor: repot with perlite-added mix; ensure container has working drainage holes; elevate above drip tray.
- If the plant is in old, compacted soil: repot in spring with fresh mix.
Changes to soil pH take time to register — expect four to eight weeks to see improvement in the plant after pH correction. Do not over-correct by adding too much amendment at once.
If the soil problem has caused significant root damage (roots are brown, soft, and mushy), focus on root recovery before worrying about soil pH. See our guide to hibiscus root rot for recovery steps.
From Bank Statement to QuickBooks-Ready File
That manual cleanup you just read about? This tool skips it. Turn your PDF into QBO for QuickBooks without storing your data anywhere.
Start Converting