Worm castings are one of the most forgiving soil amendments you can use on houseplants. Unlike fresh compost or manure, which can burn roots at high concentrations, quality worm castings deliver nutrients slowly through microbial activity in the root zone. You can apply them generously without risk of overdoing it.
The problem is most advice online treats worm castings as a magic additive rather than what they actually are: a microbial inoculant and mild fertilizer that improves soil structure over time. Understanding what they do and don’t do helps you use them effectively.
What Worm Castings Actually Do for Houseplants
Worm castings add four things to a potting mix: beneficial microorganisms (particularly the bacteria and fungi that make nutrients plant-available), slow-release nitrogen and phosphorus, improved aggregate structure (the castings form small crumbs that improve aeration and water retention simultaneously), and natural plant growth hormones (gibberellins, auxins, cytokinins) that stimulate root branching.
The growth hormone effect is real but often overstated in marketing. In controlled studies, worm casting applications at 10–20% of total soil volume show measurable improvements in root density and leaf growth rate in herbaceous plants. The effect plateaus above 30% — more isn’t better.
The nitrogen content of worm castings is low — typically 1–2% by weight — but it’s in a slow-release form tied to microbial activity. Unlike liquid fertilizers that deliver a nutrient spike, castings maintain a low-level nutrient availability for 4–8 weeks after incorporation. This is ideal for houseplants, which generally prefer steady nutrient availability over feast-or-famine feeding.
Worm casting tea for houseplants is a way to extract the liquid benefits from castings for foliar feeding or soil drench applications. Steeping castings in water for 24–48 hours creates a microbial suspension you can apply directly to leaves or root zones — useful for giving plants a quick microbial boost without working the solid castings into soil.
How to Apply Worm Castings: The Two Methods
Top dressing: the simplest method. Spread a 1/4 to 1/2 inch layer of castings on the soil surface around the plant, keeping clear of the stem. Water normally. Microorganisms migrate downward with each watering. This method is good for ongoing maintenance — apply every 4–8 weeks during active growth. The castings will gradually integrate into the soil structure and improve water retention.
Soil incorporation at repotting: the most effective method. Mix castings into your potting medium at 10–20% by volume. For a standard 6-inch pot, that’s roughly 1/4 to 1/2 cup of castings mixed into potting mix. This integrates the microbial population throughout the root zone rather than concentrating it at the surface. Best done at repotting time in spring.
Dilution into potting mix at repotting produces better results than top dressing alone because the root density is highest in the top few inches of soil — that’s where incorporation concentrates the benefit.
The Right Mix Ratios
More is not better with worm castings past a certain threshold. Research and practical experience converge on these guidelines:
- Seed starting mix: 10–15% castings maximum. Higher concentrations can inhibit germination in some species due to the microbial activity creating transient ammonia spikes.
- Transplant and potting mix: 15–20% castings. This is the sweet spot for most tropical houseplants — aroids, ferns, palms, dracaena. The microbial population establishes well and the slow-release nutrition supports new root growth without burning.
- Established plant maintenance: top dress with 1/4–1/2 inch every 6–8 weeks. For a 6-inch pot, that’s roughly 2–3 tablespoons of castings.
- Cacti and succulents: 5–10% maximum. These plants prefer lean conditions and more castings than this can cause overly lush growth that weakens the plant structure.
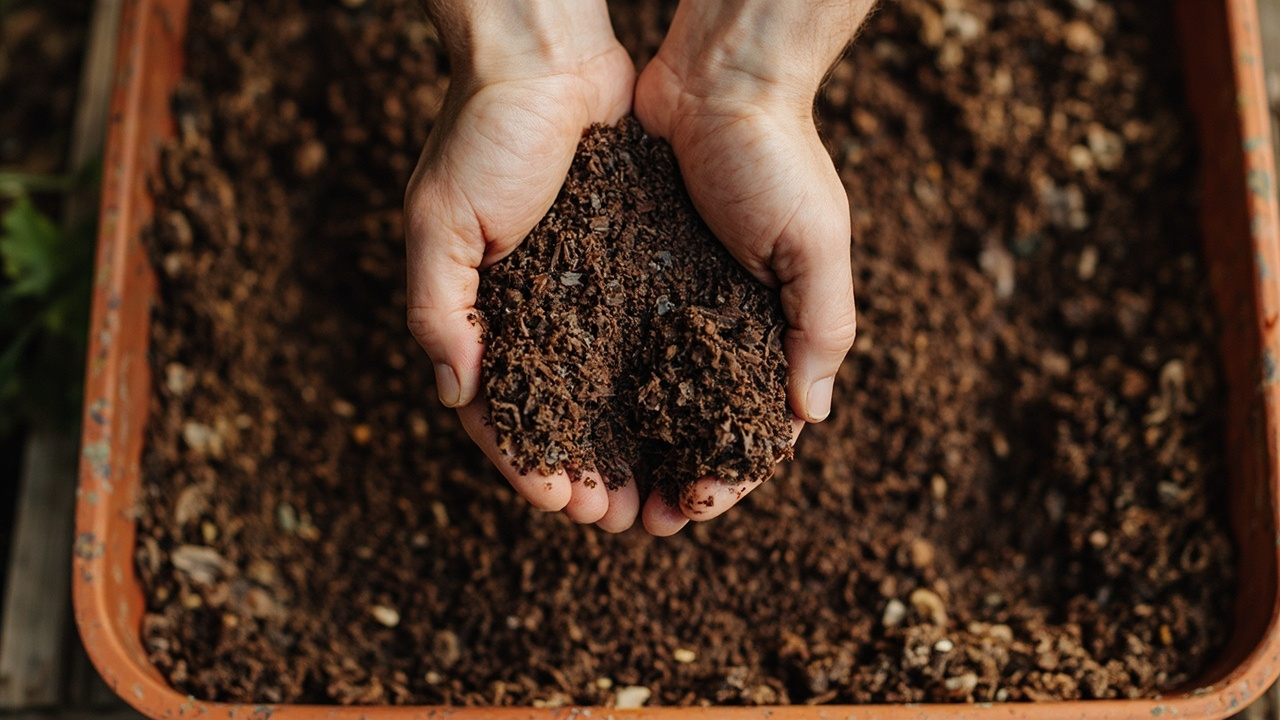
Quality matters. Worm castings sourced from food waste composting contain more diverse microorganisms than castings from pure manure feedstock. The best castings are dark, crumbly, and have an earthy smell — not sour or ammonia-heavy. If it smells sharp or acrid, the composting wasn’t finished and the material may burn plants.
What Worm Castings Can’t Do
Worm castings are not a complete fertilizer for heavy-feeding plants. Tomatoes, peppers, and similar fruiting plants need more nitrogen than castings can provide. Using castings alone for these crops will produce nitrogen deficiency within 4–6 weeks of planting. Supplement with liquid fertilizer or use castings as a soil-builder in combination with a balanced feeding program.
Castings don’t fix drainage problems. If your potting mix stays waterlogged, adding castings won’t solve it — the root rot will continue regardless of how good the castings are. The structural improvement from castings helps, but it’s not a fix for fundamentally wrong soil physics.
DIY worm castings: if you’re composting at home, making your own worm castings is straightforward — red wigglers (eisenia fetida) process food waste into usable castings in 3–4 months. The quality depends on what you feed the worms. High-protein inputs (coffee grounds, vegetable scraps) produce castings with higher nitrogen content. High-carbon inputs (cardboard, paper) produce leaner castings better for sensitive plants.
When to Apply and When to Skip
Apply worm castings during active growth: spring and early summer for most tropical houseplants. Fall and winter applications are poorly timed — plants are in lower-metabolism rest periods and the microbial activity in cold soil is minimal. The castings sit unused and may even create anaerobic conditions if the pot stays consistently wet in low-light winter conditions.
Don’t apply castings to stressed plants — those that have just been moved, repotted, pest-treated, or are showing active disease symptoms. The microbial population in fresh castings can be aggressive enough to cause secondary issues on compromised roots. Wait until the plant shows new growth (2–4 weeks) before applying to recently stressed specimens.
Bottom Line
Worm castings are a low-risk, moderate-benefit amendment for houseplants. Use them at 15–20% volume at repotting, as a top dress every 6–8 weeks during growing season, or as a component in seed starting mix. Don’t expect dramatic results — the benefit is cumulative soil improvement and steady nutrition rather than the immediate greening you get from liquid fertilizer. For plants that have been in the same pot for over a year, a top dressing of worm castings plus a light liquid feed will produce noticeably better growth within 4–6 weeks.
Turn That PDF Into a Spreadsheet in Minutes
You've seen how to do it manually — now let the tool handle the heavy lifting. Upload your bank statement and get Excel, CSV, or QBO in a few clicks.
Try It Free