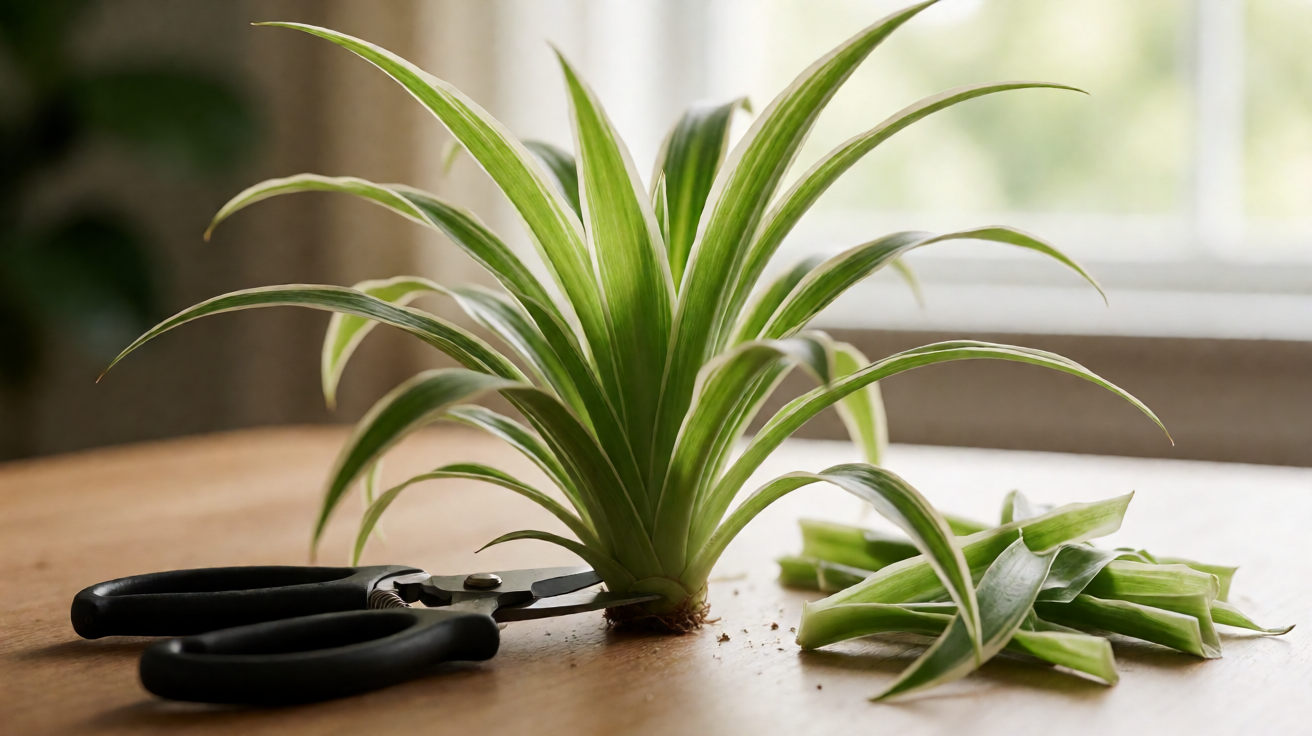

A spider plant (Chlorophytum comosum) needs almost no pruning at all, and most of what gets cut off by hand is the very leaf or stolon the plant needed to push new growth. The plant grows from a central crown at the soil line, and each new arching leaf rises from that crown.
Pruning a spider plant well means removing the outer leaves that have fully aged out and leaving the inner crown and any emerging leaf untouched. The same rule applies to the stolon: a fully brown papery stolon can come off at the soil line. A green or cream stolon with spiderettes at the tip should be left alone.
What follows is the order in which to make those two cuts, the tools that make a clean cut, and the four to six weeks of care that bring the next flush of arching leaf growth. Pet owners can be reassured that the spider plant is non-toxic to cats and non-toxic to dogs, so a snipped leaf on the floor is not a vet visit.
A reader who has already cut a leaf in half, snipped a runner back to the pot, or pulled every yellow leaf off in one sitting is not behind. The plant recovers within a single growing season if the rest of the care is right.
The first move is to put the scissors down, sterilize the blade with rubbing alcohol, and move the plant into bright indirect light so the next leaves come up stronger than the last ones.
Spider plants are forgiving houseplants, and a pet-safe beginner houseplant owner will find the variegated foliage line (Vittatum, Variegatum, Bonnie, reverse variegation, curly spider plant) just as easy to prune as the solid green form. The same protocol applies.
A reader near an east-facing window in bright indirect light will see leaf cleaning pay back within a month, because dust on the arching leaf slows photosynthesis fast. Filtered water, distilled water, or rainwater cuts the salt buildup that drives brown leaf tip.
What Pruning a Spider Plant Actually Means
Pruning a spider plant is the removal of fully spent leaves and fully spent stolons. It is not a shape job. It is not a haircut. It is not a way to make the plant produce more plantlets or bigger leaves, no matter how aggressively the cut is done.
The Royal Horticultural Society pruning notes for indoor foliage plants say the same thing in three lines: remove dead or damaged growth at the base, avoid healthy tissue, and do not cut a healthy leaf to control size.
Most beginner advice to “trim back your spider plant for bushier growth” comes from outdoor perennial gardening, where cutting a stem above a node does force new branching. Spider plants do not branch. They send up new leaves from the crown.
Cutting an existing leaf does not produce two new leaves in its place. The plant grows at its own pace.
That is why a freshly pruned spider plant often looks worse for two to three weeks before it looks better. The cut removes a leaf that was already aging out, and the plant replaces it on its own schedule.
Treating pruning as restraint rather than a shape job is the single biggest shift a new spider plant owner can make. The plant does not need a haircut. It needs the dead leaves removed at the crown and then four to six weeks of bright indirect light and a single dose of diluted fertilizer.
The reader who skipped repotting for two years will see the tuber and storage root mass push the plant up out of the decorative pot. That is a repotting cue, not a pruning cue, and the spider plant rewards division at that point more than trimming.
The Only Two Cuts a Spider Plant Needs
There are exactly two cuts a spider plant benefits from. The first is a fully yellow or brown outer leaf removed at the base where it meets the central crown. The second is a fully brown papery stolon removed at the soil line.
Every other cut is either cosmetic or actively harmful. Cutting a leaf in half to remove brown tips leaves a wound the plant has to seal, and it does not regrow the missing green tissue. Cutting a green stolon with spiderettes at the tip removes the next generation of plants the mother plant spent weeks producing.
To make the first cut, trace the leaf you want to remove down to the crown. Use a sterile blade to cut at a slight angle about a quarter inch above where the leaf meets the crown. The angle lets moisture roll off the cut surface instead of pooling at the wound.
Do not cut into the crown itself. The crown is the plant’s growth point.
For the stolon cut, the rule is similar but stricter. A stolon is the arching flower stalk the spider plant sends out from the crown once it reaches maturity. It is also called a runner. Healthy stolons are green, cream, or pale white with small plantlets at the tip.
If a stolon is fully brown and papery and the spiderettes at the tip have either rooted into the soil or shriveled, then the stolon has finished its job. Cut it at the soil line with a sterile blade and discard it. If a stolon is still green, leave it alone.
A spider plant in a hanging basket near bright indirect light will also produce offset after offset along the stolon. The offset is the start of the next plantlet and deserves the same restraint as the runner. More on that timing lives on the propagation sibling pages.
Tools, Sterilization, and the Cut Itself
The right tool for pruning a spider plant is a pair of sharp, clean scissors or a small pair of pruning shears. Dull blades crush the leaf fibers instead of cutting them, leaving a wound the plant has to seal before it can push new growth.
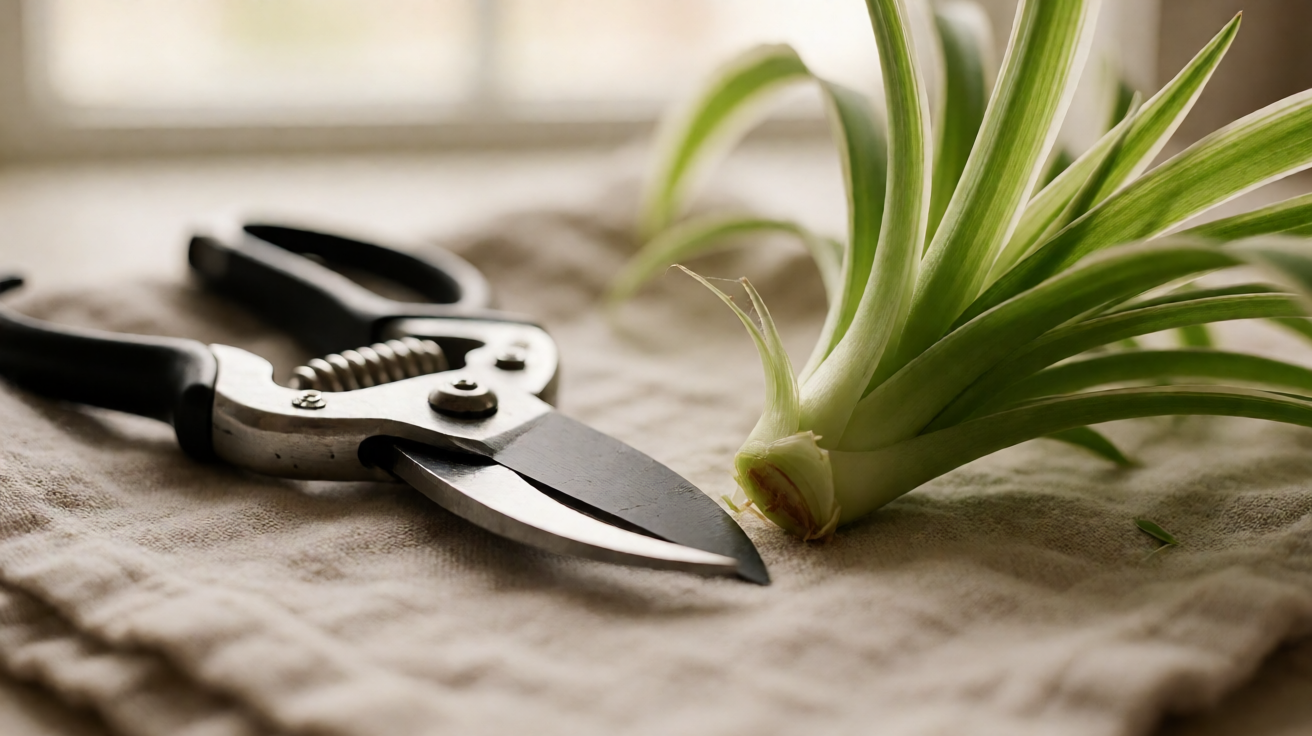
Before any cut, sterilize the blade with rubbing alcohol. Wipe both sides of the blade, let it air-dry for thirty seconds, and you are ready to cut. Sterilization matters more than tool choice because bacteria transfer easily from a sick plant to a healthy one through the blade.
The cut itself is a single motion at a slight angle. Hold the leaf you are removing with one hand so it does not snap and tear the crown fibers. Place the blade a quarter inch above where the leaf meets the crown at a 30 degree angle. Cut in one clean stroke. Pull the leaf away.
The plant seals the cut within 24 hours.
What NOT to do is just as important. Do not twist the leaf off by hand unless the leaf is fully yellow and pulls free without resistance. Do not cut into the crown. Do not cut a healthy green leaf in half to remove brown tips. Do not cut multiple leaves in a single session if the plant has fewer than 12 leaves.
Filtered water keeps the room humidity stable between trims, and a dry environment is what browns the leaf tip most. Leaf cleaning once a month follows the cut and keeps the next flush of growth clean.
Most spider plants have 18 to 36 leaves at any given time. Removing two to four fully aged-out outer leaves per session is plenty. For tiny plants with eight or fewer leaves, the safest move is to remove no more than one fully dead leaf per month.
Brown Tips, Yellow Edges, and the Cuts That Make Them Worse
Brown leaf tips are the single most common reason spider plant owners reach for the scissors. The cut most people reach for is also the cut most likely to make the problem worse. Snipping a small brown tip leaves a wound just above the green tissue, and the green tissue continues to brown back from the cut edge over the next two to three weeks.
The right move with a brown leaf tip is almost always to leave the leaf alone and fix the cause. Spider plant fluoride sensitivity is the most common cause of brown leaf tips. Tap water with chlorine and fluoride burns the leaf tips first.
The fix is filtered water, distilled water, or rainwater, all of which work within one to two weeks.
Leaf tip browning is its own pattern, and tap water leaves salt buildup on the leaf surface that pulls moisture out of the white stripe before the rest of the leaf. Fluoride sensitivity drives most of it, and over-fertilization is the second most common cause.
If a leaf is mostly brown with only a small green section at the base, the leaf is on its way out and the cut belongs at the crown. If a leaf is mostly green with brown just at the tip, fix the water source and leave the leaf alone.
If a leaf has yellow outer edges but a green center, fix the water source, check the pot drainage, and wait six weeks.
The reader who already snipped every brown tip off their plant last weekend is not behind. The plant will recover within a single growing season. Filtered water, distilled water, or rainwater makes the visible difference within two weeks.
Stolon, Spiderette, and Runner Cuts to Avoid
A healthy spider plant produces arching flower stalks (stolons) from the crown once it has settled into bright indirect light. The stolon grows outward, develops tiny white buds along its length, and ends in a small plantlet called a spiderette. The whole structure is the plant’s reproductive cycle.
The most common wrong cut on a spider plant is removing healthy stolons because they make the plant look “messy” or because the owner wants the plant to spend its energy on leaves instead of plantlets. That is backwards. Stolons with spiderettes are how the plant signals it is mature, healthy, and ready to multiply.
The few legitimate reasons to cut a stolon are narrow. Cut a stolon at the soil line if it is fully brown and papery. Cut a stolon just above the soil line if you want to propagate one of the spiderettes by rooting in water or soil and then cut the stolon back once the new plant has roots.
A reader who wants to multiply the plant can do so without losing the mother plant by rooting the spiderette in propagation in water or propagation in soil. The offset, runner, and stolon are the same organ under three names. Treat each one as a future plantlet.
The same logic applies to removing spiderettes before they have roots of their own. A spiderette that has not grown visible root nubs is still drawing energy from the mother plant through the stolon. Wait until the spiderette has quarter-inch root nubs before cutting, and the new plant will root within two to three weeks.
Post-Prune Care: Light, Water, and Fertilizer
The cut is half the job. The next four to six weeks of care decide whether the plant sends up new arching leaf growth or stalls in place. The first move is bright indirect light, the second is filtered water, and the third is a single dose of diluted balanced fertilizer.
Bright indirect light for a recovering spider plant means the same four to six hours of filtered sun, ideally from an east-facing window or a fluorescent grow light on a six-hour timer. North-facing windows in winter are not enough for most spider plants to push new growth after a prune.
Watch the newest leaf two weeks after the move.
Filtered water, distilled water, or rainwater prevents new brown leaf tips on the growth that emerges after the prune. Brown leaf tips that were not there before the prune almost always point to the water, not the cut.
The fertilizer move is small and deliberate. A single dose of a diluted balanced NPK fertilizer (for example, a 10-10-10 diluted to half the label strength) applied two weeks after the prune gives the plant the energy to push new leaves without burning the roots. Do not fertilize a stressed plant right away.
Skip a balanced NPK at full strength and pick a diluted fertilizer at half the label strength. A monthly feed during the growing season is plenty for this beginner houseplant. Over-fertilization is the easier mistake to make.
When Pruning Is Not Enough
Pruning is a visual fix. It removes the leaves the plant has already aged out. Pruning cannot reach the problems that live below the soil line, and three of those problems masquerade as “I need to prune more.”
The first is root rot. A spider plant with a soft black or smelly crown, mushy storage roots, or yellowing across all the leaves at once has root rot, not a pruning problem. Move the plant to a fresh well-draining mix and a pot with drainage, and remove the rotted roots with a sterile blade. More detail lives on the root rot sibling page.
The second is severe pest infestation. A spider plant with sticky residue, webbing at the crown, or visible scale insects has a pest problem, not a pruning problem. Cut off heavily infested leaves, then treat the plant. Pest identification lives on the pest sibling page.
The third is a root bound plant that has run out of room. A spider plant whose roots have circled the pot twice, cracked the nursery pot, or pushed the plant up out of the soil is root bound. The fix is division or repotting, not pruning. A repotted plant usually pushes new growth within four to six weeks.
What This Page Owns, and What It Does Not
This page owns the act of pruning a spider plant: which leaves to cut, which stolons to leave, how to sterilize the blade, and how to care for the plant in the four to six weeks after the cut. It does not own pest identification, root rot treatment, repotting timing, propagation timing, or cultivar-specific care.
Pet owners can also be reassured that the spider plant is non-toxic to cats and non-toxic to dogs, so a snipped leaf on the rug is not an emergency. The mother plant anchors the cluster with its tuber and storage root system, and a properly pruned specimen will push new arching leaf growth within four to six weeks.
The reader’s job over the next month is restraint: no further cuts, just light, filtered water, and one dose of diluted fertilizer. That, more than any cut, is what makes a spider plant thrive.
Turn any PDF statement into a clean sheet
Skip the typos and the hours of copying. Our converter handles any bank statement format and outputs Excel, CSV, or QBO for QuickBooks. No file retention, free to try.
Convert your statement