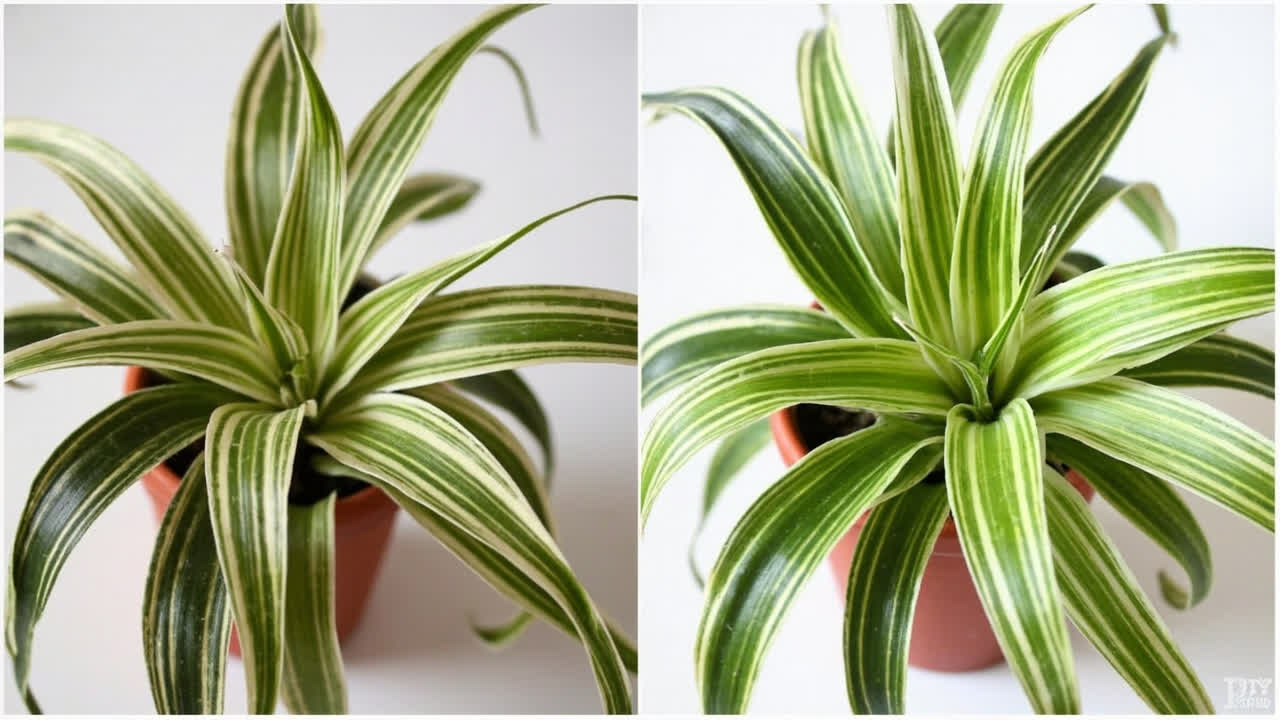
Spider plants produce some of the easiest houseplant propagation material in the plant kingdom. Those long stems dangling with perfectly formed baby spiderettes — plantlets, runners, spiderlings, whatever you call them — are essentially ready-to-root cuttings that require almost no effort from you.
If you have never propagated a spider plant before, you are one well-timed snip away from an unlimited supply of new plants for yourself, your friends, or trade shows.
This guide covers all three methods of how to propagate a spider plant: rooting spiderettes in water, rooting them in soil, and division of a mature root ball. Each has its advantages. All three work.
For the broader context of spider plant care, visit our spider plant care guide.
When to Propagate: Timing and Plant Readiness
Spring and early summer are the ideal times to propagate spider plants. The plant is entering its active growing season, which means roots will establish faster and new growth will appear sooner. That said, spider plant propagation is forgiving — you can propagate in fall or even winter if you are growing under lights or in a warm room, it will just take longer.
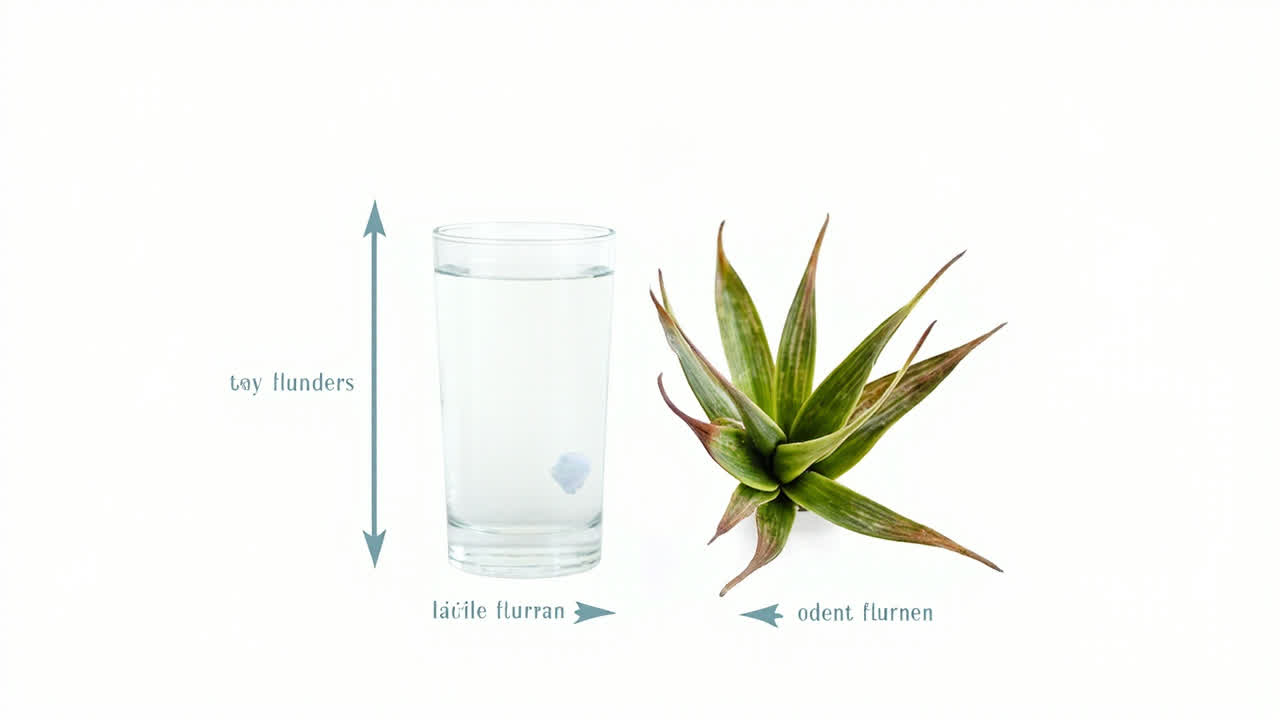
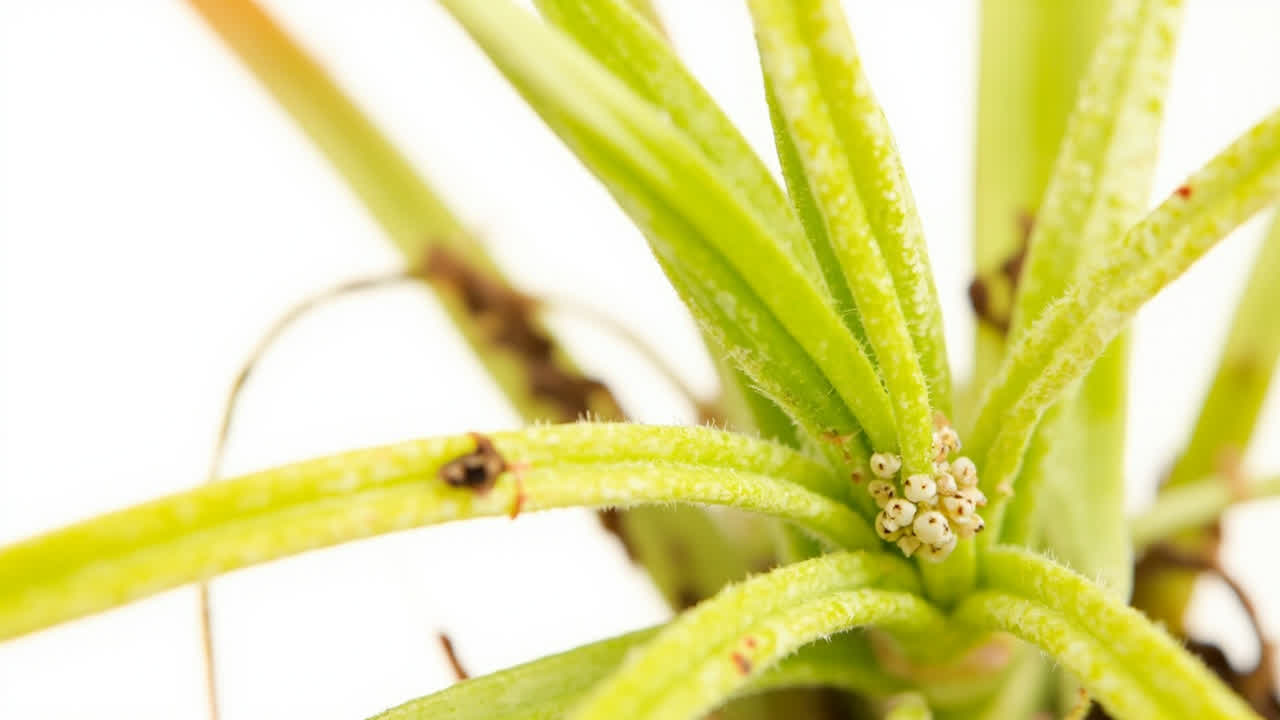
Before you propagate, make sure the spiderette is ready. A mature spiderette will have small bumps or nubs at its base where roots will emerge — these look like tiny raised dots on the stem where it meets the leaf. The stem connecting the spiderette to the mother plant should be firm and slightly stiff, not limp. If the spiderette is very small and has no root bumps yet, wait a little longer before cutting it free.
You do not need to wait for spiderette roots to already be visible — spider plants can be propagated before roots appear, and the stem will grow them once it is in contact with moisture. However, the more developed the root nubs, the faster the process.
Method 1: Rooting Spiderettes in Water
Water propagation is the most popular method and the most satisfying to watch. You can see the roots develop in real time, which makes it especially good for beginners who want to confirm something is actually happening.
Start by cutting the spiderette from the mother plant. Use clean scissors or sharp pruners. Cut approximately 1–2 inches down the stem from the spiderette — you want a short length of stem attached to the plantlet, not just the bare base of the leaves. This stem stub becomes the rooting platform and the more you have, the better.
Fill a small glass or jar with room temperature water — filtered water is better than tap water if your tap water is heavily treated, since spider plants are sensitive to fluoride and chlorine. Place the spiderette in the water so that the stem is submerged but the leaves are above the waterline. You can hold the spiderette in place with a small piece of wire bent into a holder, or simply rest the leaves on the rim of the glass.
Position the glass in bright, indirect light — not direct sun, which heats the water and encourages algae. Change the water every two or three days to keep it fresh and oxygenated. Within one to two weeks, you will see small white roots emerging from the stem. When the roots are roughly 2–3 inches long and well-branched, the spiderette is ready to move to soil.
Do not leave spiderettes in water indefinitely. While they can survive in water for weeks, the longer they stay in water without soil, the weaker the transition to soil becomes. Move them to a small pot of fast-draining potting mix once the roots are substantial enough to anchor the plant.
Method 2: Rooting Spiderettes Directly in Soil
Soil propagation skips the water-to-soil transition and can produce a plant that is more immediately adapted to soil growing. This method works particularly well if you want to root multiple spiderettes at once in a single tray.
Cut the spiderette from the mother plant in the same way — leave a 1–2 inch stub of stem attached. Prepare a small pot with moist, well-draining potting mix. A 3–4 inch pot is sufficient for a single spiderette. Perlite-heavy mixes work well; you can also use a seed-starting mix.
Make a small hole in the soil with your finger or a pencil, insert the stem of the spiderette, and firm the soil gently around it. The goal is good soil-to-stem contact, not deep planting. The spiderette should sit at roughly the same depth it was growing on the mother plant.
Water lightly and place in bright, indirect light. Keep the soil lightly moist — not soaking wet — for the first two weeks. The key is consistent moisture without sogginess. You can loosely tent a clear plastic bag over the pot to create a mini-humidity dome, which slows moisture loss and encourages root development. Remove the bag for an hour each day to allow air circulation.
After about two to three weeks, test whether roots have formed by giving the spiderette a very gentle tug. If you feel resistance, roots have developed and the plant is establishing. If it pulls out easily, give it another week and test again.
Method 3: Dividing a Mature Spider Plant
Division is the fastest way to get multiple established plants from one mature spider plant, and it is the best option when your spider plant has outgrown its pot and needs repotting anyway. Mature spider plants produce multiple crowns of growth, and each can be separated into its own pot.
Remove the plant from its pot and shake or wash off as much soil as possible so you can see the root system clearly. Spider plant roots are thick, fleshy rhizomes — they look like pale, elongated tubers. Each growth crown will have its own set of roots attached. Gently pull the root mass apart into sections, either by hand or with a sharp clean knife. Each section should have at least three to five healthy leaves and a portion of the root system.
Pot each division in fresh, well-draining potting mix in a clean pot that fits the root ball with a little room to grow. Water thoroughly after potting, let excess drain, and place in bright indirect light. For the first two to three weeks, keep the divisions slightly more moist than you normally would — they are adjusting to being independent plants and need time to regrow fine root hairs that were lost in division.
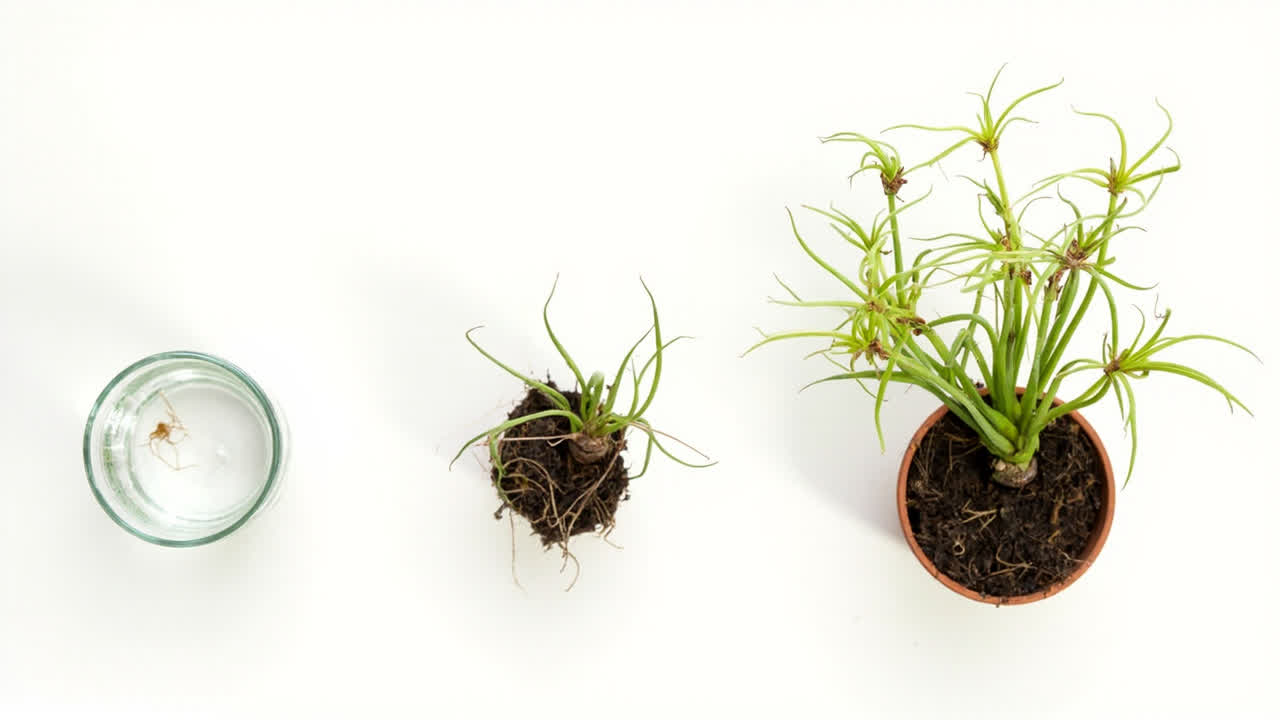
The advantage of division over spiderette propagation is immediacy. You get a larger, more established plant right away rather than a small rooted cutting that still needs months of growing out. The mother plant also recovers quickly and often produces more spiderettes as a response to the pruning.
How to Care for Newly Propagated Spider Plants
Once your spiderette has rooted and is in soil, treat it as a young plant with slightly more attentive care than a mature spider plant. Keep it in bright, indirect light — not low light, not direct sun. Water when the top inch of soil is dry, and avoid letting the soil go bone dry during the first two months. Do not fertilize for the first month after potting; the fresh soil has enough nutrients, and adding more risks burning the young roots.
Young spider plants grow quickly when conditions are right. Within a few months, you will see new leaves emerging from the center of the plant, and within six months to a year, the plant will be large enough to produce its own spiderettes on long stems. For ongoing care, follow our spider plant care guide.
Common Propagation Mistakes
Cutting a spiderette too early, before it has developed root nubs, means it has to grow roots from scratch before it can support itself. It will usually succeed, but the process takes longer.
Placing a spiderette in water with the leaves submerged causes rapid rot. The leaves must stay above the waterline — only the stem should be submerged.
Moving a water-rooted spiderette to soil too early, before the roots are long enough, causes the young roots to struggle to adapt. Wait until the roots are at least 2 inches and branching before transferring.
Using dense, heavy soil for freshly potted spiderettes causes waterlogging. Fast-draining mix is non-negotiable — root rot is the most common killer of newly propagated spider plants, and it starts with soil that stays wet too long.
Propagating for Free Plants: A Simple System
Once your spider plant is mature and producing spiderettes regularly, you do not need to propagate every one. Establish a simple rotation: every few months, root two or three spiderettes and pot them up. After they grow out, you have instant gifts, trading material, or additions to your own collection.
Spider plants are so prolific at producing spiderettes that many owners eventually stop propagating altogether because they run out of places to put them. The fact that they are easy to share makes them one of the most given-away houseplants in existence — which is why you so often see them in office lobbies, church hallways, and the homes of people who have never considered themselves plant people.