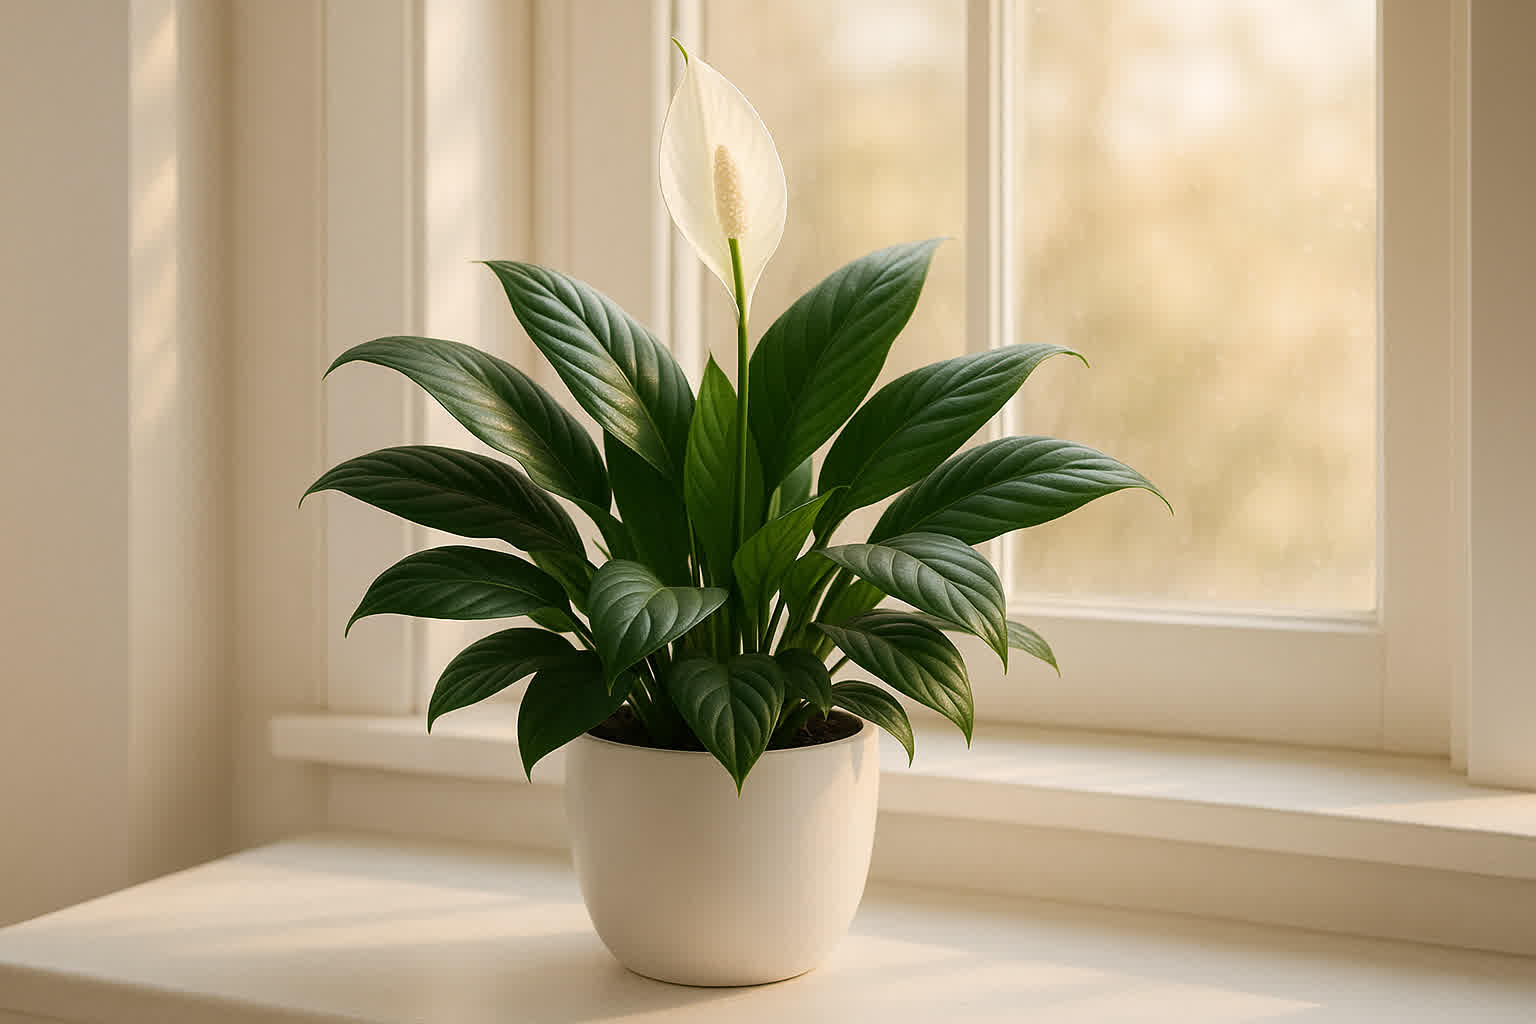
Peace lily propagation is one of the simplest ways to multiply a houseplant at home. A mature Spathiphyllum sends up new crowns from its underground rhizome, and each offset carries its own roots, meaning you can separate them and pot them up as independent plants with a high success rate.
The two working methods are crown division and stem cuttings. Division is the default and the most reliable path. Stem cuttings are the fallback for single-stem plants that have not yet formed multiple crowns. Both methods require only a sharp knife, a clean pot, and fresh potting mix.
This article walks through both methods step by step. For a full care overview, see the peace lily care guide. Start with the timing and tools section, then follow the method that matches your plant.
What Is the Best Time to Propagate a Peace Lily
Spring through early summer is the ideal window for peace lily propagation. During these months the plant is in active growth, which means it recovers faster from the disturbance of being divided or cut. New roots form quickly, and the offset establishes itself before the slower growing season arrives.
Propagating in fall or winter is possible, but the plant grows more slowly and the risk of rot increases. Cooler temperatures combined with wet soil create an environment where roots struggle to callus over after division. If you miss the spring window, wait until the next growing season rather than forcing it in low light.
A healthy peace lily in a warm room with steady light can still propagate outside the ideal window, but expect the recovery period to stretch. Divisions taken in summer may show new growth in two to three weeks. The same division in January could take six to eight weeks to respond.
Tools You Need Before You Start
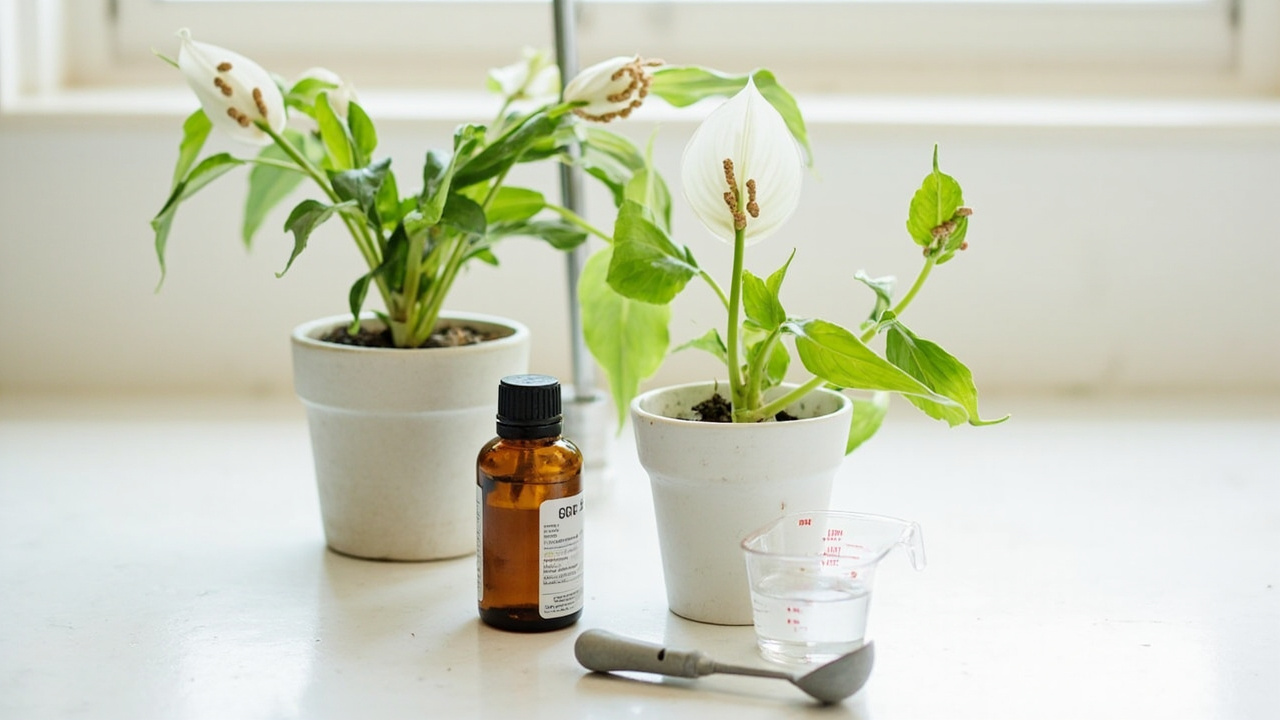
You do not need specialized equipment to propagate a peace lily. The essential toolkit is short and inexpensive. A basic understanding of peace lily care helps because propagation success depends on reading the mother plant health before you begin.
- Sharp knife or pruning shears: A clean, sharp blade makes a clean cut through the crown and roots without crushing tissue. Dull tools tear and increase the chance of infection.
- Clean potting mix: A light, well-draining indoor mix works best. Mix in extra perlite if your base mix feels heavy or peat-dense.
- Pots with drainage holes: Any pot with a drain hole is suitable. Terracotta pots help the soil dry more evenly, which reduces the risk of overwatering a newly divided plant.
- A small tray or sink: Propagation is messier than routine care. Work over a sink or tray so loose soil and water do not damage your surface.
Optional but helpful: a moisture meter to check the potting mix before and after potting, and a humidifier or pebble tray to raise humidity around the new plants during the first two weeks.
Method 1: Crown Division (Most Reliable)
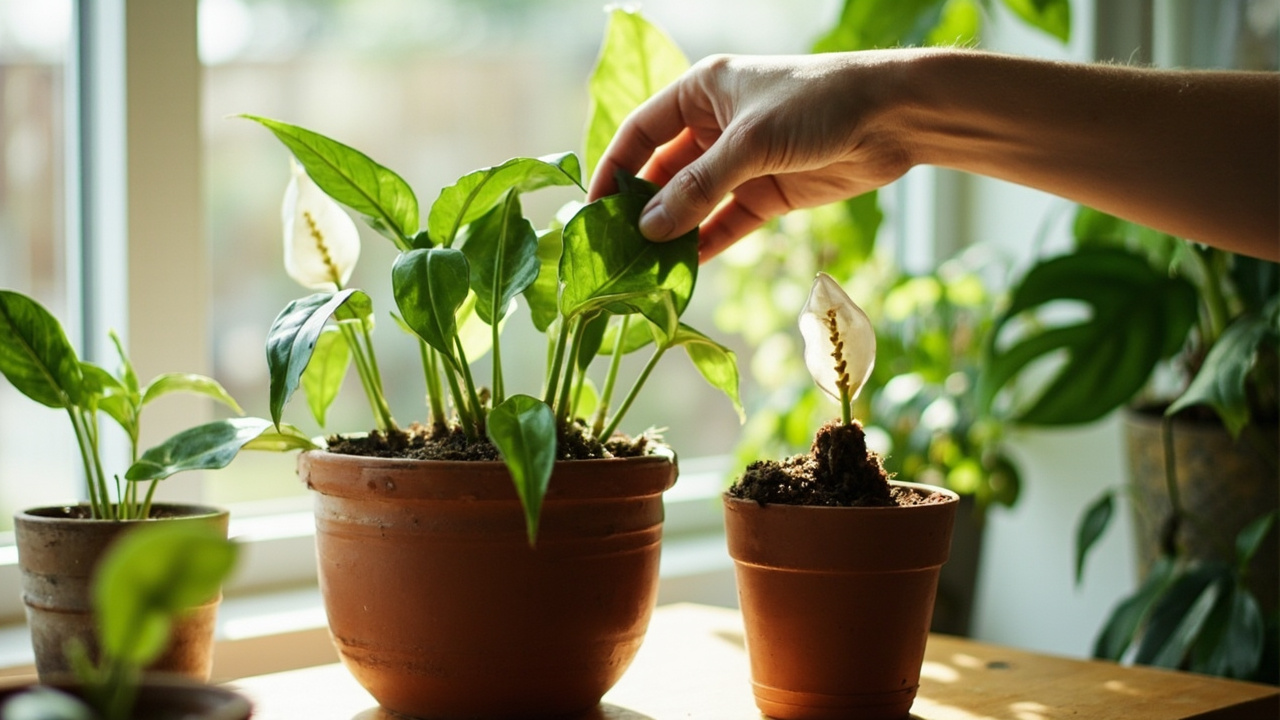
Crown division is the primary method for propagating a peace lily because it preserves the root system of each offset. The mother plant grows multiple crowns from a central rhizome, and each crown is already a complete plant with leaves, stems, and roots.
Start by watering the mother plant thoroughly a day before division. Hydrated roots are more elastic and less prone to snapping when you work the plant out of its pot. Dry roots shatter easily and damage the offsets you are trying to separate.
Gently remove the plant from its pot by tipping it sideways and supporting the base of the stems. Do not pull the stems upward, that risks tearing the crown. If the roots are tightly bound, run a knife around the inside edge of the pot to loosen them before lifting.
Once the plant is out, shake off loose soil and lay the root mass on a clean surface. Identify the natural divisions, lines where one crown separates from another. These lines are usually visible as slight indentations between clusters of stems and roots.
Using your sharp knife or shears, cut through the rhizome at each division point. Each offset must have at least three to five healthy leaves and a portion of the root ball attached. If an offset looks weak or has damaged roots, leave it attached to the mother crown and try again later when it is larger.
Place each division into a pot filled with fresh potting mix. Press the soil gently around the base to eliminate large air pockets, then water thoroughly until excess drains from the bottom. Do not fertilize for at least four weeks after division, the plant needs time to seal the cut surfaces before introducing salts.
How to Check the Root Ball Before Dividing
Before you cut into a root ball, inspect it for health. A peace lily that is already stressed by root rot or severe compacted soil will not tolerate division well, and separating it only increases the chance that both plants fail.
Healthy roots are firm, white to light tan, and spread outward through the mix. They should hold the soil together but separate cleanly when you gently tug a small section. A healthy root ball also gives the plant structure, it holds its shape when lifted from the pot.
Signs of trouble include dark brown or black roots that feel mushy, a sour or rotten smell when you break the soil apart, or soil that has compacted into a solid mass with no air spaces. If you find rot, trim away all affected roots with a clean cut before dividing. If more than half the root system is compromised, repot the whole plant and delay propagation until it recovers.
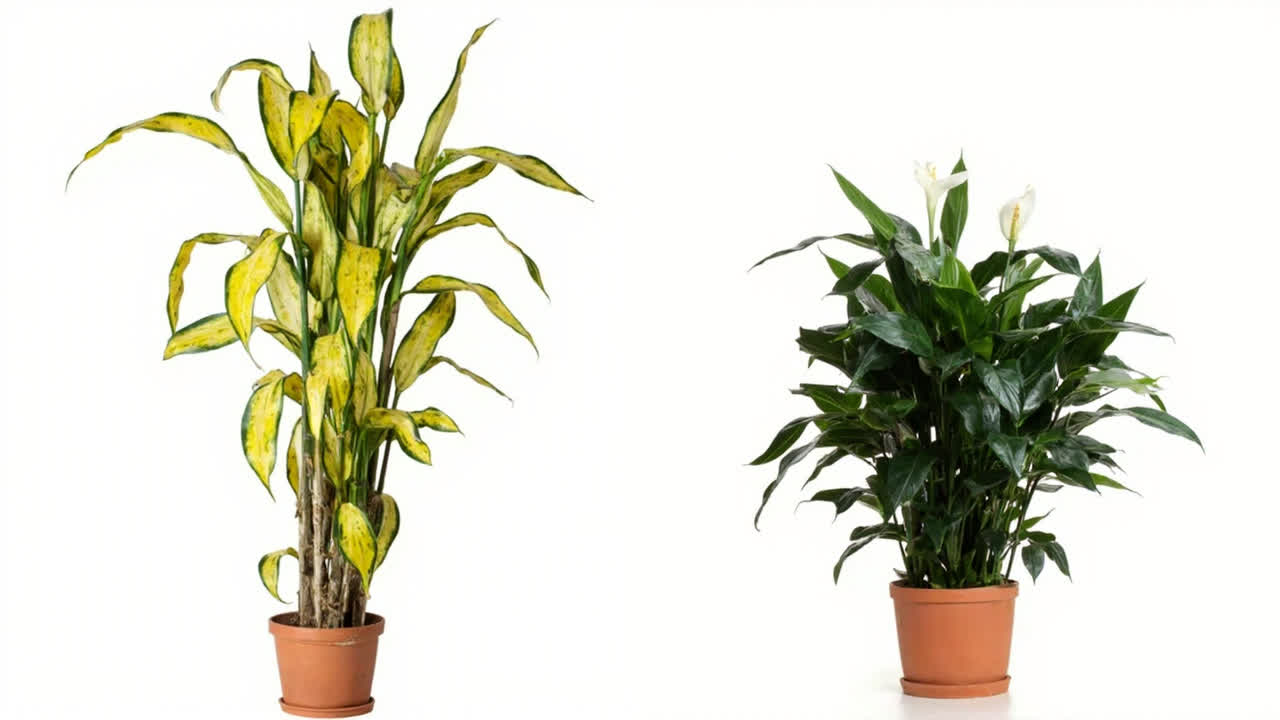
A rotting root ball that you divide in half will simply create two half-rotted plants. That is why the inspection step matters, it separates plants worth dividing from plants that need treatment first. If your peace lily is showing yellow leaves or a drooping crown despite normal watering, the problem may be root rot. Check the yellow leaves diagnostic first to confirm whether the issue is water related before attempting division.
Method 2: Stem Cuttings (Fallback for Single-Stem Plants)
If your peace lily has a single crown with no offsets, crown division is not an option. Stem cuttings offer a second path, though they carry a lower success rate and require more careful aftercare.
Choose a healthy stem that has at least one node, the small bump on the stem where leaves emerge. Nodes are where new roots will form, so a cutting without a node will not root. Select a stem that is flexible but firm, not woody or brittle.
Cut the stem just below a node using your clean, sharp blade. Make the cut at a slight angle to increase the surface area available for root formation. Remove the lowest one or two leaves, leaving at least two to three leaves on the upper portion of the cutting.
You can root the cutting in water or in moist potting mix. Water rooting is simpler to monitor, you can see when roots appear and check for rot. Place the cutting in a glass of room temperature water, making sure only the node and lower stem are submerged. Change the water every two to three days to keep it oxygenated and prevent bacterial growth.
Rooting in potting mix requires more attention to moisture balance. Dip the cut end in rooting hormone if you have it, then insert the cutting about one inch into moist, well-draining mix. Keep the soil consistently damp but not wet, and cover the pot with a clear plastic bag to create a humidity dome. Remove the bag once roots form, usually within two to three weeks.
Whether you root in water or soil, place the cutting in bright indirect light. Direct sun will scorch the vulnerable cutting, and too little light slows root formation. A north or east facing window works well, or a grow light set a few inches above the cutting.
Aftercare: What to Do Once Potting Is Complete
Both division and stem cuttings enter a vulnerable recovery period after potting. The first three weeks are critical, the plant is either establishing new roots or healing divided roots, and it cannot afford additional stress.
Water the newly potted plant thoroughly, then let the top inch of soil dry before watering again. This follows the same principle used in the peace lily watering guide: check the soil before you water rather than following a fixed schedule. Check the soil with your finger rather than on a fixed schedule. Newly divided plants have reduced root mass and use water more slowly than a mature plant, so overwatering is the most common mistake.
Place the pot in bright indirect light. Avoid direct sun, which stresses a plant that is still recovering. If your home is very dry, raise the humidity around the new plant with a pebble tray or a nearby humidifier. Peace lilies originate from tropical understory environments where humidity is naturally high, and a dry home environment slows recovery.
Do not fertilize during the first four weeks. The fresh potting mix contains enough nutrients for the initial establishment period, and added fertilizer at this stage can burn fragile new roots. After four weeks, resume a light feeding schedule, half strength, once a month during the growing season.
Watch for signs of recovery: new leaf emergence, firming of existing leaves, and a slight darkening of leaf color as chlorophyll production increases. If the plant begins to droop within the first week, check the soil moisture first, it is usually too wet or too dry. If the soil is fine, the plant may simply need more humidity during the transition.
A newly propagated peace lily that shows new growth within four to six weeks is established and transitioning into normal care. At that point, you can treat it like a mature plant and follow the standard care routine for light, watering, and fertilizing.
Common Mistakes to Avoid
Propagation is straightforward, but a few recurring mistakes reduce the success rate significantly.
The first is dividing a plant that is not ready. A peace lily with a single stem and no offsets cannot be divided, attempting to force a split at the wrong point damages the crown and kills both halves. Wait until the plant produces at least two visible crowns before dividing.
The second mistake is using old, compacted potting mix for the new pots. Fresh offsets need light, airy soil that drains well. Old mix that has collapsed and lost its structure holds too much water and suffocates the young roots. Always use a fresh mix for propagation.
The third is overwatering during recovery. A newly divided plant has fewer roots to draw water, but the leaves still lose moisture through transpiration. The soil dries more slowly because there is less root uptake, so the temptation to water frequently is strong. Resist it. Check the soil before watering, and water only when the top inch is dry.
The fourth mistake is placing cuttings in direct sunlight while they root. Without a developed root system, a cutting cannot replace water lost through its leaves fast enough to survive direct sun. Bright indirect light is the correct choice until roots are visible or the cutting shows new growth.
Avoiding these four mistakes raises the success rate dramatically. Crown division with a healthy mother plant and fresh potting mix succeeds in the vast majority of cases. Stem cuttings are less predictable but still viable when the aftercare steps are followed carefully.
When to Expect Results
Recovery timelines vary by method and conditions. Crown-divided plants usually show new leaf growth within four to six weeks if light, moisture, and humidity are adequate. Stem-cuttings rooted in water typically develop visible roots within two to three weeks, with new leaves appearing shortly after.
Some plants take longer, especially if propagated in cooler conditions or lower light. Patience is the key variable. A division that shows no growth after eight weeks may still be viable, check the soil moisture and root health before declaring failure. If the stems are soft or the roots are brown and mushy, the division did not take and you should start over with a healthier mother plant.
Once a propagated peace lily is established and producing new leaves consistently, it is ready for normal care. Transition it to the same watering and fertilizing schedule you use for mature plants, and it will continue to grow and eventually produce its own offsets for future propagation cycles.
From PDF to Excel in one click
Forget retyping line by line. Upload any bank statement, get a spreadsheet you can actually use. Your files are never stored, and you can test the converter with 3 free conversions.
Try it free