Air layering is a propagation method that grows roots on a living stem while the stem stays attached to the mother plant, then detaches the new plant only after the moss ball fills with white roots. The technique solves a stubborn problem: woody-stemmed houseplants like rubber plant, fiddle leaf fig, magnolia, and camellia refuse to root in water because their thick stems rot before callus tissue can form. Air layering keeps the stem alive on the parent plant while building a controlled root zone in moist sphagnum moss, so by the time you cut the branch free, the new plant is already self-sufficient. Expect 8 to 12 weeks from girdle to first pot-up, and treat the long rooting window as the cost of admission rather than a failure.
If you have tried water propagation in a jar on the windowsill and watched the stem go mushy, air layering is the propagation technique built for woody stems. This page walks through what air layering is, which houseplants respond well, when to start, the step-by-step procedure with rooting hormone and sphagnum moss, and how to handle the aftercare without losing the new roots.
What air layering is and when to use it
Air layering is the propagation method of choice when an indoor plant has a thick or woody stem that will not root from a cutting. It belongs in every indoor plant care toolkit alongside water propagation, division, and stem cuttings, and it is the one method that reliably clones a leggy tropical foliage houseplant that other techniques cannot save. The basic idea is simple: you wound a healthy branch with a girdle, keep the wound moist and dark with sphagnum moss, and let adventitious roots grow from the exposed cambium while the branch is still drawing water and sugar from the parent plant. After the moss ball fills with white roots, you cut the branch below the new root mass and pot it up as a separate plant. The new plant is a clone, genetically identical to the parent plant, which matters if you have a cultivar you want to preserve (a variegated rubber plant, a specific fiddle leaf fig, a named magnolia).
Compare that to water propagation, where a severed stem sits in a jar and has to root without any support from the parent plant. Water propagation works beautifully for soft-stemmed tropicals like pothos, philodendron, and hoya because their thin stems carry enough stored water to push out roots in 2 to 4 weeks. Woody stems are a different story. Their thick bark cracks, the cut end rots, and the cutting collapses before callus tissue can form. Air layering side-steps the entire rot problem because the stem is never separated from the mother plant until roots are already in place. The trade-off is time: 8 to 12 weeks is normal, and 16 weeks is not unheard of for slow species like camellia and magnolia.
Air layering is also different from grafting. Grafting joins two plants so they grow as one (a scion on a rootstock), and it matters for fruit trees where you need a known root system plus a known fruiting top. Air layering does not need a rootstock, does not need to heal a graft union, and produces a new plant on its own adventitious roots. For home gardeners who want to clone a leggy houseplant without buying grafting supplies, air layering is the cheaper, lower-risk propagation path.
Which plants air layer best (and which will not work)
Air layering works on plants with a woody or semi-woody stem and a healthy cambium layer just under the bark. The cambium is the thin ring of actively dividing cells that produces both new bark and new vascular tissue, and it is also the layer that produces adventitious roots when you wound it with a girdle. Plants with a thick, green, or bark-covered stem and visible nodes respond well. Plants with a thin, soft, water-storing stem do not respond because they rot inside the moss ball instead of callusing.
The houseplants that air layer reliably include rubber plant (Ficus elastica), fiddle leaf fig (Ficus lyrata), dracaena (Dracaena marginata, fragrans, and reflexa), schefflera (Schefflera arboricola and actinophylla), dieffenbachia (Dumb Cane), and money tree (Pachira aquatica). Outdoor ornamentals like magnolia (Magnolia grandiflora), camellia (Camellia japonica and sinensis), holly (Ilex), and azalea also air layer well when the cambium is active during the spring growth flush. Expect a 60 to 80 percent success rate on the easy species when the procedure is followed cleanly and the moss ball stays moist throughout the rooting window. For the full ranked shortlist with branch rules and week windows, see the best plants for air layering.
The plants where air layering usually fails are the soft-stemmed tropical foliage houseplants that already propagate easily in water. Pothos, philodendron, hoya, and most succulents have thin stems that desiccate or rot inside the moss ball before they callus, the opposite problem of the jade plant whose woody bark cracks unpredictably under the girdle. Jade plant (Crassula ovata) is a special case: it is woody, but its thin bark cracks irregularly under the girdle, and the cambium often fails to root before the wound dries out. For those species, stem cuttings in dry perlite or coarse sand root faster and more reliably than air layering. The honest answer is to use the right propagation technique for the stem type: water propagation for soft stems, air layering for woody stems, leaf cuttings for succulents.
When to air layer (timing window and what slows it down)
Air layering is a season-sensitive procedure. The cambium only produces adventitious roots when the mother plant is in active growth, which means warm temperatures (21 to 27°C / 70 to 80°F), bright indirect light, and visible new leaves pushing out at the branch tips. For most houseplants kept indoors year-round, the active growth window runs from early spring through late summer. For outdoor ornamentals in temperate climates, late spring to early summer is the safe window, after the last frost and before the heat dome of July. Air layering in late fall or winter almost always fails because the cambium is dormant and the moss ball stays cold enough to encourage rot instead of callus.
The single biggest reason air layers fail is starting them when the parent plant is not actively growing. A second reason is low light during the rooting period: the mother plant needs enough energy to push adventitious roots through the wound, and a dim corner produces a stalled callus that never thickens. The third reason is letting the moss dry out, which kills the developing roots before they can branch through the sphagnum moss.
Pick the strongest, healthiest branch on the mother plant, ideally one that is at least pencil-thick and has visible new growth above the wound site. A branch with new leaves at the tip is a reliable signal that the cambium is active, the same cue that tells you a snake plant cutting is ready to push roots. A branch with all old, hardened leaves and no new push is a weaker candidate for air layering. If the only available branch is dormant, wait two to three weeks for new growth to appear before girdling. Most beginner houseplant growers do this once on a low-maintenance rubber plant or schefflera first, then move to the trickier magnolia or camellia once they have seen how the moss ball behaves under their indoor conditions.

Step-by-step air layering procedure
The air-layering procedure has five named steps: girdle the stem, apply rooting hormone, pack with moist sphagnum moss, wrap to hold moisture in the moss ball, and wait for adventitious roots. Each step has a specific tool, a specific timing, and a specific failure mode. Walk through them in order, and do not skip the girdle depth check because a shallow girdle is the single most common reason an air layer fails to root.
Step one, girdle the stem. Pick a spot on the branch 30 to 60 cm (12 to 24 inches) below the tip, ideally just below a node where leaves emerge. With a sharp, sterilized knife (wipe the blade with isopropyl alcohol and let it dry), make two parallel cuts around the stem about 2.5 cm (1 inch) apart, cutting through the bark and into the pale green cambium layer but no deeper. Peel away the bark ring between the two cuts to expose the bare wood underneath. The girdle must be deep enough to interrupt the phloem (which carries sugar down from the leaves to the roots) but not so deep that the branch snaps off. If the branch starts to bend under its own weight, the girdle is too deep and you need to start over higher up the stem.
Step two, apply rooting hormone. Brush a thin layer of rooting hormone powder (IBA 0.1 to 0.3 percent, also called indole-3-butyric acid, is the standard formulation) onto the exposed cambium ring. Rooting hormone is optional for easy species like rubber plant and schefflera, but it improves the success rate on slower species like camellia and magnolia. Skip the rooting hormone only if you are air layering a known fast-rooting plant and want to keep the procedure simple.
Step three, pack with moist sphagnum moss. Soak long-fiber sphagnum moss in water for 10 minutes, then squeeze it out so the moss is damp but not dripping (a handful should not release water when squeezed). Pack a fist-sized moss ball around the girdled section so the sphagnum is in full contact with the exposed cambium on all sides. The moss ball must be thick enough to hold moisture for 4 to 6 weeks without rewetting, and dense enough that adventitious roots can branch through it without air pockets.
Step four, wrap to hold moisture. Wrap the moss ball tightly with clear plastic wrap (cling film) to lock in humidity. Secure both ends with twist ties or electrical tape so the wrap cannot slip and expose the moss to air. Optionally wrap a layer of aluminum foil over the plastic to block light, which encourages adventitious roots to grow toward the sphagnum moss rather than toward the surface. The wrap must be airtight; if air leaks in, the moss dries out and the callus dies.
Step five, wait for adventitious roots. Leave the wrap undisturbed for 6 to 8 weeks while the parent plant pushes roots through the cambium. After 6 weeks, unwrap one corner and check the moss ball. If you see white roots branching through the sphagnum moss, the layer is ready to detach. If you see only callus tissue (a pale, smooth swelling) and no roots, rewrap and check again at 10 to 12 weeks. If the moss is dry, mist it lightly with water and rewrap.
Aftercare, potting up, and troubleshooting
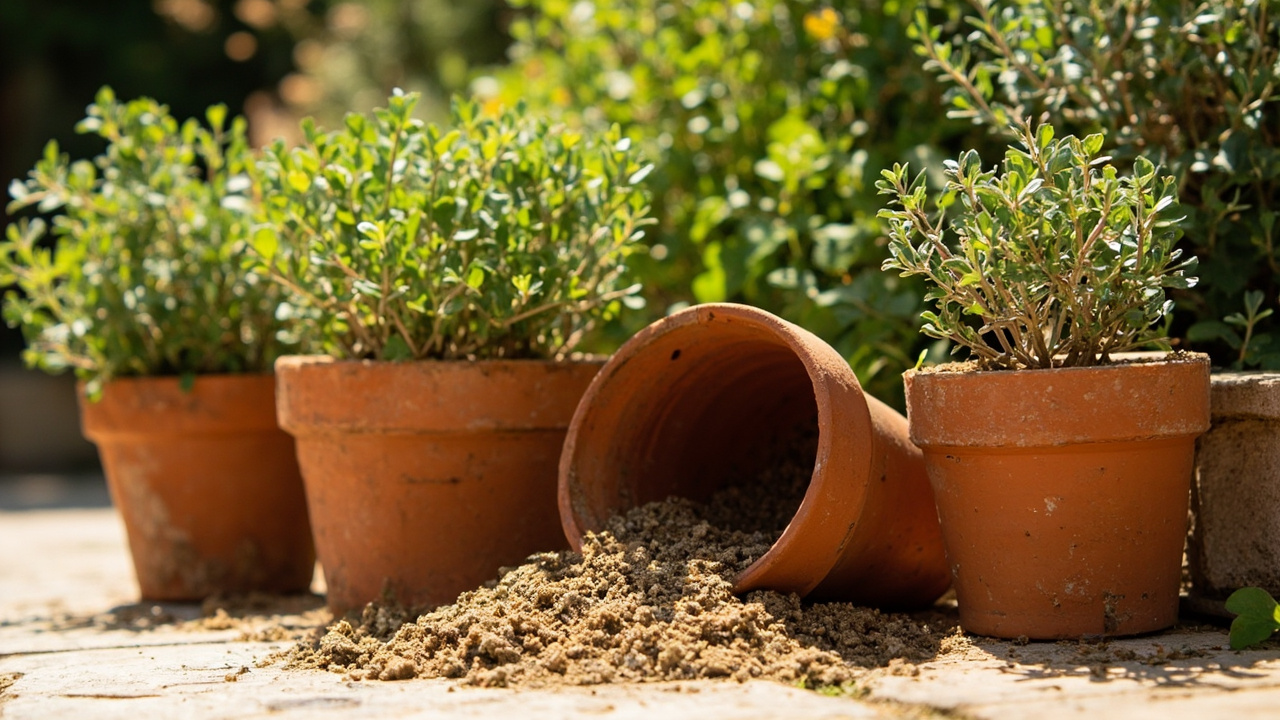
When the moss ball is full of white roots, cut the branch 5 to 7 cm (2 to 3 inches) below the new root mass with sterilized pruners. Keep as much sphagnum moss attached to the roots as possible because the adventitious roots are brittle and will snap if you try to peel the moss off. Pot the new plant into a container one size up from the root mass, using a well-draining soil suited to the species (a peat-and-perlite blend for ficus, a coarser orchid-bark mix for dracaena, a cactus-and-succulent blend for money tree, each with a drainage hole to prevent overwatering and root rot). Choose a terracotta pot if you tend to overwater; the porous wall pulls excess soil moisture away from the new adventitious roots and reduces the brown tips, yellow leaves, and leaf drop that show up when a young air-layered houseplant sits in soggy soil. Water thoroughly until liquid runs from the drainage holes, then place the new plant in bright indirect light and high humidity for the first 2 to 3 weeks. A clear plastic bag tented over the pot (with a few holes punched for airflow) holds humidity around the recovering adventitious roots.
Aftercare for the mother plant is straightforward: the girdle wound will callus over on its own within a month, and the branch above the cut will often push new lateral shoots within one growing season because the apical dominance has been removed by the cut. Do not seal the girdle wound with pruning paint; modern research shows the mother plant heals faster when the wound is left open to air and allowed to callus naturally. The mother plant’s existing indoor plant care routine resumes as soon as you finish the air layer: bright indirect light, the same watering schedule as before, and a humidity level that matches what the rest of your houseplant collection sits in. The cut branch does not need extra fertilizer; standard NPK feeding at half-strength during active growth is plenty until you see new leaf push.
The three troubleshooting scenarios that come up after the rooting window: no roots at 12 weeks, partial roots only, and a rotting moss ball. No roots at 12 weeks usually means the cambium was dormant or the sphagnum moss dried out at some point. Unwrap, refresh the wound with a light scrape of the cambium, repack with fresh moist sphagnum moss (see the sphagnum moss versus perlite comparison before you choose the medium), and rewrap for another 6 to 8 weeks, the same recovery window you would give a struggling fiddle leaf fig. Partial roots (some white roots, lots of callus) mean the timing was right but the moisture protocol slipped. Cut the branch below the partial adventitious roots and pot it up in a high-humidity recovery setup, then watch for new leaf push over the next 4 weeks. A rotting moss ball means the wrap was not airtight or the branch was already stressed. Cut below the rot, dispose of the sphagnum, and start a fresh air layer on a different branch of the mother plant. Expect to lose 1 of every 5 air layers to one of these failure modes; the other 4 produce a healthy new plant identical to the parent.
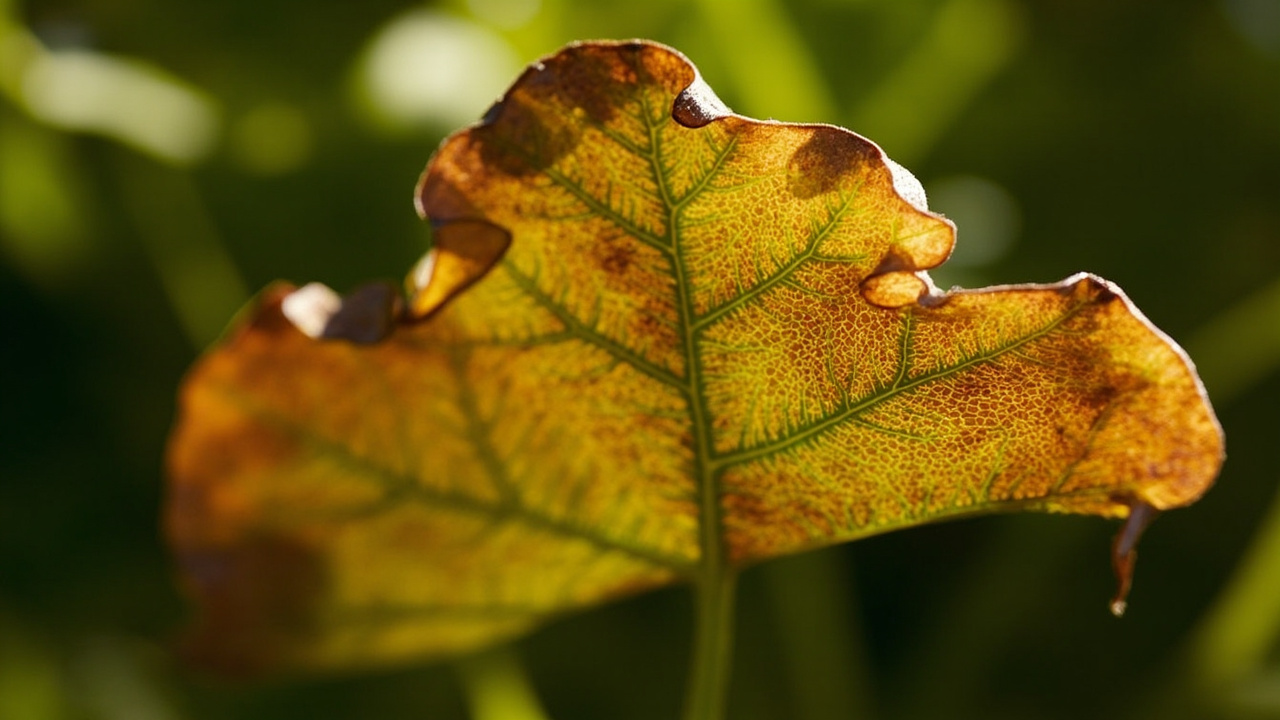
One more troubleshooting note for indoor gardeners: if your air-layered houseplant looks fine for 3 months and then suddenly drops leaves, develops brown tips, or shows yellow leaves with green veins, the problem is usually not the air layer itself but the post-potting environment. The new plant is still adjusting to its own root system, and it cannot yet tolerate the same underwatering or overwatering cycle that a mature houseplant handles. Run a humidifier near the recovering plant for the first 6 weeks to lift relative humidity and reduce transpiration stress on the shallow new root system, keep it out of direct sun to avoid sunburn, and resist the urge to fertilize until you see two full sets of new leaves. A leggy stretch toward the window afterward is normal etiolation from lower indoor light and responds to pinching the internode and moving the plant closer to an east-facing window with bright indirect light or adding a grow light to keep the internode short. Leaf curl on the new growth usually signals underwatering or low humidity; chlorosis (yellow leaves with green veins) points to overwatering or a nutrient deficiency that resolves once a standard NPK feeding resumes. Root-bound symptoms show up in year two; plan to up-pot one size at that point rather than waiting for the drainage hole to clog with crowded roots, and choose a new pot with a peat-and-perlite indoor potting mix that holds even soil moisture without staying soggy. Pet-safe species like parlor palm, calathea, and peperomia can be air layered too, but skip the technique on any toxic houseplant if you have curious cats or toddlers since the rooting hormone and aluminum foil are not part of the pet-safe plant kit. A weekly check for mealybug, spider mite, and fungus gnat on the recovering plant treats a small outbreak of aphid, scale, or whitefly with a quick neem oil spray on the foliage plant leaves, and keeps a small infestation from becoming a full houseplant care problem across your whole collection.
If your office desk or shelf is the only spot you can offer, an air-layered rubber plant or schefflera on a low light schedule is still a reliable choice. These indestructible indoor houseplants forgive missed waterings and produce new leaves even under fluorescent office lighting, which makes them the easiest first air-layering project for an office desk or shared workspace. Skip the technique for delicate foliage plant specimens or any houseplant that needs foot-candles above 200 to keep its color, since the moss ball blocks light from the branch and that branch will struggle to push new growth while it is still attached to the parent.
Turn That PDF Into a Spreadsheet in Minutes
You've seen how to do it manually — now let the tool handle the heavy lifting. Upload your bank statement and get Excel, CSV, or QBO in a few clicks.
Try It Free