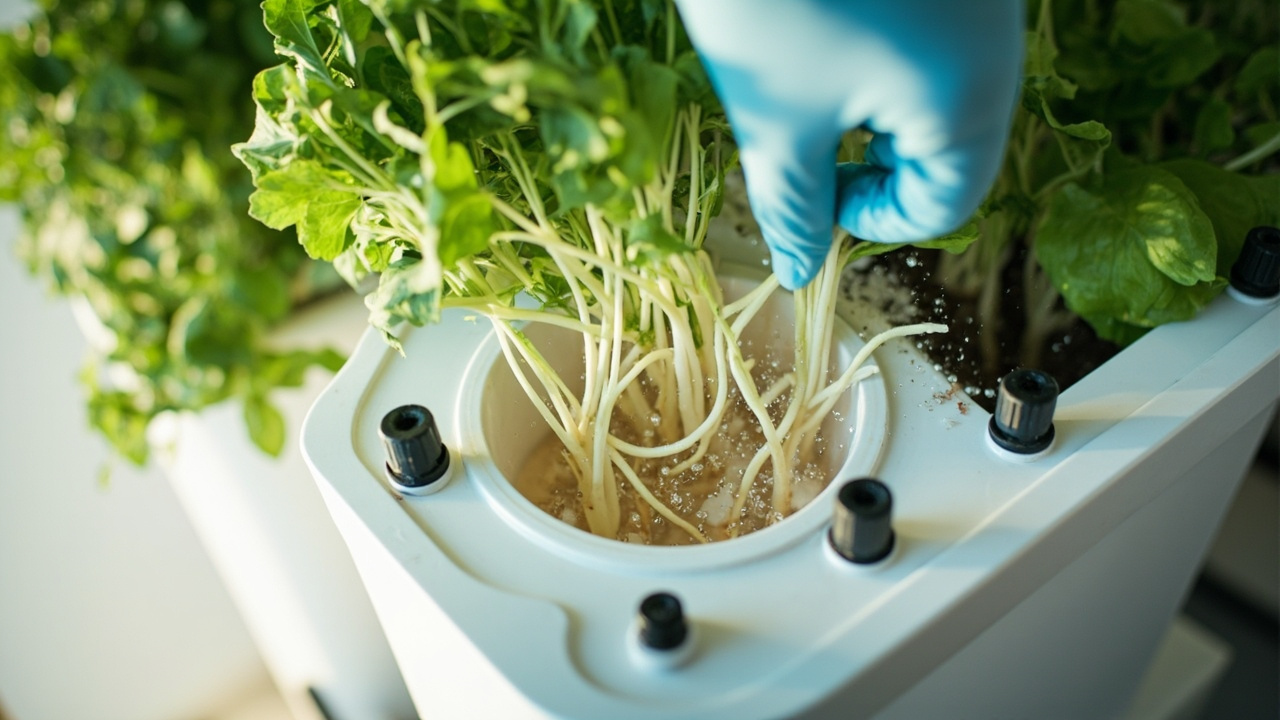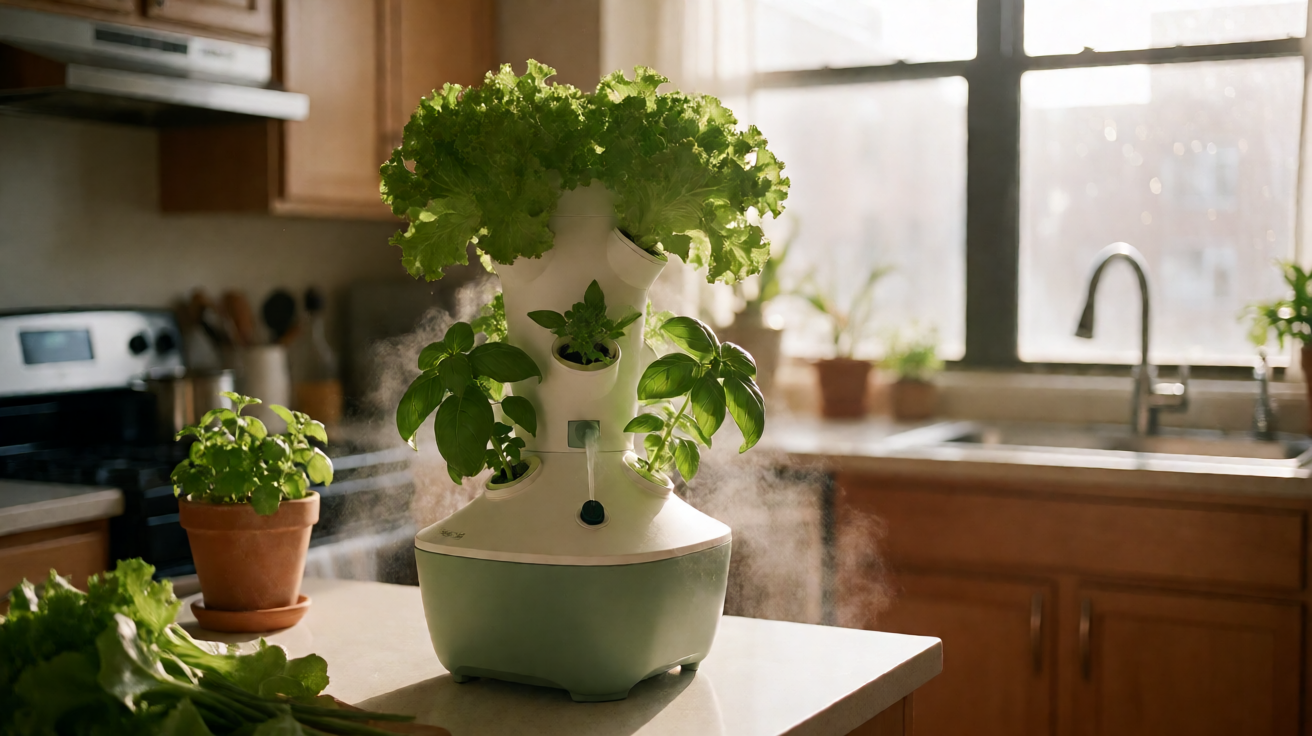

An aeroponic tower DIY build costs $60–$80 in hardware store parts and produces results that match commercial units priced at $300–$800. The mechanism is simple: a submersible pump drives nutrient solution through misting nozzles inside a vertical PVC column, spraying fine droplets onto exposed roots hanging in air. Roots absorb oxygen from air and nutrients from mist simultaneously — a combination that drives growth 3–5× faster than soil culture for leafy greens and herbs. The critical difference from bought systems: you control every component, so repair is straightforward and replacement parts cost dollars, not wait times.
Most DIY tutorials gloss over the details that actually determine success. They say “mist your plants” without specifying interval. They list “nutrient solution” without explaining EC calibration or pH windows. They skip the temperature thresholds that separate thriving roots from heat-stressed ones. This guide covers every one of those details — because the misting interval, nutrient concentration, and root zone temperature are where most home builds either succeed or fail.
Here is everything you need to build a 6-plant aeroponic tower that runs reliably for months without proprietary parts or expensive consumables.
Why Build Your Own Aeroponic Tower?
Commercial aeroponic towers carry price tags between $300 and $800, and most require proprietary parts that make repairs expensive or impossible. A home-built version costs $60 to $80 in parts you can source from a hardware store or order online. You get the same core function — roots suspended in air, misted with nutrient solution at precise intervals — without the premium markup.
The hidden advantage nobody talks about: when you build your own tower, every component is replaceable. The pump fails? You swap in any submersible pump that fits the tubing diameter. A misting nozzle clogs? You clean or replace it for under $2. With a commercial unit, that same failure often means contacting support, waiting for a replacement part, or replacing the whole system. A DIY tower gives you that control — and keeps your growing season uninterrupted.
How an Aeroponic Tower Works
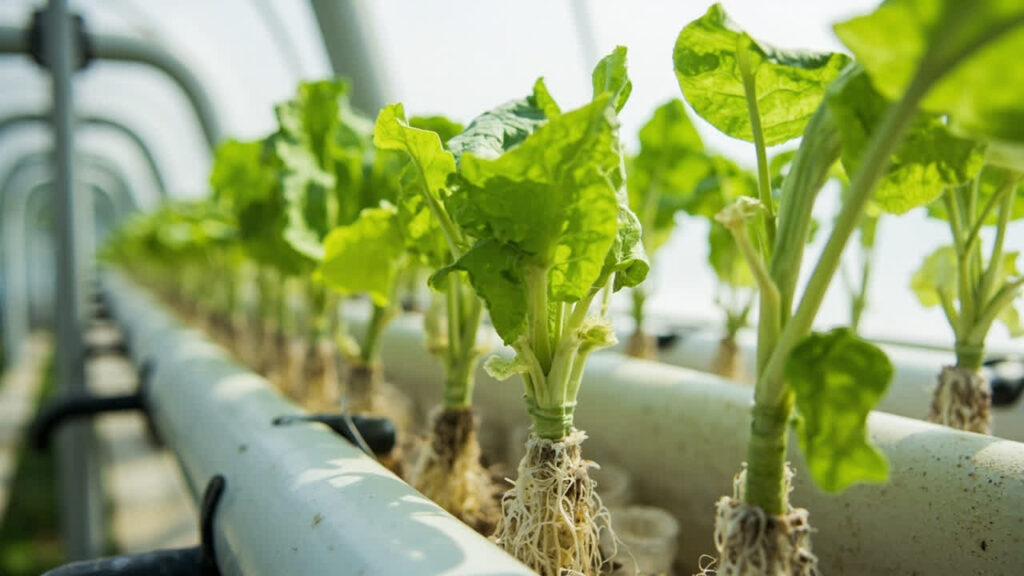
A submersible pump pushes nutrient solution through tubing to misting nozzles positioned inside a vertical PVC column. Those nozzles spray fine droplets — 3–5 second bursts every 2–3 minutes — directly onto exposed roots hanging in air. The roots absorb the misted nutrients while simultaneously accessing oxygen from the air, a combination that drives faster growth compared to soil or standing water culture. The timer is the brain of the system, cycling the pump on and off to create that misting rhythm.
When the pump is off, roots sit in air — never waterlogged, never drying out completely because the misting intervals are short enough to keep them damp. To understand the broader mechanism that makes this work, read our guide on how aeroponics delivers nutrients directly to the root zone — it covers the full pump-to-nozzle chain.
What You Need: Materials Checklist
Before buying anything, gather everything on this list. Mixing shopping trips with assembly leads to half-finished builds sitting in a garage for months.
Technical Components
- Submersible pump — 250–400 GPH (gallons per hour) rating for a 6–8 plant tower. Must fit inside your reservoir. A 250 GPH pump handles 6 plants comfortably; upgrade to 400 GPH if you scale past 12.
- Misting nozzles — 0.3mm or 0.5mm orifice size. These create the fine mist droplets roots absorb. One nozzle per plant slot. High-pressure nozzles (0.3mm) produce a finer mist but clog more easily with hard water.
- Timer — digital plug-in timer with at least 8 programmable on/off cycles per day. Basic mechanical timers with a single daily window are insufficient for aeroponics.
- UV-resistant tubing — 1/4-inch inner diameter for the misting lines, 1/2-inch for the main supply line from pump.
Structural Components
- 4-inch PVC pipe — cut to your tower height (typically 3–5 feet). SDR 35 pressure pipe is rigid enough to hold net cups without buckling.
- 4-inch net cups — one per plant slot. The holes in the cup walls let roots grow through while supporting the growing medium.
- End cap for PVC — caps the bottom of the tower column to contain mist and keep light out.
- Reservoir — 5–10 gallon opaque container. Opaque prevents algae growth. Must fit your pump and hold enough solution for 24 hours of operation.
- PVC cement and primer — for permanent joints; silicone sealant for removable connections.
Operational / Supporting
- Rock wool cubes or clay pebbles — for starting seeds and supporting clones in net cups.
- pH test kit or digital meter — non-negotiable for aeroponics. Solution pH directly controls nutrient availability.
- EC meter — measures electrical conductivity to confirm nutrient concentration is in the right range.
- Zipties and tubing stakes — for securing lines and keeping the setup tidy.
Budget Breakdown
Here is the cost estimate for a 6-plant DIY aeroponic tower. Prices reflect typical retail at time of writing and may vary by region.
| Component | Estimated Cost |
|---|---|
| Submersible pump (250 GPH) | $15–$20 |
| Misting nozzles × 6 | $8–$12 |
| Digital timer | $12–$18 |
| 4-inch PVC pipe (6 ft) | $10–$15 |
| Net cups × 6 | $6–$9 |
| Reservoir (5 gal opaque) | $8–$12 |
| Tubing, fittings, zipties | $10–$15 |
| Total | $60–$80 |
If you scale up to a 20–30 plant tower, add approximately $3–5 per additional plant slot in incremental components. The pump, timer, and reservoir can often handle the larger scale without upgrade for a 20-plant build.
What a DIY Tower Can’t Do (Yet)
Honest build instructions include limits. A DIY aeroponic tower excels at what it is designed to do — mist roots reliably, handle leafy greens and herbs, and run independently with daily monitoring. It does not come with the following features you may find in commercial systems:
- Automated pH drift correction — you check and adjust pH manually, typically every 2–3 days.
- Real-time EC monitoring — an EC meter requires manual checks. Sudden nutrient concentration shifts show up in plant leaf color before damage is severe, but only if you are looking.
- Integrated failure alerts — if the pump fails while you are away for a weekend, roots begin stress within hours. A commercial unit may include a low-water shutdown or alert. Your DIY build requires a daily visual check habit.
- UV-sterilization loops — not included at this price point. Algae in the reservoir is managed through opaque containers and weekly solution changes.
Knowing these limits is what separates a successful DIY grow from a frustrating one. The tower works reliably — you just have to be the monitoring system.
Choosing the Right Tower Size for Your Space
Tower size should match your available space, grow goals, and how much daily attention you can give the system.
- 6-plant tower (countertop scale) — Fits on a kitchen counter or small shelf. Good for herbs and lettuce. Reservoir fits under the counter. Best for beginners who want to learn the system before scaling up.
- 20-plant tower (garage or greenhouse) — Requires about 2 square feet of floor space and 5–6 feet of vertical clearance. Produces enough leafy greens for a family of two to three. Scales to herbs, mint, basil, cilantro. Pump and reservoir costs stay the same; you are paying mainly for additional PVC and net cups.
- 30-plant tower (dedicated grow space) — Needs a dedicated area with stable temperature (ideally 65–80°F) and light. This scale produces enough to consider small-scale selling at farmers markets. Requires a larger reservoir (10+ gallons) and a more robust pump (400+ GPH).
Step 1: Building the Tower Frame
Cut your 4-inch PVC pipe to your target height. Mark net cup slot positions along one side of the pipe — spaced 6 inches apart center-to-center, staggered 90 degrees around the pipe circumference at each level so cups do not interfere with each other when viewed from any angle.
Cut the slots using a jigsaw or oscillating tool. Each slot should be slightly narrower than the net cup rim so the cup sits snugly without falling through. A 3.5-inch-wide slot works for standard 4-inch net cups. Test-fit each cup before finalizing the slot — if it falls through, the slot is too wide.
Cap the bottom of the tower with an end cap. Drill a 1/2-inch hole near the top of the pipe for the tubing to enter. Position the pump inside the reservoir with a single supply line running up into the tower — simpler than a gravity return loop, slightly less efficient but reliable for a home setup.
Step 2: Installing the Reservoir and Pump
Set your opaque reservoir where it will stay — in a cabinet under the tower or beside the tower frame. Position it so the submersible pump sits on the bottom and the pump outlet points toward the tubing connection.
Run 1/2-inch supply tubing from the pump outlet up to the top of the tower. Use UV-resistant tubing if the system runs anywhere with direct light exposure. At the top of the tower, connect a 1/2-inch to 1/4-inch tubing reducer, then branch 1/4-inch lines to each misting nozzle position using micro-tubing and tee connectors.
Route the tubing along the outside of the tower and secure with zipties every 12 inches to prevent sagging or accidental pulls on the nozzle connections. Keep the tubing path simple — every bend adds pressure drop that reduces misting uniformity at distant nozzles.
Step 3: Setting Up the Misting System
Install one 0.3mm or 0.5mm misting nozzle at each net cup slot, positioned pointing downward so mist falls directly onto roots hanging below each plant position. The nozzle should sit 2–3 inches above where the plant root zone will be when the net cup is in place.
Use teflon tape on all threaded nozzle fittings to prevent leaks. Hand-tighten first, then add a quarter turn with pliers — do not over-tighten PVC fittings or you risk cracking the components. Test each nozzle individually by briefly running the pump before closing up the tower.
If you notice uneven misting — some slots misting heavily, others barely — the likely cause is pressure drop across the line. Shorten the supply runs or move the pump closer to the tower. Alternatively, switch from a single main line with branches to individual 1/4-inch feeder lines from the pump, one per nozzle — slightly more complex to route but eliminates pressure balancing issues.
Step 4: Configuring the Misting Timer
The timer setting is the most critical factor in aeroponic success. Roots need misting at intervals short enough to prevent desiccation, but frequent enough to deliver nutrients without waterlogging. Set your timer to 3–5 second misting bursts every 2–3 minutes during the light cycle. This means the pump runs for roughly 60–100 seconds per hour — a small fraction of total time — yet roots stay consistently moist because the mist droplets are so fine they evaporate slowly enough to be reabsorbed.
During the dark cycle, extend the interval to every 5–7 minutes. Plants transpire less in darkness, and root water demand drops. A timer with at least 8 programmable on/off cycles handles this automatically once you program separate light/dark schedules.
Test the schedule by running the system for 30 minutes, then stopping and checking: do all nozzles mist uniformly? Are root zones visibly damp? Does any slot show dry spots after a full cycle? Address any dry spots by adjusting nozzle angle or cleaning the nozzle before planting.
Step 5: Mixing and Adding Nutrient Solution
Fill the reservoir with clean water — filtered or RO water if your tap water has high mineral content (above 200 ppm total dissolved solids). Add a balanced nutrient solution formulated for aeroponics at the concentration indicated for your crop type.
For leafy greens — lettuce, spinach, arugula — target an EC of 1.2–1.8 mS/cm. For herbs with higher nutrient demand — basil, cilantro — aim for 1.6–2.2 mS/cm. Measure EC with a meter after mixing and before filling the reservoir.
Calibrate your pH meter or use drops test solution to check pH. Target range is 5.8–6.2 for most aeroponic crops. Below 5.8, nutrients lock out. Above 6.2, micronutrients become less available even if EC reads normal. Adjust with pH up or pH down solution, adding small amounts (0.5ml increments per gallon) and re-testing until in range.
Step 6: Planting and Getting Started
Prepare your net cups by filling with a moist starter medium — rock wool cubes pre-soaked at pH 5.8 or clay pebbles rinsed free of dust. Place seeds or clones into the medium. Keep the cup moist but not waterlogged — the aeroponic mist will keep roots humid once in the tower.
Insert net cups into the tower slots. Position the tower under your grow light or in a location with 12–16 hours of light per day. Run the misting system empty for 24 hours to confirm no leaks before inserting plants.
Transplant seedlings once the system has been running cleanly for 24 hours. Check the reservoir daily for the first week — the system is calibrating to your environment, and evaporation or plant uptake can shift solution level faster than expected.
Keeping Roots Cool: Temperature Management
Root zone temperature matters more in aeroponics than in soil culture because there is no soil buffer. When mist evaporates in a warm enclosed tower, root temperature can spike toward ambient air temperature within minutes. Keep ambient air temperature between 65–80°F. Above 80°F, mist temperature rises and root oxygen uptake decreases — roots effectively drown in warm water with low dissolved oxygen. Below 60°F, metabolic activity slows and growth stalls.
Signs of root zone heat stress: wilting leaves despite moist roots, yellowing from the bottom up, a sour smell from the reservoir (indicates anaerobic bacterial activity from warm stagnant solution). If you see these signs, lower ambient temperature first — add ventilation, move the tower away from heat sources, or run the system during cooler hours only.
Backup Strategies and Daily Checks
The single biggest risk in aeroponics is pump failure. Unlike soil — where a pump failure means you water manually for a few days — roots in an aeroponic tower can begin permanent damage within 4–6 hours on a hot day. Build in a backup habit before you need it.
Check the pump and timer operation once per day. Listen for the click of the timer activating, confirm you hear the pump running, and visually inspect one or two root zones for moisture. This takes 30 seconds and catches most failures before they become crop losses.
Keep a spare submersible pump on hand — a $15 backup pump stored in its box means you can swap and resume within two minutes of a failure. For extended absences, a battery backup UPS on the pump circuit ensures the system keeps running through brief power outages.
Troubleshooting Common Aeroponic Tower Problems
| Symptom | Most Likely Cause | Fix |
|---|---|---|
| No mist from one slot | Clogged nozzle | Remove nozzle, soak in white vinegar for 30 min, clear orifice with fine wire |
| No mist from any slot | Pump failure or timer misconfigured | Confirm timer is cycling; test pump directly in a bucket of water; replace if silent |
| Yellowing leaves, slow growth | Nutrient deficiency or EC too low | Check EC reading, raise concentration in 0.2 mS/cm increments |
| Brown leaf tips | Nutrient burn or EC too high | Drain reservoir by 25%, refill with fresh diluted solution; retest EC |
| Roots turning brown and mushy | Root rot from poor oxygen or warm solution | Increase misting interval frequency, lower ambient temperature, change solution immediately |
| Algae buildup in reservoir | Light penetration into reservoir | Switch to opaque reservoir or wrap existing clear reservoir in black plastic sheeting |
Aeroponic Tower DIY Harvest Timeline: Weeks 3–8
If your system is running cleanly — uniform misting, stable pH and EC, ambient temperature in range — you should see visible progress within the first two weeks.
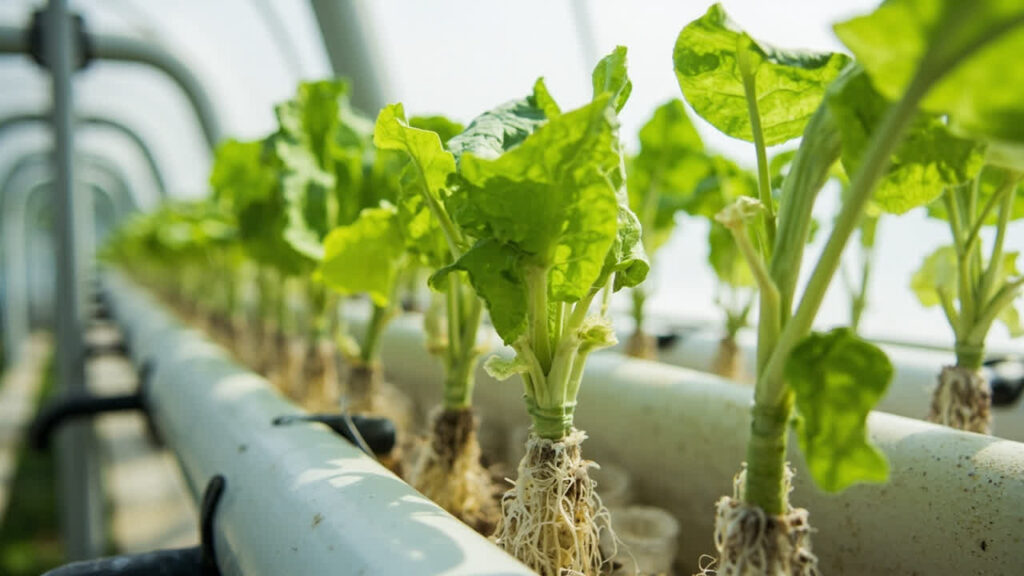
Week 2–3: Roots have grown through the net cup and are hanging visibly in the mist column. New leaf growth appears at the crown. Lettuce varieties begin to size up.
Week 4–6: First harvest window for cut-and-come-again crops like lettuce and basil. Harvest the outer mature leaves first, leaving the crown intact. The plant regrows from the center, effectively doubling your yield per plant over the growing season.
Week 6–8: Full production. Mint, basil, and lettuce varieties should be producing more than you can eat. Cilantro and spinach follow on a slightly slower schedule. If growth is slower than expected, check EC first, then pH, then misting uniformity — in that order.
The details that matter most — misting intervals, nutrient calibration, temperature thresholds — are the parts most DIY tutorials skip. This aeroponic tower DIY build covers them all. Run the system correctly and your $60 build performs at the level of commercial units costing five times more.
From PDF to Excel in one click
Forget retyping line by line. Upload any bank statement, get a spreadsheet you can actually use. Your files are never stored, and you can test the converter with 3 free conversions.
Try it free