
Repotting a spider plant is a mechanical task with a narrow window of rightness. Done at the right time, with the right pot and mix, the plant barely notices. Done too often, or into a pot that is too large, you trade a healthy plant for root rot and a sulky recovery. The goal is not to give the plant more room forever; it is to restore drainage, refresh nutrients, and reset the root environment.
This guide covers when to repot, what to use, the step-by-step procedure, and what to do in the first two weeks after. For timing decisions and signs, see our when to repot a spider plant guide. This article covers the how.
What You Need Before You Start
Gather everything before you lift the plant. A repot that stalls halfway, with roots exposed, is worse than no repot at all.
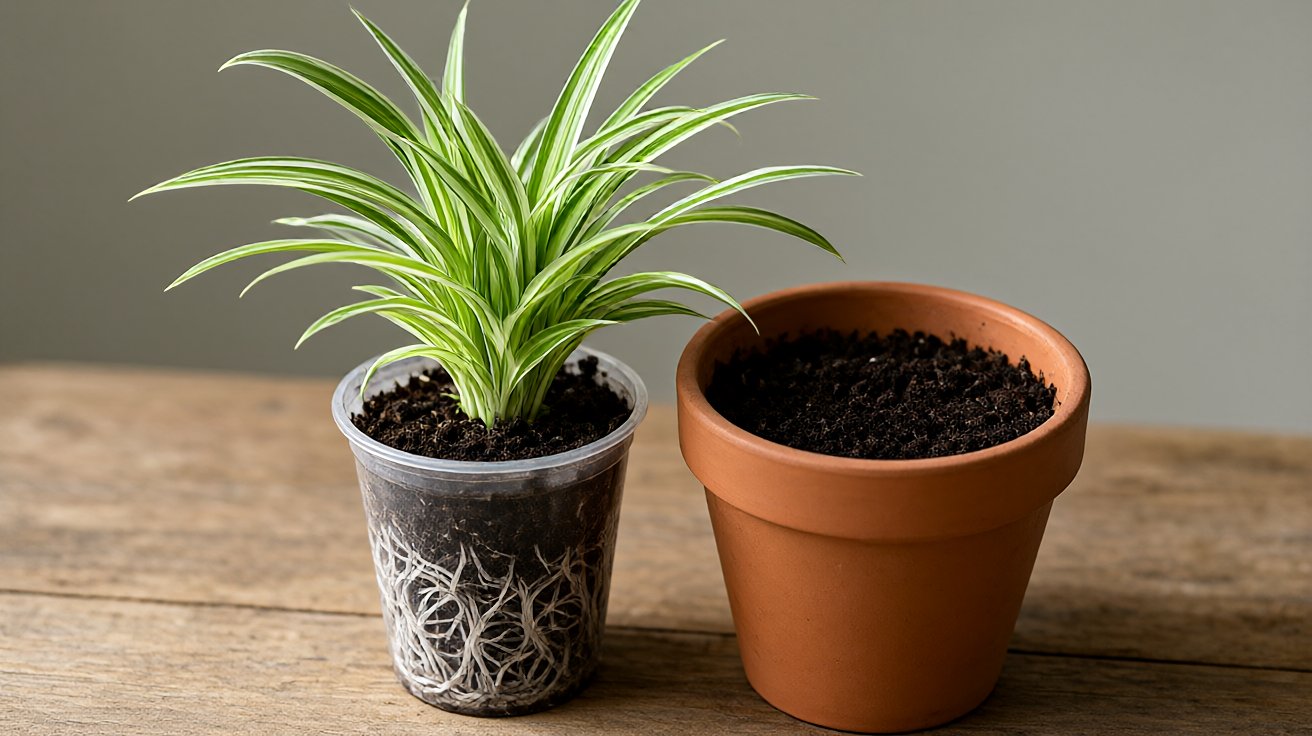
You need a new pot one size larger than the current one, measured by diameter. For a spider plant, that is usually a step from 10 to 12 centimetres, or 15 to 17. Drainage holes are non-negotiable. A pot without drainage is a water reservoir, and spider plants do not tolerate saturated roots.
You need a fresh, well-draining potting mix. A standard houseplant mix with added perlite or coarse sand works. Avoid heavy garden soil, which compacts and holds water. You also need clean scissors or a knife, a trowel, and water at room temperature.
Step-by-Step Repotting Procedure
1. Water the day before
Water the plant the day before repotting. Moist soil holds the root ball together and reduces shock. A dry root ball crumbles and tears fine roots. Do not repot a plant that is bone dry, and do not repot one that is soaking wet.
2. Remove the plant from its pot
Turn the pot on its side and tap the rim. Slide the plant out by the base of the stems, never by the leaves. If it resists, run a knife around the inside edge of the pot to free the root ball. For plastic pots, squeeze the sides gently. For ceramic, tap the rim on a firm surface.
3. Inspect and loosen the roots
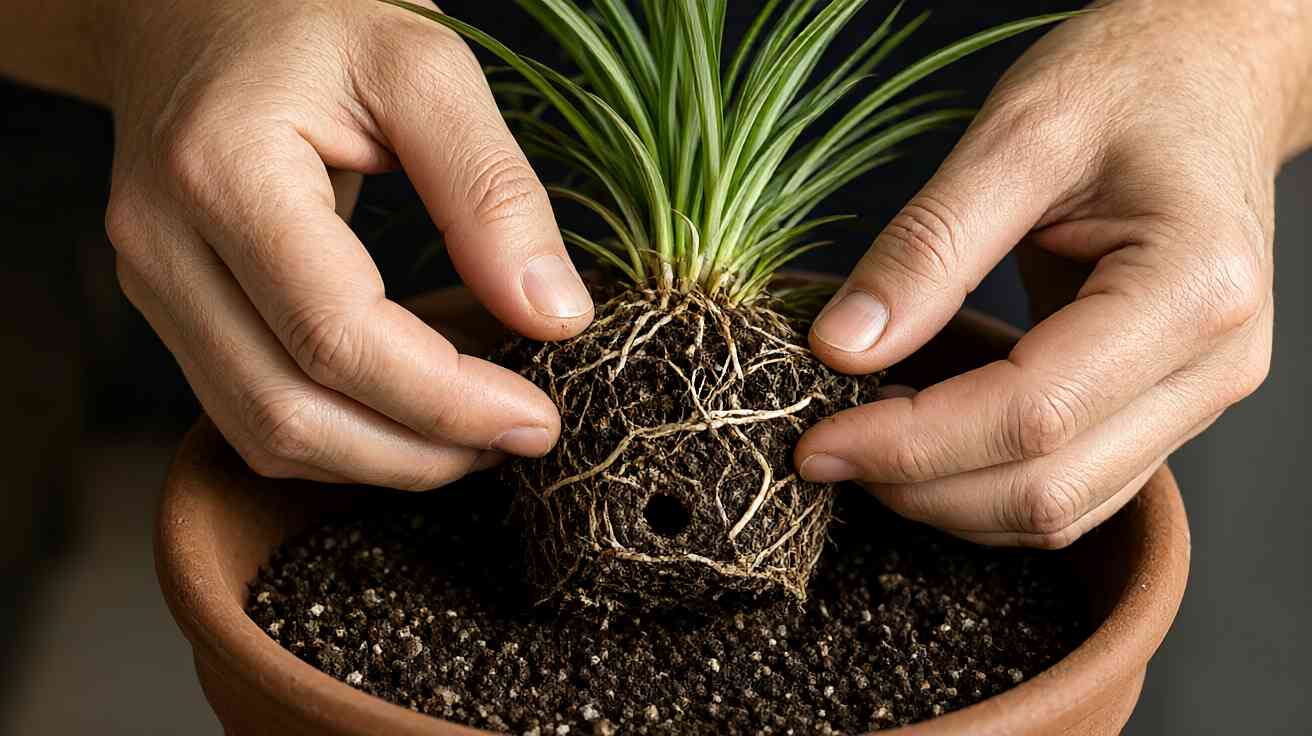
Look at the root ball. Healthy roots are white or light tan and firm. Brown, mushy roots are rot and should be trimmed back to healthy tissue with clean scissors. If roots circle the pot, gently tease them apart with your fingers so they grow outward into new soil rather than continuing to spiral.
Do not remove more than a third of the root mass. Heavy root pruning shocks the plant and slows recovery for weeks.
4. Prepare the new pot
Add a layer of fresh mix to the bottom of the new pot, enough that the plant sits at the same depth as before. The crown, where leaves meet roots, should sit at or just above the soil line. Planting too deep invites crown rot.
5. Position and backfill
Centre the plant in the new pot. Fill around the root ball with fresh mix, pressing gently to remove large air pockets. Do not compact the soil hard; roots need pore space for air and water. Leave one to two centimetres of space at the top for watering.
6. Water in and settle
Water thoroughly until water runs from the drainage hole. This settles the soil around the roots and removes remaining air pockets. Let the pot drain fully. Never leave the pot sitting in a saucer of water.
The First Two Weeks After Repotting
A repotted spider plant is in a fragile state. Roots that were disturbed are not yet taking up water efficiently, so the plant is more drought-sensitive for the first 10 to 14 days, even though the new soil holds more moisture.
Keep the plant in bright, indirect light, out of direct sun. Direct sun on a recovering plant causes leaf scorch because transpiration is higher than root uptake can support. Water when the top two centimetres of soil are dry, not on a fixed schedule. Do not fertilise for at least four weeks; fresh mix contains enough nutrients and fertiliser on stressed roots causes burn.
Some drooping or curling in the first week is normal. New growth is the sign of success, and it usually appears within two to four weeks. If the plant continues to decline after two weeks, check for root rot or overwatering, and see our spider plant overwatering guide.
Common Repotting Mistakes
Using a pot that is too large is the most common error. Extra soil holds excess water that roots cannot reach, which creates anaerobic zones and rot. Step up one size only.
Using a pot without drainage is the second most common error, and it is fatal over time. If you must use a decorative pot without a hole, keep the plant in a nursery pot inside it, and empty the outer pot after watering.
Repotting too often is the third. Spider plants like to be slightly root bound and often flower and produce more spiderettes when snug. Repot every one to two years, or only when roots fill the pot or growth stalls. If the plant is healthy and growing, leave it alone.
Repotting and Spiderettes
If your plant has spiderettes, you can propagate them during repotting. Detach well-rooted plantlets and pot them separately in small containers with the same mix. Plantlets without roots can be rooted in water first, or pinned to the soil surface while still attached to the mother plant. Our spider plant propagation guide covers method selection, and how to propagate spider plant covers the procedures.
Do not remove all spiderettes at once. They are part of the plant’s energy balance, and stripping them all can slow recovery after repotting. Leave a few on the mother plant.
When Repotting Is Not the Answer
If the plant is wilting despite moist soil, repotting will not fix it; the roots are likely rotting, not cramped. Address root rot first. If the plant is healthy but you want a larger specimen, repotting helps, but so does patience. Spider plants grow steadily, and a plant that is slightly root bound is often the most productive one in the collection.
For the full care baseline that keeps a repotted plant thriving, see our spider plant care guide.
Turn PDF Bank Statements Into Workable Spreadsheets
Your bank statement is a mess of numbers, but your books shouldn't be. Use our converter to get Excel, CSV, or QBO files — ready for QuickBooks.
Try It Free Now