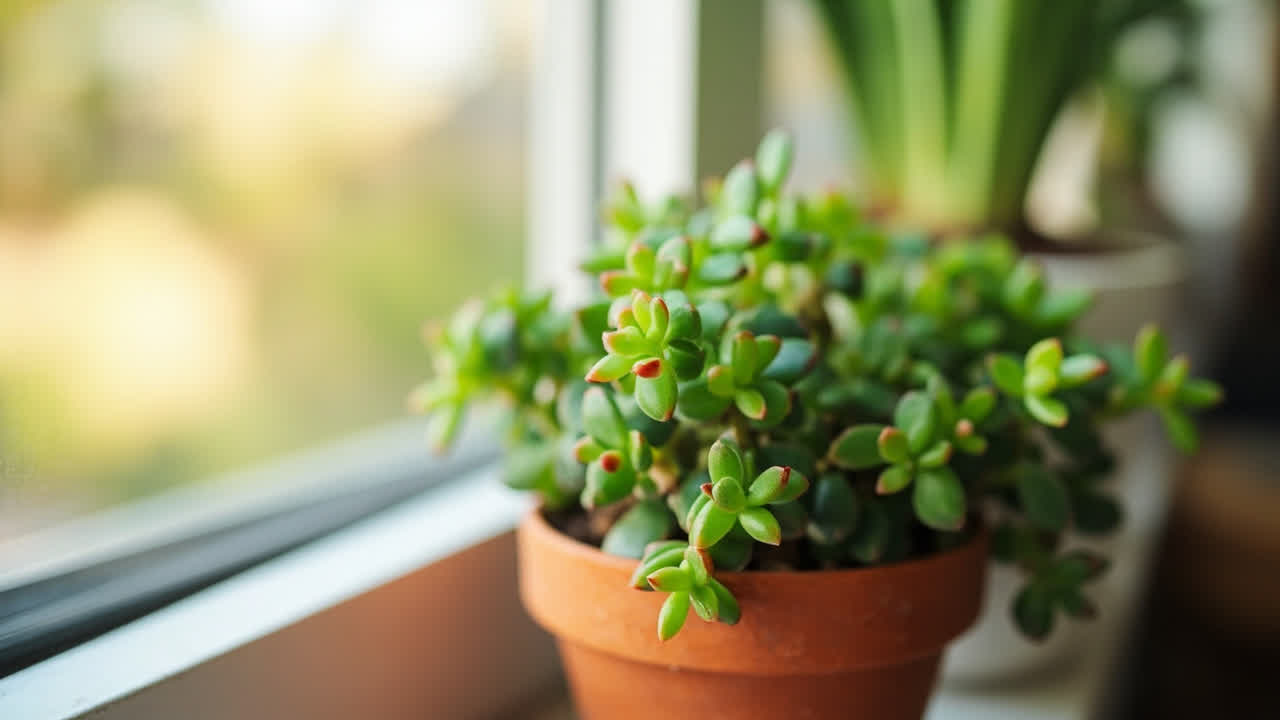
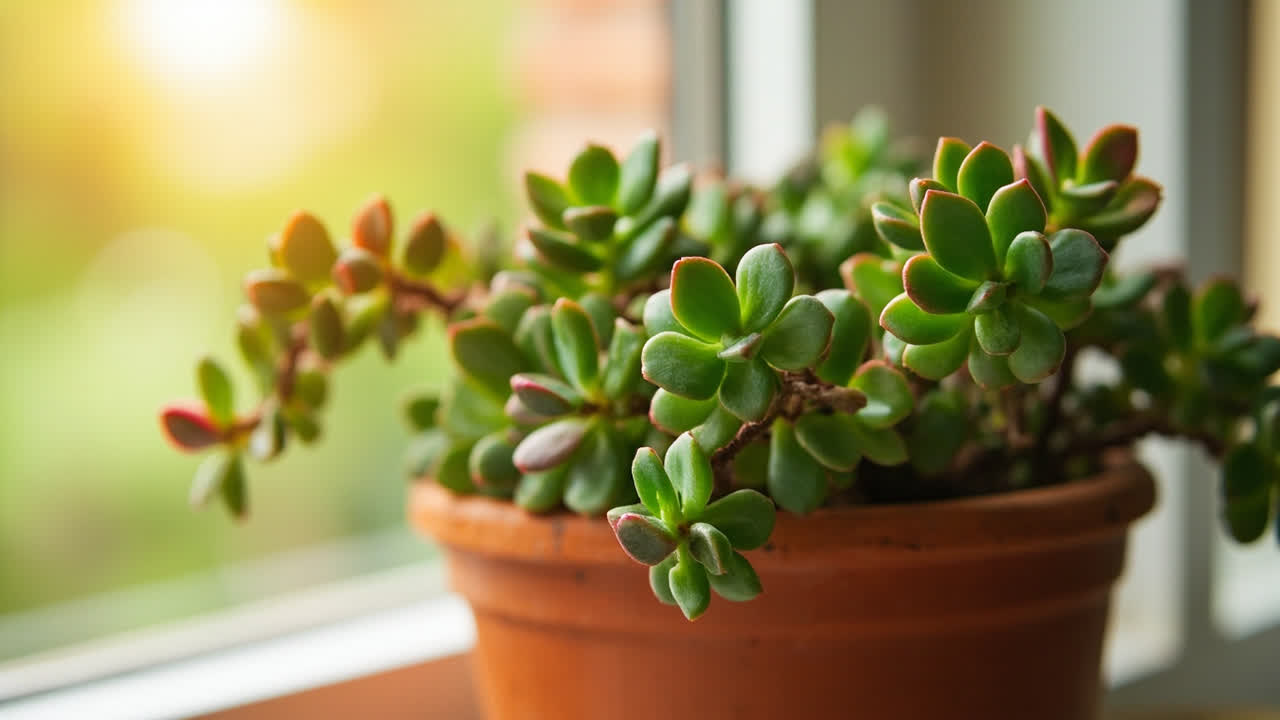
Jade plant propagation sounds like a beginner’s exercise: snap off a leaf, set it on soil, wait. And indeed, that’s exactly what eventually works—given enough time and patience. What makes jade propagation genuinely difficult isn’t getting roots; it’s preventing the cut surfaces from rotting before those roots form.
Every leaf cutting that slowly turns translucent and melts into the soil didn’t die from “not rooting”—it died from surface decay that blocked root emergence. Understanding that distinction changes how you handle every step. For the care conditions that produce the healthiest propagation material, see our jade plant care guide.
Leaf Cuttings vs. Stem Cuttings: Which to Use
A single jade leaf will root, grow a new plantlet, and eventually form a full-sized plant. It will take 3–6 months before you see visible root development and 1–2 years before the resulting plant looks like anything more than a small rosette. This is the honest timeline. A stem cutting with 3–4 leaf nodes will root in 2–4 weeks and produce a recognizable young plant within 3–4 months. Both methods work; the question is what you’re trying to achieve and how much patience you have.
Leaf cuttings are the method to use when you want quantity and you’re willing to wait. A single fallen leaf that looks healthy can be propagated, and you can propagate many leaves from one plant at once. The trade-off is a high failure rate: jade leaves are prone to aborting if the callus phase is too wet, if temperatures fluctuate, or if the leaf wasn’t fully mature when removed. For the temperature range that supports successful propagation, see our jade plant care guide. Stem cuttings are more forgiving on timing because the stem’s vascular tissue is more robust and the cutting has enough stored energy to sustain root formation even through moderate stress.
The Callus Rule: Never Skip It
Every jade cutting—leaf or stem—must be allowed to callus before it contacts moisture. A fresh cut on a jade plant is an open wound inviting fungal and bacterial entry. In a humid environment, that wound will begin to decay within 24–48 hours if kept wet. Callusing means leaving the cutting in dry air at room temperature for 3–7 days, depending on the size of the cut surface. The wound should form a firm, slightly translucent tan or brown seal before the cutting goes near water or soil.
Large stem cuts (over 1cm diameter) may need up to 10–14 days to fully callus. This feels excessive, but a partially callused stem cutting placed in soil will often rot through the center of the cut before roots can emerge from the edges. The callus is a biological barrier; it earns its time.
Propagating from Stem Cuttings
Select a healthy stem section with at least 3–4 leaf nodes. The ideal cutting is 7–15cm long, taken from a firm, well-hydrated section of the plant—not a wilted lower branch. Cut with a clean blade (sharp scissors or a knife), making the cut between nodes, not through one. A cut through a node leaves a larger wounded surface and increases rot risk.
Strip the leaves from the bottom 2–3 nodes. These nodes will be buried or near the soil surface; leaving leaves on them invites rot. Leave the top 4–6 leaves intact—they provide photosynthesis and auxin production that drives root development below. Set the cutting aside in a dry, shaded spot for 5–7 days to callus. Do not water it, mist it, or place it on damp soil during this period.
Setting Up the Propagation Medium
After callusing, you have two paths: water or soil. Both work; soil is marginally faster for root initiation and eliminates a transplant step.
For soil propagation, use a very free-draining mix: standard succulent or cactus mix with 30–50% perlite or coarse sand added. The mix should be barely moist—a squeeze should produce a few drops of water, not a stream. Overwet soil is the leading cause of cutting rot at this stage. Fill a small pot (7–10cm) with the mix, make a small hole with a pencil or chopstick, and insert the callused end of the cutting to a depth of 3–5cm. Do not water for the first 7–10 days. Place in bright indirect light (not direct sun, which heats the pot and stress-rot the cutting), and maintain temperatures between 65–75°F (18–24°C).
What happens next: in the first 7–10 days, the cutting is living off stored energy and producing new root-zone cells at the cut surface. It may look exactly the same as the day you planted it—this is normal. Between days 10–14, if the cutting is successful, the leaves will look slightly firmer and more turgid than they did at planting (the plant has established initial water uptake). If the cutting is failing, the leaves will begin to look thinner and more translucent, and the base of the stem will feel soft when gently tested.
For water propagation, place the callused cutting in a narrow jar with just enough water to submerge the bottom 2–3cm of the stem—no leaves submerged. Change the water every 3–4 days. Roots typically appear between weeks 2 and 4. Transfer to soil when roots are 3–5cm long and showing branching. The trade-off with water propagation is that you get early visual confirmation of rooting, but the roots are water-adapted and the transfer to soil carries the same shock risk described in the pothos guide. Handle the transfer gently and keep the soil barely moist for the first two weeks after transplant.
Propagating from Leaf Cuttings
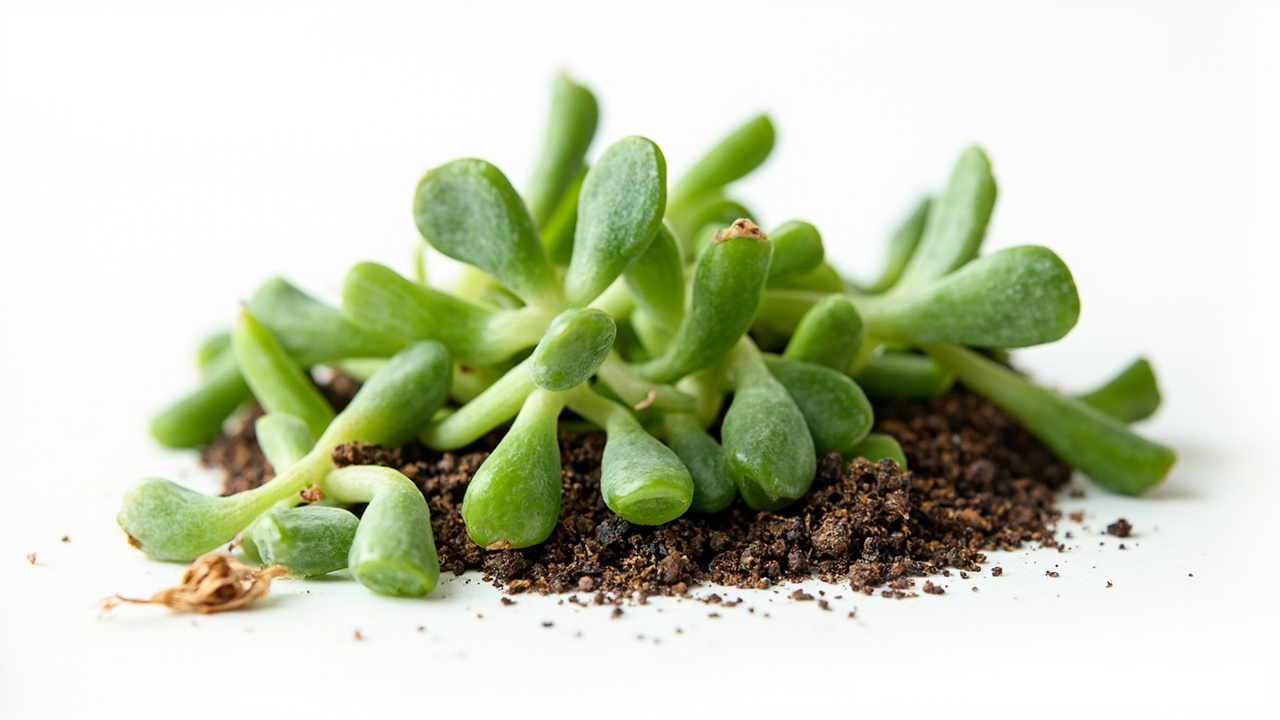
Select a plump, fully expanded leaf from the middle of a healthy branch. A young leaf near the growing tip will root but often abort before producing a plantlet. A leaf that is beginning to yellow or has already partially dried at the edges is too old. The ideal leaf is deep green, firm when gently squeezed, and shows no signs of edema (small sunken spots that indicate overwatering history).
Twist the leaf gently from the stem—it should come away cleanly with a small heel (a tiny piece of stem tissue at the base of the leaf). This heel is important: a leaf removed by cutting flush at the base has a flat wound that sits against soil and decays. A leaf pulled with a heel has a smaller, more concentrated wound surface that calluses more reliably.
Set the leaf on dry surface for 3–5 days, cut surface side up, in bright indirect light. Do not bury it. Do not water it. When the base has calloused to a firm tan, place it on top of barely damp succulent mix, cut end just touching the surface—not buried. A common mistake is to half-bury the leaf, which keeps the wound constantly wet and causes it to rot before roots form.
Why Most Leaf Cuttings Fail at the Same Point
The leaf roots. Then it dies. This is the most common failure pattern in jade leaf propagation, and it’s almost always caused by the same sequence: the leaf produces roots and a tiny plantlet, then the original leaf slowly shrivels as the new plantlet draws from its reserves, and the new plantlet collapses because it hasn’t developed enough of its own root system before the parent leaf is depleted.
What to do about it: accept it. Some leaf propagation attempts will fail even with perfect technique, simply because the energy balance doesn’t work out. The parent leaf has finite reserves, and the new plantlet needs to establish photosynthesis and its own root system before those reserves run out. The key indicators of a successful propagation are: roots appearing within 3–4 weeks, a visible tiny plantlet forming at the base of the leaf within 4–6 weeks, and the parent leaf remaining plump (not shriveled) through this period. If the parent leaf shrivels before the plantlet is established, the propagation has failed.
For the full environmental conditions that support jade propagation in your home, see our jade plant care guide.
To improve odds: maintain the leaf at 65–75°F (18–24°C), keep the soil barely damp (mist only if the leaf looks slightly wilted, not on a schedule), and provide bright indirect light. The parent leaf should remain plump and green through the entire rooting and plantlet-formation period—a shriveled parent leaf before the plantlet has 3–4 leaves of its own is a failure that cannot be reversed.
Aftercare for Young Jade Plantlets
Once a cutting (leaf or stem) has established roots and is showing new growth—either a plantlet from a leaf or new leaves from a stem cutting—it can be treated as a juvenile jade plant. For the watering schedule that keeps young jade plants healthy without overwatering, see our jade plant watering guide. This typically takes 4–8 weeks for stem cuttings and 8–16 weeks for leaf cuttings. At this stage, transition to normal jade care: bright light (including some direct sun once acclimated), thorough watering when the soil is dry, and well-draining potting mix.
The main risk in this phase is overwatering. Young jade plants have small root systems that can’t process large volumes of water quickly. For the soil mix that supports proper drainage and prevents the root rot that often affects young jade, see our jade plant soil guide. Water when the soil is dry 3–4cm down, not on a calendar schedule. During winter or in low-light conditions, this may mean watering every 2–3 weeks. In summer with bright light, it may be weekly. Let the plant’s condition—rather than the calendar—guide watering frequency.
Turn That PDF Into a Spreadsheet in Minutes
You've seen how to do it manually — now let the tool handle the heavy lifting. Upload your bank statement and get Excel, CSV, or QBO in a few clicks.