Alocasia propagation fails in two distinct patterns. Either the corm rotted before it could root (too wet, too cold, or cut too early), or the corm rooted and produced a shoot that then collapsed because the new plant couldn’t sustain itself without a functional root system. Both failures trace back to the same root cause: the timing of the separation and the conditions after it. This guide covers the most reliable method—corm propagation—and includes the specific signals that tell you when a corm is ready to grow and when it’s not.
How Alocasia Actually Grows: Understanding the Corm System
Alocasia grow from corms—underground storage organs that function as energy reserves and propagation units. When a mature alocasia produces new growth, it does so from a corm that either existed at the base of the parent plant or was produced by the parent plant as it expanded. The corm is the source of every new alocasia plant, whether produced naturally through offsets or through deliberate propagation.
What many growers don’t realize is that a corm taken from an alocasia is not immediately ready to grow. It requires a period of maturation—the corm must accumulate enough energy reserves to support both root development and the production of the first leaves before it can sustain independent growth. A freshly dug corm that hasn’t matured will often produce roots but no shoot, or a shoot that emerges and then yellows before the plant is established.
The practical implication: the quality of the parent plant matters for propagation. A corm taken from a weak, pest-ridden alocasia has less stored energy and lower viability than a corm from a healthy, vigorously growing specimen. If your alocasia has been struggling, the corms will reflect that.
Offsets vs. Main Corms: Which to Use
Mature alocasia plants typically produce offsets—smaller corms that develop at the base of the main corm. These offsets are the primary propagation material. They separate more easily, have higher survival rates, and can often be removed without disturbing the main plant at all. To propagate from an offset, expose the corm cluster, identify the connecting rhizome between the offset and the main corm, and cut through it with a clean, sharp knife. The offset should have its own roots already forming before you separate it.
The main corm can be divided if the plant is large enough and has multiple distinct growing points, but removing the main corm risks killing the parent plant if done incorrectly. Only attempt main corm division if the plant is producing multiple strong shoots and has been growing vigorously for at least a year. Each divided section of the main corm must have at least one active growing point and a substantial portion of the root mass attached.
Harvesting and Preparing Alocasia Corms
The best time to harvest corms is during repotting in spring or early summer when the plant is entering its active growth phase and temperatures are consistently warm (above 65°F / 18°C). The plant should be healthy and actively producing new leaves—this signals that the corm is also in an active growth state and more likely to produce viable propagation material.
Remove the plant from its pot and brush away the soil around the corm cluster. Identify individual corms and offsets. A viable corm is firm to the touch, has a smooth skin (not papery or shriveled), and shows no soft spots, dark discoloration, or foul smell. If the corm feels soft anywhere, discard it—soft corms have already begun internal decay and will not produce healthy plants.
Separate offsets from the main corm with a clean, sharp knife. Cut through the connecting rhizome as close to the main corm as possible without damaging the main corm itself. Each offset should come away with some roots attached; if an offset has no roots, it will be harder to establish but may still succeed if the corm is large enough.
Clean the corms gently with lukewarm water to remove any remaining soil. Inspect for damage or decay. Allow the corms to air-dry for 24–48 hours in a warm, dry location—this allows cut surfaces to callus and reduces the risk of rot when planted. Do not sun-dry or expose to temperatures below 60°F (16°C) during this period.
Understanding how alocasia grow and what they need at each growth stage helps you avoid the most common corm failures. For the full seasonal growth guide, see our alocasia care guide.
The Dormancy Question
Some alocasia species and cultivars enter a dormant period after growth slows, typically in autumn and winter. During dormancy, the corm is alive but not actively growing, and above-ground growth may have died back entirely. Propagating during dormancy is possible but requires more care: keep the corm barely moist (just enough to prevent desiccation) and maintain temperatures above 60°F (16°C). Dormant corms that are kept too wet will rot; too dry will desiccate. If your alocasia has gone dormant, wait until you see new growth emerging in spring before disturbing the corm for propagation.
Turn That PDF Into a Spreadsheet in Minutes
You've seen how to do it manually — now let the tool handle the heavy lifting. Upload your bank statement and get Excel, CSV, or QBO in a few clicks.
Try It FreePlanting Corm Propagation: The Method That Works
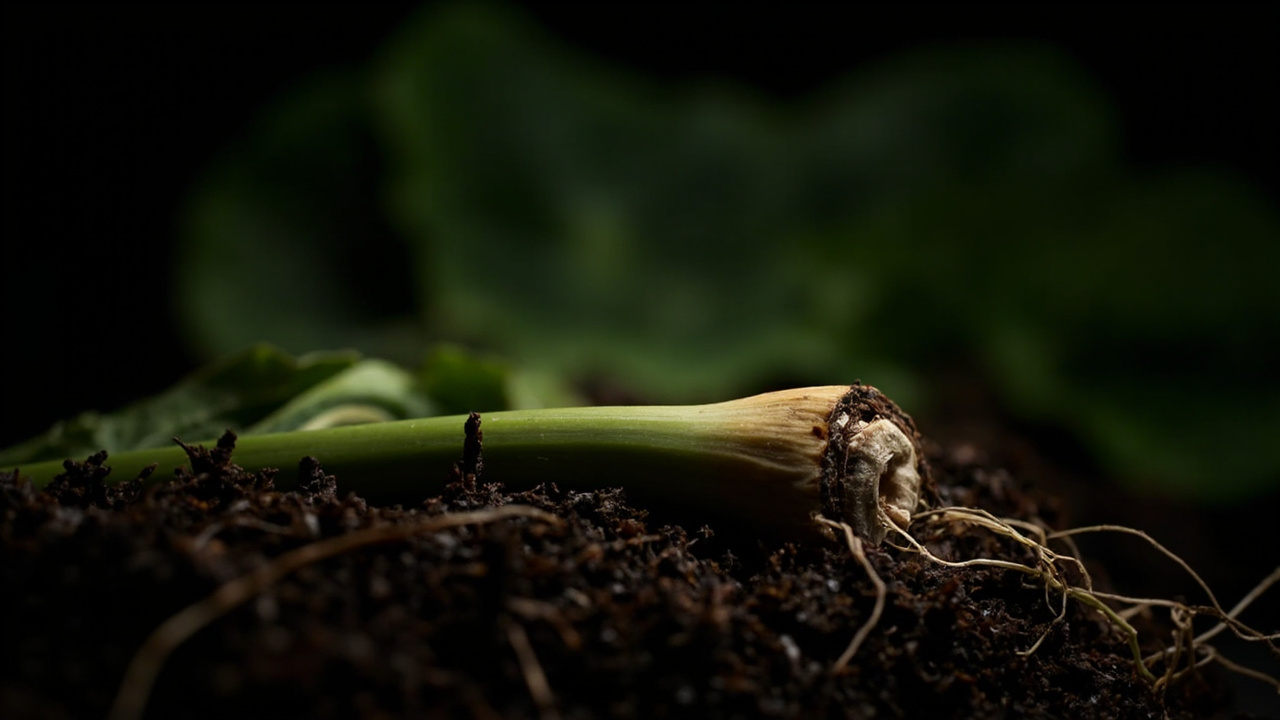
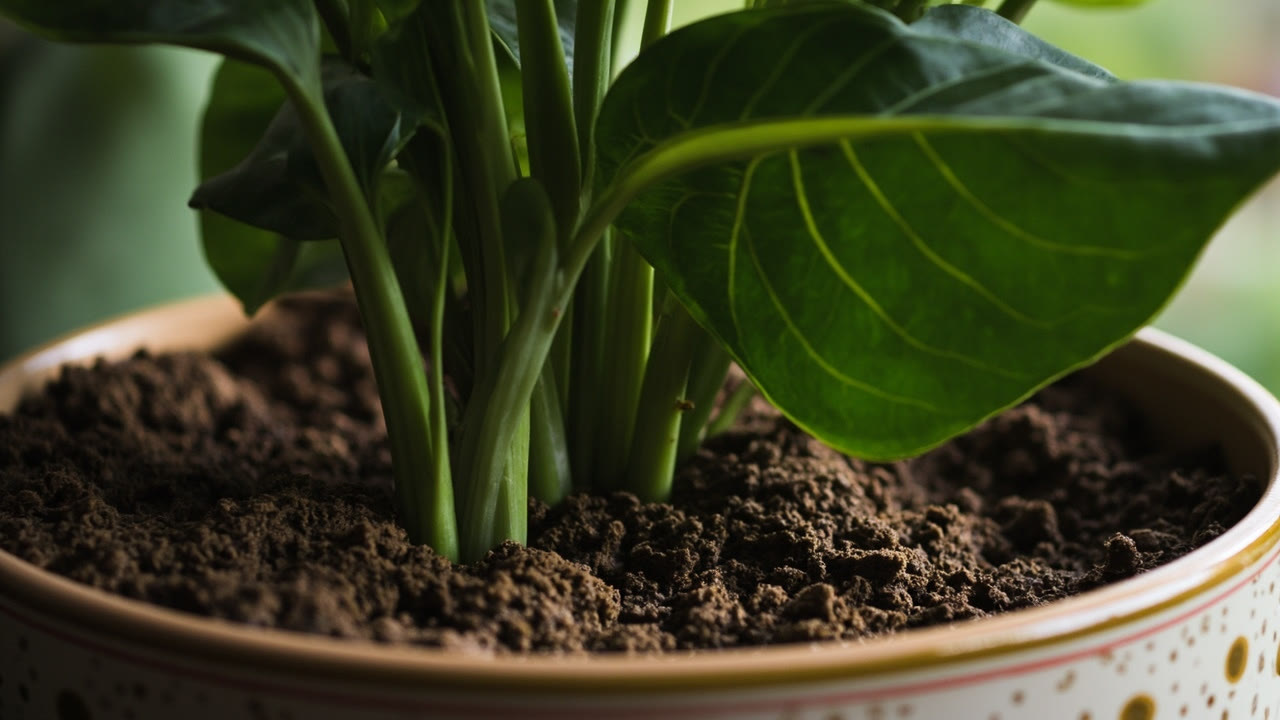
After the callus period, plant each corm in a small pot (7–10cm) filled with a free-draining, slightly moisture-retentive mix. A mix of 60% perlite or coarse sand and 40% standard potting mix works well—the high perlite content ensures rapid drainage while the small amount of soil provides enough organic material for the corm to root into. The corm should be planted at a depth equal to its own height—buried too deep and it risks rot; too shallow and it dries out before roots form.
Water the medium thoroughly after planting, then do not water again until the surface is dry. The corm has no roots yet—it will absorb moisture through its surface cells during the initial rooting phase, and overwatering at this stage is the leading cause of corm rot. Place the pot in bright indirect light (not direct sun) at temperatures between 70–80°F (21–27°C).
What happens next within 2–4 weeks: the corm will produce roots and begin generating the energy to push up a shoot. During this phase, the corm may look entirely dormant—it won’t change visibly, and there’s no top growth. Resist the urge to dig it up to check; disturbing the corm at this stage interrupts the process and often kills it. The first visible sign of success is usually a slight swelling or lifting of the soil surface above the corm as the new growth begins to push upward.
Between weeks 4 and 8, a shoot should emerge. Once the first leaf is fully unfurled and the plant is showing consistent growth, it has successfully propagated. At this stage, you can treat it as a young alocasia plant—gradually acclimating to your normal care conditions and moving to a slightly larger pot as the root system fills the current container.
Why Corms Fail to Propagate
The most common failure: the corm rotted before rooting. This is almost always caused by too much moisture in the medium or temperatures below 60°F (16°C). Alocasia corms are tropical and need warmth to initiate growth. If the medium is cool or damp, the corm will fail before it can generate roots. Using a heat mat (propagation heat mat set to 75°F / 24°C) beneath the pots significantly improves success rates for alocasia corm propagation.
If your alocasia develops root rot during the establishment phase, our alocasia root rot guide covers how to identify and treat it before the plant declines further.
The second most common failure: the corm produced roots and a shoot, but the shoot collapsed because the new root system wasn’t established enough to support it. This happens when the corm was too small or immature when planted. A corm smaller than 3cm in diameter often doesn’t have enough stored energy to both root and leaf simultaneously. If you have small cormels, pot them together in groups of 2–3 to increase the total energy available and improve survival rates.
Leaf Blade Propagation: Limited But Possible
Some alocasia species can be propagated from leaf blades—essentially a leaf with a section of petiole attached, planted into moist medium. This method is less reliable than corm propagation but can produce new plants from a single leaf if done carefully.
Select a mature, healthy leaf with an intact petiole section of at least 5–8cm. Cut the leaf blade back to reduce water loss (trim the outer half of large leaves), leaving the central rib and petiole intact. Insert the petiole end 3–5cm into moist perlite or a 50/50 perlite/soil mix. Cover with a clear plastic bag to maintain humidity above 60%, place in bright indirect light at 70–80°F (21–27°C), and maintain as for corm propagation.
The leaf will either produce roots and a small corm at the base (successful) or simply rot in place (failure). This method works best for alocasia species with thicker, more succulent leaf tissue—thin-leaved varieties collapse too quickly to root. If leaf propagation fails, fall back to corm propagation; it’s far more reliable.
Early Care for Young Alocasia
Young alocasia plants have different care requirements than mature specimens. They need higher humidity (above 60%), consistent warmth (above 65°F / 18°C), and bright indirect light to sustain growth. They cannot tolerate drought or low humidity the way mature alocasia can, and they are more susceptible to spider mite and aphid damage. For the full care guide, see our alocasia care guide.