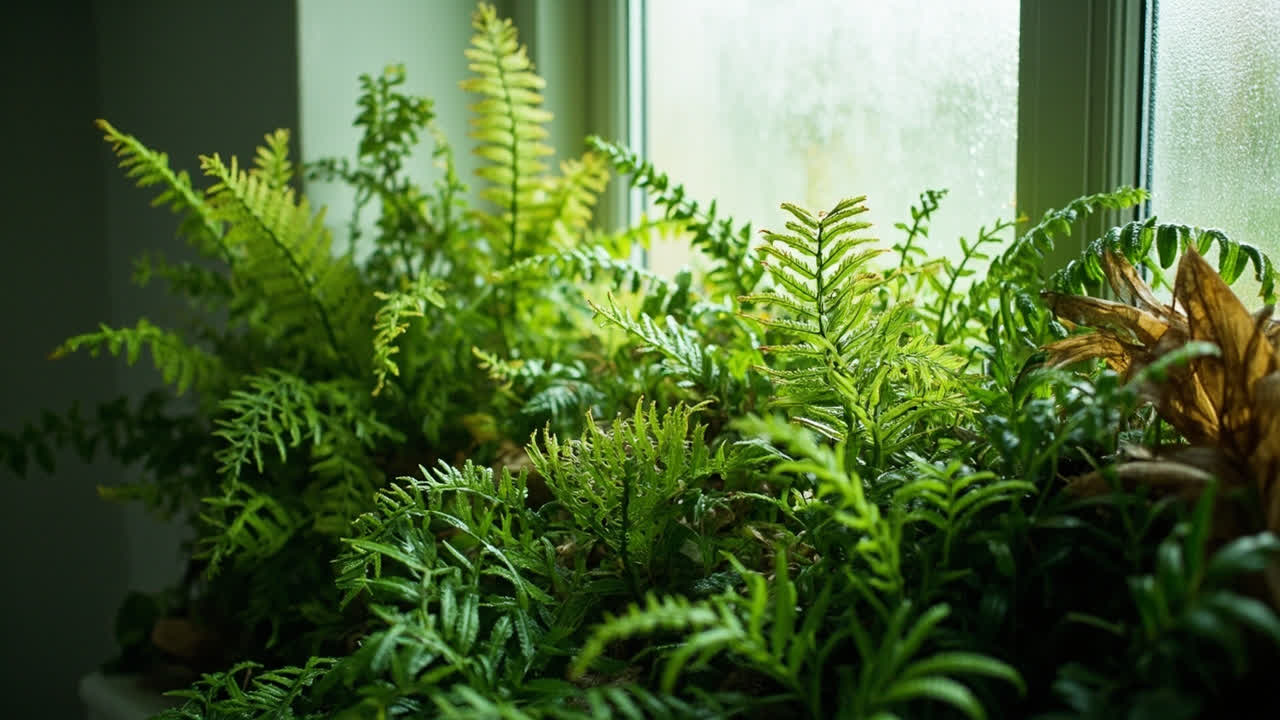
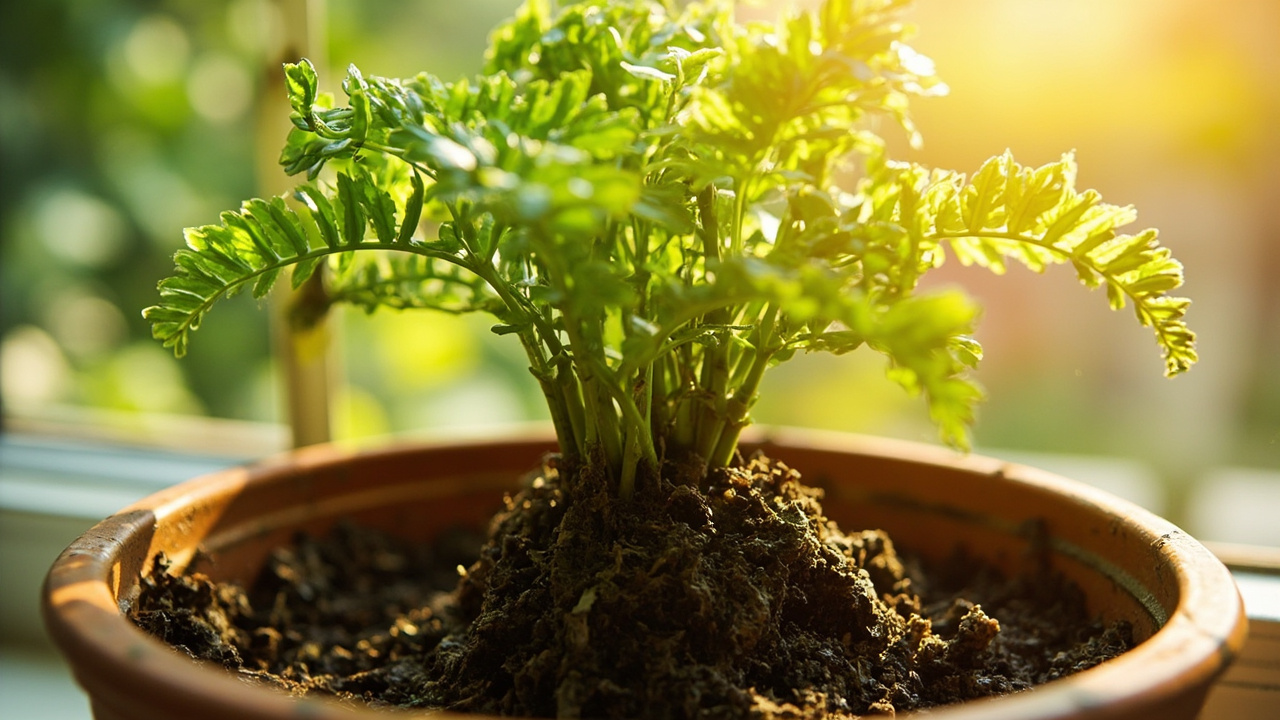
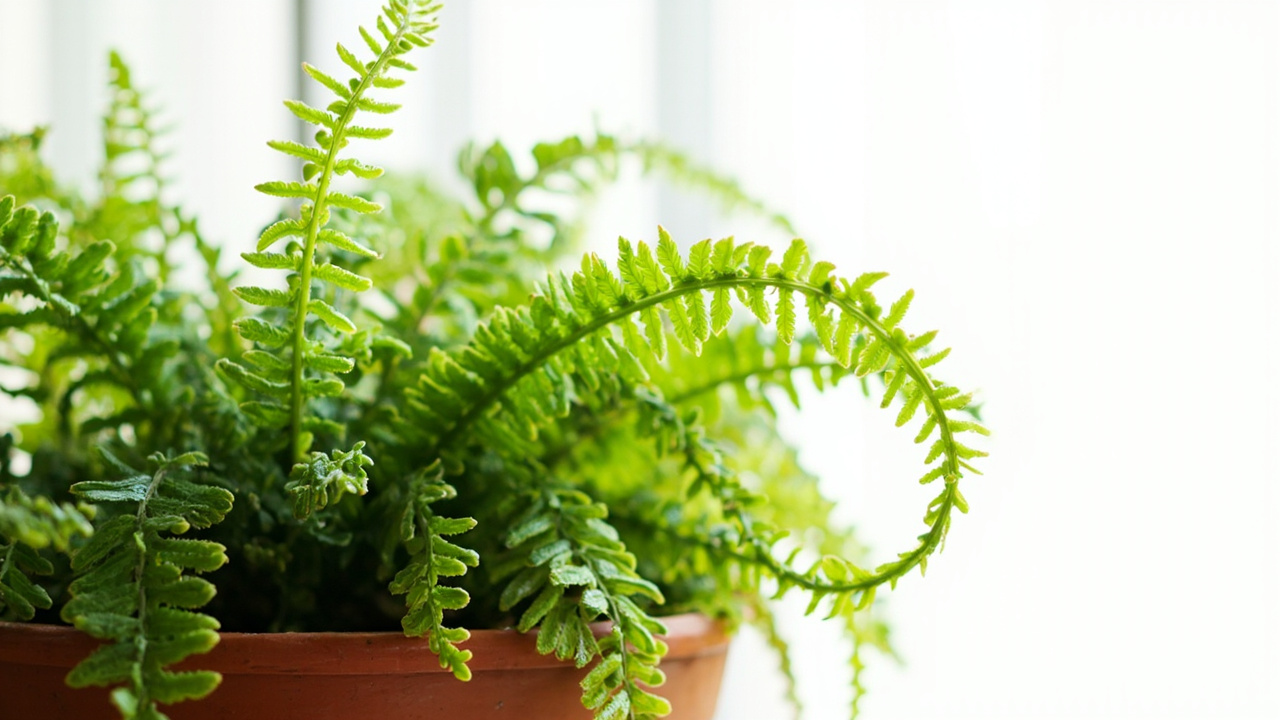
Ferns produce new plants the same way they grow — quietly and steadily. If you have a mature fern that has outgrown its pot, or a friend’s plant you want to take a piece of, propagation by division is the most reliable method. The good news: you do not need special tools, special timing, or special conditions. You need a healthy parent plant, a clean cutting surface, and enough patience to water correctly for the first few weeks.
Most beginners hesitate because ferns look fragile at the root. They are not — they are fibrous and resilient, and a mature root ball will separate with surprising ease. What most guides get wrong is recommending spring-only timing, which is too restrictive. Ferns can be divided any time they are actively growing, not just in spring, and the parent plant recovers faster when divided in early fall while soil is still warm.
This guide walks through division step by step — how to know your fern is ready, how to separate cleanly, what soil mix to use, and exactly what to watch for in the first four weeks after separation.
When to Divide a Fern : Not Just Spring
Ferns are ready for division when they show one or more of these signs: roots circling the bottom of the pot and emerging from drainage holes, new growth emerging from the edges of the foliage rather than the center, or the center of the plant looking exhausted while the outer edges stay vigorous. If your fern is doing any of these, it is ready to be divided — regardless of the calendar month.
The best windows are early fall (soil still warm, roots recover before winter) and mid-spring (new growth gives clear feedback on recovery). Summer division works but demands more frequent watering. Winter division stresses the parent plant because roots are semi-dormant and recovery is slow. Aim for early fall or early spring as your default.
Step 1: Water the parent fern thoroughly two days before division. A fully hydrated root ball holds together better during separation and causes less stress to the plant.
Step 2: Tip the pot on its side and slide the root ball out. If it sticks, run a knife around the inside edge of the pot — do not pull the fronds to pull the plant.
Step 3: Shake loose excess soil so you can see the root structure. Healthy fern roots are pale and firm, not dark or mushy. Discard any section that feels soft or smells sour.
How to Separate Fern Clumps Into Sections
Use your hands first. Fern root balls separate naturally along the boundaries between distinct growing crowns. Work from the outside edges inward — never try to cut straight through the center of a dense root ball. If a section resists, use a clean serrated knife to cut once along the natural separation line, then continue by hand.
Each section needs at least two to three fronds and a visible portion of root mass. Smaller divisions survive but take longer to regrow into a full-looking plant. A good minimum size is roughly one-quarter to one-third of the original root ball per section — this gives enough stored energy for recovery without depleting the parent plant.
Step 4: Identify the natural growth crowns — points where fronds emerge in separate directions. Separate gently along these lines first. Use a clean, sharp knife only where roots are too entangled to separate by hand. Make cuts in one clean motion — sawing creates ragged edges that are slower to heal.
Step 5: Trim any damaged or dead root material with clean scissors. Leave firm white roots intact — do not be aggressive here. Removing too much root stress the division unnecessarily.
Potting and Aftercare : The Critical First Four Weeks
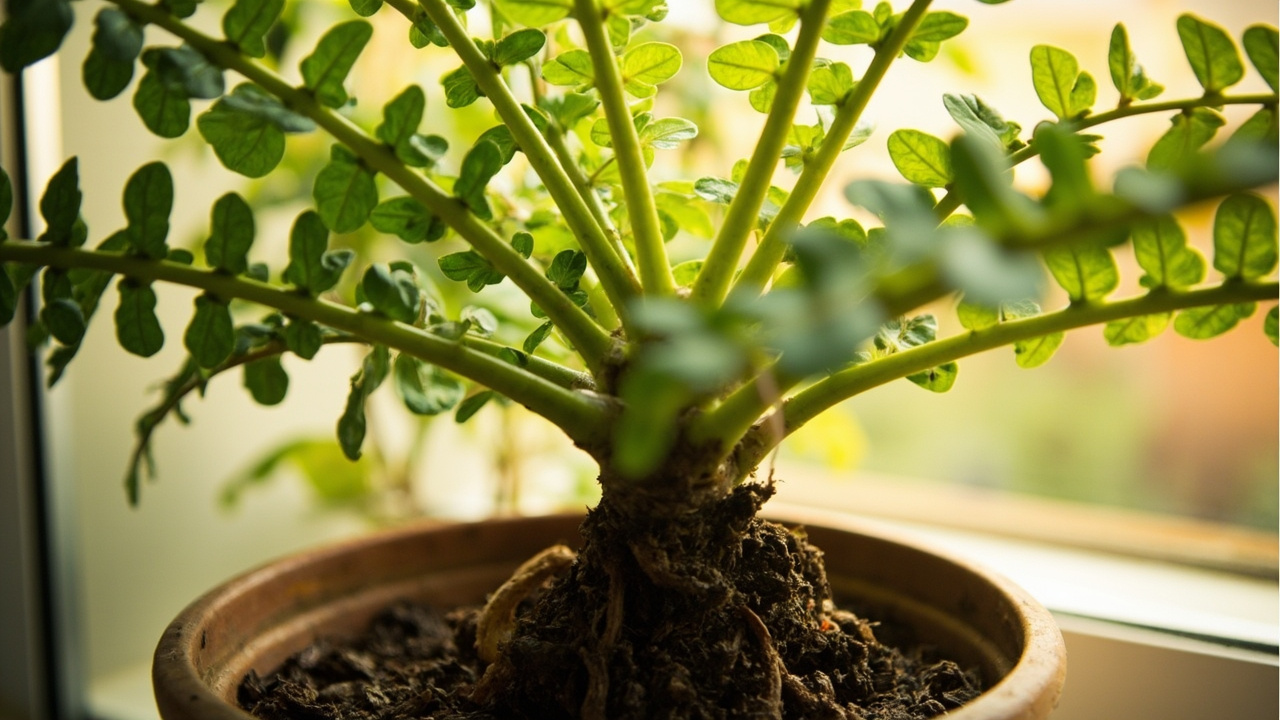
Pot each division into fresh, well-draining mix immediately. A standard houseplant potting mix works, but add roughly 20% perlite or coarse sand to improve drainage — ferns are more sensitive to overwatering after division than they were before. Use a pot with drainage holes that is only 1–2 inches wider than the root ball. Too much extra space holds moisture that the plant cannot use yet, leading to rot before roots establish. For more on the right soil mix and watering schedule, see the fern plant care guide.
Position the division at the same depth it grew before. Ferns sent too deep will rot; planted too high, roots dry out. The crown of the plant — where fronds emerge from the root — should sit just at the soil surface.
Step 6: Water thoroughly after potting, then let the top inch of soil dry before watering again. Place in bright, indirect light — not direct sun, which adds stress to recently divided plants. Rotate the pot weekly if it seems to be leaning toward light.
Step 7: Hold off on fertilizer for six weeks after division. The plant is growing new roots, not using the existing root mass. Fertilizer in the first month burns the tender new root tips and can kill a division that otherwise would have recovered.
Within two to three weeks, you should see new frond growth emerging from the center of the divided sections. If fronds brown or wilt in the first week and then new growth appears by week three, the division has succeeded — the old fronds were sacrificed so the plant could redirect energy to root recovery. If all fronds brown and nothing returns by week four, the division failed to establish — usually because the soil stayed too wet.
Troubleshooting Failed Fern Divisions
The most common failure is yellowing and mushy roots within the first month. This means the soil stayed wet too long — either overwatering, too large a pot, or not enough light. Rescue by removing the division from the pot, trimming mushy roots back to firm white tissue, and repotting in fresh, dry mix. Cut all fronds back to soil level so the plant can focus entirely on root recovery. New fronds will emerge from the base if the roots are still alive.
Division that looks healthy for two weeks and then suddenly declines is usually a watering issue — the roots established briefly, then hit waterlogged soil and rotted. The fix is the same: remove, trim, repot in fresh mix, and reduce watering frequency. For more on fern recovery, see the guide to saving a dying fern.
If you want to propagate other houseplants beyond ferns, the house plant propagation guide covers stem cuttings and water propagation alongside division.
If a division shows no new growth after six weeks but the fronds are still green and firm, the plant is in a holding pattern — usually from being in too low light or too cool a spot. Move to brighter, warmer conditions and wait another three weeks. Ferns recover slowly but they do recover if the conditions improve.
Can You Propagate Ferns From Spores?
Ferns also produce spores — tiny dots on the underside of mature fronds. Spore propagation is possible but slow and requiring consistent humidity, making it impractical for most home gardeners. Division achieves the same result in a fraction of the time. Spore propagation is best left to experienced growers who are cultivating rare species or who want to produce large quantities of a single variety. For one or two new plants from an existing fern, division is always the better choice.
The trade-off with division: you need a mature, large enough plant to take a section from. If your fern is still young and small, the best thing you can do is let it grow for another season before attempting division. Small ferns divided too early often fail to recover because there is not enough root mass to sustain them through the stress of separation.
From Bank Statement to QuickBooks-Ready File
That manual cleanup you just read about? This tool skips it. Turn your PDF into QBO for QuickBooks without storing your data anywhere.
Start Converting