Most Bird of Paradise problems are correctable. The real danger is misdiagnosis — treating the wrong cause and watching the plant continue to deteriorate while you thought you were solving the problem. Strelitzia is a resilient plant, and it tells you what is wrong if you know how to read it. This page is the diagnostic reference: every common problem, its specific cause, and the fix that actually works.
The diagnostic approach that matters: start with the most visible symptom and work outward from there. Does the plant look wrong in a specific way, or in several ways simultaneously? Are the new leaves affected, or only the old ones? Is the soil wet, dry, or in between? These three observations — symptom pattern, leaf age, and soil moisture — will identify the cause correctly in the majority of cases.
For the broader care context that underlies most of these problems, see the Bird of Paradise care guide. For problems that originate in the indoor environment specifically, see the indoor Bird of Paradise care page.
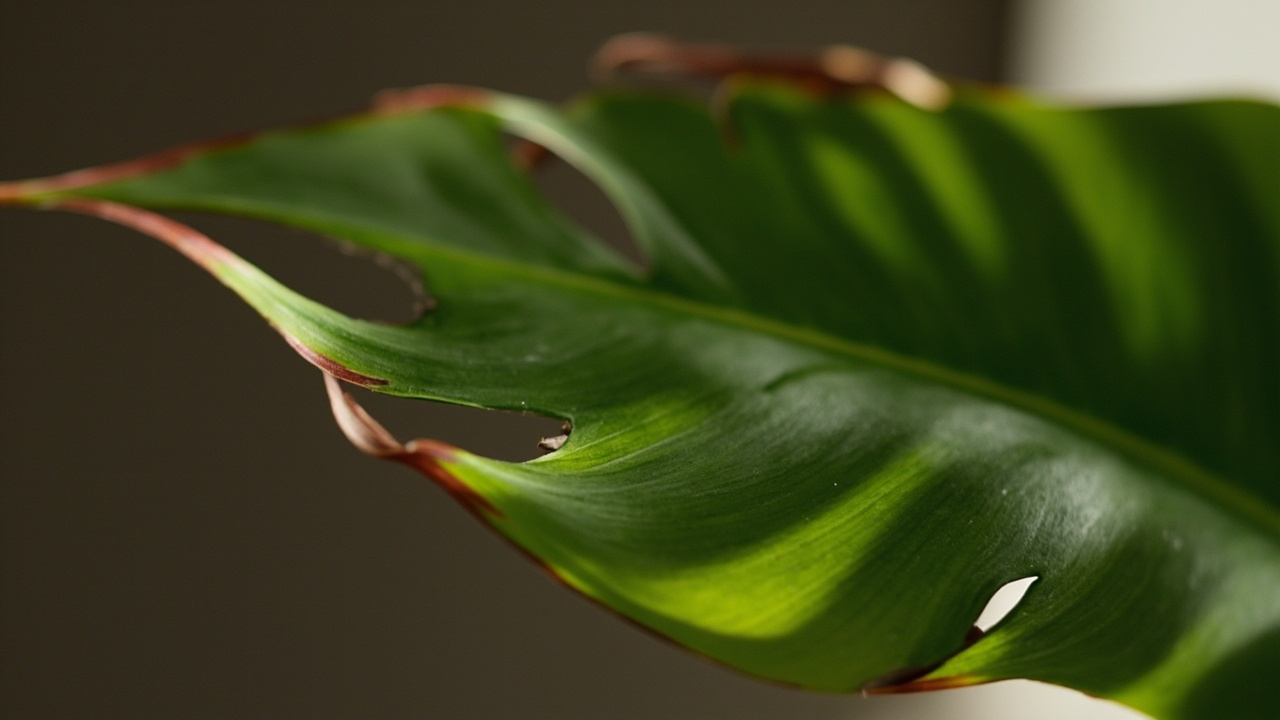
Leaf Splitting: Humidity Cracks vs Physical Damage
Leaf splitting on Bird of Paradise is the most misdiagnosed problem because it looks alarming and most people assume it indicates a disease or serious deficiency. In the overwhelming majority of cases, it is neither.
The mechanism is structural: Strelitzia evolved in windy South African habitats where large, undivided leaf surfaces tore easily under wind stress. The plant solved this with natural fracture lines — pre-programmed separation points along which the leaf blade splits when stressed. Indoors, the stress that activates these fracture lines is low relative humidity. When the air is dry — typically below 40% RH — the leaf edge loses moisture faster than the rest of the blade. The tissue tears along those pre-existing fracture lines, producing the characteristic split.
The diagnostic test is simple: are the splits on older leaves, lower on the plant? Are the new leaves at the top intact or also splitting? If only old leaves split, the humidity is too low — new growth will be better once the environment improves. If new leaves split as soon as they emerge, the humidity deficit is severe and chronic.
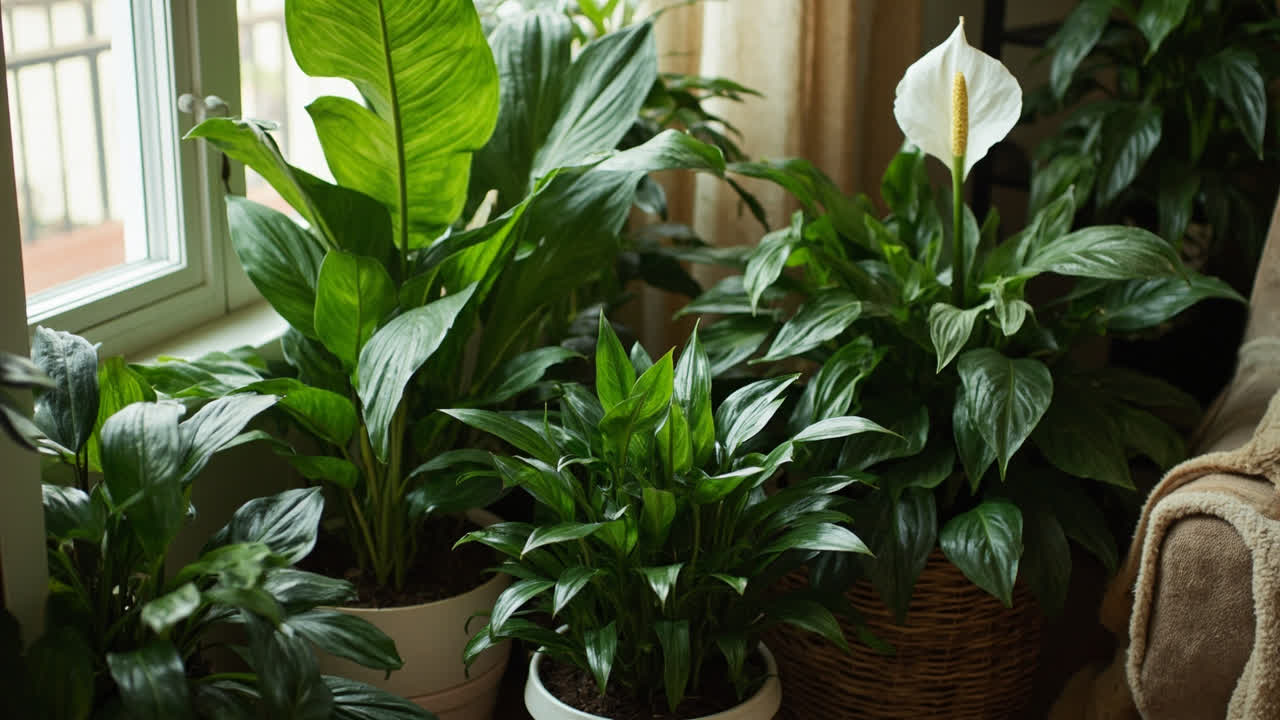
The fix: raise ambient humidity to 50% to 65% RH around the plant. A humidifier running consistently near the plant is the most effective approach. A pebble tray provides a modest but useful supplement. The realistic expectation is improvement over 4 to 6 weeks as new leaves emerge — you cannot reverse splits on existing leaves, but you can prevent them on new ones.
Physical damage is the other cause: a leaf knocked against a wall, rubbed by a moving pot, or abraded by wind if the plant was outdoors. Physical splits look ragged and torn rather than clean along the fracture line, and they occur on any leaf at any height — not preferentially on older leaves. No humidity adjustment will fix a physical split, but it will not spread and does not indicate a systemic problem.
Brown Leaf Edges and Crispy Tips
Brown edges and crispy leaf tips on Bird of Paradise have four common causes, and the diagnostic task is to distinguish them quickly.
Low humidity: The most common cause, especially in heated or air-conditioned homes. The edges of the leaves dry out first, producing a uniform brown rim around the leaf perimeter. Humidity correction (humidifier, pebble tray) slows the progression and prevents new leaves from developing the same problem. Existing damage will not heal, but the plant’s appearance stabilises.
Inconsistent watering: Alternating between drought and saturation stresses the root system and shows as brown tips and edges that appear in patches rather than uniformly. The fix is establishing a consistent check routine — water when the top 2 inches of soil are dry, not on a fixed weekly schedule. The plant does not care about the calendar.
Fertiliser salt build-up: This shows as brown leaf tips and edges that appear after a period of regular fertilising, especially in a plant that has not been flushed with plain water recently. The diagnostic test: flush the pot thoroughly with room-temperature water — enough to saturate the root ball and flow freely through the drainage hole — and see if the browning stops spreading within a week. If it does, salt build-up was the cause.
Fluoride sensitivity: Bird of Paradise is somewhat sensitive to fluoride, which is present in many municipal water supplies. Fluoride toxicity shows as leaf tip burn that starts brown and may develop a yellow halo at the transition between brown and green tissue. The fix is switching to filtered or rainwater for watering. This cause is less common but worth knowing if the other three do not fit.
Why Bird of Paradise Won’t Bloom
Non-flowering is the most common reason a Bird of Paradise owner feels their plant is failing. It is also, in most cases, entirely expected.
Bloom requires three things that most indoor plants do not have: sufficient age (generally 4 to 5 years minimum for a mature plant), sufficient light (6 or more hours of direct sun or the equivalent in supplemental lighting), and enough energy reserves for the plant to initiate and sustain a flower stalk. A young plant will not bloom regardless of care. An old plant that has never had enough light will not bloom until the light is corrected.
The honest assessment for indoor Strelitzia: flowering without dedicated supplemental grow lights is possible but uncommon. A plant in a south-facing window that receives unobstructed sun for 6 or more hours a day and is 5 or more years old may bloom occasionally. Most indoor Bird of Paradise specimens never flower — and the plant is still worth growing for the foliage alone, which is spectacular.
If bloom is the goal, the path is supplemental grow lighting designed for flowering — not just the general full-spectrum LEDs used for foliage growth. A grow light that emits in the red spectrum as well as blue, run for 12 to 14 hours a day, and positioned close enough to the foliage to deliver meaningful photon density, is what it takes to trigger bloom in an indoor Strelitzia.
Yellowing Leaves and What It Signals
Yellowing leaves on Bird of Paradise require a simple question: how many, and where?
One or two older leaves yellowing from the bottom of the plant, one at a time, while the rest of the plant looks healthy — this is normal leaf senescence. The plant is shedding old growth to redirect energy to new leaves. Remove the yellow leaf at the base with a clean cut and move on.
Multiple leaves yellowing simultaneously, or yellowing that appears across the plant rather than just at the base — this is a problem. The three most common causes:
Overwatering: The most common cause of widespread yellowing. Chronically waterlogged soil deprives the roots of oxygen, they die and rot, and the plant can no longer take up nutrients effectively. The leaves yellow uniformly across the blade. The soil will feel wet and heavy even when the surface appears dry. The fix: stop watering immediately, check the roots, trim any brown or mushy ones, repot in fresh, free-draining mix, and reduce watering frequency significantly.
Cold stress: A Bird of Paradise exposed to temperatures below 50°F (10°C) for even a few hours will show widespread yellowing and soft, dark leaf edges within days. The cause is usually a cold draft from an exterior door in winter or the plant sitting against a cold exterior wall. Move the plant to a warmer, more stable position, and accept that cold-damaged leaves will not recover.
Root rot: A subset of overwatering, but worth naming separately because it requires active intervention rather than just reduced watering. If the pot feels heavy despite the surface being dry, if water runs straight through without being absorbed, if the roots are brown, mushy, and smell of decay — the root ball has become a solid mass of rot. The plant needs to be removed from the pot, the damaged roots trimmed back to firm, pale tissue, and the whole plant repotted in fresh mix in a clean container.
Pests on Bird of Paradise: Spider Mites, Mealybugs, and Scale
Bird of Paradise is relatively pest-resistant compared to many tropical houseplants, but three pests do appear with enough regularity to know how to identify and treat them.
Spider mites are the most common indoor pest for Strelitzia. The evidence: tiny stippling dots on the upper leaf surface, fine webbing between the leaf and the stem, and — in advanced cases — leaf discolouration and drop. Spider mites thrive in dry conditions, which is why they are particularly common on Bird of Paradise in winter when indoor humidity drops. Treatment: wipe the foliage thoroughly with a damp cloth to remove the existing mite population, then apply neem oil spray or insecticidal soap, coating the undersides of leaves where mites shelter. Repeat every 5 to 7 days for three consecutive cycles to catch the eggs as they hatch.
Mealybugs appear as white, cottony clusters at the leaf joints and along the midrib on the underside of leaves. They feed on plant sap and produce a sticky honeydew that attracts sooty mould. Treatment: dab each visible mealybug directly with a cotton swab dipped in rubbing alcohol to dissolve their protective coating, then spray the whole plant with neem oil or insecticidal soap. As with spider mites, three cycles 5 to 7 days apart is necessary.
Scale appears as small brown or tan bumps on stems and leaf surfaces — stationary, with a hard protective shell. They feed on sap and produce honeydew like mealybugs. Treatment: scrape them off with a fingernail or a blunt tool (a credit card works), then apply neem oil to the affected areas. Heavy infestations may require a systemic insecticide, which is one of the few cases where chemical treatment is justified for houseplants.
Root Rot: Diagnosis and Recovery
Root rot is the most damaging and most preventable Bird of Paradise problem. It is caused by chronically waterlogged soil, almost always from overwatering, inadequate drainage, or both.
The most reliable diagnostic sign is weight: a Bird of Paradise in a well-draining pot should feel light when the soil is dry. If the pot feels heavy even when the surface is dry, the root ball is saturated and likely rotting. Another sign is water behaviour: if water runs straight through the pot without being absorbed, the root ball has become a solid mass that water cannot penetrate.
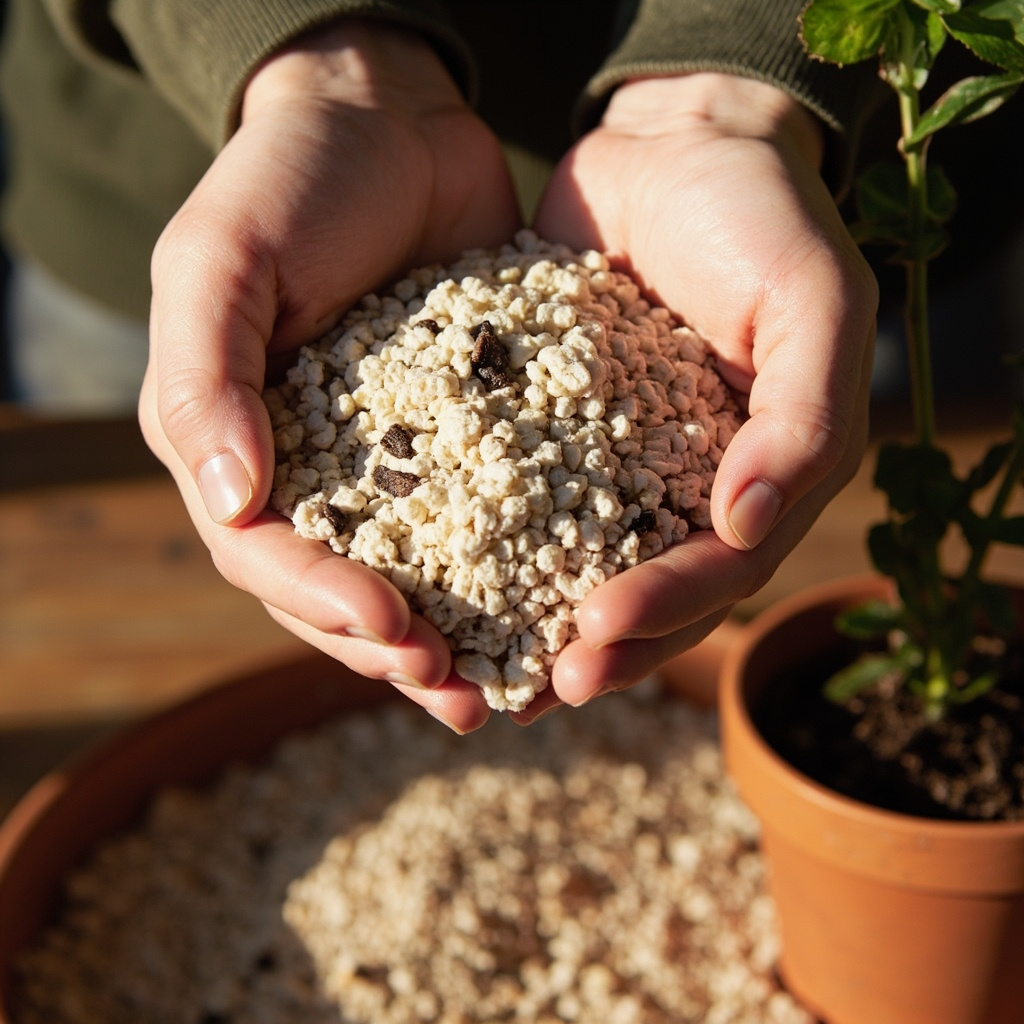
The recovery process: remove the plant from the pot, shake off as much of the wet soil as possible, and inspect the roots. Healthy roots are firm and pale cream to white. Rotted roots are brown, mushy, and collapse when touched. Using a clean, sharp blade, trim all brown, soft roots back to firm, pale tissue. Repot in a clean container with a fresh, fast-draining mix (standard potting mix plus 25% to 30% perlite). Water sparingly — only when the top 2 inches of soil are dry — and do not fertilise until the plant shows signs of recovery, typically 4 to 6 weeks later.
The honest prognosis: mild root rot, caught early, recovers well within a few weeks. Severe root rot — where most or all of the root system is affected — is difficult to reverse. The plant will need to regrow roots from whatever tissue remains, which can take months and may not succeed if the damage was extensive.