If you’ve ever repotted an Alocasia into a standard bag of potting soil and watched it slowly collapse over the following weeks, you weren’t imagining it.
Standard potting mixes are engineered for most houseplants — and Alocasia is not most houseplants. The rhizome root system demands something different, and the difference starts with moisture management.
Standard commercial potting soil holds moisture for a simple reason: it’s designed to. Peat-based mixes, even those labeled premium, are formulated to retain water so that average indoor plants — pothos, peace lily — don’t dry out between waterings. Alocasia sits in that environment and the roots literally drown.
Research on aroid root systems shows that their rhizomes are adapted to rapid moisture cycling — wet, then fast-drying, then wet again. A dense, moisture-retentive soil keeps the root zone continuously saturated. In 7 to 10 days of that condition, root rot begins.
The deeper problem is oxygen. Standard mix particles are fine — measured in fractions of a millimeter — which means the pore space between them is small. When those pores fill with water, there is no room for oxygen at the root zone.
Alocasia rhizomes are oxygen-hungry. Without it, the roots switch to anaerobic metabolism, which damages tissue and opens the door to fungal pathogens like Pythium and Phytophthora.
You won’t see the damage until the leaf yellows or the petiole softens, by which point the rot is already established.
The clue is always in the watering. If you water an Alocasia and the pot drains slowly or not at all within 30 seconds, the soil is wrong. That single observation tells you more than any soil test.
What Makes a Good Alocasia Soil Mix
A good Alocasia soil mix has one job above all others: it must drain fast. Every component in the mix is there to serve that goal.
The ideal Alocasia soil mix achieves a balance between moisture retention — enough to keep the plant hydrated between waterings — and rapid drainage so that the root zone breathes between watering cycles.
That balance is what most plants need; Alocasia simply leans harder toward the drainage side than most.
The Chunk Factor : Why Coarse Particles Matter
The core principle is simple: larger particles create larger air pockets. Alocasia soil should contain at minimum 30% perlite or pumice by volume, ideally more. Bark chips (20–30%) serve the same function — they create void space that stays open even when the coir or compost fraction is wet. Fine silt and clay fractions are the enemy; they migrate between larger particles and fill the air pockets, collapsing the structure over time.
Chunky coir — the longer-fiber, less-processed version of coconut coir — adds moisture retention without sacrificing air porosity. Standard fine coir can compact, so look for the chunky grade if you can find it. If you can’t, compensate with extra perlite.
The practical test: take your dry mix in your hand and squeeze it. It should fall apart the moment you open your fist. If it holds its shape, the mix is too fine.
The pH Sweet Spot (5.5–6.5)
Alocasia prefers a slightly acidic growing medium, with an optimal pH range of 5.5 to 6.5. This isn’t arbitrary — at this pH range, iron, manganese, and zinc are most available to aroid plants. Adding bark or orchid mix to standard potting soil typically raises the pH slightly (toward more acidic), which actually works in your favor for Alocasia, but verify with a simple soil pH meter if you’re mixing your own and have any doubt.
If your tap water is very alkaline (above pH 7), over time it will push the soil pH higher. Using filtered or collected rainwater helps maintain the sweet spot. Monitor every 3–4 months with a soil probe, not just a one-time test.
Two Mix Recipes That Actually Work
The Bark-Perlite-Coir Mix (DIY)
This is the mix that most serious Alocasia growers converge on, and for good reason. It gives you full control over particle sizes and drains fast while retaining enough moisture for a 5–7 day watering cycle under typical indoor conditions.
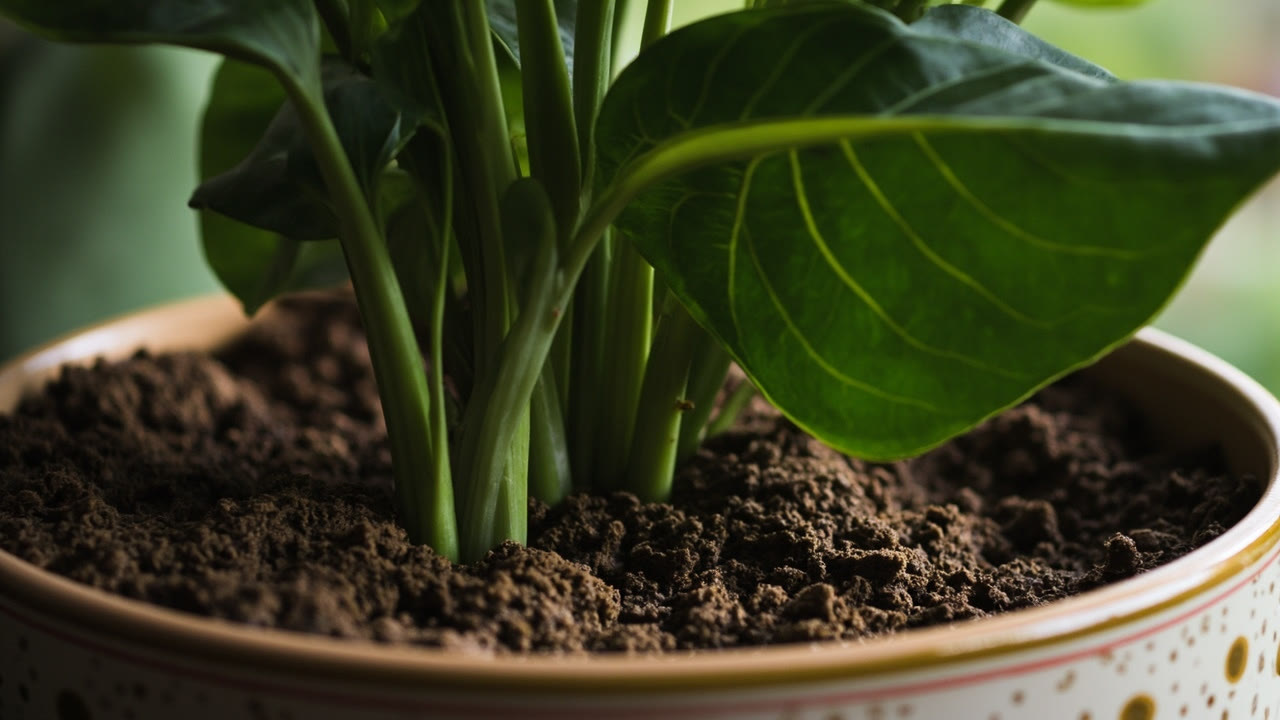
The recipe: 1 part perlite + 1 part coarse bark (orchid bark grade or larger) + 1 part chunky coir + 0.5 part well-aged compost. That’s it. No peat moss, no fine vermiculite, no standard potting soil.
The compost fraction is the only part that holds some moisture — but at 0.5 parts in a 3.5-part total, it’s a minority voice in the mix. The perlite and bark do the structural work; the coir bridges the gap. You can swap bark for leca (Lightweight Expanded Clay Aggregate) if you prefer, though bark is cheaper and more widely available.
Trade-off: This mix dries faster than standard potting soil, which means you may need to water every 4–6 days in warm months rather than every 7–10 days. That’s actually healthier for the plant — but it does require paying attention. If you travel frequently or tend to underwater, this mix will call that out.
Amending Commercial Potting Mix (quicker option)
If mixing your own feels like too much commitment, you can amend a quality commercial potting mix — just not use it straight. Look for a mix labeled for indoor plants or container plants; anything described as “well-draining” is a reasonable starting point.
The amendment ratio: Add 40% perlite or pumice by volume to the commercial mix. That’s roughly two parts amended mix for every one part perlite. For a 6-inch pot, this means roughly 60% commercial mix and 40% perlite. Stir thoroughly — do not layer them, as layering creates drainage interfaces that don’t drain properly.
Why not straight commercial mix: Even the best commercial mixes contain fine peat fractions that hold more water than Alocasia wants. The perlite opens those channels and keeps the structure from collapsing after a few watering cycles.
Trade-off: Commercial potting mixes vary widely in quality and particle size. A cheap brand with a lot of fine silt won’t improve enough with perlite — you may still end up with a mix that holds too much water. Start with a name brand labeled “organic” or “premium,” and do the squeeze test on your amended result before using it on your plant.
How to Tell If Your Soil Is Wrong Before It Kills the Plant
Root rot progresses invisibly until it reaches the point where the damage shows in the leaves. By then, the root system is already compromised. Here is what to watch for before the rot arrives:
If the soil stays wet for more than 10 days after watering, something is wrong. Either the mix is too moisture-retentive, the pot has insufficient drainage holes, or the plant’s uptake is low due to dormancy or low light — and all three are fixable. Check the pot first: if there is only one drainage hole, drill two more. If the pot sits in a saucer with no outlet, empty the saucer after every watering.
The smell test works, though it’s unpleasant. Healthy soil has an earthy smell — a rot issue has a sour, anaerobic smell that is unmistakable once you’ve encountered it. If the soil smells sour when you push your finger into it, the roots are already struggling.
Yellowing lower leaves that progress upward while the soil is wet is a primary signal. It is easy to mistake this for overwatering and then water less — which is correct in direction but the underlying issue is the soil, not the watering frequency. Root rot from soil needs the soil fixed, not just less water applied to the same bad medium.
If you’re seeing persistent issues and nothing else explains it, unpot the plant. Shake off the soil, rinse the roots, and examine them. White and firm = healthy. Brown and mushy = rot. Brown and firm = damaged but recovering. If you find rot, cut away the affected tissue with sterile scissors, let the roots air-dry for 2–3 hours, and repot in fresh chunky mix. For more on identifying and treating root rot specifically, see our Alocasia root rot guide.
Repotting Alocasia : When and How to Refresh the Soil
Alocasia typically needs repotting every 12–18 months, earlier if the plant is actively growing and the roots are visibly circling the pot or emerging from the drainage holes. Spring and early summer are the ideal windows — the plant is entering an active growth phase and will recover faster from root disturbance.
When repotting, remove as much of the old soil as possible without tearing healthy roots. Old soil that has compacted and lost structure is one of the main reasons Alocasia declines in subsequent years — it holds more water than it did originally, even if the same mix was adequate when new.
The no-fertilizer rule after repotting: Do not fertilize for 4–6 weeks after repotting with fresh soil. The new mix contains nutrients from the compost fraction, and the roots need time to re-establish before processing additional fertilizer. Feeding too early causes salt buildup at the root zone, which burns new root tips — the opposite of what you want after a repot.
When choosing a new pot, go only one pot size up — roughly 1 to 1.5 inches larger in diameter. Too large a pot means more soil volume, which means more water held between watering cycles, which increases rot risk. If you’re dividing the rhizome at repotting (see our propagation guide), give each division its own appropriately sized pot.
The watering approach after repotting changes too: water once, thoroughly, and then wait. Do not water again until the top 2 inches of the mix feel dry. In a chunky, fast-draining mix in a warm room, this may be 5–7 days. The waiting period allows the roots to explore the new soil and reduces the chance of rot in the critical recovery window.
Common Soil Mistakes and What Happens Next
Mistake 1: Using straight peat or standard potting soil without amendment. What happens next: the mix stays wet for 10–14 days after watering, oxygen disappears from the root zone, and Pythium root rot sets in within 2–3 weeks. The plant survives longer than you might expect because Alocasia is resilient, but leaf decline starts and is misattributed to underwatering.
Mistake 2: Adding perlite but also adding vermiculite or moisture-retentive crystals. These cancel the perlite out. Vermiculite is designed to hold water — it is the opposite of what Alocasia needs. Crystal hydrogels do the same. Any additive whose function is moisture retention is working against the soil structure you’ve built with perlite and bark.
Mistake 3: Layering soil in the pot — a layer of perlite at the bottom, potting soil on top. This creates a perched water table at the interface between the two materials. Water sits at that boundary rather than draining. Mix everything together before filling the pot. The water and soil relationship depends on uniform structure throughout.
Mistake 4: Repotting with the same old soil after buying a new Alocasia. Nursery soil is designed for greenhouse conditions — high humidity, controlled watering, optimal light. It almost never works in a home environment. Always change the soil on a new plant, even if the plant looks healthy. The stress of the transition is the right moment to put it in a mix that will actually work long-term.
Mistake 5: Skipping the drainage hole check. A beautiful pot without adequate drainage is a container for root rot. Every pot needs at least two drainage holes, and they need to be open — not partially blocked by compacted soil or a saucer sitting flush against the bottom. This sounds obvious but it is the most common single cause of soil-related Alocasia death. The problems page covers this and other failure modes in detail.
The fix for any of these mistakes is the same: unpot, remove old soil, rinse roots, repot in the bark-perlite-coir mix or properly amended commercial mix. The plant will recover if caught before more than 50% of the root system is lost. Early action is always better — the main care guide has a full routine to follow so these mistakes become easier to avoid from the start.
Turn any PDF statement into a clean sheet
Skip the typos and the hours of copying. Our converter handles any bank statement format and outputs Excel, CSV, or QBO for QuickBooks. No file retention, free to try.
Convert your statement