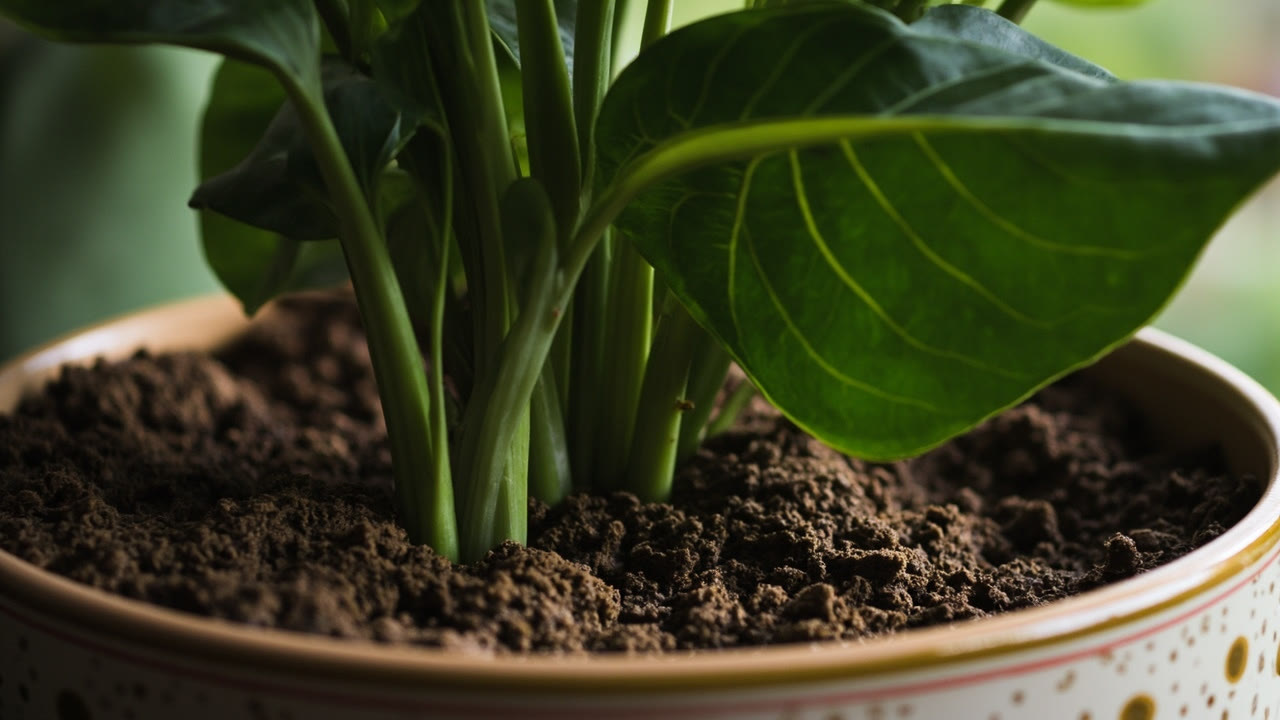
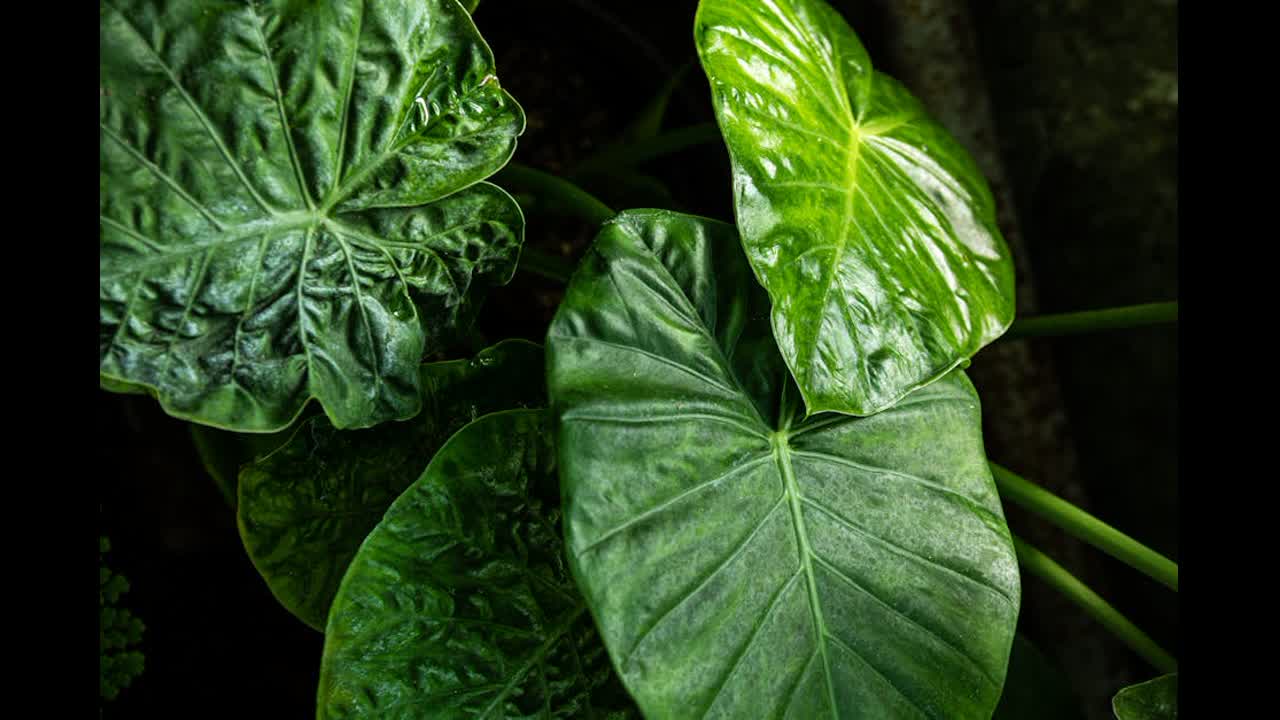
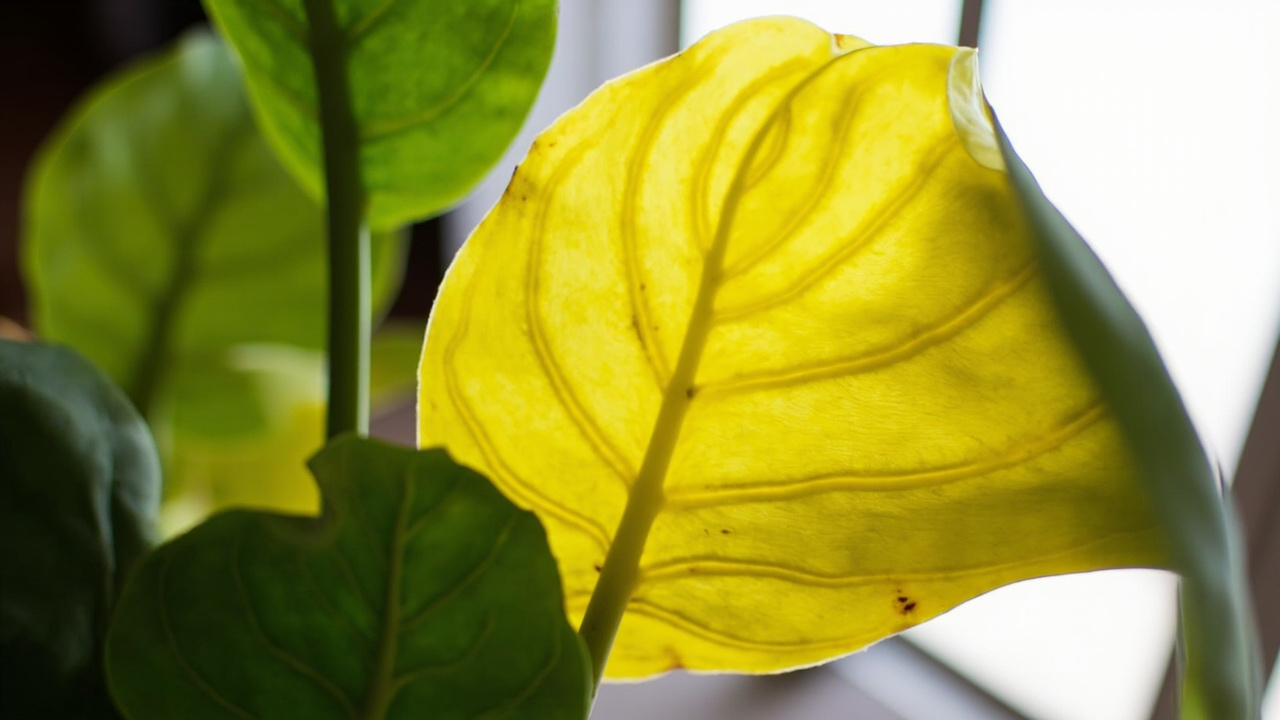
Alocasia propagation is more challenging than most houseplants because Alocasia rarely produces offsets or pups from the base of the plant. Unlike Monsteras or Pothos, which multiply readily from stem cuttings, Alocasia propagation relies primarily on dividing the corms — the underground storage structures — which requires disturbing the plant’s root system. Done correctly, it is straightforward and produces healthy new plants. Done incorrectly, it can damage the parent plant and kill the division.
Understanding Alocasia Corms and Rhizomes
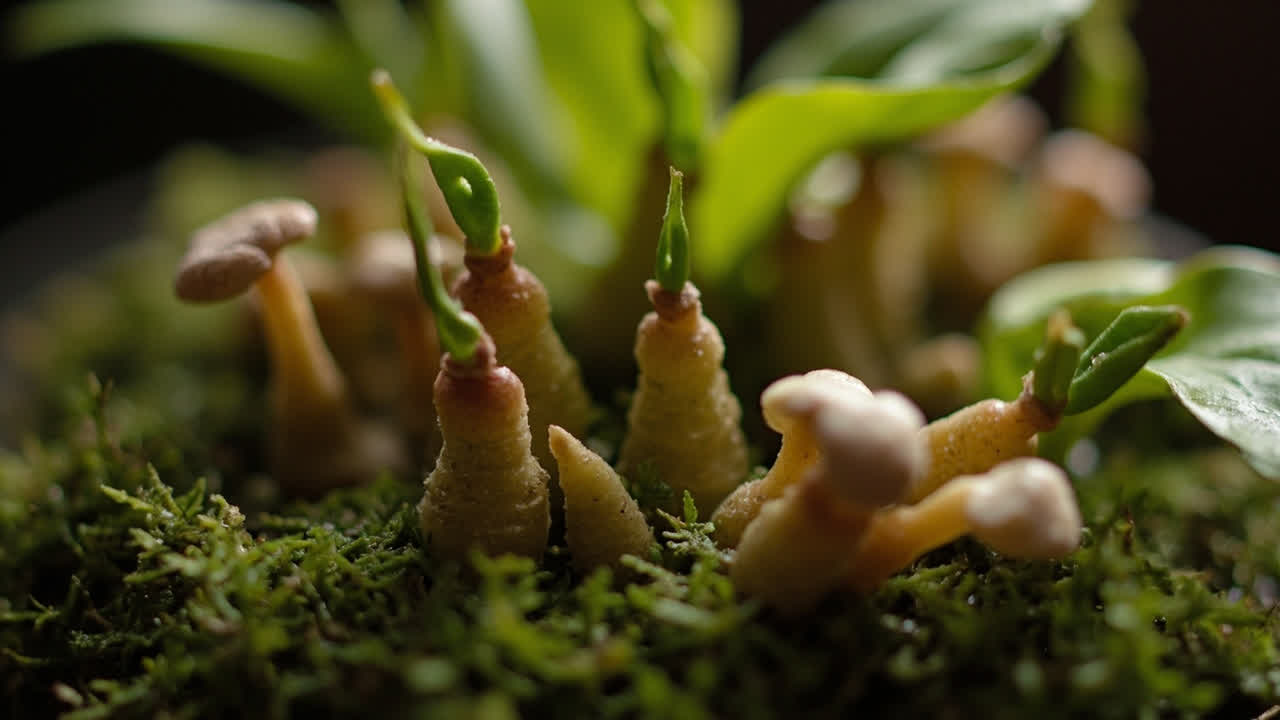
Alocasia grows from corms — small, rounded, dark-coloured underground structures that store energy and produce roots and shoots. When an Alocasia is healthy and mature, it produces multiple corms alongside the main root system. These corms can be separated and grown on individually to produce new plants that are genetically identical to the parent.
Alocasia also grows from rhizomes — modified underground stems that run horizontally and produce new corms and shoots at intervals. The division of rhizomes is sometimes possible but is riskier than corm propagation because rhizome sections are more prone to rotting before they establish.
When to Propagate Alocasia
The best time to propagate Alocasia is during repotting in spring or early summer — this way you are disturbing the roots once rather than twice. Propagating at other times of year is possible but the plant will establish more slowly. Never propagate during dormancy, when the plant has died back to its corms — wait until active growth resumes.
How to Separate and Plant Alocasia Corms
Remove the parent plant from its pot and gently shake or wash away the soil from the root system. You will see the main corm cluster — firm, dark, roughly marble to golf-ball sized structures — connected by smaller roots. Identify individual corms that can be separated without cutting into the main root mass.
Separate the corms carefully by hand where possible, or use a clean, sharp knife for firmly attached corms. Each corm you keep for propagation should be firm and undamaged — soft, mushy, or broken corms will not grow. Retain as many fine roots as possible on each corm division.
Plant each corm in a small pot — 3 to 4 inches — filled with damp sphagnum moss or a very light, fast-draining potting mix. The corm should be planted just below the surface — deep enough to be stable but not buried deeply. Place in bright, indirect light and maintain consistent moisture. The sphagnum moss or mix should feel like a wrung-out sponge — moist but not waterlogged.
Roots and new shoots typically emerge within four to eight weeks under good conditions. Warmer temperatures (75°F–85°F / 24°C–29°C) significantly speed up corm propagation. A heat mat underneath the propagation pots can make a meaningful difference to success rate and speed.
Alternative: Sphagnum Moss Pre-Sprouting
An alternative approach that improves success rates: pre-sprout the corms in damp sphagnum moss before planting in soil. Wrap individual corms loosely in damp sphagnum moss, place in a small container or plastic bag in a warm position with bright indirect light, and check every few days. Once roots and a small shoot are visible, transfer to potting mix. This approach lets you monitor each corm individually and only plant those that are clearly growing.
Can You Propagate Alocasia from Stem Cuttings?
Stem cuttings of Alocasia are theoretically possible but very rarely succeed. The stems do not readily produce roots from nodes the way Monsteras do, and the large thin leaves transpire water faster than a stem cutting can supply it before roots develop. Even with ideal conditions, Alocasia stem cuttings typically rot before rooting.
Do not attempt stem propagation unless you are experienced and willing to accept a high failure rate. Corm propagation is reliable by comparison.
Caring for Alocasia Divisions
A newly separated corm division needs different care from an established plant. Keep the soil or moss consistently moist — not wet — for the first two months while the corm establishes roots. The parent plant after division may lose a leaf or two as it adjusts — this is normal. Continue normal care routines for the parent plant and watch for new growth.
New corm-grown plants are vulnerable to the same humidity and watering challenges as mature Alocasia. Maintain high humidity and careful watering, and the new plant will establish and begin producing leaves within a few months.
Common Propagation Problems
Corms that rot before growing are usually kept too wet. The corm needs moisture to initiate growth but waterlogged conditions cause it to decay. Use damp sphagnum moss rather than wet mix, and ensure the container has drainage.
Corms that sprout but then collapse have usually been overwatered once roots have started developing. Reduce watering once shoots appear.
The parent plant declines after division — this is more likely if too much of the root system was removed or damaged during corm separation. Separate only clearly distinct corms and minimize root damage where possible. The parent plant should recover with careful watering and good humidity.
Propagation Is Not a Fast Process
Alocasia propagation requires patience in a way that faster-propagating houseplants do not. A corm division may take six to twelve months to produce a plant that looks like a proper specimen with several leaves. In exchange, you get a genetically identical copy of a plant you already know thrives in your conditions — which is more valuable than an unknown mail-order plant that may struggle to adapt. Keep notes on which of your corms grew fastest and strongest; over time you will identify the most vigorous specimens in your collection.
From PDF to Excel in one click
Forget retyping line by line. Upload any bank statement, get a spreadsheet you can actually use. Your files are never stored, and you can test the converter with 3 free conversions.
Try it free