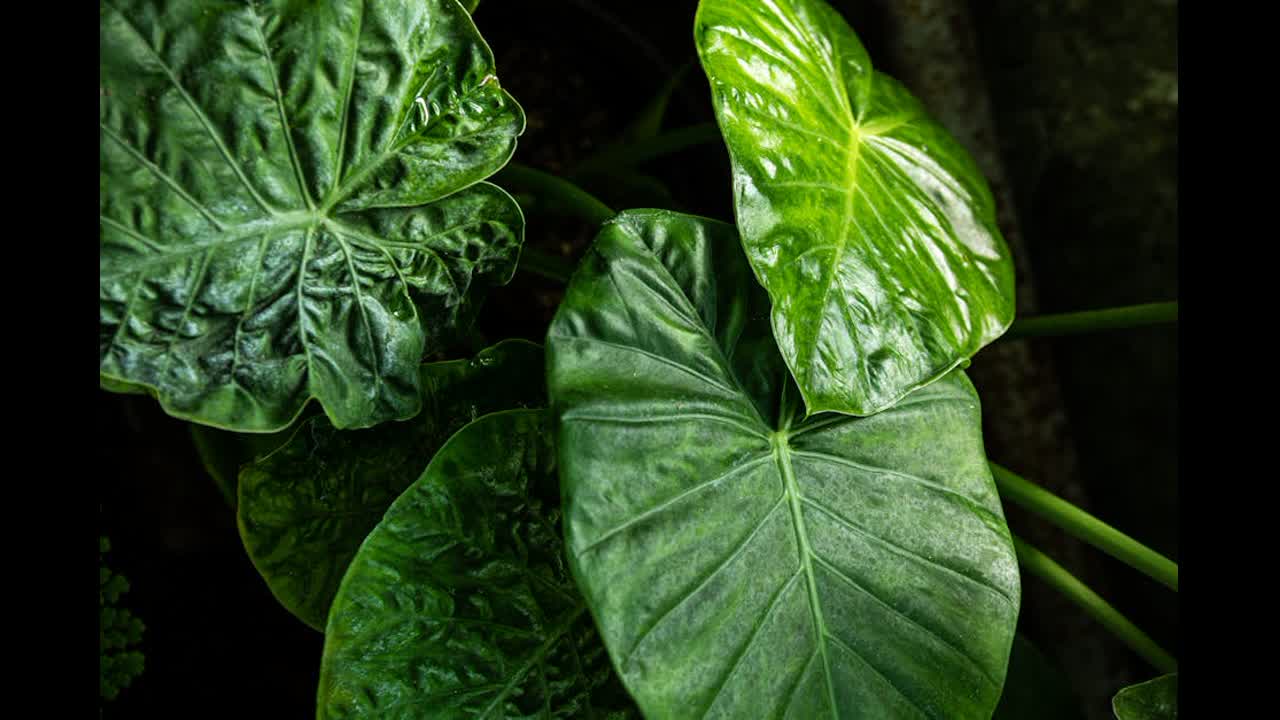
Alocasia is the house plant that stops people in their tracks. Its arrowhead-shaped leaves, deeply veined and impossibly glossy, can be deep purple, silver-green, or near-black depending on the variety. It is dramatic, distinctive, and—unlike most statement plants—relatively compact, making it suitable for tabletops and plant stands as well as floor positions.
But alocasia has a reputation. It shocks easily, drops leaves unexpectedly, and sometimes seems to go dormant for no apparent reason. Here is what most guides do not tell you: the plant is not dying. It is adapting. Understanding that distinction changes how you care for it entirely.
Why Alocasia Shocks Easily
>Alocasias grow in tropical rainforests where conditions are stable year-round. When you bring one home from a greenhouse, it experiences a sudden shift in light, temperature, humidity, and water quality. The plant’s response is to shed some leaves—a survival mechanism that reduces its resource demands while it redirects energy to root establishment in the new environment.
This is not failure. It is normal. If your alocasia drops one or two leaves after arriving home, it is adjusting, not dying. The key is to reduce stress during this period: place it in bright indirect light, maintain consistent warmth, do not fertilise, and water only when the top 3 cm of soil are dry. Leave it alone for two to three weeks before making any further changes.
Light Requirements
>Alocasias need bright, indirect light. They naturally grow beneath forest canopies, where sunlight is filtered and dappled. Direct sun burns their large, thin leaves quickly, causing brown scorch marks that are permanent. Too little light, and the plant becomes leggy—stems stretch and new leaves emerge smaller than the ones before.
An east-facing window is ideal. A spot 1–2 metres back from a west or south-facing window, with a sheer curtain in between, also works well. If your alocasia is in a room with no natural light, it will survive for months but will not produce new leaves. Growth under grow lights is possible but not ideal long-term.
Watch the plant for signals: leaves reaching upward with increasing stem length indicate insufficient light. Leaves holding flat and wide indicate the light level is right.
From Bank Statement to QuickBooks-Ready File
That manual cleanup you just read about? This tool skips it. Turn your PDF into QBO for QuickBooks without storing your data anywhere.
Start ConvertingWatering
>Alocasias are thirsty plants—but not tolerant of wet feet. The contradiction is key. They need regular watering to support their large leaf surface area, but sitting in water causes root rot almost immediately. The rhizomes are dense and compact, and they rot faster than most other house plant roots once oxygen is displaced from the soil.
Water when the top 3 cm of soil feel dry. In summer or in air-conditioned rooms, this may be every 3–5 days. In winter, it may be every 10–14 days. Always check the soil before watering—never follow a rigid schedule.
Use room-temperature water. Cold water shocks the roots, which can trigger leaf yellowing within 24 hours. If your tap water is heavily chlorinated, let it sit uncovered for 24 hours before using it, or use filtered water. Alocasias are sensitive to fluoride and chlorine, which are common in treated municipal water and cause brown leaf tips.
Humidity
igure>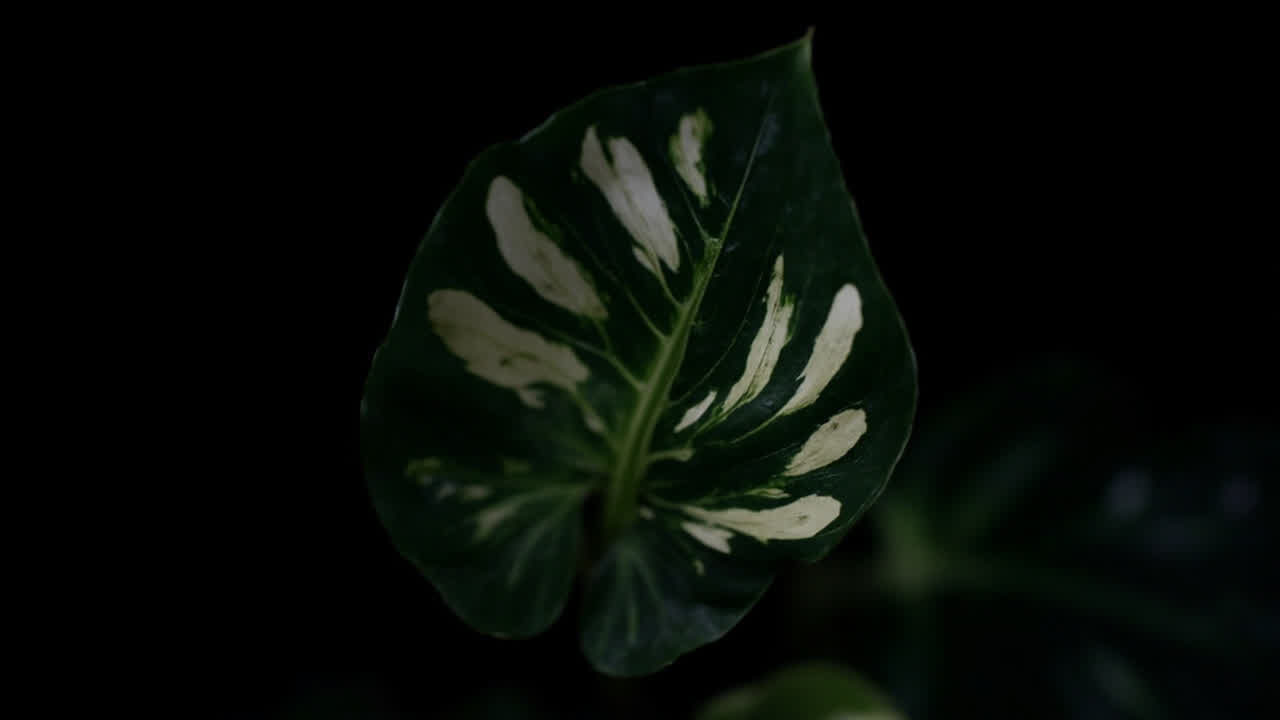
Humidity is the most demanding aspect of alocasia care. They need 60–80% relative humidity to maintain their large, thin leaves without browning edges. Most homes sit between 30–50%, especially in air-conditioned spaces.
The practical solution is a pebble tray: place the pot on a shallow tray filled with pebbles and water, making sure the pot itself sits above the water line on the pebbles. As the water evaporates, it raises the humidity immediately around the plant. For more consistent results, a small humidifier near the plant—running for a few hours each day—is more effective.
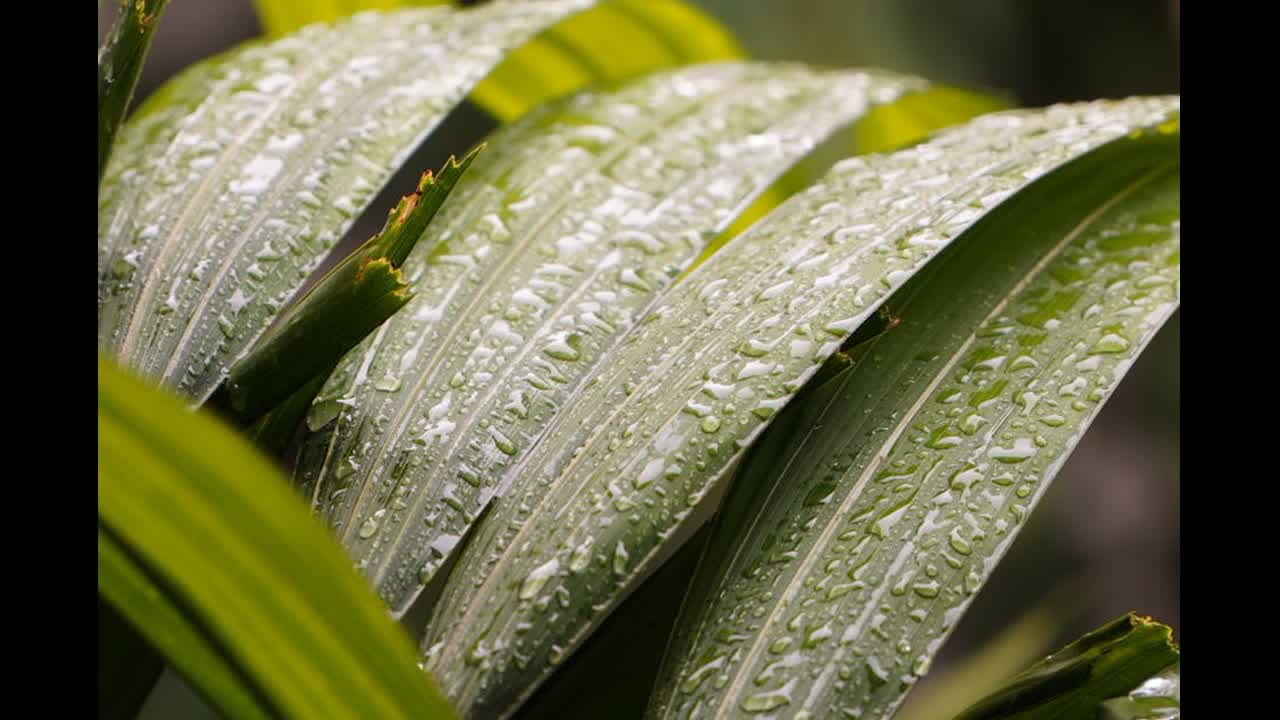
Misting the leaves is not recommended. Water sitting on alocasia leaves encourages bacterial and fungal infections, particularly if the air circulation is poor. If you do mist, do so sparingly and only in the morning, so leaves have time to dry before evening.
The brown edge problem is chronic in alocasias in typical home environments. Our peace lily brown tips guide covers the humidity mechanics and water quality issues that cause leaf edge browning—the same principles apply directly to alocasias.
Soil Mix
>Alocasia roots need two things simultaneously: moisture retention and excellent aeration. Standard potting mix is too dense and holds too much water. The ideal mix is roughly 60% high-quality potting soil, 20% perlite, and 20% orchid bark or coarse bark chips. The bark provides air pockets around the roots while the perlite improves overall drainage.
A chunky, fast-draining mix prevents the compaction that leads to waterlogging. In practice, if water runs straight through the pot and out the drainage holes within a few seconds of pouring, the mix is probably too fast-draining. If it sits on the surface for more than 30 seconds before draining, it is too slow. Adjust the ratios accordingly.
Dormancy: What It Is and How to Handle It
>Alocasias go dormant. This surprises many owners: a thriving plant suddenly stops growing, leaves yellow and die back, and the whole thing appears dead. It is not. The plant has retreated into its rhizome, waiting for conditions to improve.
Dormancy is triggered by cooler temperatures, reduced light in autumn and winter, or—importantly—by the stress of being moved to a new environment. It is most common in autumn and winter but can happen at any time if the plant is unhappy.
If your alocasia goes dormant, stop watering completely. Let the soil dry out. Our guide to root rot explains how to recognise and reverse it if you have been overwatering before dormancy. Place the pot in a warm, bright spot and wait. Within 4–8 weeks, new growth should emerge from the soil—or from the base of existing stems. When new growth appears, resume watering gently and reintroduce fertiliser at half strength. Use a balanced liquid fertiliser diluted to half strength—our fertiliser guide for indoor plants covers NPK ratios and application timing.
Alocasia Varieties
>There are roughly 80 species of alocasia, but three dominate indoor cultivation:
Alocasia amazonica (often sold as Alocasia ‘Polly’) has deep green leaves with striking white veining and sharply pointed lobes. It is the most compact variety, rarely exceeding 45 cm, making it ideal for tabletops and shelves.
Alocasia zebrina is named for its zebra-striped stems. The leaves are more arrow-shaped than wavy, and the plant grows taller—up to 90 cm—making it better suited as a floor or plant-stand specimen.
Alocasia frycii (often called Alocasia ‘Dragon Scale’) has thick, textured leaves that resemble reptile scales. Its leaves are more rigid than other varieties, making it slightly more forgiving of dry air.
Alocasia macrorrhiza (giant taro) produces enormous upright leaves that can reach 60 cm or more in length. It is the fastest-growing alocasia but also the largest, requiring significant floor space and bright light to maintain its size.
Common Alocasia Problems
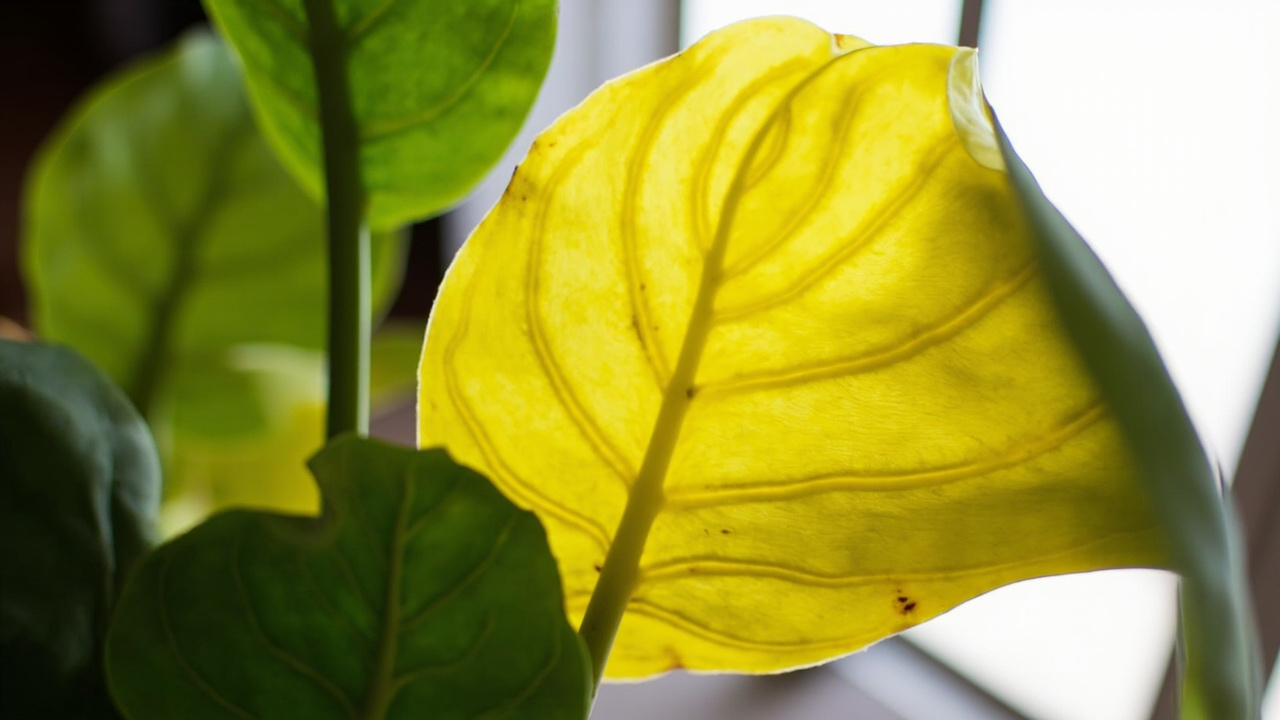
>Yellow leaves indicate overwatering in most cases. Check the soil immediately and reduce watering frequency. If the soil is wet and the plant has been in the same pot for more than a year, root rot is possible—unpot and inspect the rhizomes.
Drooping stems are usually a sign of either underwatering or low humidity. Check the soil first, then raise the humidity around the plant.
Spider mite infestations are common on alocasias, particularly in dry environments. Spider mites thrive in low-humidity conditions, so raising humidity is both treatment and prevention. If mites are present, wipe the leaves with a damp cloth and apply neem oil spray every 5–7 days for three weeks. Our common indoor plant pests guide covers identification and treatment for the full range of house plant pests.
No new growth in the growing season (spring through summer) usually means insufficient light or the plant being root-bound. Move to a brighter spot and check whether the pot needs upsizing.
Alocasia Care in Short
>Give alocasia bright, indirect light, water when the top 3 cm of soil are dry, maintain humidity above 60%, and use a chunky, well-draining soil mix. Accept that leaf drop during adjustment is normal. Accept that dormancy in autumn and winter is normal. The plant is not difficult—it has different priorities than most houseplants, and once those priorities are met, it grows with a vigour and visual impact that few plants can match.