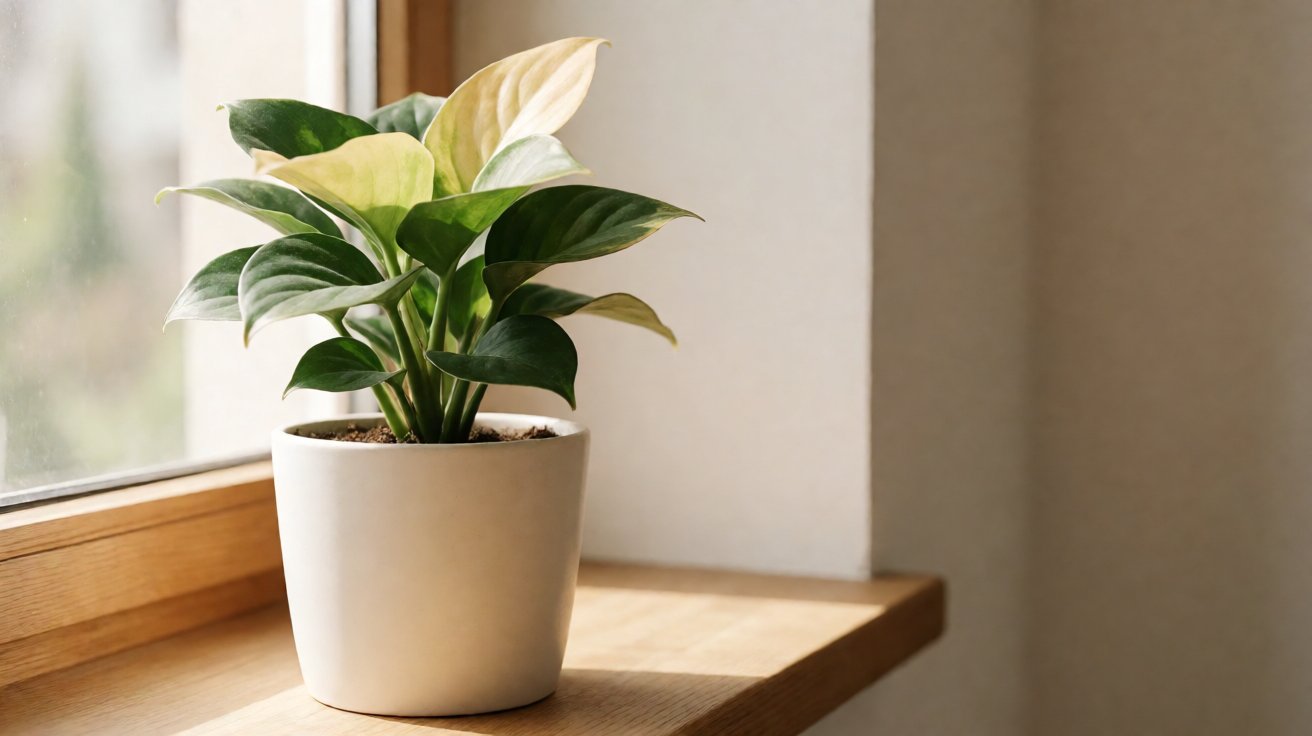

Yellow on a houseplant is not one signal. It is six distinct signals wearing the same coat. The color of the yellow, the part of the leaf that turns first, the position of the leaf on the plant, and the speed of spread together point to one of seven underlying causes. Two of those causes will kill a plant in a week. Three will take a month. Two are not causes at all. The plant is telling you which one it is. You just have to learn the alphabet.
One honest limit up front. A yellow leaf will not turn green again. Once chlorophyll is gone, the leaf is gone. The yellowing you see in October started complaining in late September. The question is not how to fix the leaf in front of you. The question is whether the next leaf stays green, and that depends entirely on what is happening to the roots, the light, the temperature, and the soil chemistry right now. So the diagnostic below is not a retrospective. It is a forward-looking test.
Most plant parents try the same first move when a leaf turns yellow. They water the plant. About one in three times, that is exactly the wrong move. Overwatering is the most common cause of yellowing, and watering a plant that is already wet pushes the roots further into oxygen debt. The plant is drowning. The instinct to add more water is how the next leaf is lost. Read the plant first. Then decide.
Why Houseplant Leaves Turn Yellow: The Seven Causes
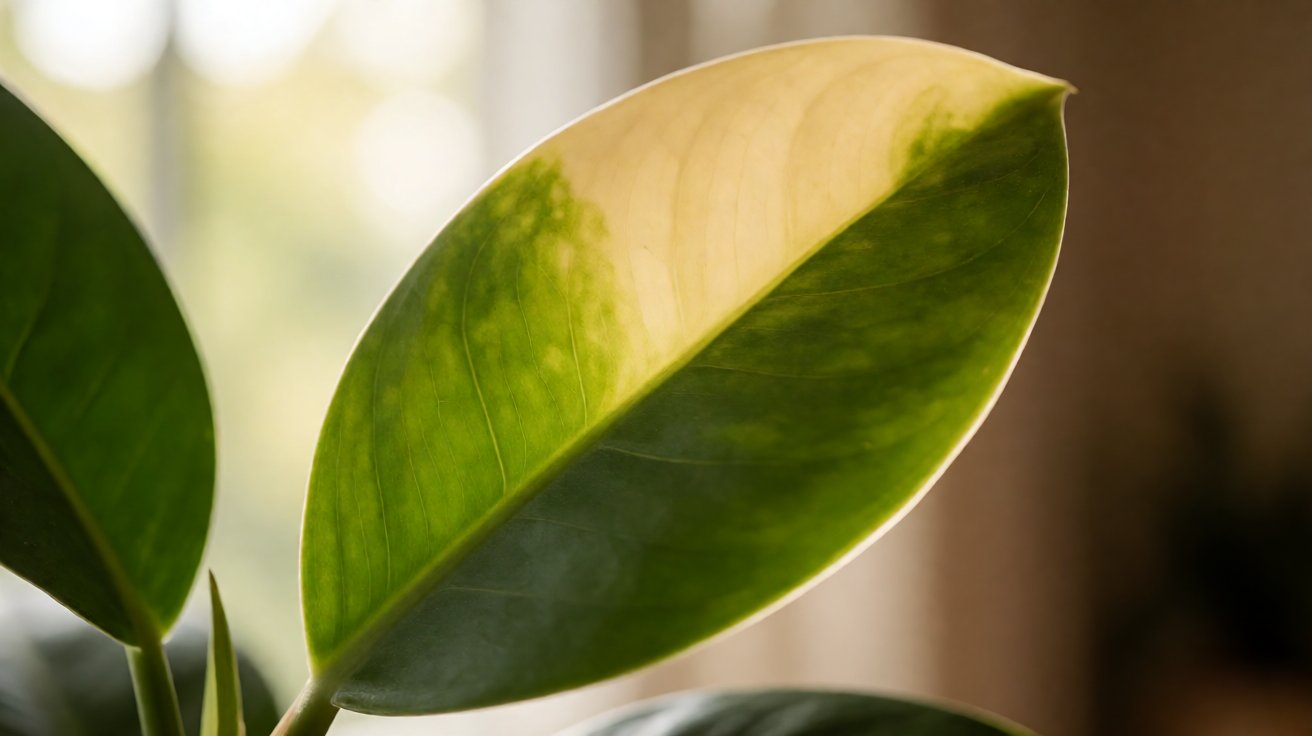
Houseplant yellowing is the visible breakdown of chlorophyll, the green pigment that captures light for photosynthesis. When chlorophyll is dismantled, the yellow carotenoid pigments underneath are revealed. The plant breaks down chlorophyll for one of three reasons: the leaf is being shed on purpose, the leaf is starving, or the leaf is being damaged.
The seven causes line up with those three reasons. Senescence, the normal shedding of old leaves, accounts for yellowing that starts on the bottom of the plant and moves slowly up. Light deficit makes the same pattern but on plants that have not been moved, in rooms that have not changed. Overwatering shuts down the root transport system and yellows leaves anywhere on the plant, often with a soft or mushy texture. Underwatering does the same thing faster, with dry crispy edges that come first. Nutrient deficiency yellows new growth because nitrogen, the mobile nutrient the plant cannibalizes, moves from old leaves to new ones when supply is short. Temperature shock from a cold window or a heating vent yellows the leaves closest to the temperature source within hours. Salt or mineral burn from fertilizer accumulation yellows leaf tips and edges in a tight pattern that follows the soil surface.
Each of those causes has a fingerprint. The fingerprint is not in the yellow color. It is in the four features surrounding the yellow, and the next section is the diagnostic that turns those features into a single answer.
The Four Features to Read on a Yellow Leaf
Look at the leaf for ten seconds. Read these four things, in this order.
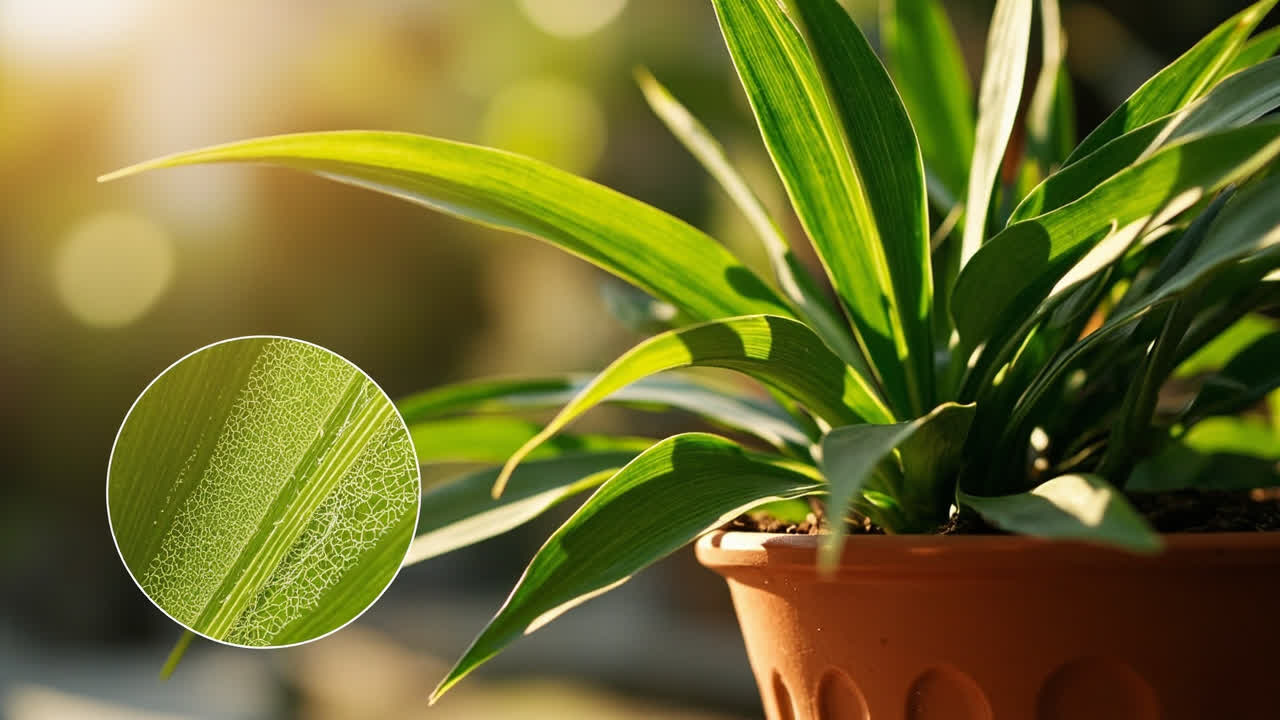
1. The shade of yellow. A pale, washed-out yellow that is almost cream points to nitrogen deficiency or to light deficit. A bright, lemony yellow with crisp edges points to overwatering or transplant shock. A yellow that goes straight to brown at the tips before the rest of the leaf follows points to salt burn or fluoride in tap water. A yellow that holds a green halo around the veins points to magnesium deficiency, which is rarer indoors but does happen in pots that have been fed the same fertilizer for years.
2. Where the yellow starts on the leaf. Edge-first yellowing is salt burn, fluoride, or low humidity. Tip-first is overwatering or potassium deficiency. Vein-first is magnesium or iron deficiency. Whole-leaf at once is overwatering, transplant shock, or temperature damage.
3. Where the leaf sits on the plant. Oldest leaves at the bottom going first is nitrogen deficiency, light deficit, or normal senescence. Newest growth at the top going first is root damage, overwatering, or iron deficiency. Middle leaves only is usually a light issue, because the middle of the plant is where light penetration is weakest in a dense canopy.
4. How fast it spread. A leaf that yellowed overnight is temperature shock, cold draft, or a single overwatering event. A leaf that yellowed over a week is one of the slower causes: nitrogen, light, or chronic overwatering. A leaf that yellowed over a month and is part of a steady bottom-up march is almost always normal senescence on a healthy plant.
These four features narrow the cause to two or three candidates. To get to one answer, you run the five-step diagnostic in the complete indoor plant care guide, and the section that follows walks you through the version built specifically for yellowing leaves.
The Five-Step Diagnostic You Can Run Tonight
The four features tell you what is happening. These five steps tell you why. Run them in order. Most readers find their answer in step two or three.
Step 1: Lift the pot. A dry pot is light. A wet pot is heavy. This is the single most useful two-second diagnostic on a houseplant, and it is the one most readers skip. A 6-inch terra cotta pot with a moist Epipremnum aureum weighs roughly 800 grams. The same pot dry weighs 400 grams. If your plant is in a plastic nursery pot, the same rule applies but the weight difference is smaller, so use step 2 alongside it.
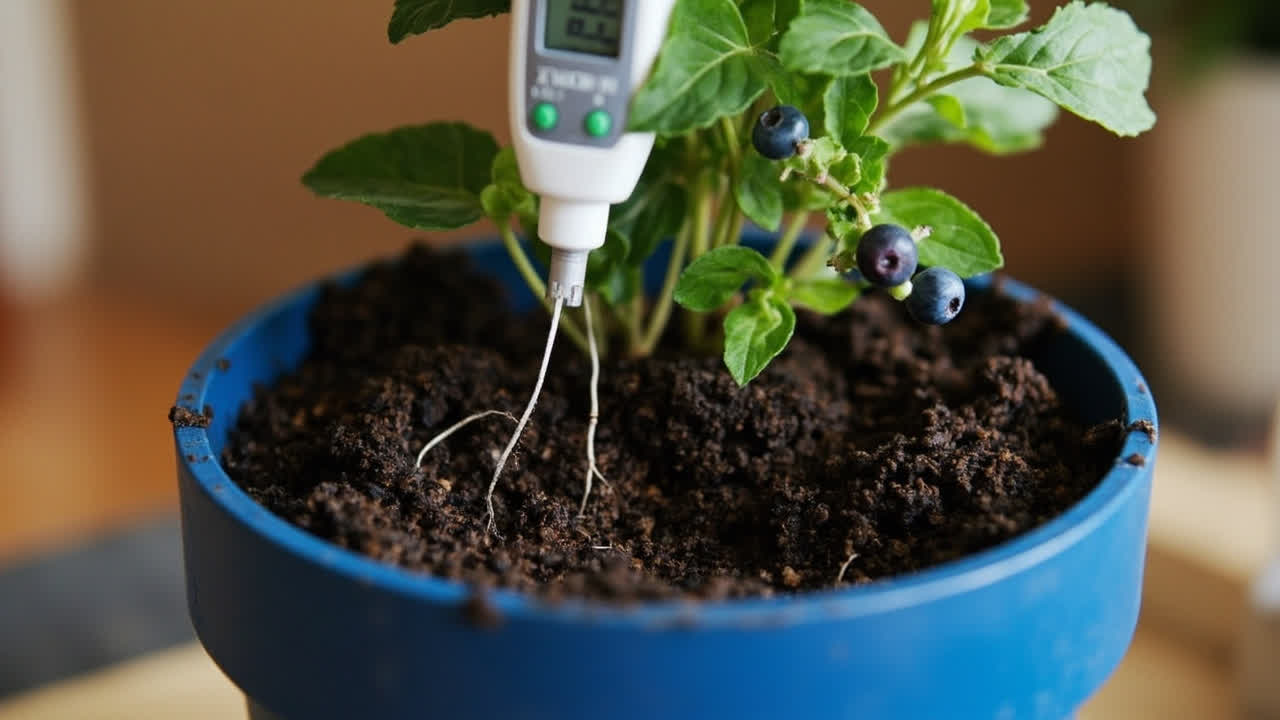
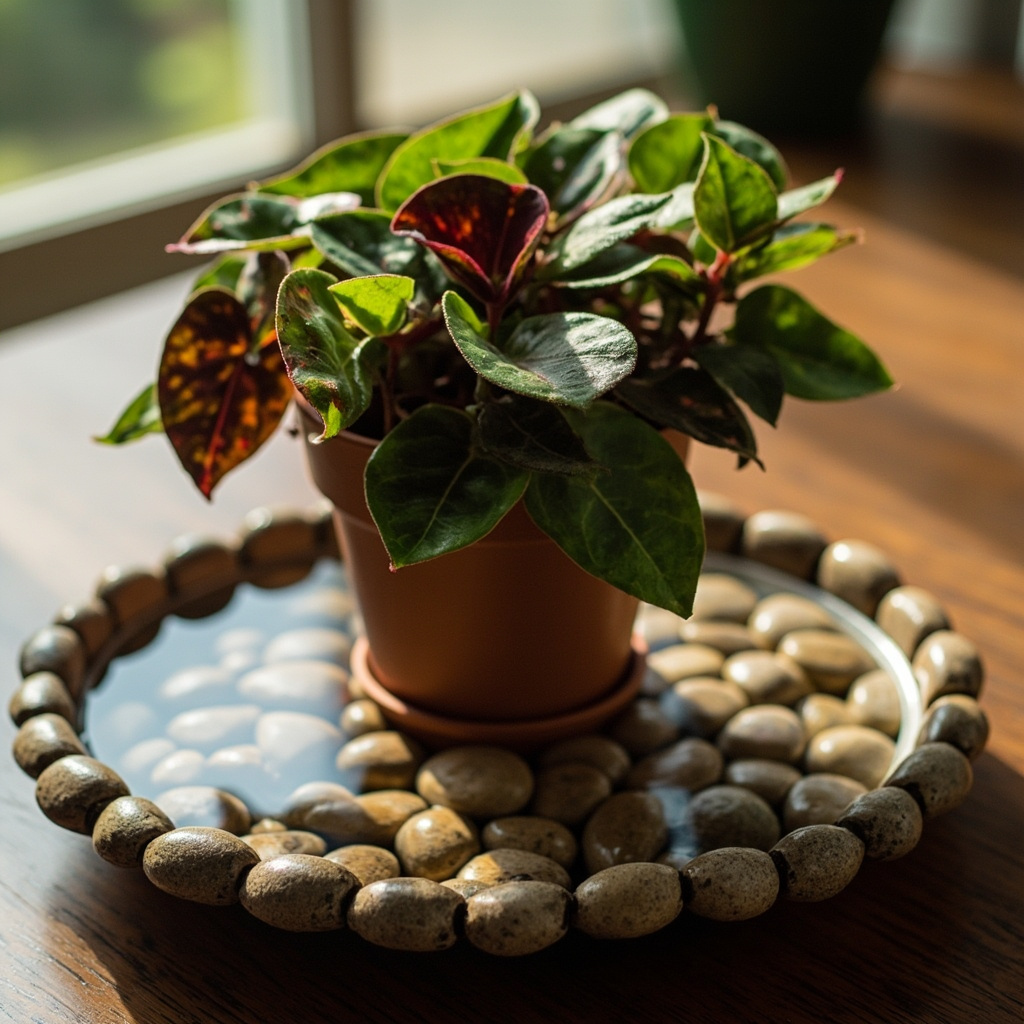
Step 2: Stick your finger in the soil up to the second knuckle. If the soil sticks to your finger and looks dark, it is wet. If it feels cool and barely damp, it is time to water. If it is bone-dry all the way down, the plant has been drying out between waterings and the soil has pulled away from the pot wall, which means water is running straight down the sides without wetting the root ball. In that case, bottom-water by setting the pot in a tray of water for 20 minutes and letting the soil wick it up from below. The full watering schedule by species guide has the per-species intervals if you are unsure how often your specific plant should be watered.
Step 3: Smell the soil. A healthy root zone smells like fresh earth or a forest floor after rain. A rotting one smells sour, swampy, or like a backed-up drain. If the soil smells off, take the plant out of the pot and look at the roots. Healthy roots are white, cream, or pale tan and feel firm. Rotted roots are brown or black, feel mushy, and may pull away in your hand. Cut off anything rotted with a clean pair of scissors and repot in fresh, well-draining soil. This is the only situation where you should repot a stressed plant. The alternative is losing the root system.
Step 4: Check the light where the plant sits, in foot-candles. Hold a light meter app or a cheap hardware lux meter at the leaf height and read the number. Convert lux to foot-candles by dividing by 10.7. A Sansevieria trifasciata (snake plant) tolerates 25 foot-candles. A Calathea orbifolia needs 150. A Pachira aquatica (money tree) needs 100 to keep its existing leaves. If your plant is in a corner that reads under 25 foot-candles, the yellowing is a light problem, not a water problem, and no amount of watering will fix it.
Step 5: Check the temperature 12 inches behind the curtain at 2 a.m. This is the diagnostic most readers forget, because they only ever feel the room when they are in it. Heating cycles off at night. Windows get cold. The temperature at the leaf can be 15°F lower than the temperature at the thermostat. If the plant sits within 12 inches of a single-pane window in winter, the leaf temperature can drop below 50°F for hours. The newest leaves yellow first because their cells are the most tender. If your thermometer reads below 55°F at the leaf at 2 a.m., the window is the cause.
Run all five steps. The answer is usually a combination, and the dominant one tells you which of the seven causes is the main one. The next section maps the seven causes to their symptom fingerprints so you can match what you observed. If your plant is on its last few leaves and the diagnostic is not giving you a clear answer, jump to the 7-day rescue plan for an emergency triage.
What Each Cause Looks Like at a Glance
| Cause | Where yellow starts | Speed | Other tell | First move |
|---|---|---|---|---|
| Normal senescence | Oldest bottom leaves, one at a time | Slow (weeks) | Plant otherwise pushing new growth | Leave the leaf. Watch the rest. |
| Light deficit | Oldest leaves, but in a dim room or after a move | Slow (weeks) | Long gaps between nodes, leaning toward the window | Move closer to a window or add a grow light |
| Overwatering | Anywhere, often middle of the plant | Medium (days) | Soil wet, pot heavy, sometimes sour smell | Stop watering. Let the top 2 inches dry. Check drainage. |
| Underwatering | Anywhere, often all at once | Fast (days) | Pot light, soil pulling from the sides, crispy edges | Bottom-water 20 min, then resume normal schedule |
| Nitrogen deficiency | Oldest leaves first, uniform pale yellow | Slow (weeks) | New growth smaller than old growth | Feed with a balanced fertilizer at half strength |
| Temperature shock | Leaves nearest the window or vent | Fast (hours) | Leaf may be soft or translucent before yellowing | Move the plant 2 feet from the window or vent |
| Salt / mineral burn | Tips and edges first, tight pattern | Slow (weeks) | White crust on the soil surface or pot rim | Flush the soil with plain water; leach once a month |
One honest caveat. The seven causes overlap. A plant that is overwatered for a month looks identical to a plant that is light-starved for a month, because both shut down the root transport system. The diagnostic above is the shortest path to the dominant cause, not a complete differential. When two causes match, fix the one you observed in step 1 or step 2 first. The watering question is almost always the place to start. For per-plant specifics, the snake plant yellow leaves, philodendron yellow leaves, alocasia yellow leaves, and monstera common problems pages go deep on each species.
What Actually Works
Stop watering on a schedule. The plant does not know what day it is. It cares whether the soil is wet. Run the finger test in step 2 every 3 to 5 days. In a bright room with a 6-inch pot, that translates to a watering every 7 to 10 days for most tropicals. In a dim corner, the same pot can stretch to 14 days. The number does not matter. The soil moisture does.
Water thoroughly when you do water. Pour until water runs out the drainage hole at the bottom of the pot. This flushes salts and mineral buildup from the root zone. If you only add a quarter cup at a time, the salts accumulate in the top layer of soil and burn the roots closest to the surface. That is why the bottom leaves yellow first in salt-burned plants. The top of the soil is the saltiest layer. The bottom of the soil is the least.
Move the plant to the right light. Each species has a foot-candle range, and the cheap light meter apps on a phone are accurate to within 20% for the purpose of “is this enough.” For Chlorophytum comosum (spider plant), the minimum is 50 foot-candles. For Calathea orbifolia, the minimum is 150. For most other tropicals, the 100-foot-candle floor catches the 80% case. If your meter reads under that and the plant has been there for months, the yellowing is the light telling you so. Move the plant or add a grow light. Do not move it suddenly into direct sun, because the leaf will sunburn. Move it 3 feet closer to a window and let it adjust for two weeks.
Flush salt buildup once a month if you fertilize. Pour plain water through the pot at twice the volume of the pot, let it drain, and repeat once. This leaches the accumulated fertilizer salts out of the root zone. If you see a white crust on the soil surface or the rim of a terra cotta pot, the salt is already concentrating. Flushing fixes that within one cycle.
Repot only when the plant is healthy and the roots have circled the pot, or when the soil has gone hydrophobic and will not absorb water. Otherwise, do not repot a yellowing plant. Repotting adds root stress on top of whatever stress the plant is already under. The exception is confirmed root rot from step 3. In that case, the alternative is losing the root system, so the trade-off is worth it.
Common Mistakes
Treating yellowing as a single problem is the first mistake. The seven causes need different fixes, and the leaf cannot tell you which one. The diagnostic above is what tells you. Without it, the moves that follow are guesses, and guesses on a stressed plant compound the stress.
The second most common mistake is adding fertilizer to a struggling plant. Yellowing looks like nutrient deficiency, and the move that follows is to add fertilizer. If the roots are suffocating from overwatering, the fertilizer salts sit in the soil and burn the roots further. If the plant is light-starved, it cannot use the nutrients even if it could absorb them. Fertilizer is for healthy, growing plants. A yellowing plant is a plant telling you to stop and check the basics first.
The third mistake is moving the plant to a darker spot because you read somewhere that the species “likes shade.” Most houseplants are sold as low-light plants because they survive low light. Surviving is not thriving. A Sansevieria trifasciata will sit in a dark corner for a year without dying, but it will not push new growth, and the oldest leaves will eventually yellow as the plant cannibalizes them. If your plant is yellowing and the species description says “low light,” the answer is more light, not less.
The fourth mistake is cutting the yellow leaf off the moment it appears. The leaf is still feeding the plant through photosynthesis until it is fully yellow. Cutting it early removes energy the plant needs to push the next leaf. Wait until the leaf is fully yellow and pulls away with a gentle tug, or until it is more than 70% brown. Then cut it at the petiole with a clean pair of scissors.
What the Next Two Weeks Will Tell You
The yellowing will not reverse. Those leaves are gone. What you are watching for is the new growth. If the next leaf that emerges is solid green and the size of the previous healthy leaves, the dominant cause has been fixed. If the new leaf is also yellow, the cause is still there. Diagnose again. Run the five-step test. Adjust one variable at a time. Changing light, water, and fertilizer in the same week makes it impossible to know which move helped and which made things worse.
A healthy tropical houseplant pushes out a new leaf every 4 to 6 weeks during the growing season. In a dim corner, that stretches to every 8 to 10 weeks. If your plant is not pushing new growth at all, the conditions are too far outside the range the plant can tolerate, and the next move is not more water or more fertilizer. The next move is moving the plant somewhere it can actually grow. The pot is not the problem. The room is the problem.
If the yellowing is on a single bottom leaf and the rest of the plant is pushing new growth, you do not have a problem. You have a normal plant. Most tropicals will drop the oldest leaf or two each year as the canopy renews itself. The leaf is not a signal of distress. It is the plant making room for the next one. Watch the rest of the plant. If the rest is fine, the single yellow leaf is the plant talking, not the plant crying.
The yellow leaf is the message. The plant is the answer. Run the five-step test tonight. The next leaf will be different.
Turn That PDF Into a Spreadsheet in Minutes
You've seen how to do it manually — now let the tool handle the heavy lifting. Upload your bank statement and get Excel, CSV, or QBO in a few clicks.
Try It Free