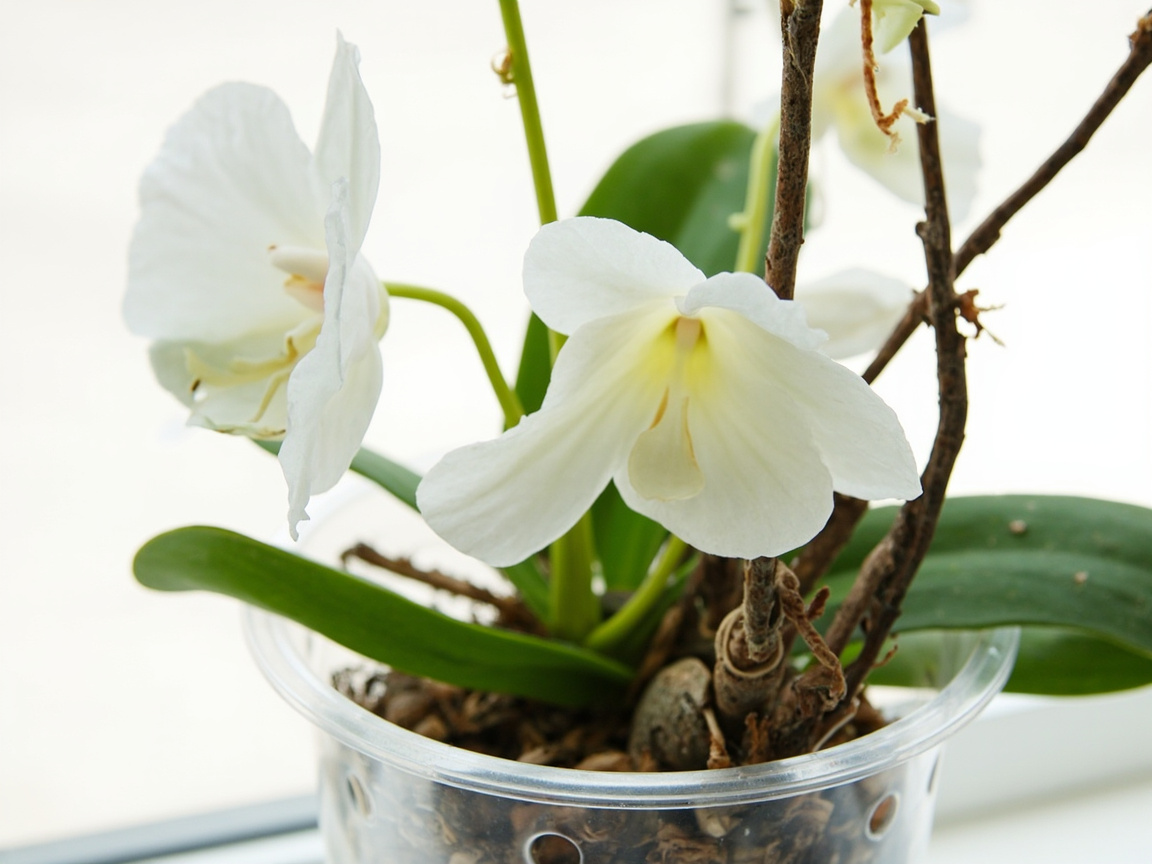
Orchid care for beginners comes down to six decisions — light, water, pot, media, humidity, and feeding — in roughly that order of importance. Get those right, and a Phalaenopsis orchid (the common moth orchid you see in grocery stores and garden centers) can bloom for three to four months at a stretch and rebloom every eight to twelve months for years.
Most beginner orchid problems come from one misunderstanding: an orchid is not a soil plant. Phalaenopsis orchids are epiphytes, which means they evolved to grow on tree bark in tropical forests, with their roots exposed to air and absorbing moisture from humid moving air. When you bring one home and pot it in soil, the roots sit in a dense wet medium they were never built for, and the plant declines within months. Almost every “beginner orchid” problem is a downstream symptom of that one mistake.
The rest of this article walks through the six decisions in order, names the most common beginner mistakes, and closes on the realistic rebloom path. For specific help when a plant is already in trouble, our save a dying orchid guide covers the rescue protocol; for the after-bloom reset, our orchid after bloom care page walks through the spike, the cut, and the rebloom trigger.
What An Orchid Actually Is
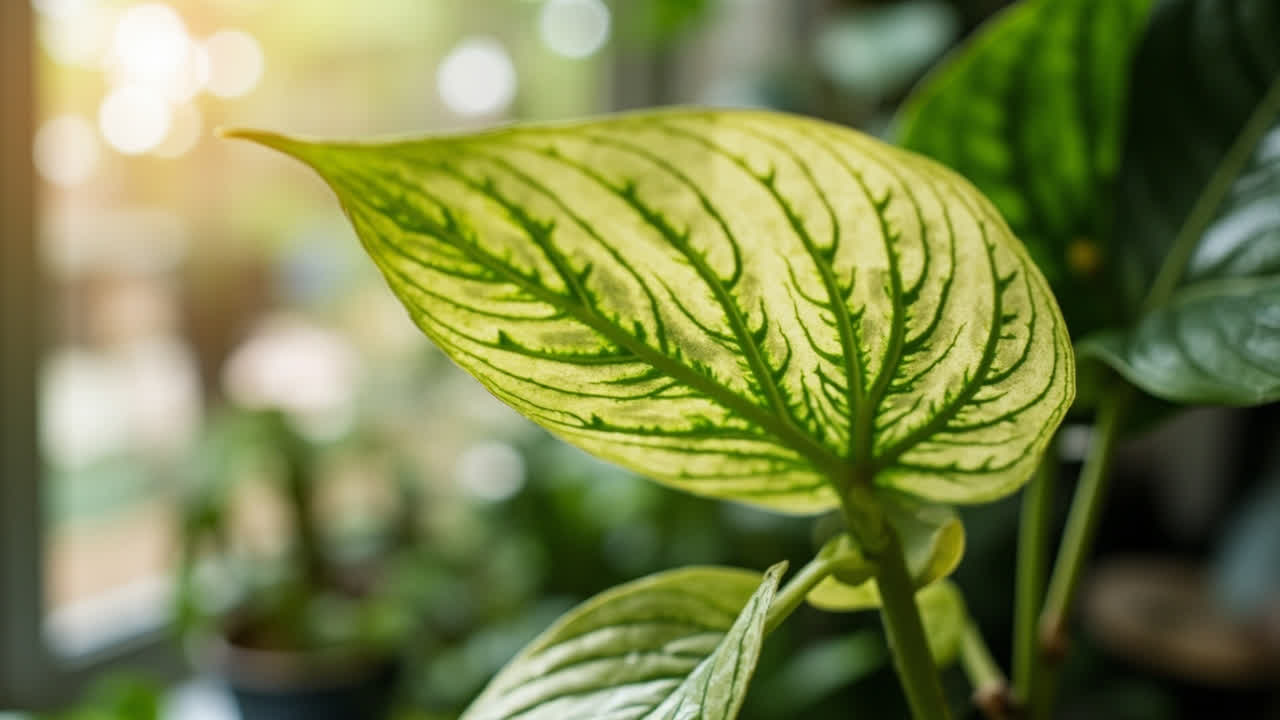
Phalaenopsis orchids are epiphytes native to the tropical forests of Southeast Asia. In their native range, they grow on the bark of trees, with their thick green roots exposed to the air, absorbing moisture from rainfall, humidity, and the moist bark surface. They are not parasites — they take nothing from the tree — they are simply using it as a perch that gets the right light and air movement.
That biology explains almost every orchid care rule. The roots need air as much as they need water, which is why a chunky bark mix and a clear pot with drainage holes beat a soil-filled decorative pot every time. The leaves evolved for dappled tropical light, not full sun, which is why a bright windowsill with indirect light works and a south-facing window with direct sun does not. And the plant’s slow metabolism means overfeeding or overwatering shows up as root rot within weeks, while a missed watering is barely noticed.
Reframing the orchid as a tropical air-plant rather than a soil plant is the single biggest shift in beginner orchid care. Once you make that shift, the six decisions below fall into place.
Decision 1: The Right Light
An orchid needs bright, indirect light — the kind of light a few feet back from a bright east, west, or south window, or right in front of a north-facing window in summer. Direct sun on the leaves burns them within a few days, and a dim corner produces leaves but no flowers. The sweet spot is enough light to read a book by comfortably at midday without direct sun on the foliage.
An east-facing window with a sheer curtain is the ideal placement for most homes. A south- or west-facing window works if the plant sits five to eight feet back from the glass, or if the light is filtered through a sheer curtain. A north-facing window is usually too dim in winter but works in summer. The signal that light is right is dark green leaves and, in season, a flower spike emerging from between the leaves.
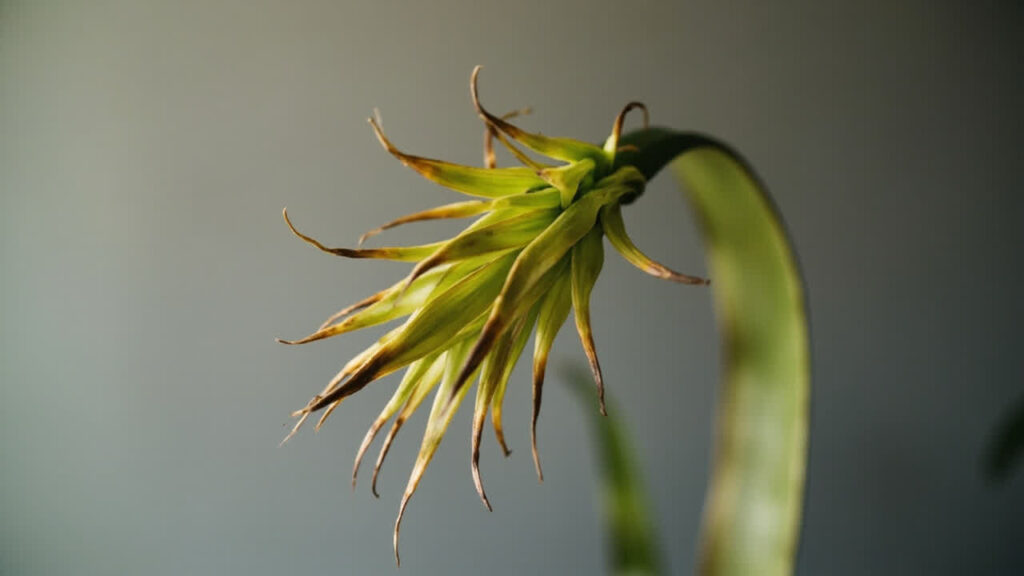
The visual signs of too little light are dark green leaves and no blooms for more than a year. The visual signs of too much light are pale, yellowing leaves, sometimes with brown sunburn patches. The full orchid light requirements guide walks through room-by-room placement and the seasonal light shift in northern homes.
Decision 2: The Right Water Rhythm
The single most common beginner orchid mistake is overwatering. Phalaenopsis orchids want to dry out between waterings, and the easiest way to kill one is to keep the bark mix damp all the time. The rule is to water once a week, then let the bark approach dryness before the next watering. In a normal indoor environment with bright indirect light, this works out to watering every seven to ten days during active growth, and slightly less often in winter.
The right watering procedure is to soak the bark thoroughly and then let it drain:
- Take the orchid to a sink, lift the inner nursery pot out of the cachepot, and run room-temperature water through the bark for 30 to 60 seconds.
- Let the pot drain fully for two to three minutes, until no more water drips from the bottom.
- Look at the roots through the clear pot — healthy roots are silver when dry and bright green when wet. Silver roots mean the plant is ready to water; bright green roots mean wait.
- Return the pot to the cachepot, making sure no water is sitting at the bottom of the cachepot.
The honest trade-off: the “ice cube” advice you sometimes see is wrong. Ice against tropical roots in a chunky bark mix delivers cold shock and uneven watering, and the practice shortens the plant’s life. Use room-temperature water and the soak-and-drain method instead. The full cadence and the seasonal rhythm are in the orchid watering guide.
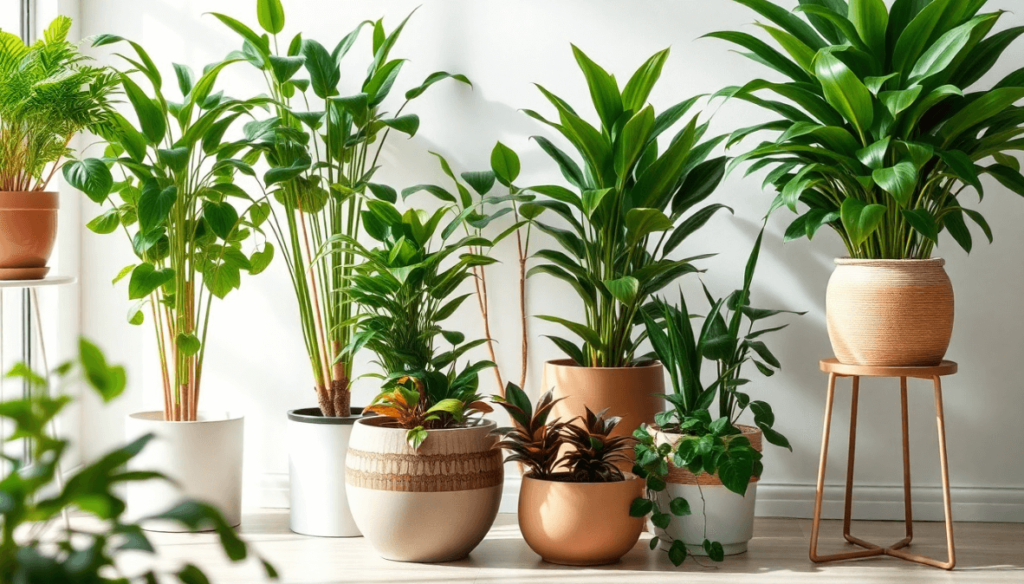
Decision 3: The Right Pot And Media
Two pieces of equipment matter more than any other. The first is a clear plastic nursery pot with multiple drainage holes. The clear sides let you see the roots and the moisture level of the bark — that visual feedback is what tells you when to water. The drainage holes prevent the bark from sitting in standing water, which is what kills most beginner orchids.
The second is a chunky bark mix, not potting soil. Orchid bark is pine or fir bark cut into small chunks, sometimes with perlite or charcoal mixed in. It holds a little moisture around the roots but drains fast and keeps air pockets open, which is exactly what epiphyte roots evolved for. Sphagnum moss is the other common option; it holds more water and is a better choice for very dry homes, but it also goes wrong faster because it stays wet longer than bark.
A decorative cachepot over the nursery pot is fine and is how most orchids ship from the store. The rule is to lift the inner nursery pot out for watering, let it drain, then return it to the cachepot. A decorative pot with no drainage and no inner nursery pot is a slow death sentence for the orchid inside. Repotting every 18 to 24 months into fresh bark keeps the medium from breaking down into a soil-like consistency — the full procedure is in the orchid repotting guide.
Decision 4: Humidity And Air Movement
Phalaenopsis orchids prefer 50 to 70 percent relative humidity, which is higher than most homes in winter but achievable with a few simple changes. Grouping plants together, setting the pot on a humidity tray (a shallow tray of pebbles with water below the pot level), and running a small humidifier in the room are the three most effective options. Misting the leaves is a fourth option that helps for a few minutes but does not move the needle on room humidity.
Air movement matters as much as absolute humidity. Stagnant air around the leaves and roots encourages fungal and bacterial problems, which is why a gentle fan or an open window in a non-drafty room makes a real difference. The combination of 50 to 70 percent humidity and gentle air movement is the closest most homes can get to the orchid’s native tropical understory, and it shows up in healthier leaves and longer-lasting blooms.
Decisions 5 And 6: Feeding And The After-Bloom Reset
Orchids are light feeders, and a simple schedule is enough. A dilute balanced orchid fertilizer (or a general houseplant fertilizer at quarter strength) applied once a week with the watering, or once a month at full strength, supports steady growth without burning the roots. Skip feeding entirely in winter when the plant is not actively growing, and resume in spring when new leaves or a flower spike appears.
The after-bloom reset is the part of orchid care that surprises most beginners. When the last flower falls off the spike, the plant enters a rest period. The right move is to leave the spike in place for six to eight weeks — sometimes a secondary spike emerges from a node on the original stem. If no new spike appears, cut the original spike about an inch above the third node from the base to encourage a keiki or a new spike. If the spike has turned brown and dry, cut it back to the base. The full procedure, including when to cut and when to wait, is in the orchid after bloom care guide.
The realistic rebloom timeline is eight to twelve months from the last bloom. A healthy plant will push out a new leaf or two during that window, then send up a fresh spike from the base or from a node on the old spike. The spike grows slowly for two to three months before the buds form, and the flowers last another three to four months once they open.
The Most Common Beginner Mistakes (And What To Do Instead)
Five mistakes account for most beginner orchid deaths:
- Overwatering on a fixed schedule. The bark should approach dryness between waterings. If it is still damp five days after a watering, you are watering too often. For the broader yellow-leaf diagnostic that often signals a watering problem, our orchid yellow leaves guide walks through the causes.
- Ice cubes in the pot. Cold water against tropical roots shocks the plant. Use room-temperature water and the soak-and-drain method.
- Decorative pot with no drainage and no inner nursery pot. Standing water at the bottom of the pot rots the roots within weeks. Always use a clear nursery pot with drainage holes, with the cachepot as a sleeve.
- No light, or direct hot sun. A dim corner produces leaves but no flowers; direct sun burns the leaves. The sweet spot is bright indirect light from an east window or a south window with a sheer curtain.
- The “still in bloom, don’t touch” trap. Most beginners leave the orchid in its original pot and bark for years. Repotting every 18 to 24 months into fresh bark is the single biggest upgrade to long-term plant health.
None of these are complicated fixes. They are decisions made once at the start that compound into years of healthy growth.
The Rebloom Path: What To Expect
A Phalaenopsis orchid that has finished blooming is not a dead orchid. It is resting. The leaves should stay green and firm through the rest period, the roots should stay silver-to-green depending on the watering cycle, and the plant should push out a new leaf or two from the crown. If those things are happening, the plant is healthy and working on the next bloom cycle.
The honest expectation: the rebloom takes eight to twelve months, the spike grows slowly for two to three months before the buds appear, and the flowers last three to four months once they open. Some plants rebloom on the original spike from a node, which shortens the timeline to four to six months. The right maintenance between blooms is the same six decisions as during bloom — light, water, pot, media, humidity, feeding — held consistently across the year.
Done right, a Phalaenopsis orchid can live and rebloom for ten years or more in the same clear nursery pot, with the bark replaced every couple of years and the spike cut back at the right moment. The plant is not fragile; it just has different rules than a typical houseplant, and once those rules are in place, the orchid is one of the longer-lasting flowering plants a beginner can grow.