
Your Monstera looked magnificent a month ago. Big fenestrated leaves, strong aerial roots, growing fast. Now the newest leaf is coming in smaller than the last one, a few of the lower leaves are yellowing, and you’re wondering if it needs more light. It’s probably root rot.
Monstera deliciosa is more tolerant than most people assume — it handles low light, irregular watering, and average humidity better than many tropical houseplants. But it has one genuine vulnerability: root rot from overwatering or poor drainage, and it progresses fast enough that by the time symptoms appear above the soil, significant damage has already been done underground. For the full care baseline, monstera care guide has everything in one place.
Why Monstera Develops Root Rot
Monstera are native to Central American tropical forests, where they grow as climbing epiphytes in loose, fast-draining forest debris. Their roots are adapted to being moist but aerated — constantly exposed to oxygen-rich air pockets in the loose substrate. When planted in standard potting soil, the roots can suffocate if the soil stays saturated for more than a few days.
The problem is compounded by the plant’s size. A mature Monstera in a large pot holds a lot of soil, and that soil holds a lot of water. Large pots dry out much more slowly than small ones, particularly in low light conditions. A Monstera that dries out every 10 days in a 6-inch pot might take 3-4 weeks to dry the same soil mix in a 14-inch pot. If your Monstera needs repotting, the repotting guide covers the correct timing and pot sizing.
The Overwatering Trap
Most Monstera root rot cases start with a well-intentioned watering schedule applied uniformly regardless of the plant’s actual needs. Monstera in bright indirect light need more water than the same plant in low light. A Monstera in summer needs more than the same plant in winter. Watering purely by calendar — every week, every 10 days — is how healthy Monstera plants develop root rot.
The fix is simple: water only when the top 2 inches of soil are dry, and empty the saucer within 30 minutes of watering.
How to Identify Root Rot in Monstera
The Early Signs
The first signal is soil that stays damp for more than two weeks after watering. If the soil surface looks dry but the soil 2 inches down still feels damp, the plant is not ready to be watered — and the roots have probably been sitting in moisture for longer than is healthy.
Leaf signs come next: yellowing of the lower leaves, particularly multiple leaves at once, is a common early warning. The yellowing starts at the edges and moves inward. The newest leaf may also come in with yellow edges or a generally duller appearance than previous leaves.
The Advanced Signs
When root rot has progressed significantly, the stems near the base become soft and dark. The plant may start to lean or tip. The aerial roots that are normally firm and green become brown and mushy at the base. The smell of decay from the soil is unmistakable once you’ve encountered it.
If the plant topples at the soil line and the base of the main stem feels soft, the root rot has reached the main stem itself — at this stage, recovery is much more difficult but still possible if you act immediately.
The Root Inspection
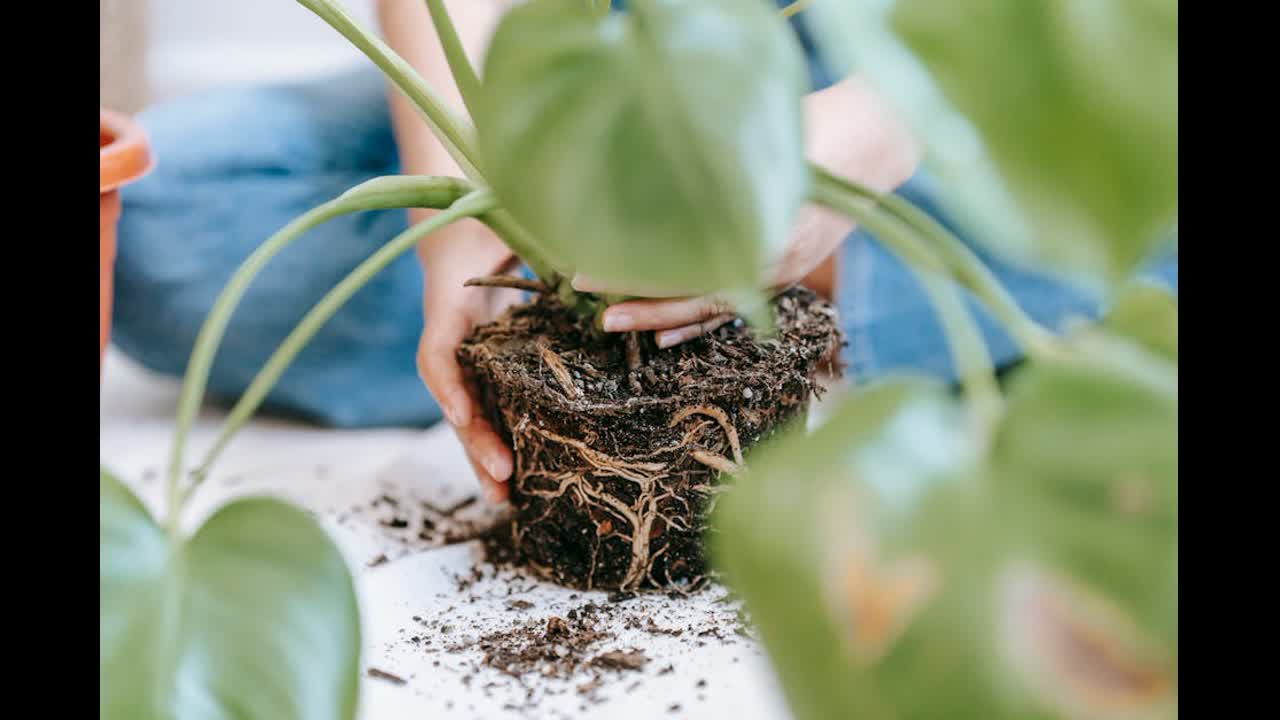
The only reliable diagnosis is looking at the roots directly. Tip the plant out of its pot and examine the root ball. Healthy Monstera roots are thick, white to tan, and firm. They should snap rather than bend when tugged gently. Dark, mushy, slimy roots that collapse when touched are rot.
If only the fine feeder roots are affected, the main structural roots are firm, and the base of the stems is solid — the plant has a good recovery prognosis. If the main roots are soft and the stem base is compromised, recovery is more difficult.
How to Treat Root Rot in Monstera
Step 1: Remove and Rinse
Take the Monstera out of its pot. Shake off all the soil — this soil is now harboring the anaerobic bacteria that caused the problem. Rinse the roots with clean water so you can see exactly what the root system looks like.
Step 2: Cut Away Damaged Roots
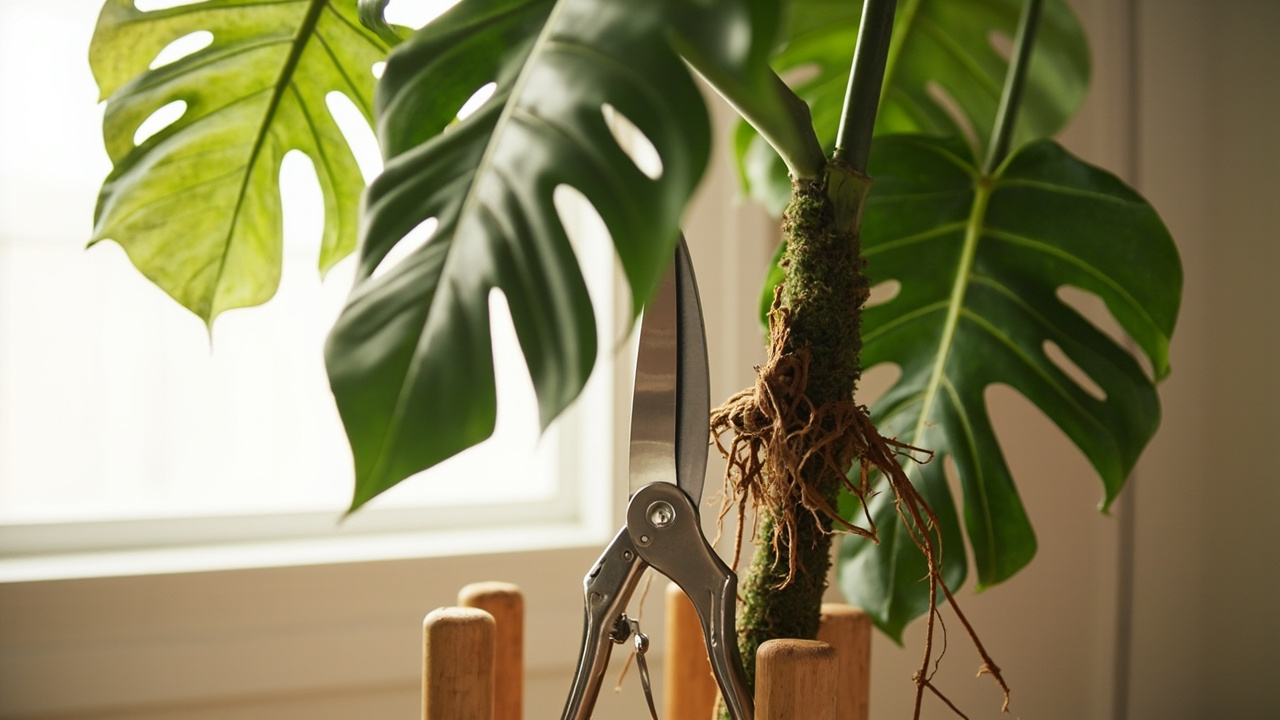
With sharp, clean scissors or pruning shears, remove all dark, mushy, or slimy roots. Work systematically: identify the firm white roots you want to keep, and cut everything else away. Healthy roots should be firm and white to tan. They should feel like they have some body to them.
Step 3: Let Roots Air Dry
Set the plant on a dry surface and let the roots air dry for 24-48 hours. The cut root ends need to callous over before you repot. Without this step, the cut tissue will immediately begin to rot in fresh soil.
Step 4: Repot in Fast-Draining Mix
Use fresh fast-draining soil — never reuse old soil. A suitable Monstera mix: 60% potting soil, 25% perlite, and 15% bark or coco coir. The perlite and bark create the aeration the roots need. Use a clean pot with large drainage holes, only slightly larger than the remaining root system.
Plant at the same depth it was previously. Water lightly once after potting, then do not water again until the top 2 inches of soil are completely dry.
Step 5: Post-Treatment Care
Place in bright indirect light — not direct sun while recovering. Reduce watering frequency below what you were using before. Do not fertilize for at least 6-8 weeks. Resume at half strength once new growth appears — the unfurling of a new leaf at the top is the signal that the roots have successfully re-established.
Preventing Root Rot in Monstera
Root rot is one of six common Monstera diseases. The Monstera diseases guide covers the rest — bacterial and fungal leaf spot, rust, mosaic virus, and powdery mildew. Winter is the highest-risk season for overwatering; the winter care guide explains the watering adjustment. And if you are also seeing fungus gnats, they lay eggs in the same moist soil that triggers root rot.
The core habit: check the soil before watering, every single time. Push your finger into the soil up to the second knuckle. If it feels damp at any point, wait. If it feels completely dry throughout, water thoroughly until it flows from the drainage holes. For the complete watering protocol, the monstera problems guide covers diagnosis in full.
Seasonal adjustment is critical. Monstera use significantly less water from November through February. Reduce watering frequency by 30-50% in winter even if the soil seems to dry at the same rate — the plant’s metabolic rate has slowed and it needs less.
Pot size matters more than most people realize. A Monstera in a pot 2 inches larger than its root system dries out faster and more evenly than one in a pot that’s significantly oversized. When in doubt, go with the smaller pot.
From Bank Statement to QuickBooks-Ready File
That manual cleanup you just read about? This tool skips it. Turn your PDF into QBO for QuickBooks without storing your data anywhere.
Start Converting