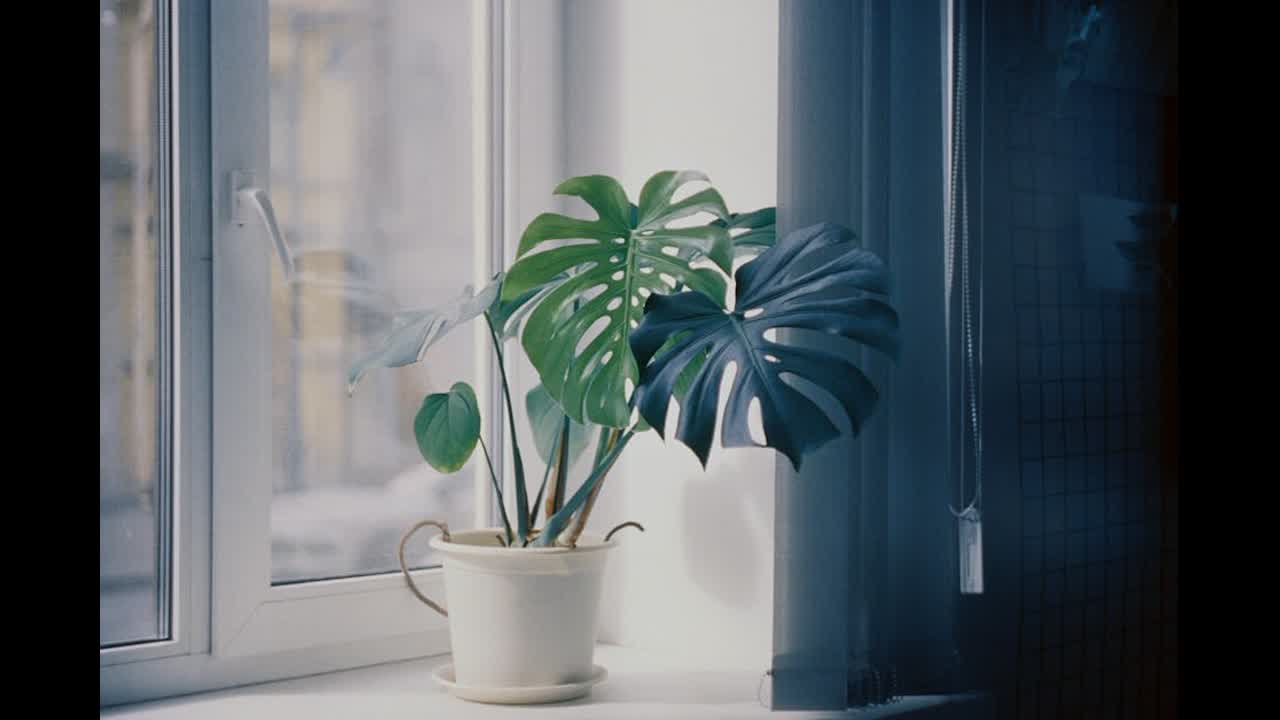
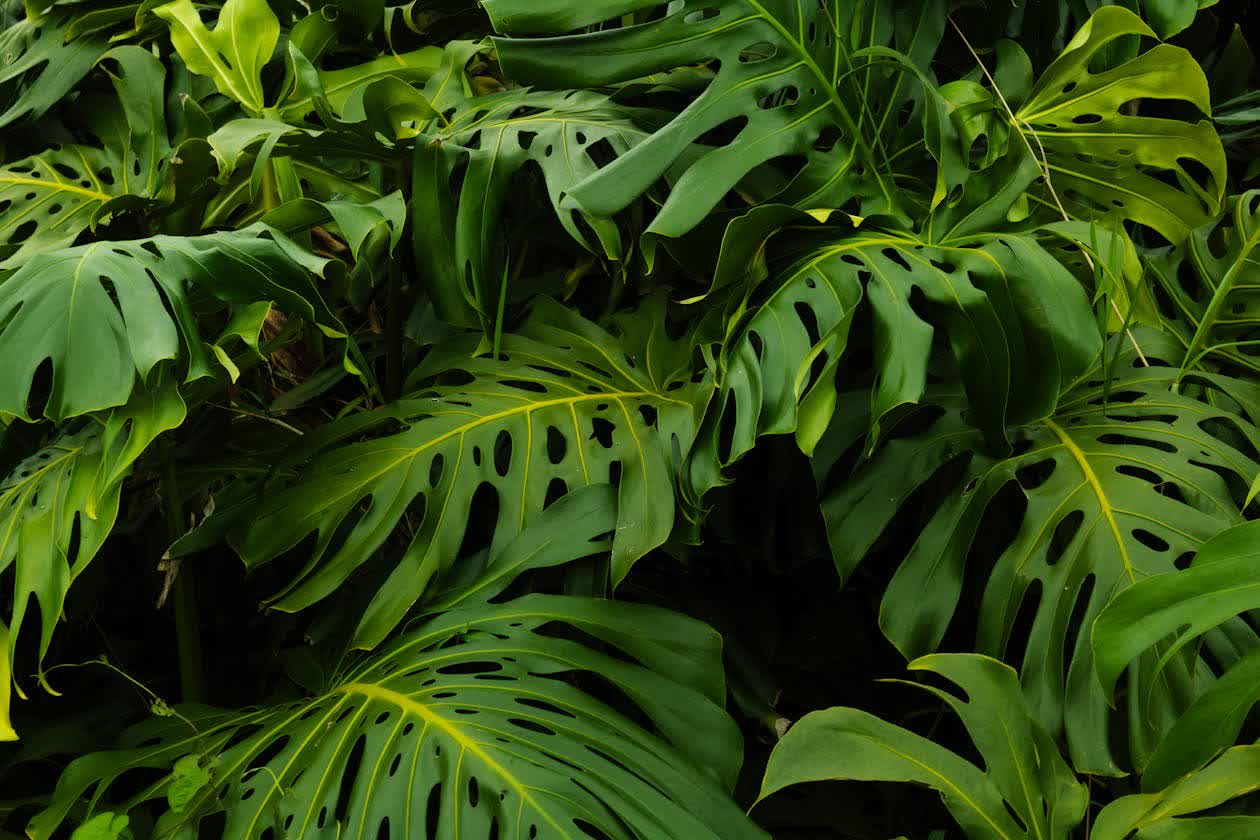
Repotting a Monstera correctly — at the right time, with the right pot, in the right soil — accelerates growth and keeps the plant healthy. Repotting incorrectly — too early, in too large a pot, or with the wrong soil — causes problems that can take months to resolve. Understanding when and how to repot is one of the most important skills for growing Monstera successfully.
When to Repot
Monstera should be repotted every two years in spring or early summer, moving up one pot size — roughly 2 inches larger in diameter. The best time is when the plant is entering its active growth phase, so it can recover quickly and make productive use of the new soil and additional root space.
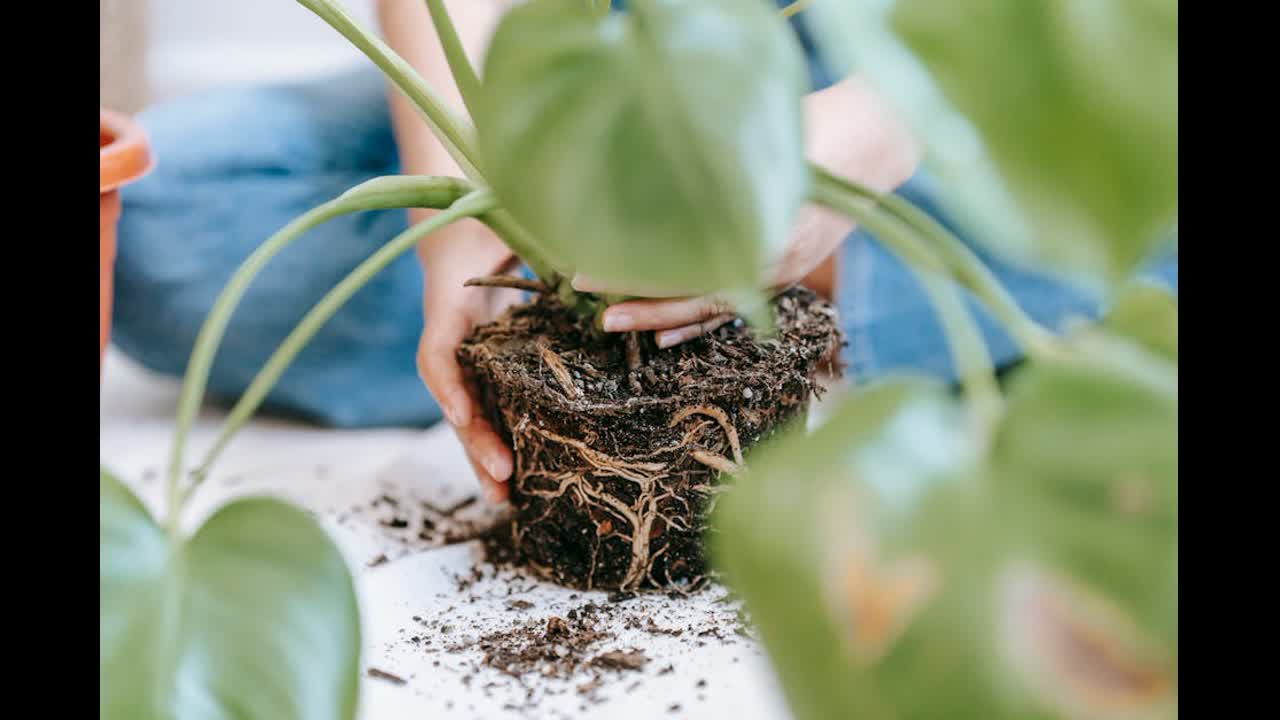
The signs that a Monstera needs repotting: roots are visibly coiling at the surface or emerging from the drainage hole, the plant is growing more slowly than it used to despite good conditions, the soil dries out very quickly after watering, or the pot is physically unstable because the plant is top-heavy and the root ball has filled the pot.
Do not repot a Monstera that is already in a large pot — 10 inches or more — unless absolutely necessary. Large pots hold more soil, which stays wet longer and increases root rot risk. A Monstera in a 10-inch pot may only need repotting every three to four years even if roots are visible, because the existing soil volume is sufficient to sustain the plant.
The Right Pot
Terracotta or ceramic pots with drainage holes are preferable to plastic. Terracotta allows the soil to breathe and dries faster, reducing overwatering risk. Plastic retains moisture longer, which is helpful in very dry conditions but increases risk if you are prone to overwatering. Whatever material you choose, ensure there is at least one drainage hole.
Going up more than one pot size is a mistake. Excess soil holds water for weeks in a large pot, and the root system — which is relatively shallow in Monstera — cannot access the moisture in the lower parts of the soil. The result is the top layer drying while the bottom stays wet, leading to inconsistent moisture and root rot. Size up only when the existing pot is genuinely too small.
The Right Soil
Use a well-draining potting mix — standard all-purpose potting mix amended with perlite and orchid bark works well. A ratio of roughly three parts potting mix, one part perlite, one part orchid bark gives excellent drainage while retaining enough moisture for healthy root function. Commercial aroid mix is also suitable.
The mix must drain freely. If water sits on the surface of the soil after watering rather than draining within a few seconds, the mix is too heavy. Add perlite to improve drainage before repotting.
Repotting Process
Water the plant a day before repotting so the soil is moist but not waterlogged — a damp root ball holds together better than a dry one. Remove the plant from its pot by turning it upside down and supporting the stem and leaves with one hand while working the pot off with the other. If the pot is stuck, run a clean knife around the inside edge.
Place the plant in the new pot at the same depth it was in the old one — do not bury the stems deeper than they were growing. Fill around the root ball with fresh soil, firming gently to eliminate large air pockets. Water thoroughly after repotting and place in the same position as before — do not move the plant to a different position at the same time as repotting.
After Repotting
A few weeks after repotting is a good moment to assess the overall shape of the plant. The pruning guide covers the four pruning decisions for a Monstera — stems, leaves, aerial roots, and damaged growth. If the plant was overwatered before the repot, also see the root rot guide, which has a different post-repot protocol.
Do not fertilize for at least two months after repotting — the fresh soil contains sufficient nutrients for the initial establishment period, and adding fertilizer increases the risk of root burn in the post-repotting stress period. Keep the soil consistently moist for the first three to four weeks as the plant recovers and regrows roots into the new soil. New growth at the top of the plant — usually visible within four to six weeks — is the first sign that the plant has established in its new pot.
Turn That PDF Into a Spreadsheet in Minutes
You've seen how to do it manually — now let the tool handle the heavy lifting. Upload your bank statement and get Excel, CSV, or QBO in a few clicks.
Try It Free