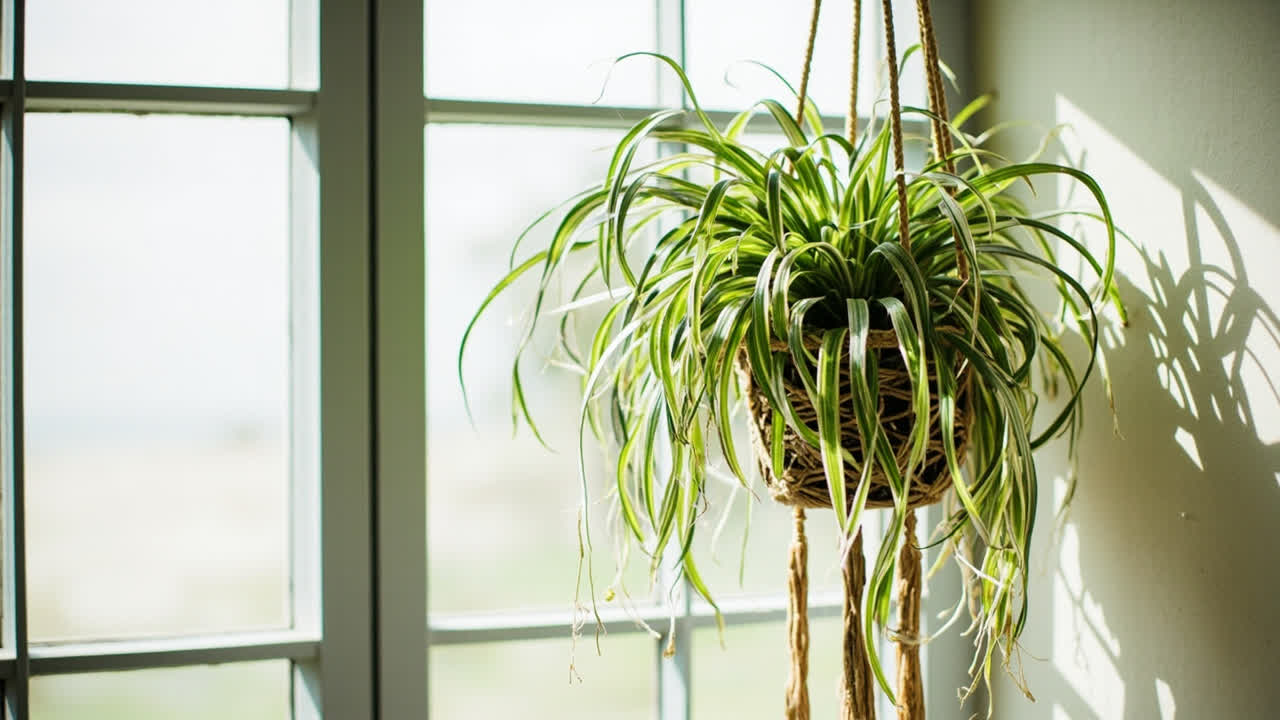
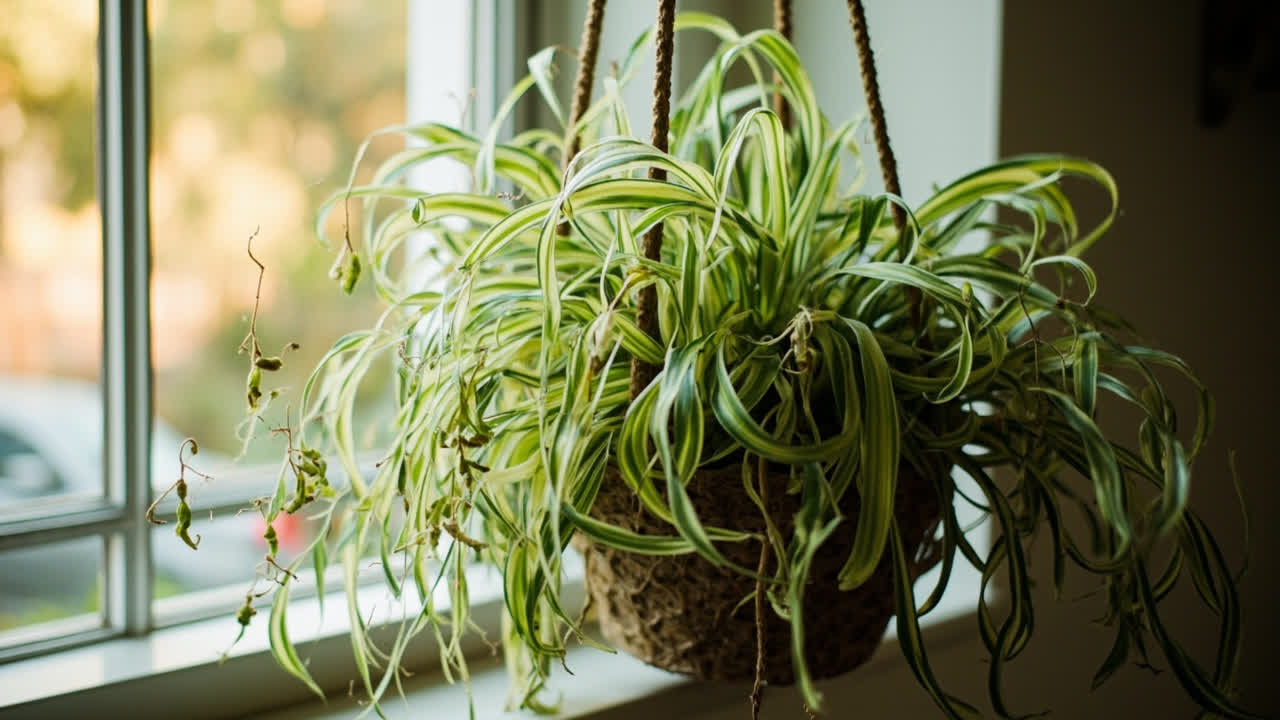
Spider plants root equally well in water or soil, and the choice between the two methods depends on what you want from the propagation process. Both work reliably; neither is clearly better. Understanding what each method offers helps you decide which to use for your situation.
Water Propagation
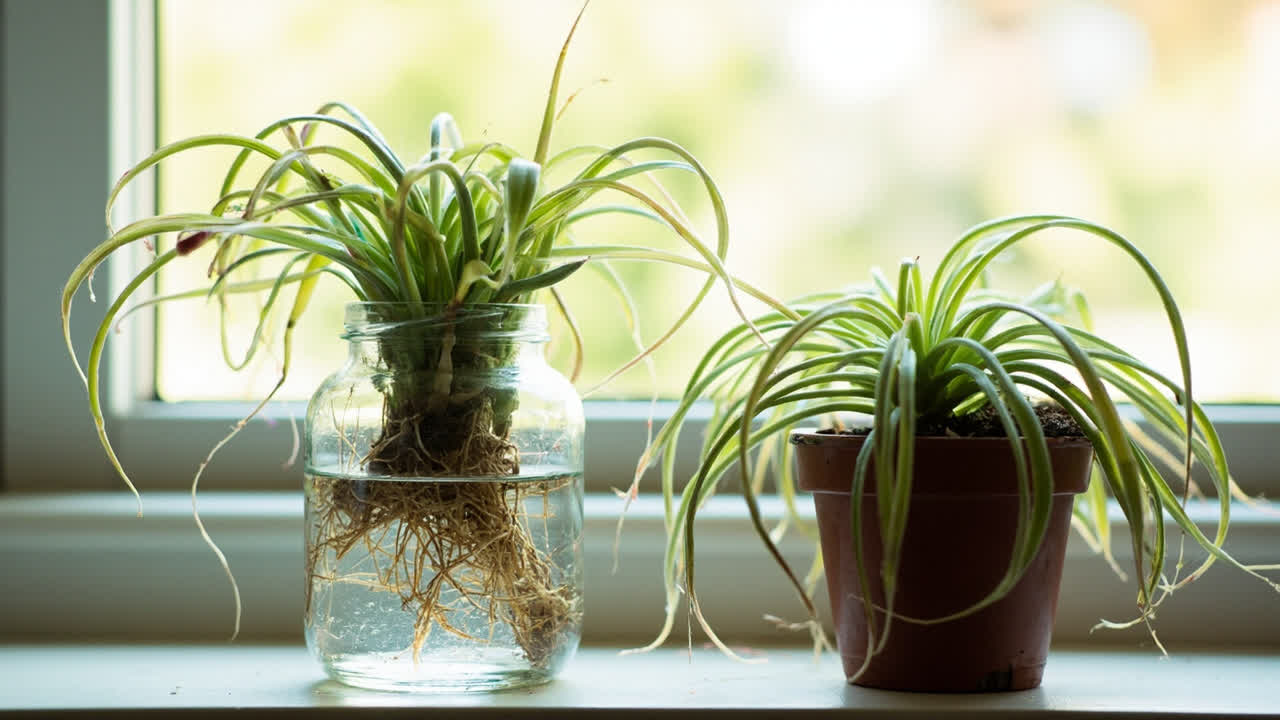
Water propagation lets you watch the roots grow — this is the main advantage. You can see exactly when roots appear, how long they are, and when the cutting is ready to pot. This visibility makes water propagation the more popular choice, particularly for beginners who want the reassurance of being able to see what is happening. If your tap water carries chlorine or fluoride, those compounds can slow root development — understanding your water quality matters more than most guides admit.
To propagate in water: place a spiderette with visible root nubs in a clean glass of room-temperature water, ensuring the root nubs are submerged but the leaves are above the waterline. Change the water every three to four days. Roots appear within two to three weeks. Transfer to soil when roots are at least 2 inches long.
The transfer from water to soil is the critical moment. A cutting with roots under 2 inches is likely to struggle in soil because the root system is not yet substantial enough to absorb water in the different medium. If you leave a rooted cutting in stagnant water too long, root rot can develop even on a healthy spiderette. The leaves may wilt and the plant may look stressed for a week or two before establishing. This is normal and expected — not a failure of the method.
Water propagation is slower in the rooting phase than soil propagation — soil roots develop faster — but the total time to a potted plant is similar because the soil transfer phase for water-propagated cuttings is longer than for soil-propagated ones.
Soil Propagation
Soil propagation produces roots more quickly in the initial phase because the roots grow directly into their final medium rather than adapting from water to soil. A spiderette inserted into damp potting mix develops a root system in the soil faster than one rooting in water — typically four to six weeks versus three to four weeks for water propagation.
To propagate in soil: prepare a 3–4 inch pot with damp, well-draining potting mix. Cut the spiderette from the parent runner with a short stem attached. Insert the base into the soil so the root nubs are in contact with the mix. Keep the soil consistently moist — not waterlogged — for the first three to four weeks while the roots establish.
You cannot see the roots developing, which means you do not know exactly when the cutting has rooted until you test it. Test by very gently tugging on the leaves — if you feel resistance, roots have established and the cutting is ready. In warm, bright conditions, this takes four to six weeks.
Soil propagation avoids the water-to-soil transfer shock entirely, which means the cutting establishes more quickly once rooted. However, overwatering is more likely during the establishment phase because the soil stays wet longer than a clear glass of water.
Which Method to Choose
Choose water propagation if you want the visual confirmation of root growth, if you are new to propagation and want to see what is happening, or if you are propagating as a teaching exercise where watching roots develop has value.
Choose soil propagation if you want faster establishment once rooted, if you are comfortable not seeing the roots, and if you trust yourself to keep the soil consistently moist without overwatering. Once your cuttings are in soil, our general spider plant care guide covers everything that comes next — light, watering schedule, and feeding.
In practice, most spider plant propagators develop a preference based on their own setup. Some leave spiderettes in water on a kitchen windowsill as a visual display while they root. Others insert spiderettes directly into small pots of soil and place them on a shelf. Both work. The plant does not care which method you choose — it cares that the root nubs are in contact with a moist medium and the cutting is kept in bright, indirect light while rooting. For a full walkthrough of every propagation step, see our complete spider plant propagation guide.
Turn any PDF statement into a clean sheet
Skip the typos and the hours of copying. Our converter handles any bank statement format and outputs Excel, CSV, or QBO for QuickBooks. No file retention, free to try.
Convert your statement