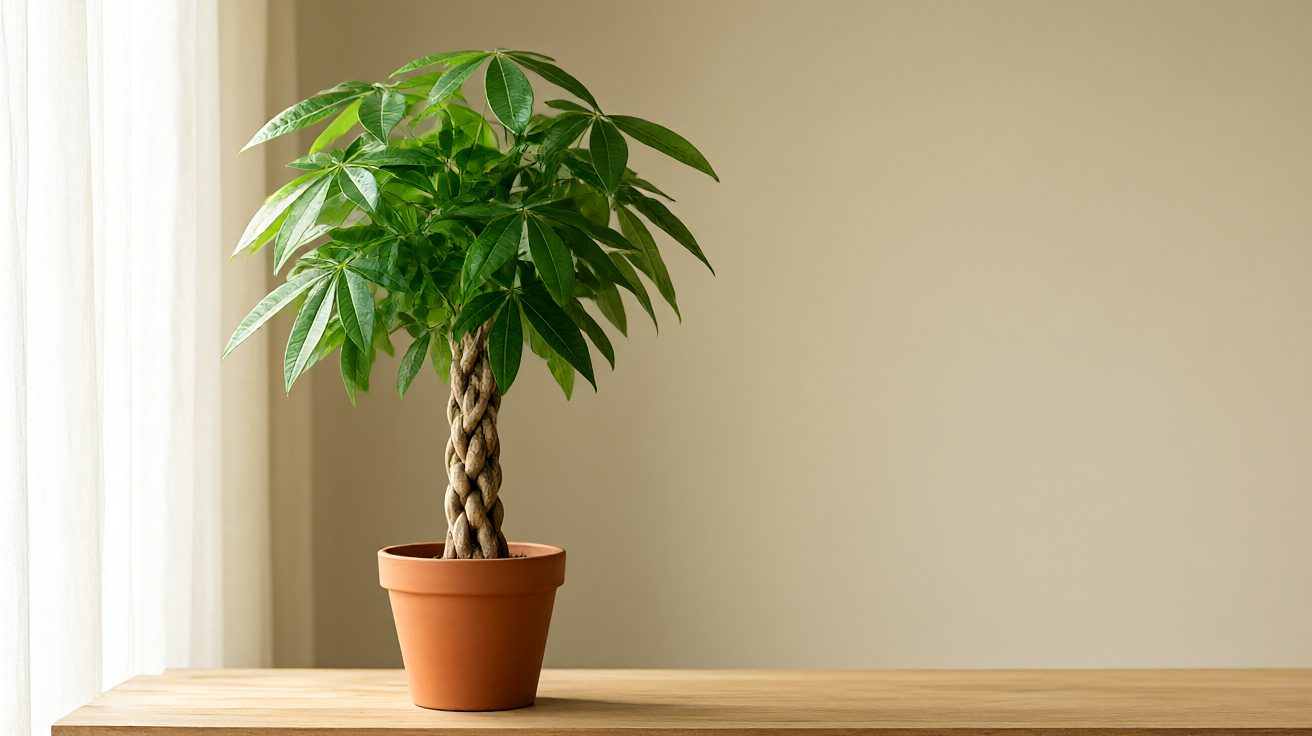

A braided money tree is the same plant as an unbraided one. The braid is cosmetic: three or four seedlings of Pachira aquatica grown close together and plaited while the stems are still soft, then tied until the wood sets. Nothing about the braid changes the light, water, soil, or feeding the plant needs. What changes is that a braided specimen is denser at the base, dries out slightly differently at the soil line, and needs one extra job that an unbraided plant never does: re-braiding the new growth at the top if you want to keep the plait going up. This guide covers braided-specific care only. For the full species requirements, see the money tree care guide.
If you bought the plant because the braid looked tidy, the single most useful fact is this: the braid is optional and reversible. Left alone, the stems grow into a loose cluster of trunks and the plant thrives. Kept braided, it needs a few minutes of attention twice a year. Neither choice is healthier for the plant.
What the Braid Actually Is
Commercial braided money trees are almost never a single plant. They are three to five separate seedlings, usually grown from seed in the same pot, whose stems are plaited together while still flexible. The stems fuse slightly where they touch as the bark thickens, but they remain separate plants with separate root systems sharing one pot. That detail matters for two reasons.
First, a braided plant is not “one trunk that was trained.” It is a small cluster. If one stem dies, the others continue; the braid just looks thinner. Second, because there are multiple root systems in one pot, the soil can hold more water than a single-stem plant of the same pot size would need, which is why braided specimens are slightly more prone to root rot if watered on a single-stem schedule.
Commercially, Pachira aquatica is grown from seed and from cuttings, usually outdoors in warm, humid conditions before being sold as an indoor plant. The species is a rainforest tree from tropical Central and South America, which explains both its taste for humidity and its intolerance of cold, wet soil. The braid is done at the nursery, in the first year or two of growth, while the stems are still soft enough to plait without snapping.
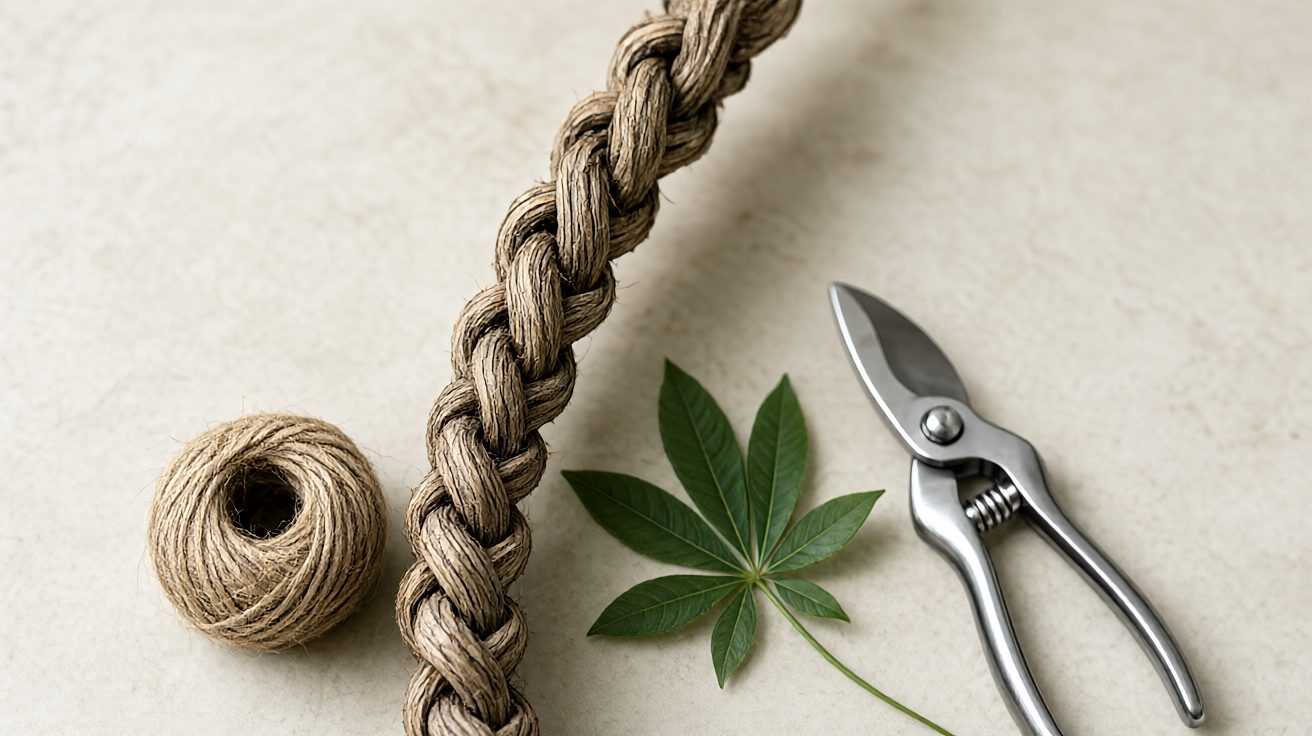
The plait is held with soft ties, usually green garden tape or jute twine, for the first year or two. Once the stems have lignified, the ties can be removed and the braid holds itself. New growth at the top is not braided automatically. If you want the plait to continue upward, you braid the new shoots by hand and tie them until they set.
Light, Water, and Soil: Same as Any Money Tree
The species requirements come first, and they are not complicated. The braided-specific adjustments are listed below.
The braid does not change the species requirements. Bright indirect light, water when the top two to three centimeters of soil are dry, well-draining mix, pot with drainage holes. The full watering and light detail is on the money tree watering requirements and money tree light requirements pages. Two braided-specific notes are worth adding.
Because the stems are clustered, the canopy is denser than on a single-stem plant of the same height. A denser canopy shades its own soil and slows evaporation, so a braided plant in the same spot as an unbraided one needs slightly less frequent watering. Check the soil, do not follow a calendar.

The braid is not what kills most braided plants
It is tempting to blame the plait for whatever goes wrong: yellowing leaves, a collapsed stem, a plant that dies a year after it came home from the shop. The braid is rarely the cause. The three things that actually kill braided Pachira aquatica are overwatering, a pot with no drainage, and a plant placed in a dark corner and left there. Braid-shaped dead plants are almost always root-rot plants that happened to be braided, or plants that were never braided at all but sold in a decorative pot that looked like one.
The one genuine braid-specific risk is friction. Where stems press against each other for years, the bark can scar, and a scar is an entry point for rot if the area stays wet. That is why the monthly inspection below matters more than any fertiliser schedule.
The braid also creates small pockets where stems touch. In humid rooms these pockets stay damp and can develop a thin film of algae or, in worse cases, soft rot at the contact point. Wipe the braid with a dry cloth every month or two and keep air moving around the base. If a contact point goes soft or black, unbind that section and let it dry.
The braided-specific adjustments, in one list
- Water slightly less often. The clustered roots and denser canopy hold moisture longer than a single-stem plant of the same size.
- Check the soil at the braid line, not the surface. The top of the pot dries first while the base stays wet.
- Wipe the braid monthly. Damp pockets between stems are where rot and algae start.
- Keep airflow around the base. A still, humid corner is the worst spot for a braided plant.
- Never leave the pot standing in a saucer of water. More braided plants are killed by the tray than by the plant.
Humidity, Temperature, and Feeding
Same range as the species: 18 to 27 degrees Celsius, 50 percent humidity or higher, feed monthly in spring and summer with a balanced liquid fertilizer at half strength, stop in autumn and winter. The braid does not change any of this. If your plant sits near a radiator, the clustered stems dry out faster at the top than at the soil line, so misting the crown in winter helps, but the roots still need the same watering discipline.
One thing to avoid: do not fertilize a newly purchased braided plant for the first two to three months. Nursery plants are often potted in a rich mix and fed heavily before sale, and adding more on top of that is the fastest way to burn the roots of a plant that is already adjusting to a new room.
How to Re-Braid New Growth
Re-braiding is optional maintenance, and it is the one task that exists only because of the plait. Skip it and nothing bad happens to the plant.
This is the job that makes a braided money tree different from any other houseplant. If you skip it, the plait stops at the height it was when you bought the plant and the new growth grows as an unbraided cluster on top. That is a perfectly valid outcome. If you want the braid to continue, do this once or twice a year.
| Step | Action | Notes |
|---|---|---|
| 1 | Choose three new shoots at the top of the plant that are long enough to bend without snapping, usually 15 to 20 centimeters. | Avoid shoots with flower buds or very young leaves. |
| 2 | Remove leaves from the lower 5 centimeters of each shoot so the stem is bare where it will be plaited. | Keep the leaves at the tips intact. |
| 3 | Fasten the three bases together with soft garden tape or jute twine, snug but not tight. | Never wire or zip ties; they cut into bark. |
| 4 | Plait loosely, alternating stems over one another just like braiding hair, keeping the tension even. | Too tight restricts growth and can snap a stem. |
| 5 | Tie the top of the braid just below the leaf cluster with the same soft material. | Leave a small loop of slack for growth. |
| 6 | Insert a thin bamboo stake beside the braid and tie the braid to it loosely for support. | Remove the stake and ties after three to four months, once the stems have set. |
The short version, if you are doing it in five minutes
- Pick three shoots of similar length with new leaves at the tip.
- Strip the lower 5 centimetres of leaves from each shoot.
- Bind the bases together with soft tape or jute, snug but not tight.
- Plait loosely, alternating stems, keeping the tension even.
- Tie just below the leaf cluster, leaving a small loop of slack.
- Stake alongside for support and undo both in three to four months.
Work in warm conditions, not in a cold room. Cold stems snap. If a stem does snap, do not panic: cut it cleanly and the plant will push a replacement shoot from the base within a few weeks.
Do not re-braid more than the top third of the plant at once. Re-braiding older, woody stems stresses them and can cause bark splitting. The braid you bought is the braid you keep below the new growth; you are only extending it.
When to Unbraid or Repot
Two situations call for undoing the plait. First, if one stem dies and the braid looks lopsided, you can unwind the remaining stems and let them grow as a cluster. The plant does not care. Second, if the braid has become so tight that stems are splitting or bark is cracking, cut the ties, gently separate, and let the plant recover for a season before re-braiding.
Repotting a braided specimen is the same as repotting any money tree, with one extra step. Because there are multiple root systems, the root ball is denser and more tangled. Tease the roots apart gently, trim only dead or circling roots, and pot into a container one size larger with fresh mix. Do not split the plant into separate pots unless you want to: the braid depends on the stems growing together. If you do split them, you get several unbraided money trees, which is a legitimate way to propagate. For the full repotting sequence, see money tree repotting.
Common Problems on Braided Specimens
Most issues on braided plants are the same as on unbraided ones: yellow leaves from overwatering, brown tips from low humidity, leggy growth from low light. The money tree yellow leaves page covers the diagnosis. Three problems are braided-specific.
Most issues on braided plants are the same as on unbraided ones: yellow leaves from overwatering, brown tips from low humidity, leggy growth from low light. The yellowing leaves page covers the diagnosis. Three problems are braided-specific, and they are worth learning to spot early.
- Stem rot at a contact point. The braid creates damp pockets. If a section of stem goes soft, black, or smells sour, unbind it, cut back to healthy tissue with a clean blade, and let the wound dry for a week before re-tying loosely. Dusting the cut with cinnamon is a common home remedy and does no harm, though it is not a substitute for removing the rot.
- Uneven growth. One stem often outgrows the others, making the braid lopsided. Prune the dominant stem back to a node above the braid to force it to branch and match the others. Do this in spring, not winter.
- Roots pushing the stems apart. In an overgrown pot, expanding roots can force the stems outward and loosen the plait. This is a sign to repot, not to re-tie tighter. Tightening ties on a root-bound plant damages the bark.
- Pests hiding in the braid. Mealybugs, scale, and spider mites settle in the sheltered crevices where stems touch, and they are invisible until the leaves yellow. Check the braid with a flashlight every few weeks.
Is a Braided Money Tree More or Less Healthy Than an Unbraided One?
Neither. The braid is cosmetic and does not affect photosynthesis, root health, or longevity. What does affect health is the care, and braided plants are slightly harder to care for well because the dense canopy hides soil moisture and the clustered roots hold more water. A beginner who overwaters will kill a braided plant faster than an unbraided one of the same size, not because the braid is unhealthy but because the warning signs are harder to see.
If you are choosing between a braided and an unbraided plant at the shop, choose based on look, not health. If you already own a braided one and find the maintenance annoying, you can let it grow out unbraided with no loss to the plant. The money tree vs money plant page is useful if you are unsure which plant you actually have, since the braided form is sold under several names.
Braided Money Tree Care: When to Keep, Extend, or Release the Braid
Three decisions cover almost every braided money tree, and each one comes down to what you actually want from the plant.
Keep the braid as it is. If the plait is intact, the stems are firm, and you have no ambition beyond a healthy plant on a shelf, leave it alone. An established braid needs no maintenance beyond the monthly inspection and the standard care every Pachira aquatica gets. This is the lowest-effort option and it costs nothing but attention you were spending anyway.
Extend the braid upwards. If you want the plait to keep growing and you can give it a couple of sessions a year in a warm room, re-braiding new growth is simple enough for most people to learn from the steps above. The one thing to respect is the rule against re-braiding woody old stems: that is where people damage a plant that was perfectly fine.
Release the braid. If the ties have left deep scars, the plait is pulling the stems apart, or the maintenance has simply become a chore you resent, undo it. A braided Pachira aquatica grown open becomes a fuller, bushier plant with a thicker canopy, and nothing about its health depends on the plait. Untying is free, and there is no version of this where releasing the braid is the wrong call.
The care numbers themselves, for reference: bright indirect light; water when the top 2 to 3 centimetres are dry, slightly less often than an unbraided plant; standard well-draining mix; a pot with drainage holes, one size up when repotting; 50 percent humidity or higher; monthly feeding at half strength in spring and summer; re-braiding once or twice a year on new growth only; and a braid inspection every month for soft spots.