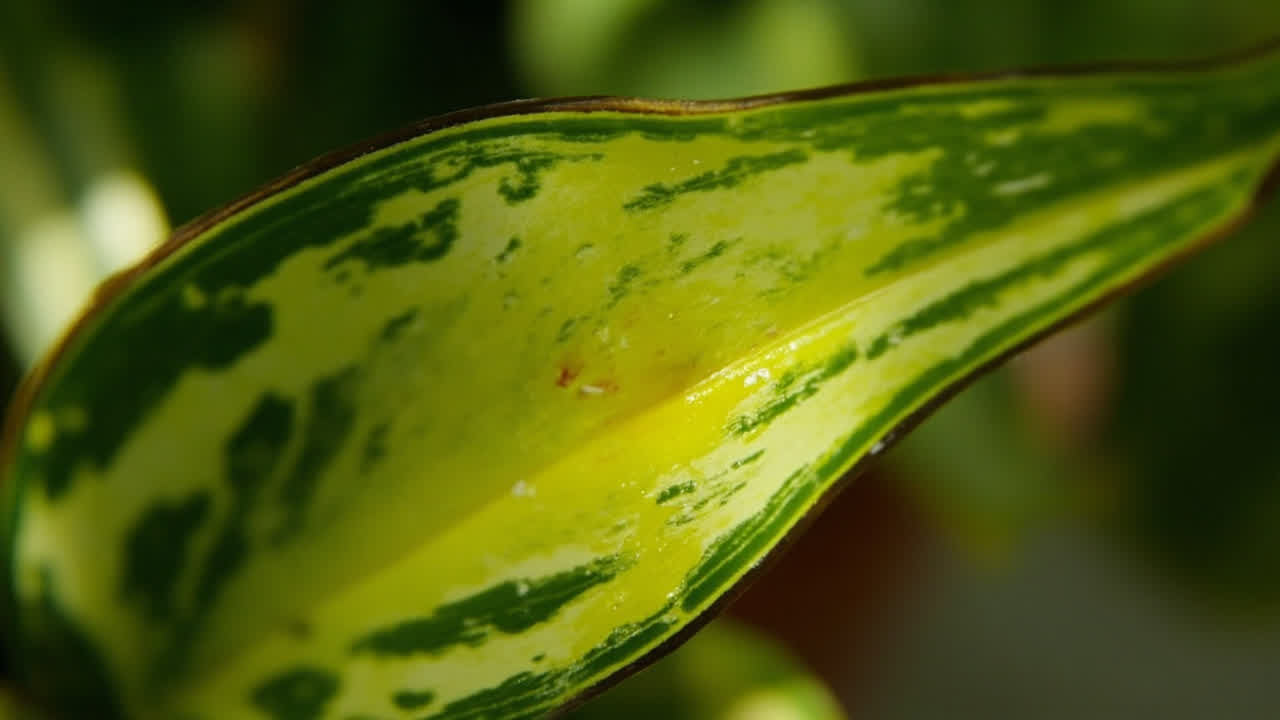
Snake plants — Dracaena trifasciata — are widely recognised as one of the best houseplants for beginners and experienced growers alike.
Snake plants are architectural, easy to care for, and remarkably adaptive to a wide range of conditions. But they are not immune to needing attention, and knowing when and how to repot a snake plant is part of keeping it healthy long-term.
When a Snake Plant Needs Repotting
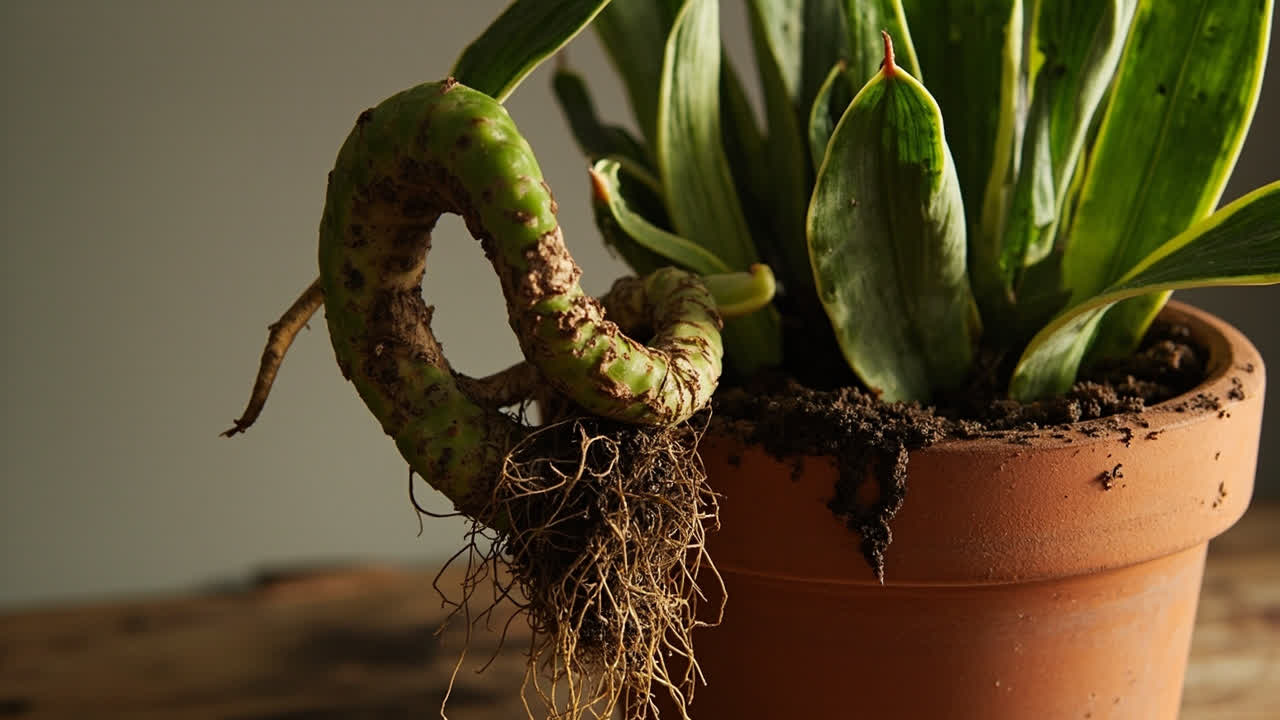
Snake plants grow from a rhizome system that produces new shoots (pups) over time. As the pot fills with multiple shoots and their collective root systems, the plant becomes root-bound. This shows as:
- Roots visible at the soil surface or pushing through drainage holes
- The pot beginning to bulge or crack — a rhizome system under pressure can deform even hard plastic pots
- Water running straight through the pot without being absorbed — the root ball has become so dense that water bypasses the soil
- Growth that has slowed or stopped despite good care in the growing season
Snake plants can stay root-bound for a surprisingly long time — they do not need frequent repotting. In fact, they prefer slightly tight conditions. A healthy snake plant in a pot that still drains properly does not need disturbance just because time has passed.
When to Repot a Snake Plant
Spring and early summer are the ideal time — the plant is entering its active growth phase and will recover from repotting quickly. However, snake plants are forgiving enough that repotting can be done any time of year without serious consequences if the plant is clearly struggling in its current container.
Choosing the Right Pot
Go up one size — roughly 2 to 3 cm larger in diameter than the current pot. A common mistake is repotting into a pot that is far too large. Excess soil holds excess moisture, and for a snake plant, that means root rot. A pot that is only slightly larger than the root ball dries fast enough to keep the roots healthy.
Terra cotta is preferable to plastic for snake plants. Terra cotta is porous — it allows the soil to dry from the sides as well as from the top, which is exactly what a snake plant needs. Plastic pots retain moisture on all surfaces and the soil stays wet longer.
Ensure the pot has at least one large drainage hole. No exceptions.
Soil Mix
Use fast-draining mix: one part quality potting mix, one part perlite or coarse sand. This is not negotiable for snake plants — the mix must drain quickly. Cactus and succulent mix is also suitable without modification.
How to Repot a Snake Plant
Step 1 — Prepare the new pot. Add a layer of the soil mix to the bottom so that when the root ball is placed in, the top of the rhizome sits just below the rim of the pot.
Step 2 — Remove the plant. Tip the pot sideways and slide the plant out. If it is stuck, run a clean knife around the inside edge of the pot. Do not pull by the leaves — support the base.
Step 3 — Examine the roots. Snake plant roots are fleshy, rhizomatous structures that can look quite different from typical plant roots. They are firm, cream to tan coloured, and somewhat thick. Dark, soft, mushy roots indicate rot — trim those away. If you are dividing the plant, now is the time to separate sections.
Step 4 — Position and backfill. Place the plant in the new pot, centred. Pour the soil mix around the sides, pressing gently to firm it in. The rhizome should be at the same depth it was before — do not bury it deeper.
Step 5 — Water once and wait. Water the newly potted plant thoroughly and let it drain. Then leave it alone — no watering again until the soil is completely dry. Newly repotted snake plants need a period of relative dryness to regenerate any damaged roots before being asked to absorb water.
After Repotting
Expect the plant to look slightly wilted for a week or two as it adjusts. This is normal. Do not compensate by watering — the dry period is part of the recovery process. New growth within three to four weeks tells you the plant has established.
For propagation, see the Snake Plant Propagation guide. For general care, see Snake Plant Care guide.
Turn PDF Bank Statements Into Workable Spreadsheets
Your bank statement is a mess of numbers, but your books shouldn't be. Use our converter to get Excel, CSV, or QBO files — ready for QuickBooks.
Try It Free Now