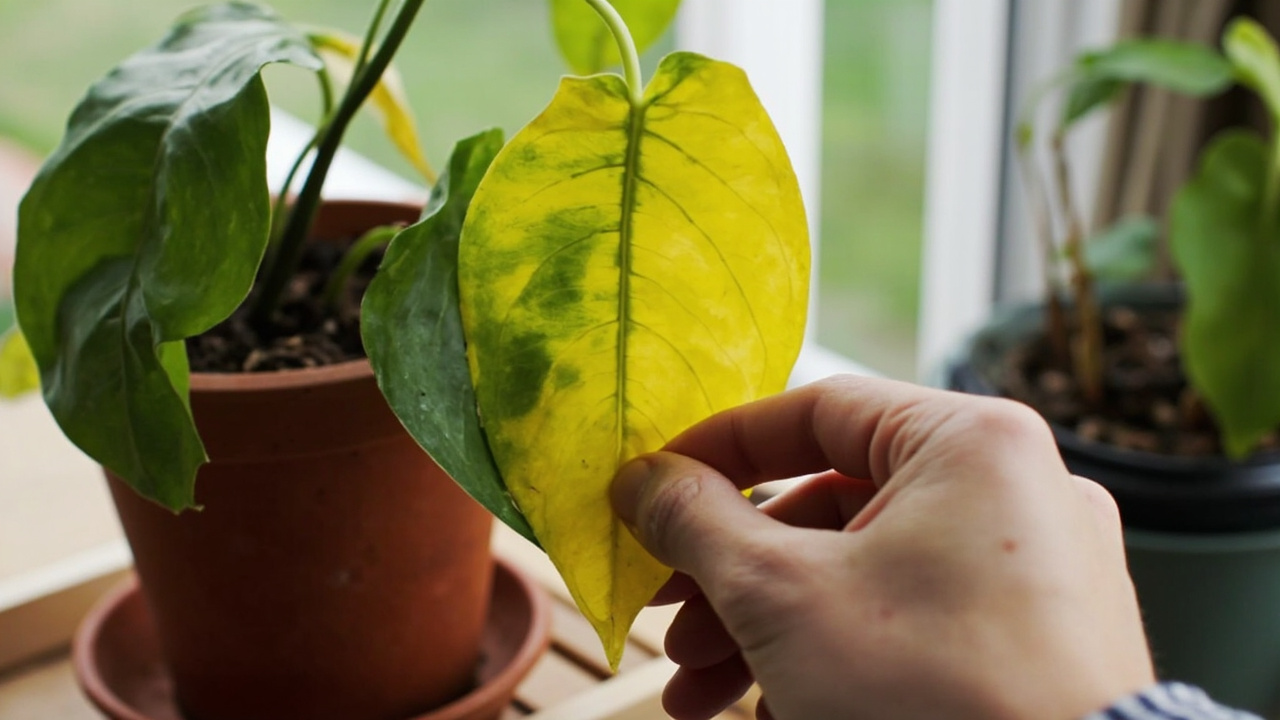

You’ve propagated philodendrons before. You took a cutting, it rooted in water after a few weeks, you planted it in soil, and for a month it looked fine. Then it slowly declined — leaves losing firmness, new growth stalling, eventually the whole cutting collapsed. It wasn’t bad luck. That collapse happens because the cutting rooted in water but wasn’t ready for soil. Most propagation guides skip over this gap entirely.
Philodendron propagation isn’t complicated, but there is one critical distinction that determines success: water roots and soil roots are different. A cutting that pushes water roots within two weeks still needs weeks more to establish the soil roots that actually sustain a plant long-term. Understanding that transition window is what separates successful propagation from the slow failure pattern most people experience.
Why Spring and Summer Give You the Best Odds
Philodendrons are tropical plants that grow actively when temperatures are warm and light is strong. A cutting taken in April or May has the energy reserves to push roots and new leaves simultaneously — the cutting metabolizes, generates new root tissue, and sustains itself through the transition period. A cutting taken in November has to rely almost entirely on stored energy in the stem, which runs out before soil roots can take over.
That doesn’t mean winter propagation is impossible. If you have a philodendron that needs emergency propagation due to root rot or physical damage, propagate immediately. The plant will use whatever energy it has. But expect slower rooting — six to eight weeks instead of three to four — and keep conditions warm and bright to compensate.
The Node Rule That Cannot Be Broken
Every philodendron cutting that succeeds has at least one exposed node. Every cutting that fails has none. A node is the joint where a leaf petiole meets the stem — a slightly swollen section of the stem with a growing point inside. You cannot root a philodendron from a section of stem with no node, no matter how healthy the leaves look. The growth bud that produces roots and new shoots sits inside the node, not in the stem tissue between nodes.
A cutting needs at least one node at or below the cut line, and one or two leaves above. The node is where the root system will emerge. The leaves power that root growth through photosynthesis — even in low light, the cutting needs them.
Choosing and Cutting the Stem
Knowing where to cut is only half the problem. Once you have identified the right nodes, you still need to assess the stem quality itself — whether it is mature enough to survive rooting, what to do about leaves that are too large, and how to make a clean cut that will not rot. These two details matter more than most guides admit.
Identifying the Right Stem Section
Look at your philodendron and find a stem with visible nodes — the points where leaves attach. You want a stem that’s mature enough to have woody or semi-woody texture, not a soft new growth tip. New growth tips root poorly and rot easily because the tissue is still water-dense and lacks the structural integrity to withstand the rooting process.
Each node can produce only one root system, so a cutting with two or three nodes gives you more rooting potential than a single-node cutting. A two-node cutting 4–6 inches long with one leaf is a reliable standard. Long philodendron vines can be cut into sections with one node each and rooted separately — this is a good way to multiply a single good cutting into several plants.
The cut itself: use clean, sharp scissors or a blade. Disinfect with rubbing alcohol before cutting if working with multiple plants to avoid spreading disease between them. Cut 1 inch below the lowest node you want to include. Make a flat horizontal cut — not angled. The flat cut exposes the maximum surface area at the node for root emergence.
Removing the Bottom Leaf
Strip the leaf closest to the cut end — the one that would sit below the water or soil line. If you’re rooting in water, any submerged leaf tissue will rot and contaminate the water. If rooting in soil, a buried leaf will also decay and invite fungal problems. Leave the upper leaves intact. If the remaining leaves are very large, cut each one in half across the width — this reduces moisture loss through the leaf surface, which matters a lot when there are no roots yet to replace that water.
Two Propagation Methods: Water and Soil
Both methods work reliably when conditions are right. The difference is not quality — it is visibility, speed of establishment, and how hands-on you need to be. Water propagation lets you see what is happening. Soil propagation produces plants that never need the water-to-soil transition. Which one fits depends on what you have time for.
Water Propagation
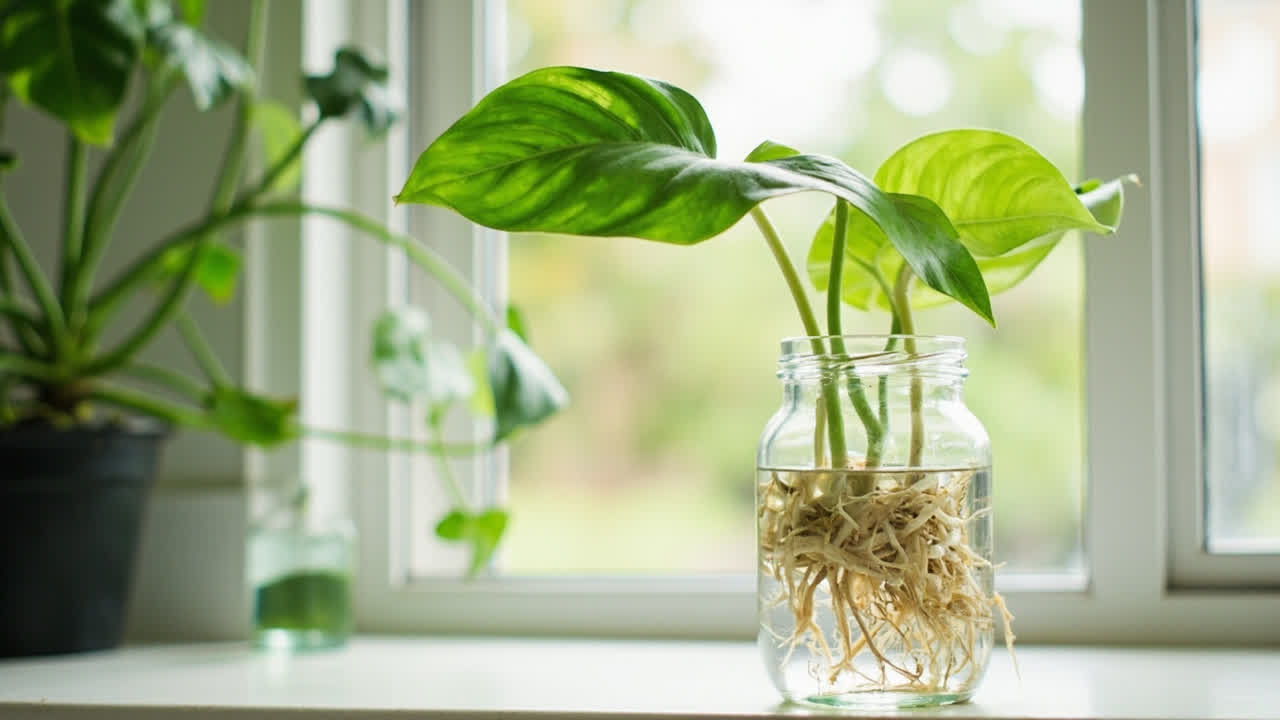
Fill a clear glass container — a mason jar, drinking glass, or test tube — with room-temperature water. Place the cutting so the node sits below the water line but the leaves stay dry. Use bright indirect light. Change the water every 3–4 days, always with fresh room-temperature water. Within two to four weeks in spring and summer conditions, you should see small white root initials forming at the node.
Rooting hormone is optional for water propagation but does speed things up. If using it, dip the cut end in water first to make it damp, then into the rooting hormone powder, then into water. The water activates the hormone rather than having it wash off immediately.
Trade-off: Water propagation lets you see when roots appear — but those water roots need a careful transition to soil. Planting a water-rooted cutting directly into dry soil shocks the root system and can cause the collapse pattern described in the opening. The transition is not optional.
Soil Propagation
Insert the cutting directly into moistened soil — a small pot 3–4 inches wide, filled with the same mix you’d use for an adult philodendron (well-draining but moisture-retentive, like a standard indoor potting mix with added perlite). The node should sit about 1 inch below the soil surface. Firm the soil gently around the stem to hold the cutting upright.
Keep the soil lightly moist — not wet, not dry. Check daily in summer. Cover the pot with a clear plastic bag loosely tented over the top to raise humidity around the cutting, which significantly reduces moisture stress while roots are forming. Remove the bag for 10 minutes once a day to allow air circulation and prevent fungal buildup.
Trade-off: Soil propagation means you cannot see the roots developing — you’re working blind for the first four to six weeks. But the roots that form are already adapted to soil, which means no transition gap. The cutting that establishes via soil propagation is often more resilient from day one than a water-propagated one.
The Transition Window: Water Roots to Soil Roots
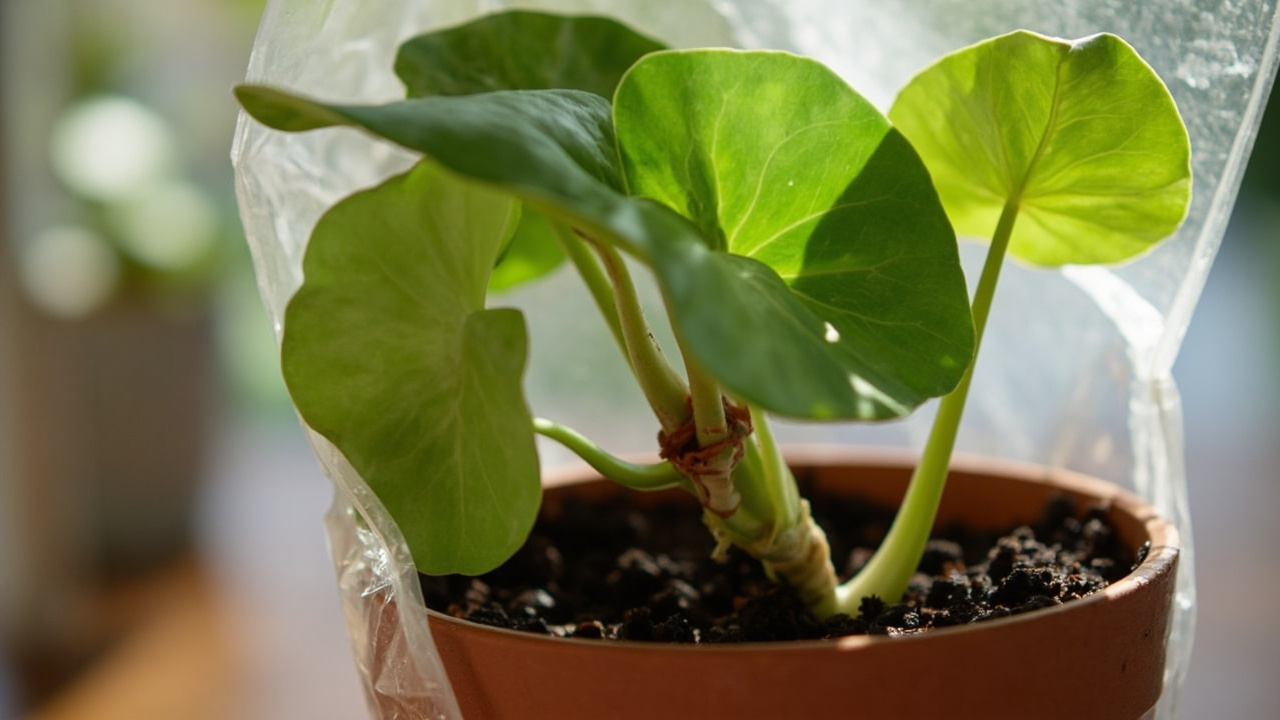
This is where most propagation attempts quietly fail — not in the first week but in the second or third week after potting. The cutting looks fine, roots are visibly developing, and then it starts to decline. The root system is going through a fundamental change during this period and it needs specific conditions to make that transition without collapsing.
When and How to Move a Water-Rooted Cutting to Soil
Wait until the water roots are at least 2 inches long with multiple branching points before attempting the move. Roots that are 1 inch or shorter don’t have enough surface area to sustain the plant in soil yet. Once roots are 2+ inches, prepare a small pot (4 inches is plenty for a single cutting) with dampened soil mix.
Do not water immediately after planting. The soil is already moist, and the roots need several days to grow into the surrounding soil before dealing with additional water. Water lightly after five days, then resume normal watering only when the top 2 inches are dry.
What happens next during the transition: the cutting may look slightly wilted for the first week — this is normal moisture stress as the water roots adjust to soil conditions. The soil roots are forming during this period, which is why the plant looks less than perfect. As long as the leaves are still turgid when you check in a few hours and the stem feels firm, the transition is working. If the whole cutting goes limp and the stems soften, that’s root rot from too much water — cut back on watering and check the drainage.
The Humidity Question During Transition
Philodendron cuttings need higher humidity during the first three to four weeks after any propagation method, while the new root system is small relative to the leaf surface area. A humidity of 60% or above ideal. If your home is dry — especially in winter with heating running — the cutting loses moisture through its leaves faster than the new roots can replace it.
You can achieve this with a pebble tray under the pot (water evaporating upward raises humidity immediately around the plant), a tabletop humidifier nearby, or by enclosing the pot in a clear plastic bag as described for soil propagation. Misting the leaves directly provides temporary relief but doesn’t raise ambient humidity meaningfully — the effect dissipates within minutes.
Caring for Your New Philodendron After Establishment
Seeing new growth is the signal your cutting has made it. But the care requirements in the months after establishment are different from what established philodendrons need. The transition from propagation environment to normal indoor conditions is gradual. Getting this wrong is how you lose a perfectly healthy cutting six weeks after it looked established.
First Signs of Success
You’ll know the cutting has successfully established when you see a new leaf pushing at the apex — that new leaf means the root system has grown enough to support new top growth. Until that point, the plant is still in survival mode. Don’t be tempted to fertilize during this period. The fresh soil contains enough nutrients, and adding more before the root system can process it leads to salt buildup that damages newly formed root hairs.
What to Do With a Slow Rooting Cutting
If six weeks pass with no new leaf growth and no visible root development in water, check the cutting. Is the node still firm and green at the cut end? Is the stem above it firm? If yes, the cutting is still alive and waiting for conditions to improve. The most common cause of stalled rooting is temperature — philodendrons root best between 70–80°F (21–27°C). Cooler rooms slow everything down dramatically.
If the cutting looks healthy but hasn’t rooted after eight weeks, try a different approach: score the stem below the node lightly with a blade (just a shallow scratch through the outer bark layer) before placing back in water. This creates a wound response that sometimes kickstarts root production in stubborn cuttings.
For more on philodendron care once your new plant is established, see our philodendron care guide. And if you are pruning your philodendron to get cuttings, our philodendron pruning guide explains how to do it without damaging the mother plant.
From PDF to Excel in one click
Forget retyping line by line. Upload any bank statement, get a spreadsheet you can actually use. Your files are never stored, and you can test the converter with 3 free conversions.
Try it free