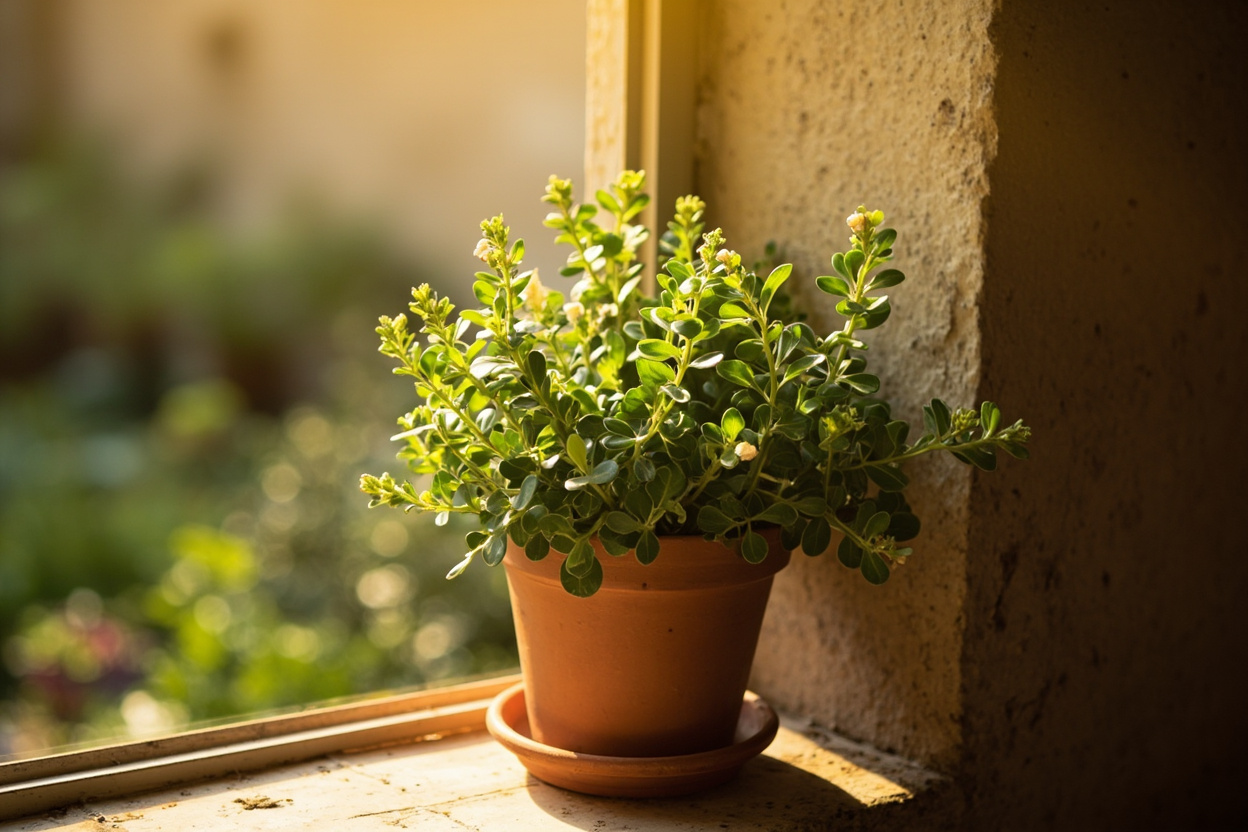
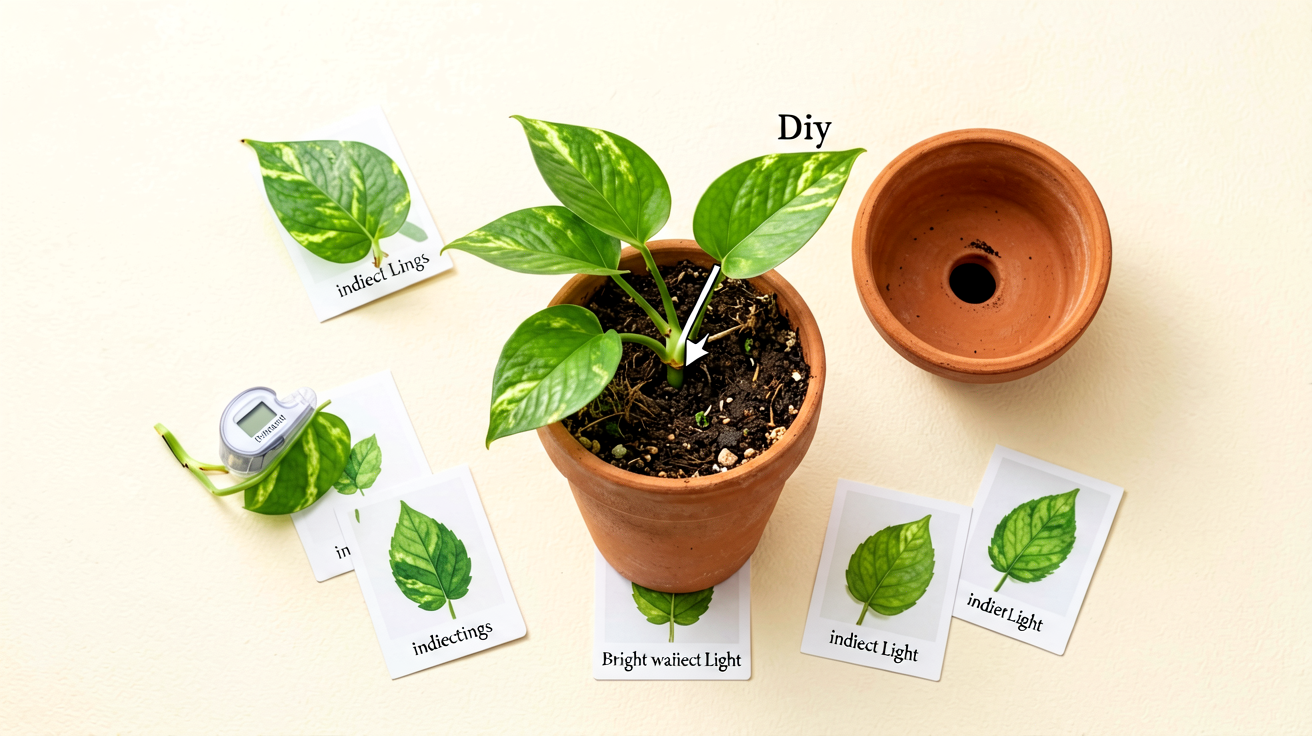
Oregano grown in rich, moisture-retentive potting mix produces lush leaves that taste almost nothing like oregano — the soil that builds real flavor is lean, alkaline, and almost too well-drained for other herbs. The compounds that give oregano its punch — carvacrol and thymol — are stress responses, not default outputs. When you give oregano exactly the harsh, mineral soil it evolved in, it rewards you with leaves that actually season food.
Here’s the mechanism: oregano produces volatile oils as a defense against drought and heat stress. Research from Penn State Extension confirms that moderate water stress increases carvacrol concentration by up to 40% compared to well-watered plants. Overwatered oregano in moisture-retentive mix grows fast, looks lush, and accumulates almost no essential oil — the leaves are technically oregano but culinarily useless. The Royal Horticultural Society puts it directly: “oregano needs poor, well-drained soil; rich soil reduces aromatic intensity.”
The actionable threshold is straightforward. Target pH 6.0–8.0 (oregano tolerates alkaline conditions most herbs hate). Use a container with a drainage hole — always. Choose terracotta over plastic. And water only when the top inch of soil is bone dry — for the complete watering protocol, see the oregano light and watering guide. If you do those three things, oregano thrives on neglect in a way that feels almost counterintuitive.
Why Lean Soil Builds Flavor (The Volatile-Oil Mechanism)
Oregano’s flavor chemistry is a drought-survival strategy. Carvacrol and thymol — the two phenolic compounds responsible for oregano’s warm, slightly bitter taste — are synthesized when the plant experiences mild water deficit. They function as antimicrobial agents that protect leaf tissue during hot, dry conditions. When soil stays consistently moist, the plant has no trigger to produce them at meaningful levels.
This is why container oregano in standard Miracle-Gro-style mix often tastes like grass clippings. The peat-heavy, moisture-retentive formula keeps roots happy but signals the plant that conditions are easy — no stress response, no flavor. A UC IPM study on Mediterranean herbs found that oregano grown in sandy loam with 30% inorganic amendment produced 2.3 times the essential oil concentration of plants grown in standard potting mix.
The RHS recommends “very well-drained, even poor soil” for all Origanum species. In practice, this means the soil should feel gritty between your fingers, not spongy. If you squeeze a handful and it holds together, it’s too rich for oregano.
For container growers, the implication is clear: you’re not trying to create ideal growing conditions — you’re trying to create ideal stress conditions. The pot should dry out faster than you’re comfortable with. The mix should contain more mineral than organic matter. And the flavor payoff is immediate and measurable. This is the same lean-soil principle that makes rosemary thrive in poor soil — Mediterranean herbs share this flavor-stress connection.
The Right Soil Mix Recipe for Containers
The base recipe that works for oregano in containers is two parts quality potting soil, one part perlite, and one part coarse horticultural sand. For a standard 10-inch terracotta pot, that’s roughly 2 gallons of soil, 1 gallon of perlite, and 1 gallon of sand — mixed thoroughly before potting. The perlite provides aeration and prevents compaction; the sand adds weight and improves drainage speed. Together they create a mix that drains within seconds of watering.
Perlite matters more than gravel for oregano because it’s lightweight and creates air pockets throughout the mix rather than just at the bottom. Gravel at the bottom of a pot actually worsens drainage by creating a perched water table — the water sits above the gravel line, keeping the root zone soggy. Mix perlite evenly through the soil instead.
Oregano tolerates pH from 6.0 to 8.0 but performs best at 6.5–7.5. If your tap water is acidic or your potting mix is peat-based (typically pH 5.5–6.0), add one tablespoon of garden lime per gallon of mix to raise it slightly. The alkalinity also suppresses fungal root pathogens — a bonus benefit in containers where air circulation is limited.
Avoid three things: peat-heavy mixes (too acidic, too moisture-retentive), moisture-control formulas (they defeat the entire purpose), and compost-rich blends (too much nitrogen, too much water-holding capacity). If a bag says “feeds for 3 months,” it’s the wrong bag for oregano.
If mixing your own isn’t practical, start with a cactus and succulent mix — it’s already gritty and fast-draining — and amend it with an extra 20 perlite by volume. This is the fastest path to oregano-appropriate soil without buying three separate ingredients.
Choosing the Right Container — Material, Size, and Drainage
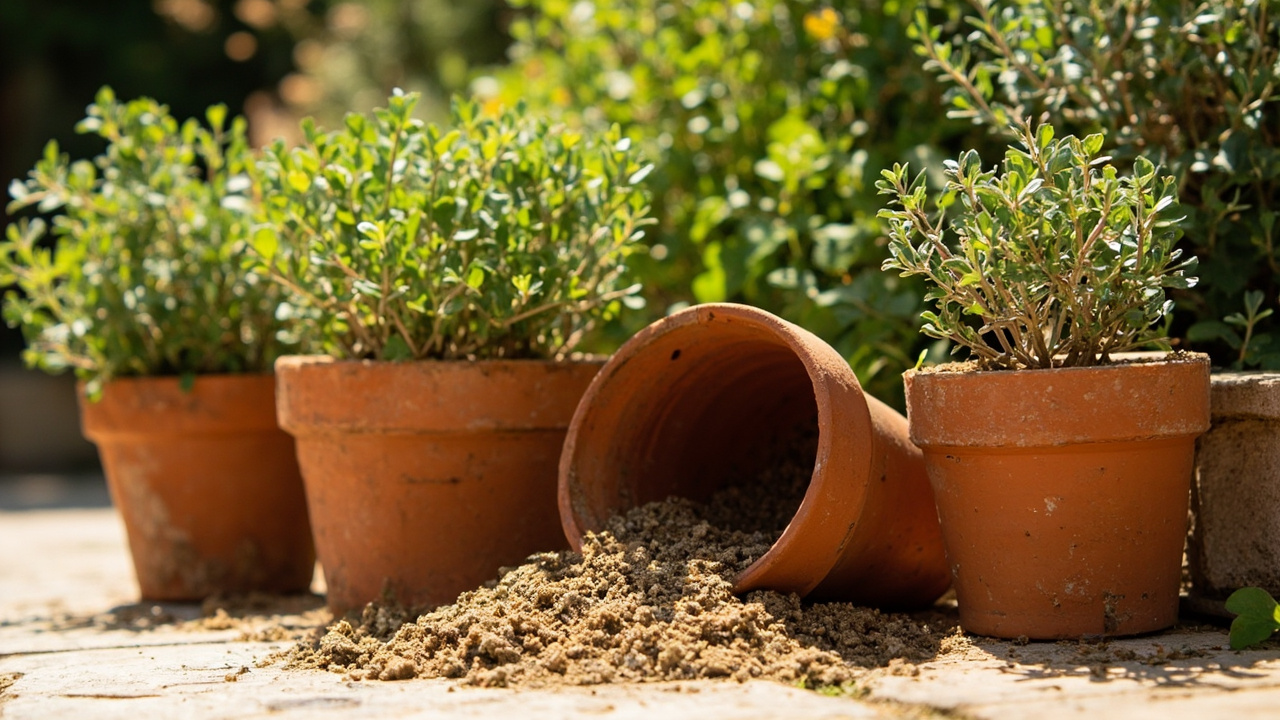
Terracotta is the best container material for oregano, and it’s not close. The porous clay wicks moisture away from the root zone, actively drying the soil between waterings. It’s heavy enough not to tip in wind, and it slowly leaches calcium carbonate into the soil — a mild alkalinity boost that oregano appreciates. Unglazed terracotta is essential; glazed pots lose the wicking benefit entirely.
Size matters more than most growers realize. A mature oregano plant needs a minimum 8-inch diameter pot with at least 6 inches of depth. Anything smaller dries out too fast in summer (requiring daily watering) and restricts root development, which limits the plant’s ability to produce essential oils. A 10-inch terracotta pot is the sweet spot for a single established oregano plant.
The drainage hole is non-negotiable. No oregano plant should live in a pot without one — not even with a layer of stones at the bottom, not even with careful watering. If you’re using a decorative cachepot, place the terracotta grow pot inside it and remove it for watering so excess water drains completely. Never let oregano sit in a saucer of standing water; empty the saucer within 30 minutes of watering.
Glazed ceramic and plastic pots work if modifications are made. In plastic, drill 3–4 extra drainage holes in the bottom and sides near the base. In glazed ceramic, use an even grittier mix (3:1:1 instead of 2:1:1) to compensate for the reduced evaporation. Both materials retain more moisture than terracotta, so the soil mix has to be adjusted accordingly.
Repot oregano when roots circle the bottom of the pot or emerge from the drainage hole — typically every 18–24 months for a healthy plant. Early spring (March–April) is ideal; early fall (September) is acceptable. Never repot in midsummer heat or midwinter dormancy. When repotting, move up only one pot size (2 inches larger in diameter); oversized pots hold too much wet soil.
Repotting Oregano Without Shock
Timing matters: repot oregano in early spring as new growth begins, or in early fall before dormancy. Avoid June through August — the heat stress combined with root disturbance can kill even established plants. Late winter repots work if you keep the plant in a warm, bright location afterward.
The process itself is simple. Water the plant lightly 24 hours before repotting so the root ball holds together but isn’t waterlogged. Tip the pot sideways, tap the bottom, and slide the plant out. Gently tease apart any circling roots with your fingers — don’t cut them unless they’re black and rotten. Place the plant in the new pot at exactly the same soil depth it was growing before; burying the crown invites stem rot. Fill around the root ball with your gritty mix and tap the pot to settle — don’t compress by hand.
Wait three to four days after repotting before giving the first water. This gives damaged root hairs time to callus over before being exposed to moisture. The plant may look slightly drooped on day two — that’s normal transplant stress, not underwatering. If leaves are still perky on day four, water lightly and resume the normal soak-and-dry cycle.
Distinguish between normal droop and real stress. Mild wilting that recovers overnight is transplant shock — expected and self-correcting. Persistent droop with yellowing lower leaves after five days suggests root damage or overwatering — check the soil moisture at root depth with your finger before adding more water. If the stem base feels mushy, you’ve already lost the plant to stem rot and should take cuttings to propagate.
Signs Your Soil Is Wrong — and How to Fix It
Yellow lower leaves with consistently wet soil is the classic oregano distress signal — it means root rot has already started. Act immediately: remove the plant from the pot, trim all black or brown mushy roots with clean scissors, and repot into fresh, dry, gritty mix. Do not water for five days after. If more than 50% of the root mass was lost, take stem cuttings as insurance.
Pale, floppy growth in heavy mix versus compact, upright growth in lean mix is the visual contrast oregano growers learn to read. In soggy soil, oregano stems elongate weakly, leaves lose their grey-green color, and the whole plant looks “hungry” despite having plenty of nutrients. The problem isn’t deficiency — it’s oxygen starvation at the root zone. Switching to a gritty mix fixes this within two weeks.
White crust on the soil surface signals salt buildup from hard water or over-fertilizing. Oregano is extremely sensitive to salt accumulation in containers. Flush the pot with twice its volume of distilled water, let it drain completely, and reduce fertilizing to once per month at half strength — or stop entirely if you’re using a mix that already contains compost.
The fix depends on severity. For mild issues (slight yellowing, slow growth), repot into the correct mix and adjust watering habits. For advanced root rot (mushy stem base, foul smell), propagate from healthy stem cuttings and discard the parent plant. Don’t try to save a plant that’s more than 60% rotted — it won’t recover.
Sometimes soil isn’t the problem. If oregano has good drainage, lean mix, and still looks unhealthy, check light first — fewer than 6 hours of direct sun causes weak growth regardless of soil quality. Then check for pests: spider mites cause stippled, dusty leaves; aphids cluster on new growth. Both are treatable with insecticidal soap but are often mistaken for soil issues by new growers. For a full diagnostic walkthrough, see the oregano care complete guide.
Turn PDF Bank Statements Into Workable Spreadsheets
Your bank statement is a mess of numbers, but your books shouldn't be. Use our converter to get Excel, CSV, or QBO files — ready for QuickBooks.
Try It Free Now