Starting seeds indoors gives you a six-to-eight-week head start on the growing season. In climates with short summers, that head start is the difference between a tomato that ripens in August and one that barely sets fruit before frost. In warmer climates, it means earlier harvests and more control over plant quality from the very beginning.
The process is straightforward: seeds need warmth to germinate, light as soon as they emerge, and careful handling as they transition from seed reserves to depending on soil nutrition and photosynthesis. The equipment is minimal. The technique is learnable. And once you have started your own seedlings, you will never go back to buying starts from a nursery.
Why Start Seeds Indoors Instead of Direct Sowing
Direct sowing — planting seeds directly in the garden — works well for crops that germinate fast and don’t mind being transplanted. Radishes, beans, carrots, and squash are all direct-sown crops. But for crops that need a long growing season to produce, starting indoors is the only reliable way to get a harvest in USDA zones 7 and below.
Tomatoes, peppers, eggplant, and brassicas (broccoli, cauliflower, kale, cabbage) all need eight to twelve weeks of indoor growing before they can go outside. Without that head start, they simply don’t have enough time to flower and fruit before cold weather arrives.
Beyond season length, starting seeds indoors gives you variety options. Garden center seedling racks offer perhaps a dozen tomato varieties. Starting your own from seed gives you access to hundreds — including heirloom varieties that don’t ship well and are never sold as starts.
—
What You Need Before You Start
Seed starting does not require expensive equipment. Here is the minimum list:
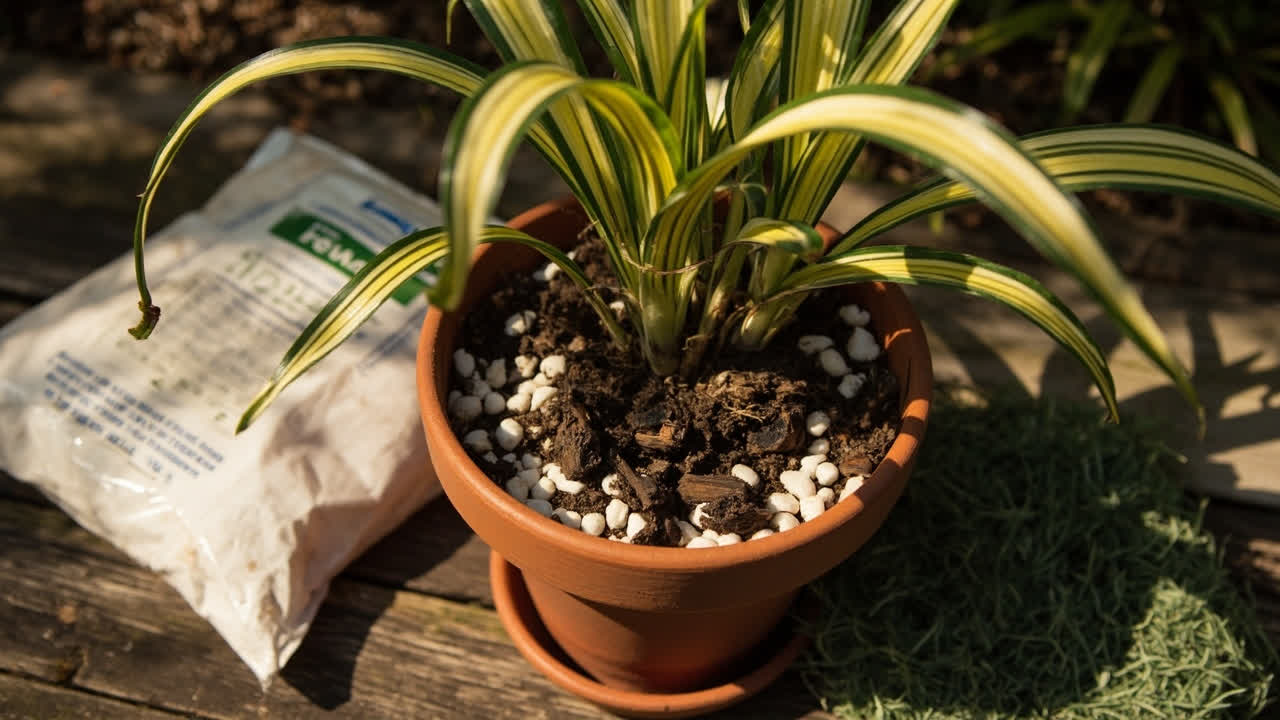
Seed-starting mix: Not garden soil, not regular potting mix. Seed-starting mix is specifically formulated to be lighter and freer-draining than standard potting mix, which creates the conditions seeds need to germinate without sitting in water.
Containers: You can use recycled yogurt cups, cell packs from the garden center, or purpose-built seed-starting trays. Whatever you use, it needs drainage holes. Two inches deep is ideal for most seedlings — deeper containers hold too much moisture and cause root problems.
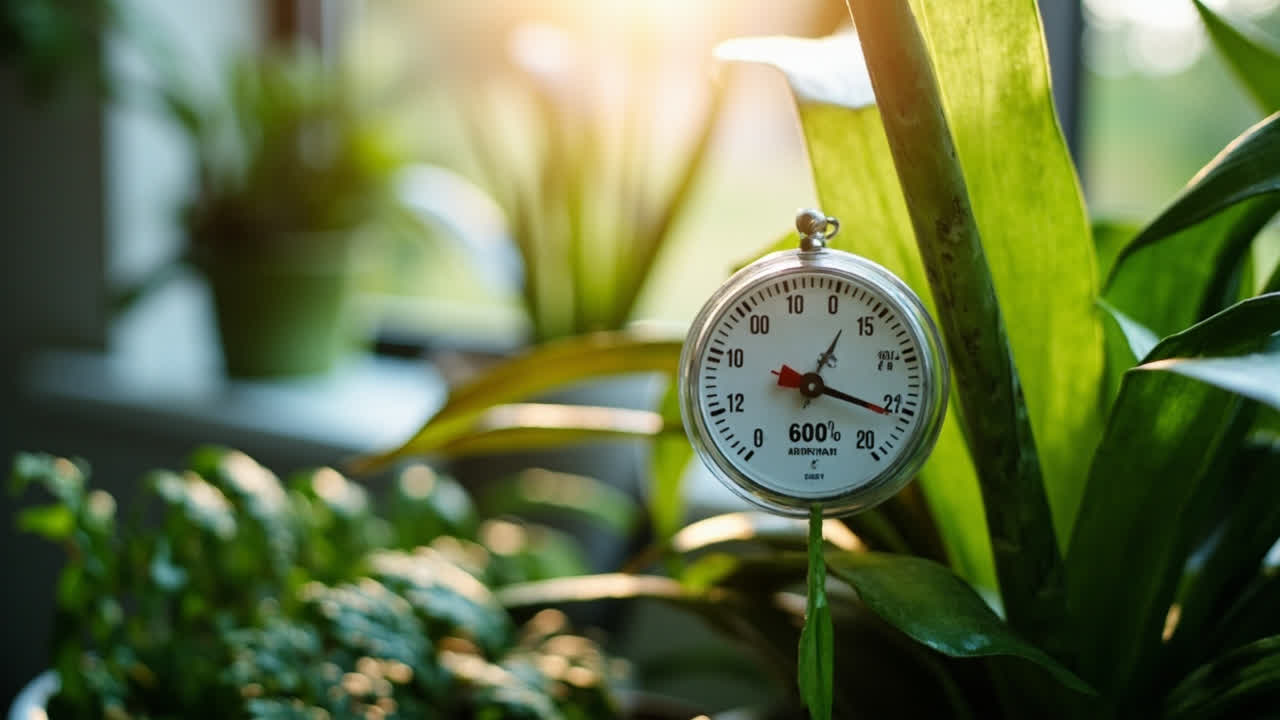
Heat: Most vegetable seeds germinate best at soil temperatures between 65°F and 80°F. A warm mat placed under the seed trays raises soil temperature consistently and speeds germination significantly. Without a heat mat, a sunny window with good light can provide enough warmth, but germination will be slower and less uniform.
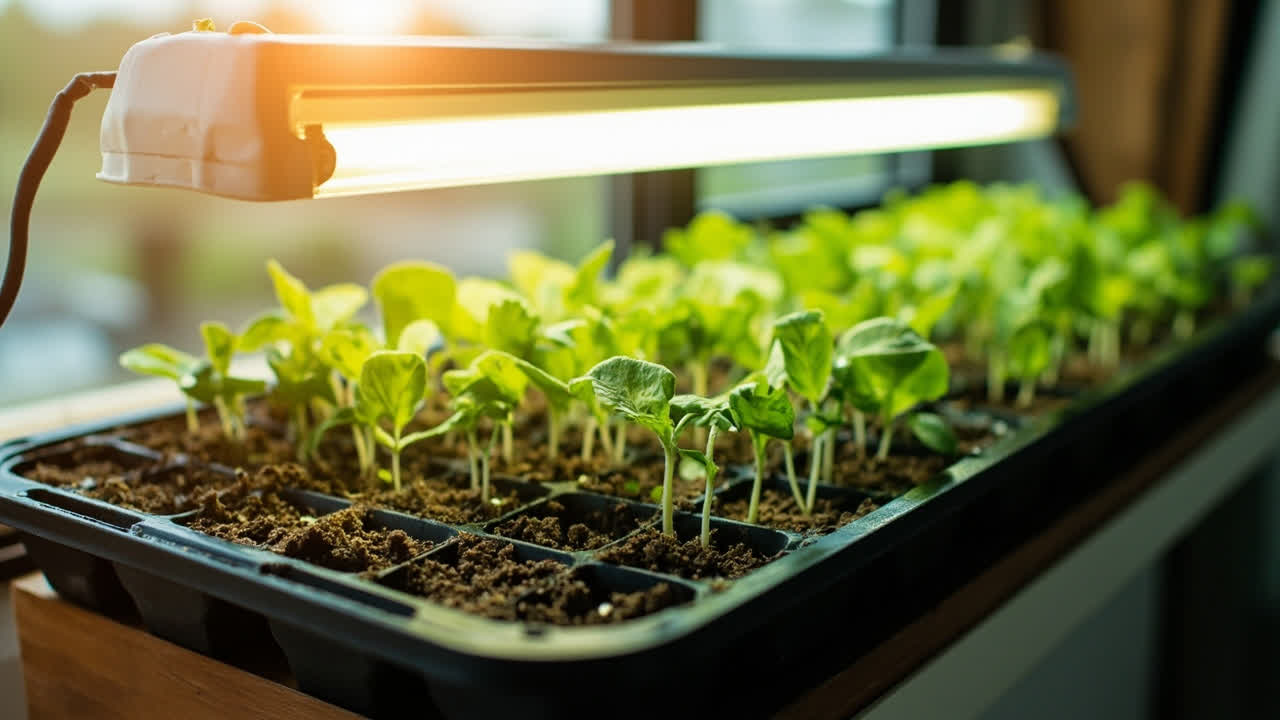
Light: Once seeds germinate and push through the soil surface, they need light immediately. This is where most indoor seed starting fails — seedlings that don’t get enough light grow tall and leggy, reaching for the window. A simple fluorescent shop light or an LED grow light positioned six inches above the seedlings for 14 to 16 hours per day is enough.
Humidity dome: A clear plastic cover over the seed tray retains moisture and warmth during germination. Most seed-starting kits include a clear lid. Remove it as soon as the first seedlings emerge — keeping it on after germination promotes fungal disease.
—
The Timing Question : When to Start
Starting seeds too early is as problematic as starting too late. Seedlings that grow too long in small containers become rootbound and stunted, and older transplants struggle to establish after going outside.
Count backward from your last expected frost date — for the full seasonal growing sequence, our succession planting guide shows how to plan round two of the season once this first planting is in the ground.:
Tomatoes — 6 to 8 weeks before last frost
Peppers — 8 to 10 weeks before last frost
Eggplant — 8 to 10 weeks before last frost
Brassicas (broccoli, kale, cabbage) — 4 to 6 weeks before last frost
Cucumbers and squash — 3 to 4 weeks before last frost
The last frost date for your zone is the key reference point. In zone 6 (around New York, Kansas City, Denver), last frost is approximately mid-May. In zone 5 (around Chicago, Indianapolis, Omaha), it is late May. In zone 4 (Minneapolis, Milwaukee), it is early June. Look up your estimated last frost date and count backward from there.
—
The Step-by-Step Process
Fill containers with seed-starting mix. Pre-moisten the mix before filling — add water until the mix holds together when squeezed but does not drip. Dry mix will pull away from container walls and won’t make good contact with seeds.
Plant seeds at the correct depth. The general rule is plant seeds at a depth equal to twice their diameter. Very small seeds like lettuce and brassicas are barely covered — sprinkle them on the surface and press them gently into the mix. Larger seeds like tomatoes and peppers go a quarter to a half inch deep. Check the seed packet — it always specifies planting depth.
Label everything. It sounds obvious, but once you have six or eight trays going, you will not remember what is in each one. Write the variety name and planting date on a label and stick it in each container.
Cover with a humidity dome and place on heat. Keep the tray covered until the first seeds in the batch emerge. Check daily — the moment you see green emerging, remove the dome.
Move to light immediately. As soon as seedlings break the surface, they need light. Not “within a day or two” — immediately. Without adequate light, seedlings stretch and become leggy within 48 hours. Move the tray under a grow light or position it in the brightest window you have.
Maintain moisture. The seed-starting mix should stay consistently moist but never waterlogged. A spray bottle works well for gentle watering without disturbing seeds. Once seedlings have their first true leaves (the second set of leaves, distinct from the initial seed leaves), you can transition to bottom watering — pour water into the tray and let the mix absorb it from below.
Thin seedlings. In each cell or container, you will often get two or three seedlings emerging. Thin to one strong seedling per cell — snip the extras at the soil line with scissors. Pulling them out risks disturbing the roots of the remaining seedling.
—
The Hardening Off Step : Do Not Skip It
Seedlings raised indoors have lived in controlled conditions — and if you are growing them in containers after transplant, the same principles of careful transition apply., and no exposure to outdoor conditions. Transplanting them directly outside without transitioning them causes severe transplant shock and can kill otherwise healthy seedlings.
Hardening off is the process of gradually exposing indoor-grown seedlings to outdoor conditions over seven to ten days.
Days 1 to 3: Place seedlings outside in a shaded spot for one to two hours on a mild day (above 50°F with no strong wind).
Days 4 to 6: Increase to three to four hours, including some direct sun (protect from intense midday sun).
Days 7 to 9: Place seedlings outside for the full day, including several hours of direct sun.
Day 10: Leave seedlings out overnight if temperatures are above 45°F. They are ready to transplant.
If the weather turns cold or stormy during the hardening off period, bring seedlings back inside and resume the process when conditions improve. One cold, wet night can kill seedlings that haven’t been properly hardened.
—
Troubleshooting Common Problems
Leggy seedlings: Caused by insufficient light. Move under a grow light immediately. Once seedlings are leggy, they cannot recover — you can bury the stem slightly deeper when transplanting, but leggy seedlings will never be as strong as properly grown ones.
Damping off: A fungal disease that kills seedlings at the soil line, usually in conditions that are too wet or too crowded. The stem narrows and collapses, and the seedling falls over. Prevented by good air circulation, avoiding overwatering, using sterile seed-starting mix, and not overcrowding seeds.
Seedlings stalling after emergence: If seedlings emerge but stop growing, the most common causes are cool soil temperatures (add a heat mat), insufficient light, or being rootbound in a too-small container. Move to a slightly larger container with fresh seed-starting mix if roots are circling the bottom of the cell.
Yellowing leaves: Usually indicates overwatering or nutrient deficiency. Let the mix dry slightly between waterings. Once seedlings have their first true leaves, start watering with a diluted balanced fertilizer (half the recommended strength) every two weeks.
—
What to Do After Transplanting
Once seedlings are hardened off and transplanted into the garden or larger containers, they need a week or two of careful attention as they establish. Water every day for the first week if there is no rain. Shield from intense midday sun for the first few days after transplanting. Check for pest damage daily.
If you started seeds in the right quantity for your garden space, you will have more seedlings than you need — this is fine. Growing extra seedlings is better than not having enough.
Starting seeds indoors is not complicated, but it requires attention to detail in the first few weeks. Light, warmth, moisture, and hardening off — those four steps, done consistently, produce strong seedlings that establish quickly and produce earlier than direct-sown crops. The only thing more satisfying than eating your first tomato of the season is knowing you grew it from a seed you planted yourself.
Turn That PDF Into a Spreadsheet in Minutes
You've seen how to do it manually — now let the tool handle the heavy lifting. Upload your bank statement and get Excel, CSV, or QBO in a few clicks.
Try It Free