Few plants are more forgiving than aloe vera—until they are not. The same thick, gel-filled leaves that make it drought-tolerant also mean that when an aloe plant does start declining, the cause is usually one of a handful of specific, identifiable problems. The good news: each one has a direct fix, and most struggling aloes can be brought back within a few weeks.
Diagnosing the Problem: What Is Killing Your Aloe Plant?
Aloe vera decline almost always traces back to one of four causes. Getting the diagnosis right is 80% of the work—treat the wrong cause and the plant continues deteriorating even as you pour effort into the wrong solution.
Overwatering and root rot is responsible for the majority of aloe deaths. Aloes are succulents: they store water in their leaves and are built to survive drought. Watering too frequently, or planting in soil that holds moisture too long, suffocates the roots. Without oxygen at the root zone, anaerobic bacteria proliferate and the roots decay. The plant cannot absorb water or nutrients, and decline follows.
Light conditions are the second major factor. Aloes need bright, indirect light—ideally several hours of direct morning sun or bright ambient light. Too little light causes the plant to stretch and weaken, producing pale, thin leaves. Too much direct afternoon sun causes sunburn: brown or bleached patches on the leaves that look like paper.
Poor drainage and compacted soil create conditions where moisture lingers at the root zone. A pot without drainage holes, or a soil mix that compacts and stays wet for more than a few days after watering, replicates the overwatering problem even with correct watering frequency.
Physical damage—broken leaves, damaged roots during repotting, or cold exposure—also slows recovery, though these are secondary rather than primary causes in most cases.
Assessing and Addressing Aloe Root Issues
Root problems are the leading cause of aloe decline, and examining the roots is the single most diagnostic step you can take. Here is how to do it.
Gently remove the plant from its pot. Healthy aloe roots are firm and range from white to light tan. If they feel mushy, are dark brown or black, or smell sour, root rot is present. The rotting portion will be soft and easily compressed between your fingers.
To save a plant with root rot: cut away all affected roots with clean, sterile scissors. Do not be tentative—any soft tissue left behind will continue to decay. Allow the cut surfaces to air-dry for 24 hours in a warm, shaded spot. This callousing step is essential; it creates a barrier against infection when you repot.
Repot in a clean pot with drainage holes using a fast-draining succulent mix—roughly 70% potting soil and 30% perlite or coarse sand. Do not water for at least a week after repotting, then water sparingly, only when the top 3 cm of soil are completely dry. For more detail on diagnosing root problems, our guide to root rot covers the full recovery process.
Adjusting Light and Sun Exposure
Aloes thrive in bright, indirect light with some direct morning sun. An east-facing windowsill is ideal. They tolerate more direct sun than most houseplants—several hours of morning sun is fine—but afternoon sun, particularly in summer through west-facing windows, can scorch the leaves.
Signs of insufficient light: the plant stretches, with leaves spaced further apart on the stem, and new growth emerges smaller and paler than existing leaves. The fix is gradual: move the plant to a brighter location over a week or two, not suddenly. Sudden intense light exposure shocks the plant the same way sudden darkness does.
Signs of too much direct sun: brown or tan papery patches on the leaves, particularly on the side facing the window. Move the plant back from the window or add a sheer curtain filter.
For indoor aloes without adequate natural light, a modest LED grow light run for 10–12 hours per day sustains healthy growth. Position the light 30–45 cm above the plant.
Aloe Watering Techniques and Tips
The soak and dry method is the correct approach for all succulents, including aloe vera. Water thoroughly—until you see moisture exit the drainage holes—then wait until the soil is bone dry to a depth of at least 3 cm before watering again. In summer, this may be every 10–14 days. In winter, once a month is often sufficient.
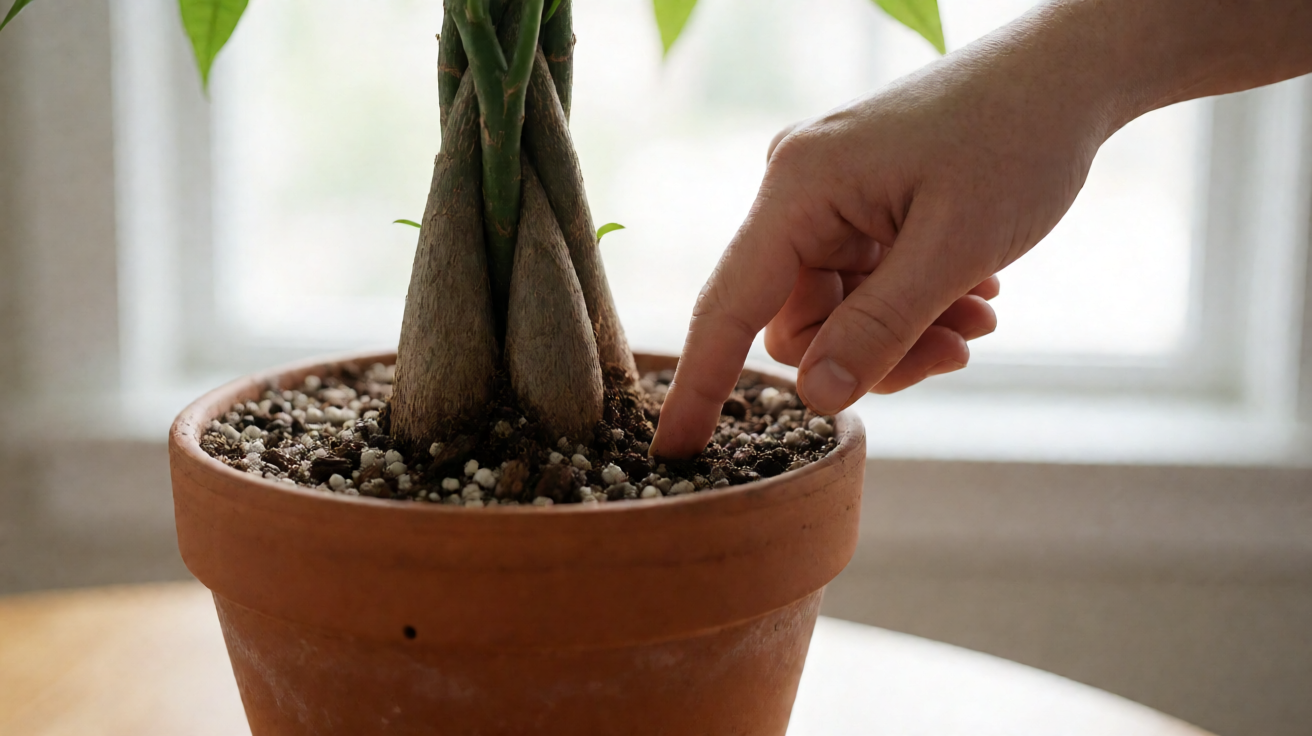
The finger test is the most reliable method: insert your finger into the soil up to the second knuckle. If any moisture is detectable at that depth, wait. The most common mistake is watering on a fixed schedule—every Wednesday, for example—regardless of actual soil moisture. Soil dries at different rates depending on temperature, pot material, and humidity.
Aloes in terracotta pots dry out faster than those in plastic, which is generally an advantage: the risk of overwatering is lower. Self-watering pots are not suitable for aloes—they keep the soil consistently moist, which causes root rot over time.
Repairing Damaged Leaves and Roots
Damaged leaves do not heal, but they can be removed to redirect the plant’s energy to new growth. Cut damaged or dead leaves at the base with a clean, sharp blade. Do not tear—a clean cut reduces the risk of infection.
If multiple leaves are damaged and the plant looks weak overall, resist the urge to remove all damaged foliage at once. The plant needs some leaf surface area to photosynthesise. Remove the worst leaves, leave the rest, and let new growth emerge before removing more.
Aloe vera can be propagated from healthy leaves, though it is slower than propagation from offsets. To try leaf propagation: cut a healthy leaf, let the cut end callous for 48 hours, and place the leaf cut-side down in moist succulent mix. Keep the soil lightly moist. Roots and pups develop in 4–8 weeks in warm conditions. This method has a lower success rate than division, but it is worth trying with large, healthy leaves.
Preventive Care and Maintenance
The right soil mix prevents most aloe problems before they start. Use a commercial succulent and cactus mix, or make your own from 70% potting soil and 30% perlite. This drains quickly and does not compact, preventing the waterlogging that causes root rot.
Pot selection matters equally. Always use a pot with drainage holes. Terracotta is preferable to plastic because it is porous and allows the soil to dry more evenly between waterings. Size the pot appropriately: an aloe in a pot far larger than its root ball sits in excess damp soil for too long after each watering.
Fertilising is not usually necessary for aloes growing in fresh succulent mix. If you do feed, use a balanced liquid fertiliser diluted to half strength once in early spring and once in mid-summer. Over-fertilising causes salt buildup at the root zone, which burns roots and shows as crispy leaf tips.
Seasonal Considerations
Aloes are warm-climate plants. They tolerate indoor temperatures comfortably (18–27°C) but suffer in temperatures below 10°C. If you grow aloe outdoors in summer, bring it inside well before the first frost. Cold damage manifests as soft, darkened leaves—often beginning at the tips—and cannot be reversed.
During the growing season (spring and summer), aloes actively produce new leaves and offsets. This is the time for repotting if needed, and when you are most likely to see the plant’s recovery from corrective action. In autumn and winter, growth slows or stops. Reduce watering during this period and do not repot or fertilise.
Can You Save a Severely Damaged Aloe?
If your aloe has lost most of its roots to rot but the leaves are still firm and alive, it is worth attempting recovery. Follow the root-trimming and callousing process described above, then repot in dry mix and do not water for two to three weeks. After this period, water lightly once. If the plant shows no signs of decline after another two weeks, resume a normal sparse watering schedule.
If the leaves are mushy, translucent, or collapsing, the plant is too far gone. However, check for pups—small offsets that form at the base of the mother plant. Even if the main plant cannot be saved, the pups often can be removed and repotted independently.
Aloe vera is more forgiving than most houseplants, but only within limits. The key to keeping one long-term is simple: bright light, infrequent water, fast-draining soil, and good drainage. Get those four right and the plant rewards you with years of steady, undemanding growth—and a ready supply of gel for burns, scrapes, and skin care.
From PDF to Excel in one click
Forget retyping line by line. Upload any bank statement, get a spreadsheet you can actually use. Your files are never stored, and you can test the converter with 3 free conversions.