Echeveria propagation is a test of patience, not skill. The genus wants to multiply — a healthy succulent produces leaves, stems, and offsets that are all capable of becoming independent rosettes. The challenge is not triggering growth. It is keeping the cutting alive through the six to twelve weeks between separation and a functional root system. Speed kills more propagations than neglect.
Three methods work for home growers. Leaf cuttings use a single leaf pulled from the mother plant. Stem cuttings use the crown and top inch of stem from a leggy plant. Offset division uses the pups that form at the base of mature rosettes. Each method has a different success rate, timeline, and failure profile. This guide covers all three with honest numbers.
Before you start, gather the right materials: a clean, sharp blade, a shallow tray or terracotta saucer, a gritty mix of 80 percent mineral substrate, bright indirect light, and patience. The growing medium matters — organic potting soil stays too damp for propagation.
The Echeveria care guide covers the mother plant care that determines whether your cuttings succeed. A stressed, etiolated, or overwatered parent plant produces weak propagations with low success rates.
The Three Propagation Methods Compared
Leaf cutting is the most accessible method and the most frustrating. You pull a healthy lower leaf, let it callous, place it on dry mineral substrate, and wait. Success rates hover between 40 and 60 percent even in ideal conditions. The timeline from leaf to transplant-ready plant is four to six months. The advantage is scale: a single elegans can donate ten to fifteen leaves without harm.
Stem cutting is the rescue method for etiolated plants. When an Echeveria stretches into a bare stem with a rosette on top — a condition called etiolation — you cut the crown, let it callous, and root it as a new plant.
Success rates are higher — 70 to 80 percent — because the cutting already has a developed meristem. The timeline is shorter: roots appear in three to four weeks, and the plant looks presentable in two to three months.
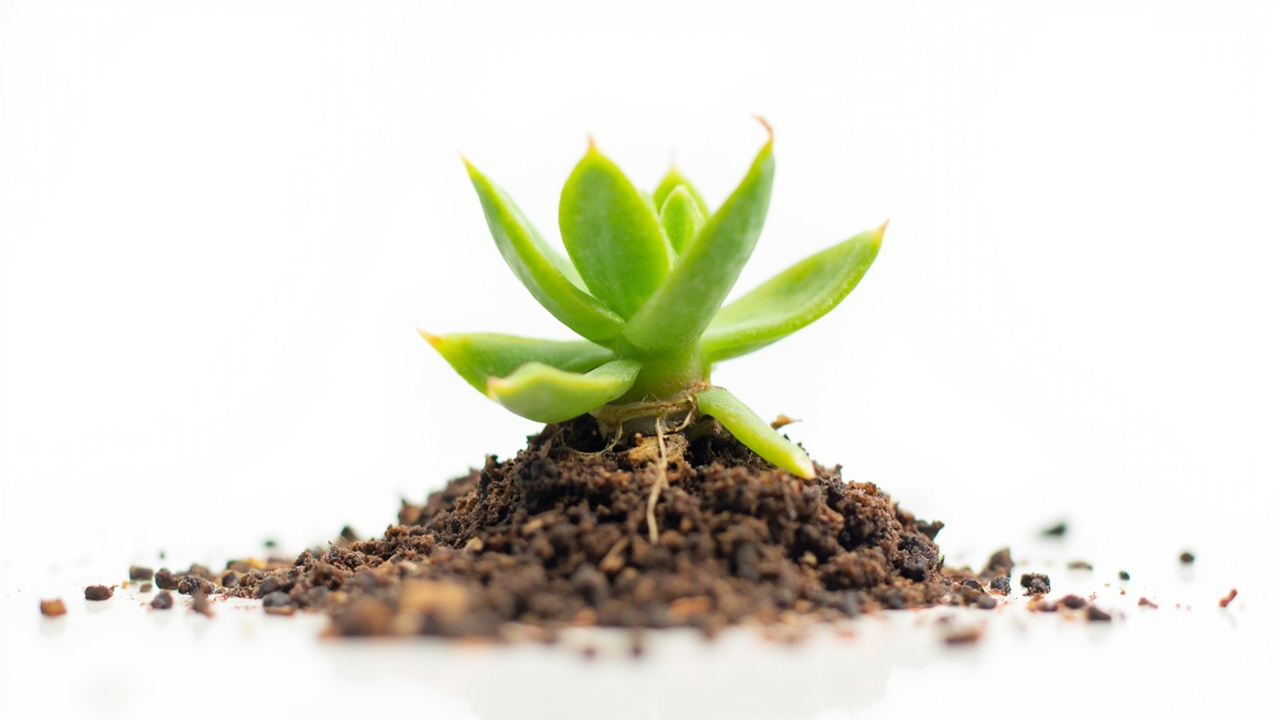
Offset division is the fastest and most reliable method. Mature Echeveria produce pups at the base — small rosettes with their own root systems. You separate the pup, pot it in mineral substrate, and treat it as a miniature adult plant.
Success rates exceed 90 percent. The timeline is near-instant: a rooted pup is transplant-ready within days. The limitation is supply — not all cultivars offset freely, and young plants may not produce pups for the first year or two.
Leaf Cutting Propagation Step by Step
Start with a healthy mother plant that has been watered five to seven days before you take leaves. Hydrated leaves separate cleanly and contain enough stored moisture to survive the rooting period. Select lower leaves that are firm, unblemished, and fully formed. Avoid leaves from a plant in deep dormancy — they root slower. Avoid the tiny inner leaves at the growing point — they are too immature to propagate.
Grip the leaf at its base and wiggle it side to side while pulling gently outward. The goal is a clean separation at the leaf base — the meristem tissue at the point of attachment is where roots and pups will emerge.
A torn or crushed leaf base will not propagate. If the leaf does not release easily, stop and try a different one. Forcing it damages both the leaf and the mother plant.
Place the harvested leaves on a dry paper towel in bright indirect light and let them callous for three to five days. The cut end will dry and form a thin, hard layer. This callous is the barrier that prevents rot when the leaf goes on soil.
Do not skip this step. Do not place un-calloused leaves on mineral substrate — they will absorb moisture through the open wound and rot before roots form.
After callousing, lay the leaves flat on a tray of dry gritty mix. Do not bury the cut end. Do not water. Place the tray in bright indirect light — direct sun will desiccate the leaf before it roots. Wait. Root hairs typically appear within two to three weeks, visible as fine white threads emerging from the calloused end. A small rosette pup follows within four to eight weeks.
Once the pup has a visible rosette of its own and the mother leaf has begun to shrivel, you can introduce light misting around the roots — not on the leaf. The soil mix guide explains why mineral substrate matters here: organic-hey mixes stay too damp for the fragile new roots and cause rot at this critical stage.
From PDF to Excel in one click
Forget retyping line by line. Upload any bank statement, get a spreadsheet you can actually use. Your files are never stored, and you can test the converter with 3 free conversions.
Try it freeStem Cutting Propagation for Leggy Plants
Stem cutting is the right method when an Echeveria has etiolated — stretched into a bare stem with a rosette perched at the top. This happens when the plant does not receive enough light. The light requirements guide covers prevention. For the plant you have right now, stem cutting is both a propagation method and a rescue.
Use a clean, sharp blade to cut the stem one to two inches below the rosette. Remove the lowest two to three rings of leaves from the cut stem — these would rot if buried in substrate.
Let the cuttings callous for five to seven days, longer than leaf cuttings because the wound is larger and wetter. Place the calloused crown on a tray of dry mineral substrate with the bare stem resting on the surface.
Roots will emerge from the buried portion of the stem within three to four weeks. Do not water until roots are visible. Once roots appear, pot the cutting into a small terracotta container with the standard gritty mix.
Water lightly around the stem base — not on the rosette. The plant will establish a full root system within six to eight weeks and resume normal growth by the next growing season. Keep it out of direct afternoon sun for the first month — sun stress on an unrooted cutting is fatal.
Offset Division: The Fastest Path to a New Plant
Many Echeveria cultivars produce pups at the base of the mother rosette. elegans, Perle von Nurnberg, and pulidonis are reliable offsetters. laui and gibbiflora are slower. The varieties guide notes the offsetting habit of each cultivar. If your plant produces pups, this is the propagation method with the highest success rate and the shortest timeline.
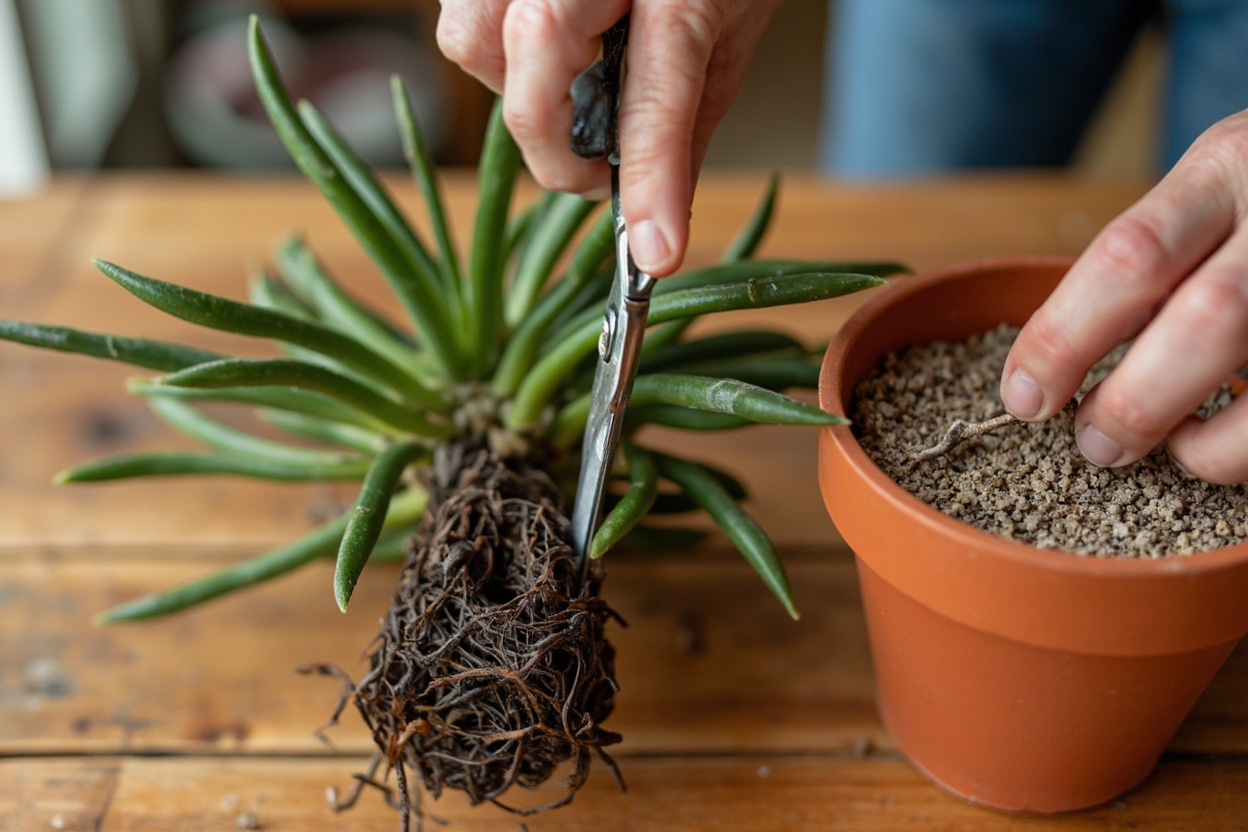
Wait until the pup has a rosette at least one inch across with visible roots of its own. Smaller pups survive separation poorly. Remove the mother plant from its pot and gently tease the root ball apart at the point where the pup connects. The goal is to preserve the pup’s roots while minimizing damage to the mother plant’s root system.
If the pup is connected by a thick stem rather than a root junction, cut it cleanly with a sharp blade. Let the separated pup callous for one to two days — shorter than leaf or stem cuttings because the root system is already functional.
Pot the pup into a small terracotta container with mineral substrate. Wait three to five days before the first watering to let any damaged roots seal over.
Common Propagation Failures and How to Fix Them
The most common failure is root rot before rooting. The cause is almost always moisture introduced too early — un-calloused cuttings placed on damp substrate, or water applied before roots are visible. Overwatering at this stage is fatal.
The fix is prevention: callous fully, use dry mineral substrate, and wait. If a cutting turns brown, mushy, or translucent, remove it immediately to prevent fungal spread. Leaf rot spreads fast in crowded propagation trays.
The second most common failure is desiccation. Leaves placed in direct sun or in very dry indoor heat lose their stored moisture before roots can form. The leaf shrivels completely and dies. The fix is bright indirect light and ambient humidity around 40 to 60 percent.
A clear plastic dome over the propagation tray helps retain moisture, but vent it daily to prevent fungal buildup. Place the tray on a windowsill with east-facing exposure if possible — the gentle morning light is ideal.
The third failure mode is impatience. A leaf that shows no roots at three weeks is not dead — it is slow. Some cultivars take six to eight weeks to produce the first root hairs. As long as the leaf remains firm and the farina is intact, leave it in place. Disturbing the leaf to check for roots damages the microscopic root initials forming at the calloused end.
For a cross-genus perspective on propagation troubleshooting, the haworthia propagation guide covers the same failure modes with genus-specific timing adjustments.
Aftercare: From First Roots to Independent Plant
The transition from rooted pup to independent plant is the phase most guides skip. A pup with roots is not a mature Echeveria — it has a fragile root system, no water reserves in its leaves, and zero tolerance for the soak-and-dry cycle that adult plants handle. Treat the first two months after rooting as a hardening-off period. Repotting too early is the most common mistake at this stage.
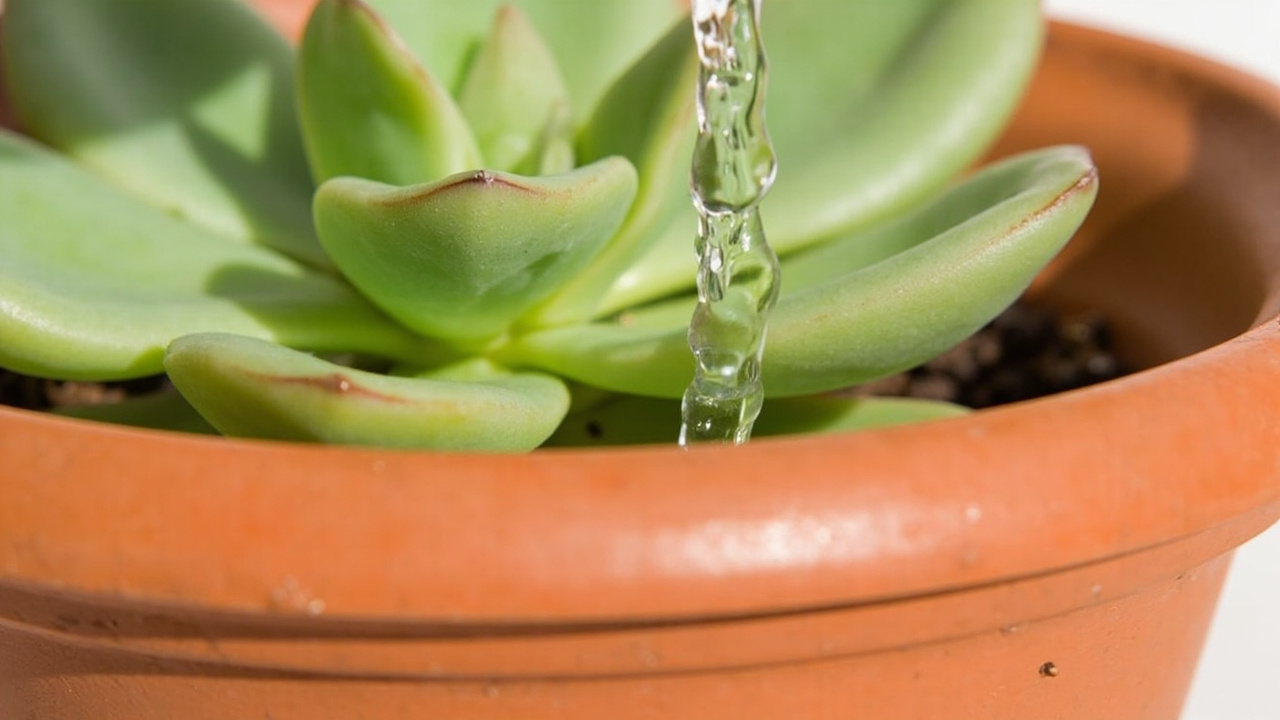
Water lightly around the root zone every five to seven days for the first month, keeping the mineral substrate slightly moist but never wet. In the second month, extend the interval to seven to ten days. By month three, the plant should be large enough to handle the full soak-and-dry protocol. The watering guide covers the mature schedule.
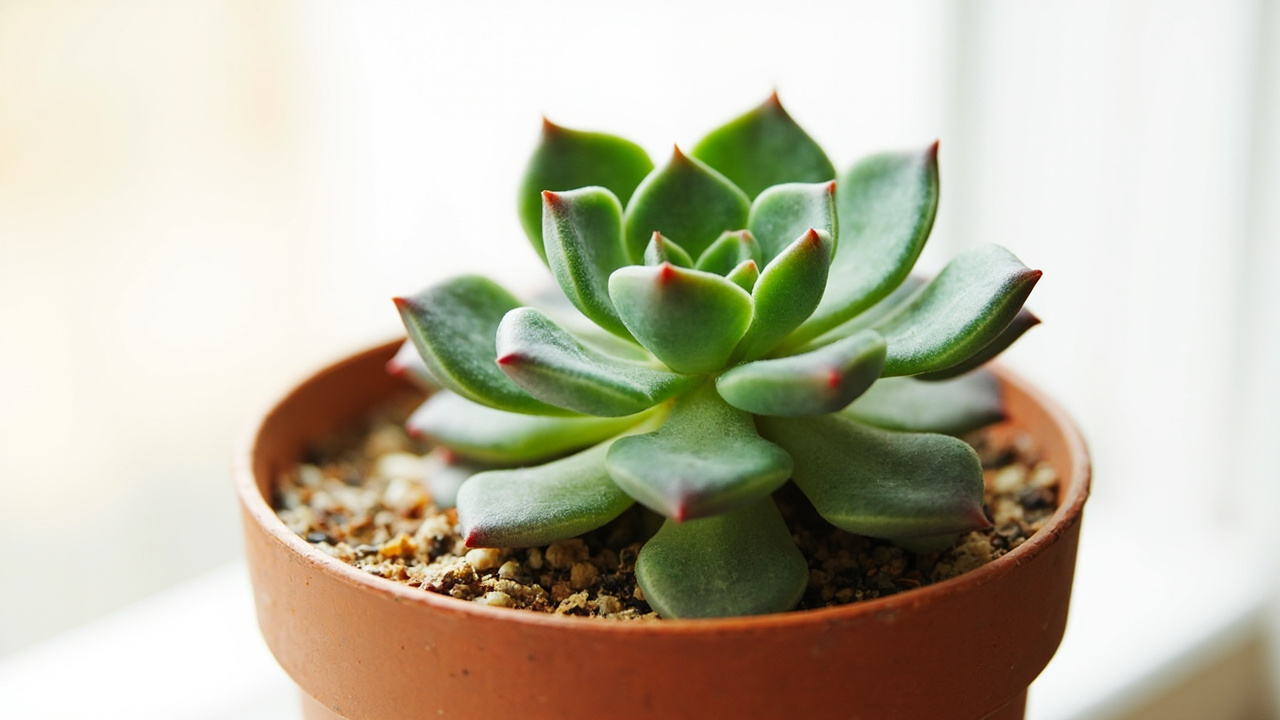
Transplant the pup into its permanent pot when the rosette reaches two to three inches across and the mother leaf (if propagated from a leaf) has fully shriveled. Use a terracotta container no more than one inch wider than the rosette. Fill with the standard 5:1:1 mineral substrate. Wait five to seven days after transplanting before the first watering to let transplant shock subside.
Propagation is a numbers game. Start twice as many leaves as plants you want. Accept that some will rot, some will dry out, and some will simply sit dormant for months before producing a pup.
The ones that succeed will be yours for years. Echeveria are long-lived, drought-tolerant plants, and a plant you propagate today will outlast the mother plant if you give it the light, drainage, and mineral substrate it needs. Even in shade, a healthy pup will survive — but it will not thrive without adequate light.