
A single coleus stem cutting can become three or four new plants in under three weeks if you cut at the right node and keep the humidity up. Most beginners kill their cuttings by rooting them too deep, using heavy garden soil, or forgetting to pinch off the flower spike before it forms. This guide shows you exactly how to avoid those mistakes with step-by-step instructions for both water and soil propagation methods.
Why Coleus Propagation Is the Easiest Houseplant Hack
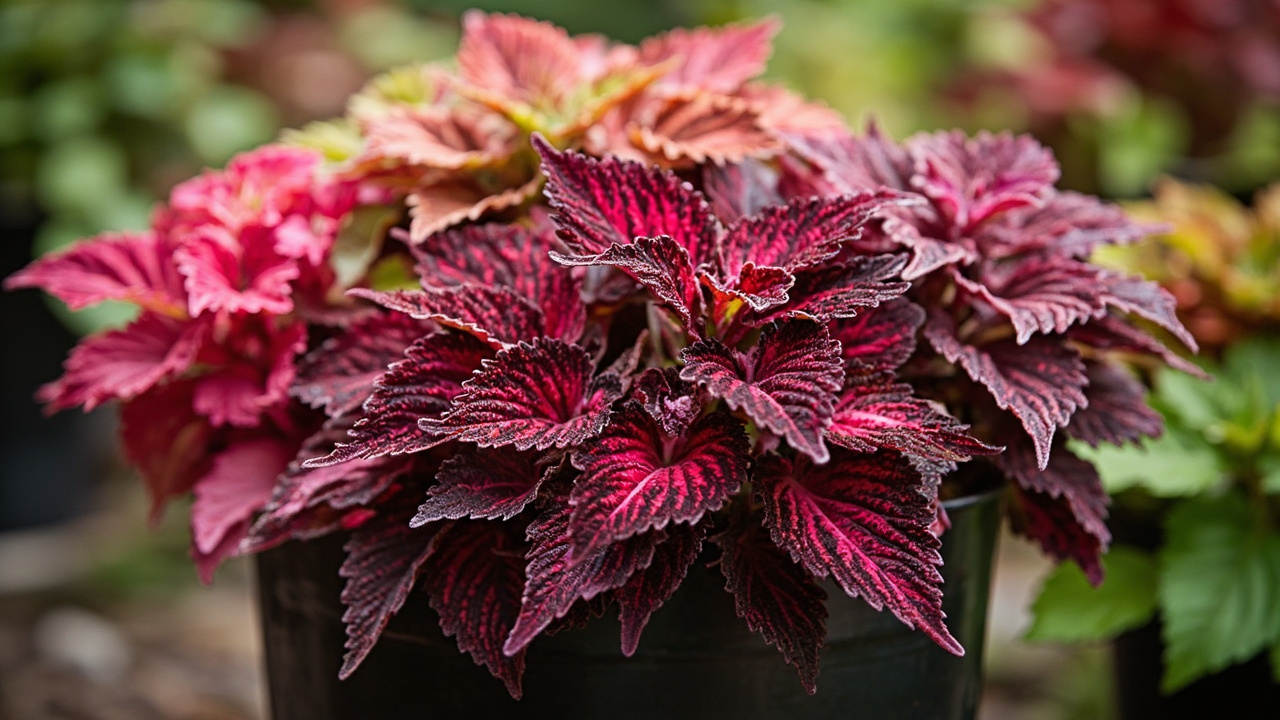
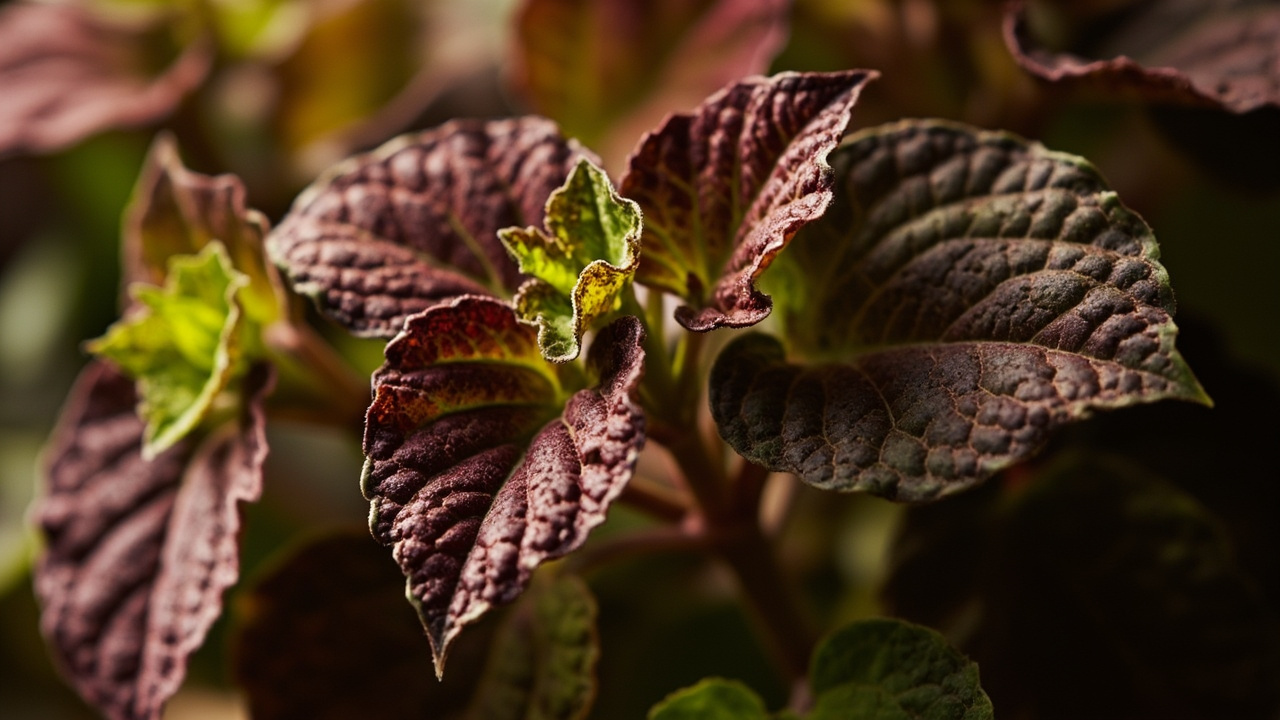
Coleus (Plectranthus scutellarioides, formerly classified as Solenostemon) belongs to the mint family, Lamiaceae. Every member of that family shares one anatomical trait that makes propagation almost stupidly simple: the square stem. That square cross section hides a supply of undifferentiated cells called cambium right at the nodes, the small bumps where leaves attach. When you snip just below a node and place that stem in water, those cambium cells activate and push out white root primordia within days.
This is not theoretical. The Royal Horticultural Society confirms that coleus cuttings root in 7 to 14 days at temperatures between 18 and 24 degrees Celsius, with success rates above 90 percent when the cutting includes at least one healthy node. Missouri Botanical Garden notes that the same cutting taken from a mature, flowering parent plant roots slightly slower because the plant diverts energy toward seed production instead of root formation. The practical takeaway is simple: take cuttings from a vegetative stem, not a flowering one, and you will get roots faster and stronger.
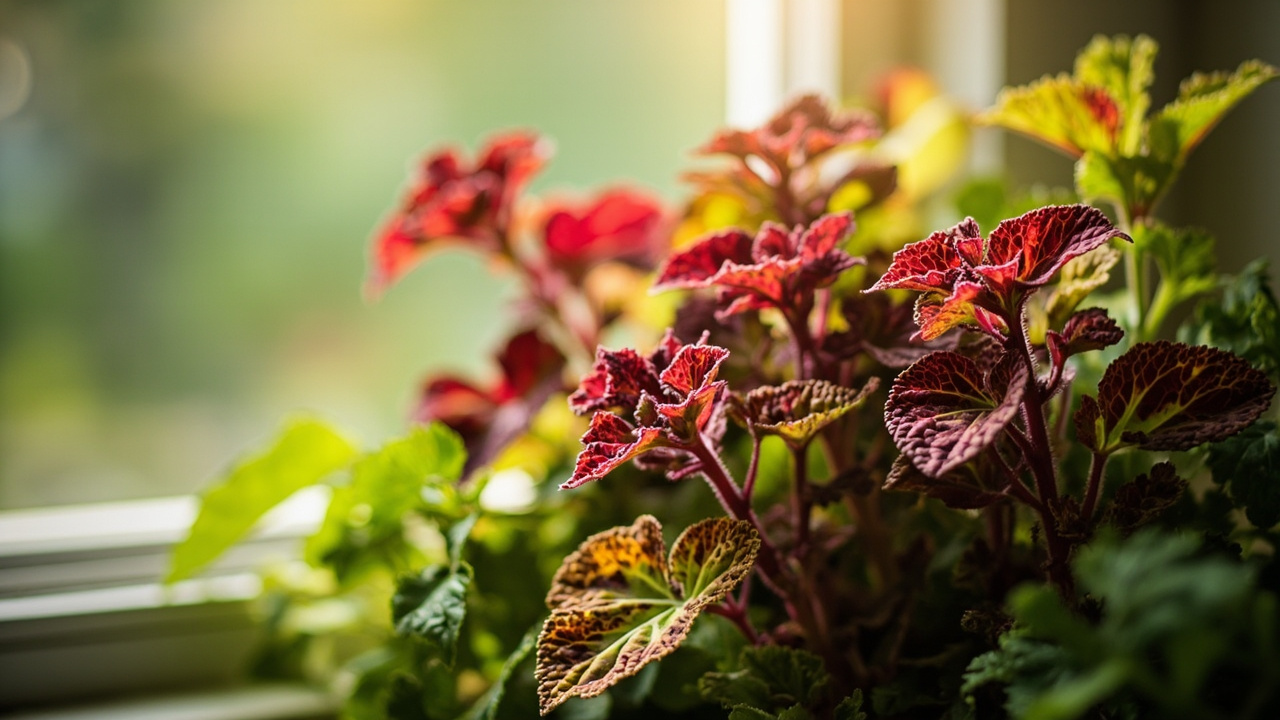
The second reason coleus propagation is so reliable is that the plant is tropical understory in origin. In the wild, fallen stems root where they touch damp soil. That evolutionary shortcut means your kitchen windowsill mimics the exact conditions the plant evolved for: warm, humid, indirect light with frequent water access. You are not fighting the plant biology. You are riding it.
When to Take Cuttings for the Best Results
The ideal window for taking coleus cuttings runs from early spring through midsummer, when the plant is in active growth and the nodes are swollen with energy. Spring cuttings benefit from increasing daylight hours and naturally warming indoor temperatures. Summer cuttings root fastest but require shade protection so the cutting does not desiccate before roots form. Autumn cuttings work if you bring the parent plant indoors before the first frost, but the rooting period stretches to 14 to 21 days because daylight is declining and temperatures are dropping.
Do not take cuttings during winter dormancy unless you can maintain the cutting under a grow light at 18 to 21 degrees Celsius with 12 to 14 hours of light daily. Dormant cuttings will often survive in water for weeks without rooting, then rot once you think they are ready and move them into soil. The patience test: if the node has not produced a white bump after 10 days in warm water, the parent plant may be dormant or the water may be too cold.
A second rule governs which stem to select. Choose a stem that is green, firm, and about 10 to 15 centimetres long. Avoid stems that are woody, brown, or flowered. A vegetative stem tip that has not yet begun to flower contains the highest concentration of auxin, the plant hormone that drives root initiation. Once a stem commits to flowering, auxin shifts from the tip to the developing flowers, and root potential drops sharply. This is the single most common mistake beginner propagators make: taking a cutting from a stem that already has a flower spike forming at the tip.
The Cutting Technique: Where and How to Cut
Step one is tool preparation. Use clean, sharp scissors or pruning shears. Dull blades crush the stem tissue, creating a wider wound that takes longer to callus and is more susceptible to bacterial infection. Clean the blades with rubbing alcohol for 30 seconds before each cut. This is not optional when you are working with tropical foliage plants that heal slowly in cool indoor air.
Step two is the cut itself. Locate the node you want to use. A node is the small raised bump on the stem where a leaf attaches. Count down the stem from the tip until you find a node that has at least two leaves above it. Make your cut approximately one half centimetre below that node, at a 45-degree angle. The angled cut increases the surface area available for root formation compared to a straightacross cut. The half-centimetre buffer prevents you from cutting directly into the node, which would damage the cambium tissue that produces roots.
Step three is leaf preparation. Remove the lower leaves from the cutting, leaving only the top two to four leaves intact. Any leaf that would sit below the water line or be buried in soil must go. Submerged leaves rot instantly, creating bacterial slime that chokes the stem and prevents rooting. The remaining upper leaves will continue photosynthesis while the roots develop, providing the energy the cutting needs to establish itself.
Step four is optional but recommended: dip the cut end in rooting hormone. A powder or gel containing indolebutyric acid (IBA) at 0.3 percent concentration speeds root initiation by 3 to 5 days compared to untreated cuttings. The hormone concentrate at the cut site triggers the cambium cells to divide rapidly, forming the root primordia that you will see as white bumps within a week. If you do not have rooting hormone, plain water propagation still works, but expect the extra days.
Water Propagation: The Visible Method
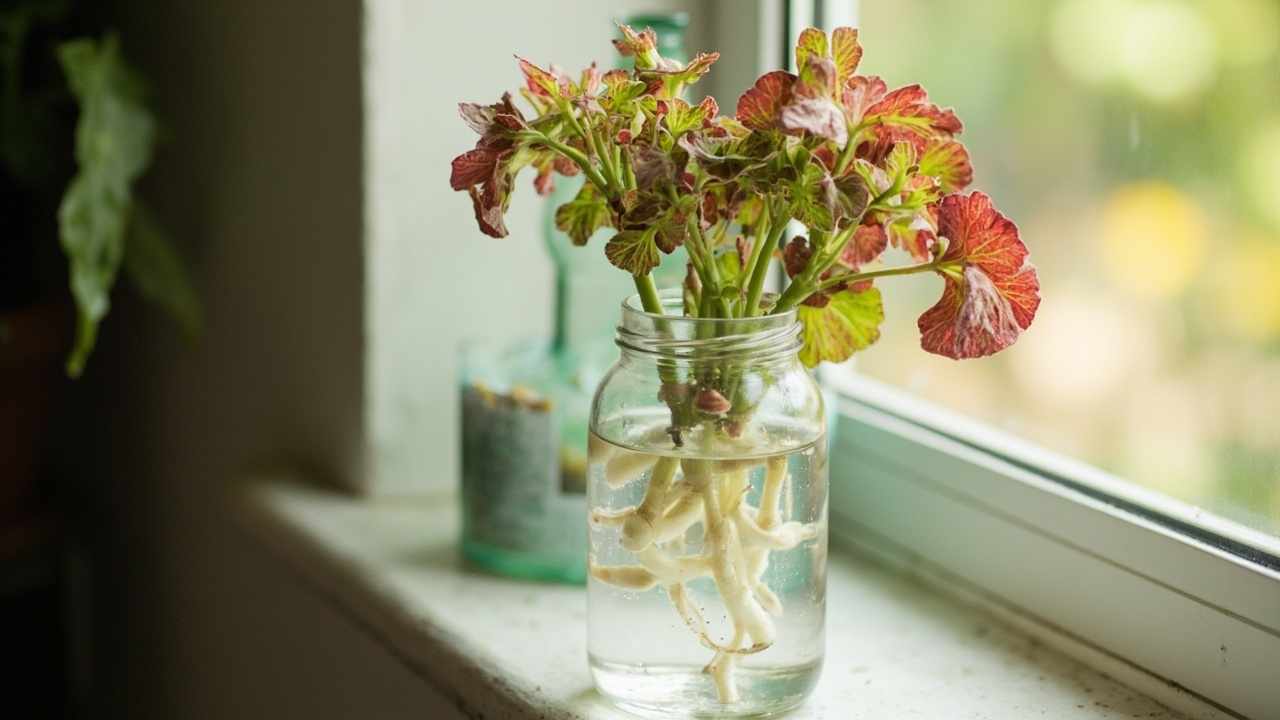
Water propagation is the most popular method because you can watch the roots form, which gives beginners confidence that the cutting is alive and progressing. Fill a clear glass or jar with room-temperature filtered water. Tap water left to sit for 24 hours is acceptable if your municipal supply is heavily chlorinated, but filtered or rainwater eliminates chlorine and fluoride concerns entirely.
Place the cutting in the vessel so that the trimmed node sits approximately two to three centimetres below the water surface. Do not submerge any leaves. If the vessel is narrow, one cutting fits snugly. If it is wide, use a rubber band across the rim and rest the cutting across the opening so the node dips into the water while the leaves hang free. This simple trick keeps multiple cuttings organized and prevents them from floating apart.
Position the vessel in bright indirect light. A north-facing windowsill works. A south-facing window with a sheer curtain works better. Direct sun through glass will cook the water and scorch the cutting simultaneously. Check the water level every two to three days and top up with fresh room-temperature water as needed. Replace the water entirely every five to seven days to prevent bacterial buildup. Murky water means bacteria; clear water means healthy rooting.
Root development follows a predictable timeline. Between days 3 and 5, you will see small white bumps appearing at the submerged node. These are root primordia, the precursors to true roots. By days 7 to 10, the primordia elongate into visible roots, usually 1 to 2 centimetres long. By days 10 to 14, the roots reach 3 to 5 centimetres and begin branching. This is the transplant window: move the cutting into soil when roots are at least 2 centimetres long, not before. Shorter roots are fragile and break easily during the transfer.
Soil Propagation: The Faster Method
Soil propagation skips the water phase and plants the cutting directly into a rooting medium. It is faster in the sense that there is no transplant shock, but it is less visible, which makes some beginners nervous. The medium matters more than with water propagation because the cutting relies entirely on the soil for oxygen, moisture, and structural support during the critical first two weeks.
The ideal soilless mix for coleus cuttings is 50 percent peat-free compost, 25 percent perlite, and 25 percent vermiculite. Peat-free compost provides the organic matter and moisture retention. Perlite creates air pockets for oxygen, which is essential because root primordia need oxygen to divide. Vermiculite holds moisture without compacting. This 50-25-25 ratio produces a growing medium that stays moist but never waterlogged, the exact condition coleus roots prefer.
To plant the cutting, moisten the mix first. It should feel like a wrung-out sponge: damp to the touch but not dripping. Make a hole in the centre of a small pot (7 to 10 centimetres diameter is fine) with a pencil or your finger. Insert the cutting so that the trimmed node is buried approximately 2 centimetres deep. Firm the soil gently around the stem with your fingertips. Do not pack it hard. Compact soil suffocates the tiny roots that are about to emerge.
After planting, water the pot lightly to settle the soil around the cutting. Then place it inside a clear plastic bag or under a clear plastic dome to create a humidity dome. The dome traps moisture around the leaves, reducing transpiration loss while the cutting has no roots to replace that lost water. Poke three or four small holes in the bag for minimal airflow. Place the pot in bright indirect light and keep the soil consistently moist but not wet.
Check for root establishment by gently tugging on the cutting after 10 to 14 days. If you feel resistance, roots have formed and are holding the stem in place. If the cutting slides out freely, wait another 3 to 5 days and check again. Once roots are established, remove the humidity dome gradually over 3 to 4 days to harden off the new plant. Start by opening the dome for a few hours each day, then leave it off permanently once the cutting shows new leaf growth.
Common Mistakes That Kill Coleus Cuttings
The first and most common mistake is cutting too deep. When the stem is buried beyond the node, the tissue below the node rots before roots can form. Always cut one half centimetre below the node and plant no deeper than 2 to 3 centimetres. The node is the root factory. Bury it too deeply and you smother the factory.
The second mistake is using garden soil or heavy potting mix. Garden soil compacts around the cutting, excluding oxygen. Heavy potting mix retains too much moisture and promotes fungal growth at the stem base. Always use the loose, airy soilless mix described above. If you only have standard potting mix, amend it with equal parts perlite to improve drainage and aeration.
The third mistake is placing the cutting in direct sunlight. Direct sun through a window raises the temperature inside the humidity dome to lethal levels within an hour, essentially cooking the cutting. Bright indirect light is the requirement. An east-facing window with morning sun only, or a south-facing window with a sheer curtain, provides the right intensity without the thermal risk.
The fourth mistake is neglecting to remove lower leaves. Any leaf that sits below the water line or is buried in soil will rot within days. Rotting leaves release ethylene gas, which accelerates senescence in the cutting and slows root formation. Strip all lower leaves before placing the cutting in water or soil.
The fifth mistake is impatient checking. Beginners lift the cutting out of the water every day to inspect roots, disturb the emerging primordia, and introduce bacteria from their fingers. Check once every three to four days. The roots will form when they are ready, not when you look at them.
After Roots Form: Transplanting and Pinching
Once the cutting has a healthy root system, transplant it into its permanent pot. Use a standard peat-free potting mix amended with perlite for drainage. A 12 to 15 centimetre pot is appropriate for a single rooted cutting. Plant at the same depth the node sat in the rooting medium. Water thoroughly and place in bright indirect light.
Pinch the growing tip when the new plant reaches 10 to 12 centimetres tall. Pinching removes the apical dominance that keeps the plant growing tall and leggy. After pinching, the plant redirects energy into lateral buds below the cut, producing two to four new branches. Each new branch will eventually be pinched again, creating a dense, bushy mound of colourful foliage rather than a single tall stem with leaves only at the top.
For beginners who want a quick visual reward, here is the timeline from cutting to potted plant: day 1 is the cut, day 7 shows roots in water or resistance in soil, day 14 is transplant, day 21 is the first pinch, and day 35 is a bushy, branching plant ready to colour a windowsill or garden bed. This timeline assumes warm indoor temperatures and bright indirect light throughout.
Cross-Cluster Bridges
If you are propagating coleus alongside other tropical foliage plants, the same principles apply. For the full care overview that includes the light, water, and feeding routines that support healthy cuttings, see the coleus care guide. The croton propagation guide covers stem cuttings for a related but more demanding species. Crotons root more slowly and need higher humidity than coleus, but the cutting technique is identical: clean cut below a node, remove lower leaves, keep the medium moist but not wet.
For growers who want to propagate multiple species at once, the general houseplant propagation guide covers water propagation, soil propagation, and humidity dome techniques for a wider range of species including pothos, philodendron, and spider plant.
Coleus is toxic to cats and dogs if ingested, though the toxicity is mild. For information on pet-safe propagation choices, see the pet-safe houseplants guide.
Turn PDF Bank Statements Into Workable Spreadsheets
Your bank statement is a mess of numbers, but your books shouldn't be. Use our converter to get Excel, CSV, or QBO files — ready for QuickBooks.
Try It Free Now