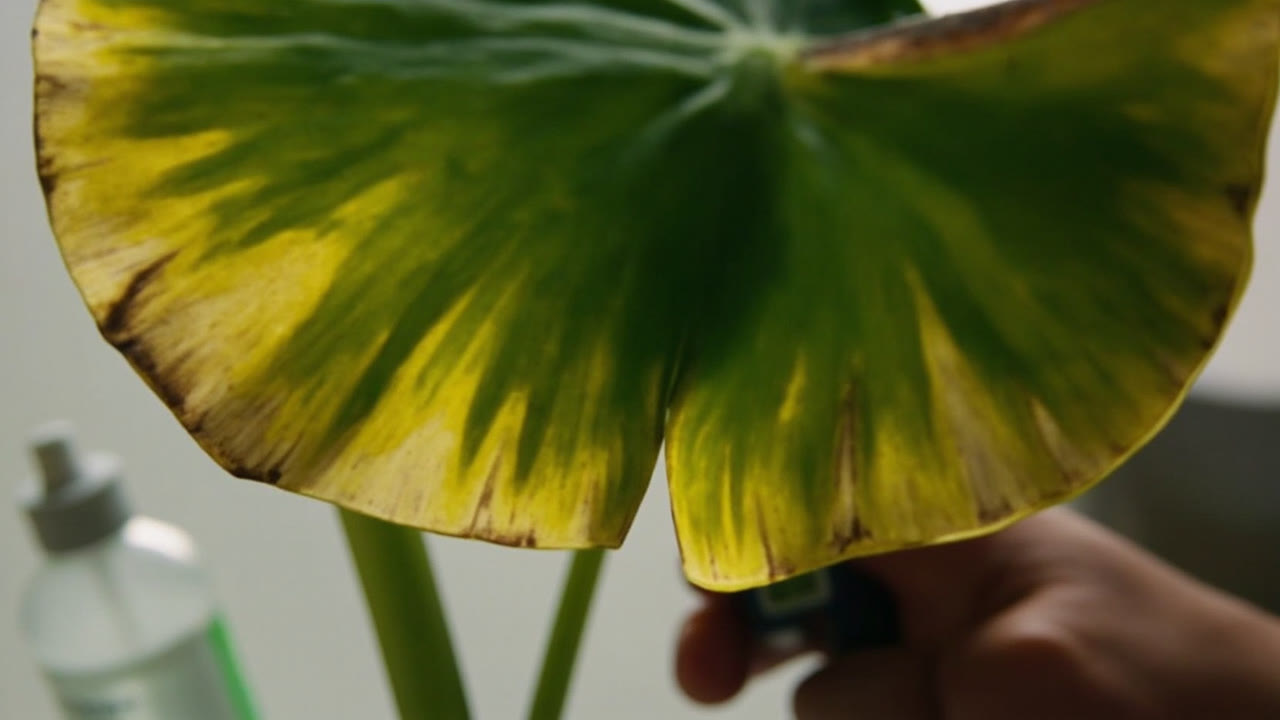
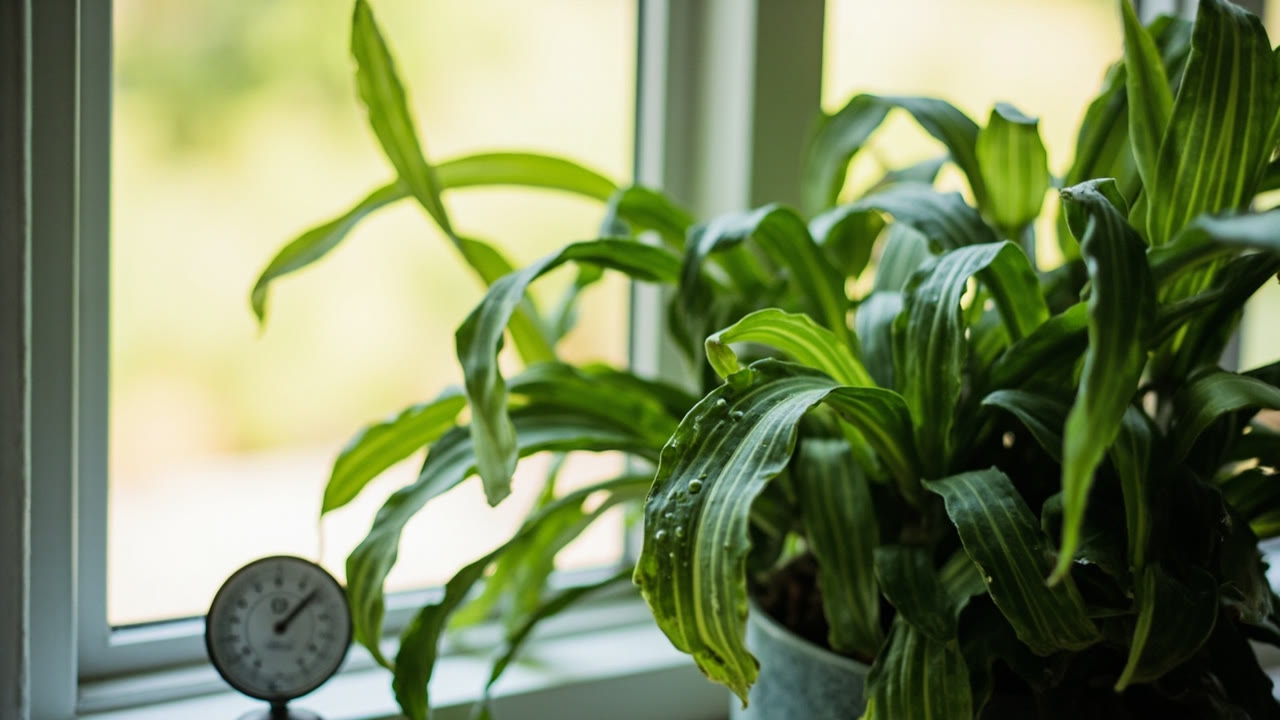
Calathea are humidity-loving plants that need consistent moisture to thrive. For the full care requirements, see our calathea care guide.
With pothos, you cut, stick in water, wait, and move to soil. With calathea, the propagation methods that actually work require more patience and involve a different set of failure points—most of which center on root handling rather than cutting technique. If you’ve tried propagating calathea from leaf cuttings and watched the leaf slowly rot without producing roots, that’s the expected outcome. Leaf propagation doesn’t work reliably for calathea. Stem division and root division do. This guide covers both.
Why Calathea is Harder to Propagate Than Most Houseplants
Calathea are rhizomatous plants— they grow from underground stems called rhizomes that produce both roots and shoots. Unlike vining plants like pothos that root readily from any node, calathea’s new growth emerges from specific points on the rhizome, and those points don’t reliably produce roots when separated. The plant’s metabolism is also slower than fast-growing tropicals; a cutting that would root in two weeks on a pothos might take two months on a calathea.
The other factor is humidity. Calathea naturally grow in understory conditions with consistently high ambient moisture (typically 60–80%). A calathea cutting in a dry room will transpire water faster than it can replace it, causing the leaves to roll and the cutting to decline before roots develop. This is why the propagation environment matters more for calathea than it does for most other houseplants.
What Will and Won’t Work
Leaf-only propagation does not work reliably on calathea. A detached calathea leaf set in water will stay green for weeks, sometimes produce root-like nubs, and then slowly collapse without ever producing a viable plant. The reason is that calathea leaves have no node tissue with dormant growth points the way vining plants do. Without a growth point, there’s nothing to generate new plant tissue.
Stem cuttings with a node can work, but the success rate is lower than division, and the timeline is longer. A stem cutting needs to have an active growth bud (a new leaf roll forming at the base of an existing leaf) in addition to root nubs. Without the bud, the cutting has no path to producing new leaves.
Division is the most reliable method because it separates a portion of the rhizome that already has established roots, established shoots, and the hormonal infrastructure to continue growing. If your calathea is large enough to divide, this is the method to use.
Division Propagation: The Reliable Method
Division works best during the active growing season—spring through early autumn. For the temperature range that supports the most successful calathea propagation, see our calathea care guide. when temperatures are stable and the plant is putting out new growth. In winter, the plant’s energy is directed toward survival rather than expansion, and divided sections root more slowly and fail more often. If you live in a temperate climate, aim for late spring or early summer (60–80°F / 16–27°C ambient temperatures).
Water the plant thoroughly the day before you plan to divide it. A well-hydrated root system is more resilient to the stress of separation and repotting. Let the pot drain completely before you begin.
Remove the plant from its pot by turning it on its side and gently sliding the root mass out. If the plant is root-bound, you may need to run a clean knife around the inside edge of the pot to free the roots. Do not pull the plant out by the stems—that damages the rhizome.
Examine the root mass and identify natural sections that have their own roots and at least one healthy leaf or leaf shoot. Calathea rhizomes grow horizontally, and new shoots emerge from the advancing end of the rhizome. A section with 2–3 shoots and a connecting rhizome segment of at least 5–8cm will establish reliably. A single leaf with a tiny thread of roots has almost no chance of surviving.
Separating the Division
Use a clean, sharp knife to cut through the rhizome between sections. The knife should be sharp enough to make a clean cut without crushing the tissue—a clean cut seals faster than a torn one. Cut at a natural gap between rhizome segments where the plant has already begun to separate itself. If you have to cut through a thick, dense section of rhizome to separate two shoots, the section may be too small to survive independently.
After separation, inspect each division’s roots. If any roots are brown, mushy, or smell sour, trim them back to firm white tissue. Healthy calathea roots are cream to tan colored and feel firm when gently tugged. Black, mushy, or stringy roots should be removed entirely—these will rot in the fresh soil and potentially spread decay to the whole division.
What happens next: each division is now an independent plant that needs to establish its root system in fresh soil. This is the critical phase. The division will look the same as before for the first 2–3 weeks while it adjusts to the shock of separation and produces new root hairs. During this window, the biggest risk is overwatering—too much water in the early stages invites the rhizome to rot before new roots have formed to absorb it.
Stem Cutting Propagation: Lower Success, Still Possible
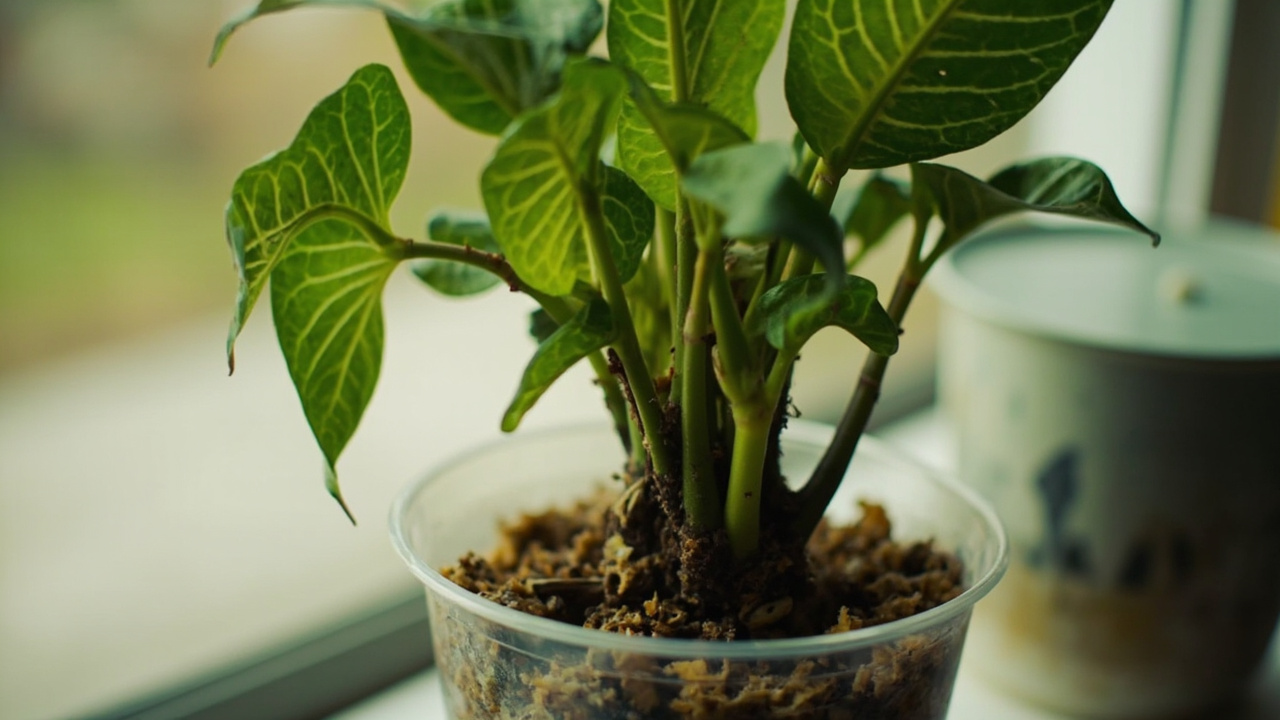
If your calathea is small and can’t be divided, stem cutting is an option—but only if you can identify a cutting with a visible growth bud. The growth bud is the point where a new leaf is beginning to unfurl from the base of an existing leaf. Without this bud, the cutting has no meristematic tissue to produce new leaves and will not grow into a new plant, regardless of how healthy the roots look.
Select a stem section with at least 2–3 leaf nodes and a visible growth bud at the base of one of the leaves. Cut the stem 3–5cm below the lowest node with a clean blade. Remove the lowest leaf to expose the node—this will be the point that goes into the propagation medium. Leave the top 2–3 leaves intact.
Root the cutting in a small container of moist perlite or a 50/50 mix of perlite and peat moss. The medium should be damp but not waterlogged. Insert the node end to a depth of 2–3cm. Place the container in a warm spot (65–75°F / 18–24°C) with bright indirect light and cover with a clear plastic bag or propagation dome to maintain humidity above 60%. Open the cover for 10 minutes daily to allow gas exchange and prevent fungal buildup.
Monitoring the Cutting
In the first 2–4 weeks, the cutting is surviving on stored energy. It will look largely unchanged. Do not attempt to check for roots by pulling on the cutting—this disrupts the root zone and can tear newly forming root initials. Watch for the leaves to remain turgid and uncurled—curling leaves indicate the cutting is losing water faster than it’s absorbing it, which is a sign the humidity environment is inadequate or the cutting was too dehydrated at the time of propagation.
Between weeks 4 and 8, you should see either new leaf growth emerging from the bud (confirming the cutting is establishing) or the leaves gradually declining. If new leaf growth appears, the cutting is successful and can be treated as a young calathea plant—gradually removing the cover over a 1-week period to acclimate it to normal room humidity, then repotting into standard calathea mix when the new leaf is fully unfurled and the root system is visibly filling the small container.
If the leaves begin to yellow, brown at the edges, or curl tightly inward despite high humidity, the cutting has failed. For the complete guide to diagnosing and fixing calathea leaf problems, see our calathea brown leaves guide. Remove it and compost the material. Do not attempt to propagate from a cutting that is already declining—it will not recover.
Aftercare: The First 8 Weeks
Newly divided calathea and successful stem cuttings have the same aftercare requirements. Keep the plant in bright indirect light—never direct sun, which stresses the recovering root system. Maintain temperatures between 65–78°F (18–26°C). Maintain relative humidity above 50%; in dry climates or air-conditioned rooms, use a pebble tray or room humidifier to support the plant during this phase.
Water when the top 2–3cm of soil are dry. In the first 4 weeks, err toward slightly underwatering rather than overwatering—the root system is reduced and can’t process large volumes of water quickly. Once you see new leaf growth, the plant has successfully established and can be moved to your normal calathea watering routine.
Once your divided calathea is showing consistent new growth with at least 2–3 new leaves, you can transition to normal feeding. For the fertilizer schedule that supports healthy calathea growth long-term, see our calathea care guide.
Do not fertilize in the first 6–8 weeks after division. The roots are too sparse to process fertilizer safely, and burning them will kill the new plant. Begin a diluted liquid fertilizer program (half-strength) only after the plant is showing consistent new growth with at least 2–3 new leaves.
Turn any PDF statement into a clean sheet
Skip the typos and the hours of copying. Our converter handles any bank statement format and outputs Excel, CSV, or QBO for QuickBooks. No file retention, free to try.
Convert your statement