
A rubber plant is the single most reliable rescue for a leggy specimen, and air layering is the method that turns a tall bare cane back into a leafy, compact plant without losing the height you have already grown.
Why air layering is the most reliable method for a leggy rubber plant
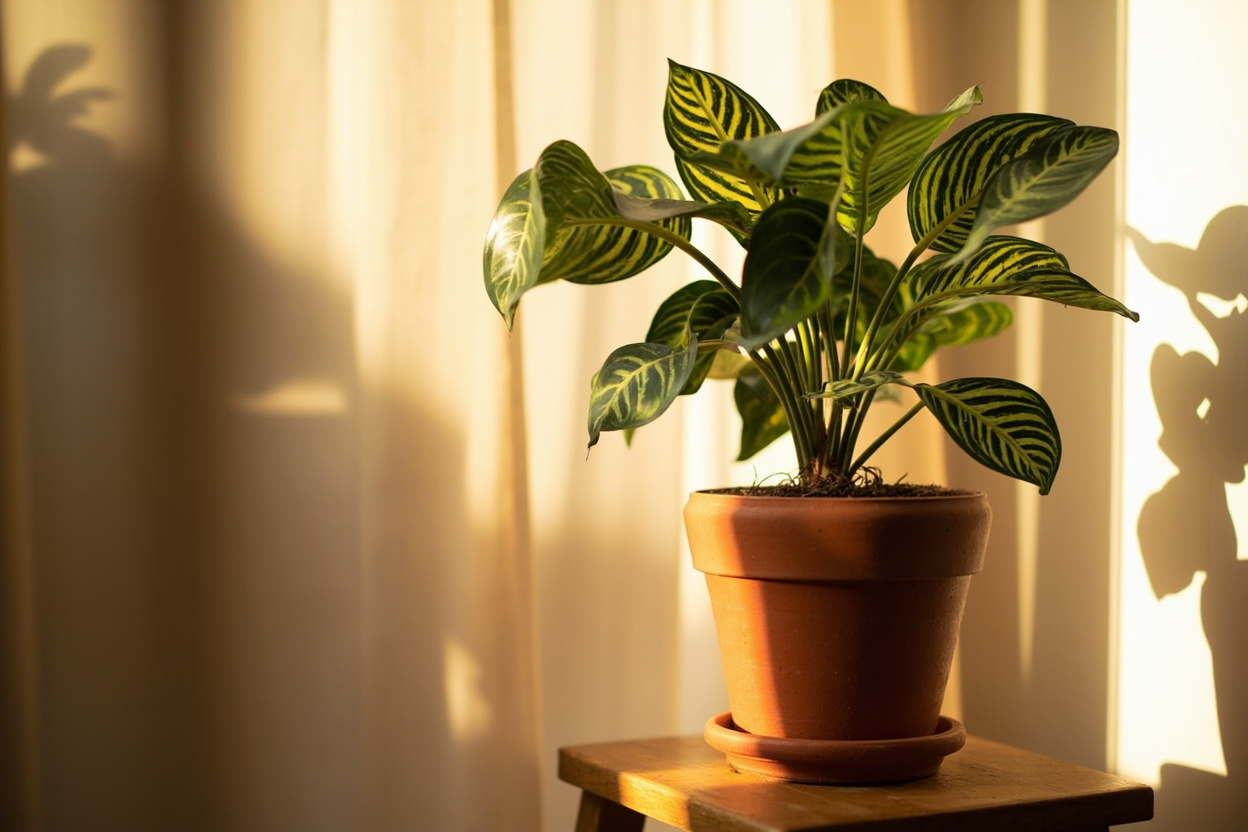
A rubber plant, Ficus elastica, will outgrow its indoor space in two to three years if it is happy. The single stem you brought home from the nursery pushes new leaves from the top, drops the lower leaves it no longer needs, and slowly turns into a tall, bare cane with a tuft of foliage at the ceiling. Stem cuttings from that bare cane root slowly, often rot in water, and frequently fail to push a new leader because there is no dormant node to wake up. Air layering solves both problems at once. You root the section you want to keep while it is still attached to the mother plant, then sever it only once a healthy root mass has formed. The cutting keeps its existing leaves and apex, the parent plant keeps its lower foliage and root system, and you avoid the transplant shock that kills most rubber plant cuttings.
The reason air layering works so well for Ficus elastica comes down to three biological facts. First, the cambium layer just under the bark is alive and can produce adventitious roots whenever it is exposed to moisture and darkness, in active growth periods of spring and summer when the mother plant is actively pushing new foliage at the apex. Second, a mature stem already has the vascular plumbing to feed leaves above the wound, so the cutting never goes hungry while it roots. Third, Ficus elastica is a tropical tree that evolved to drop branches and regrow from broken stubs in its native range, so it responds to wounding by activating the same healing response that produces aerial roots in the wild. A clean girdle plus damp sphagnum moss replicates that exact signal.
Compared to the alternatives, air layering is the only method that lets you save a tall, leggy rubber plant without cutting it down and starting over. Water propagation on stem cuttings works for soft new growth, but a thick, woody cane from the middle of the plant will sit in water for months without producing roots. Soil propagation in a pot has the same problem with high rot risk. Tissue culture is not practical at home. Air layering is the method that commercial nurseries use to produce large, leafy rubber plant specimens from stock plants, and it is the method that gives home gardeners the highest success rate on the first attempt.
What you need before you start the air layer
You will only need a handful of tools, and most of them are already in a typical houseplant kit. Gather them on a clean tray before you cut anything, because once the wound is open you want to work quickly to keep the cambium from drying out.
- A sharp, sterilized blade. A grafting knife or a fresh utility blade works better than pruning shears because you want a single clean cut, not a crushing squeeze.
- Long-fiber sphagnum moss. Roughly two handfuls soaked in water and squeezed until it is damp but not dripping. Pre-soaked dry moss hydrates faster than dry-from-the-bag moss.
- Rooting hormone, ideally a gel or powder containing 0.3 to 0.8 percent IBA (indole-3-butyric acid). Ficus elastica will root without hormone, but the success rate and root speed both improve with it.
- Plastic wrap, cling film, or a small clear plastic bag to hold the moss against the stem and keep humidity inside the bundle.
- Twist ties, electrical tape, or grafting tape to seal the top and bottom of the wrap so the moss does not dry out during the active growing season.
- Aluminum foil, optional but recommended. Wrapping the outside of the plastic bundle blocks light from reaching the cambium, which stimulates root formation and prevents algae growth inside the moss ball.
- A spray bottle with clean water for re-wetting the moss if it dries out during the 4 to 8 week rooting window.
Pick the right stem before you do anything else. The ideal candidate is a section of cane that is at least as thick as your index finger, woody rather than green, and positioned between two healthy leaf nodes. Avoid the soft green tip, which is too immature to root quickly, and avoid sections with old leaf scars that have already healed over completely, because the dormant buds there may be slow to wake up from winter dormancy into active growth.
For woody-stemmed species such as Ficus elastica, Ficus lyrata (fiddle leaf fig), magnolia, camellia, dracaena, schefflera, dieffenbachia, money tree (Pachira aquatica), azalea, and holly (Ilex), the best air layering results come from semi-woody stems taken in spring or early summer when sap flow is high and the cambium is most responsive to wounding. The section you choose should be at least 15 centimeters below the lowest leaf you want to keep on the new plant, because once you sever the air layer you will need to pot it deep enough to support the stem without a stake for the first few months.
How to make the girdle without damaging the mother plant
The girdle is the single most important step in the entire process. The goal is to remove a one to two centimeter band of bark, cambium, and phloem all the way around the stem without cutting so deep that you sever the xylem. The xylem is the woody inner core that carries water up from the roots. Cut too shallow and the phloem bridges will reconnect, the wound heals over, and no roots form. Cut too deep and the stem snaps off before the roots can support it.
Make two parallel cuts around the stem, one centimeter apart, just deep enough to slice through the green or brown bark. On a young green stem you will see white tissue underneath. On an older woody stem you will see pale yellow or cream wood. Stop cutting as soon as you reach that pale layer. Slide the blade between the two cuts and peel off the ring of bark between them. If small flecks of green or brown tissue remain, scrape them away with the back edge of the blade so the cambium is fully exposed all the way around. A properly girdled stem should look like a clean pale band with no dark tissue left in the middle.
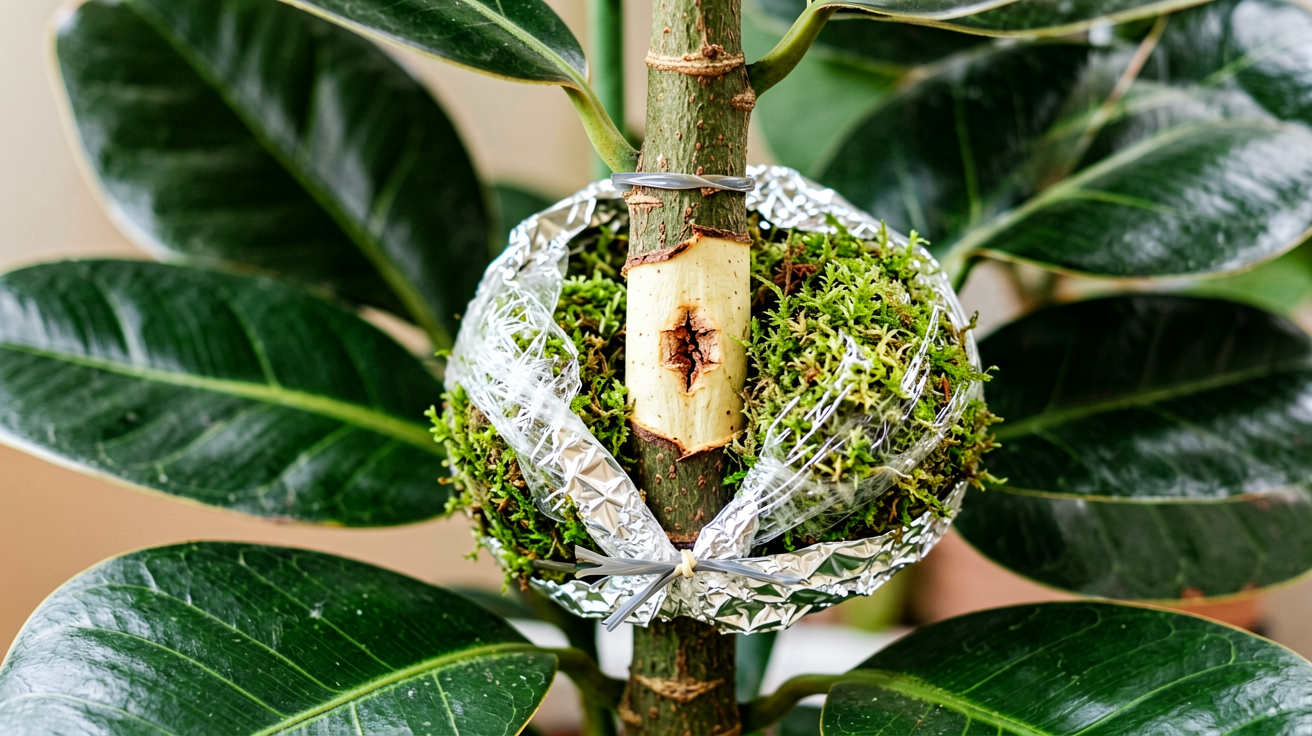
Wait two to five minutes after scraping. Ficus elastica exudes a milky white latex sap from any cut, and that sap can seal the wound and prevent rooting if it hardens before you apply the moss. Letting the sap run freely for a few minutes drains it away. You can speed this up by misting the girdle with clean water, but do not wipe it with a cloth, because wiping smears the latex back across the wound. Once the latex stops dripping, dust or paint the girdle with rooting hormone. The hormone sits on the exposed cambium and signals the cells to switch from wound-healing mode to root-producing mode.
Wrapping the moss ball and sealing the bundle
Take the pre-soaked sphagnum moss and squeeze out the excess water until it is the consistency of a wrung-out sponge. Form a fist-sized ball that is roughly two to three times the diameter of the stem. Press the moss ball around the girdle so it covers the entire wounded band and extends one to two centimeters above and below the cuts. The moss should be in direct contact with the cambium all the way around, with no gaps or air pockets where the cambium could dry out.
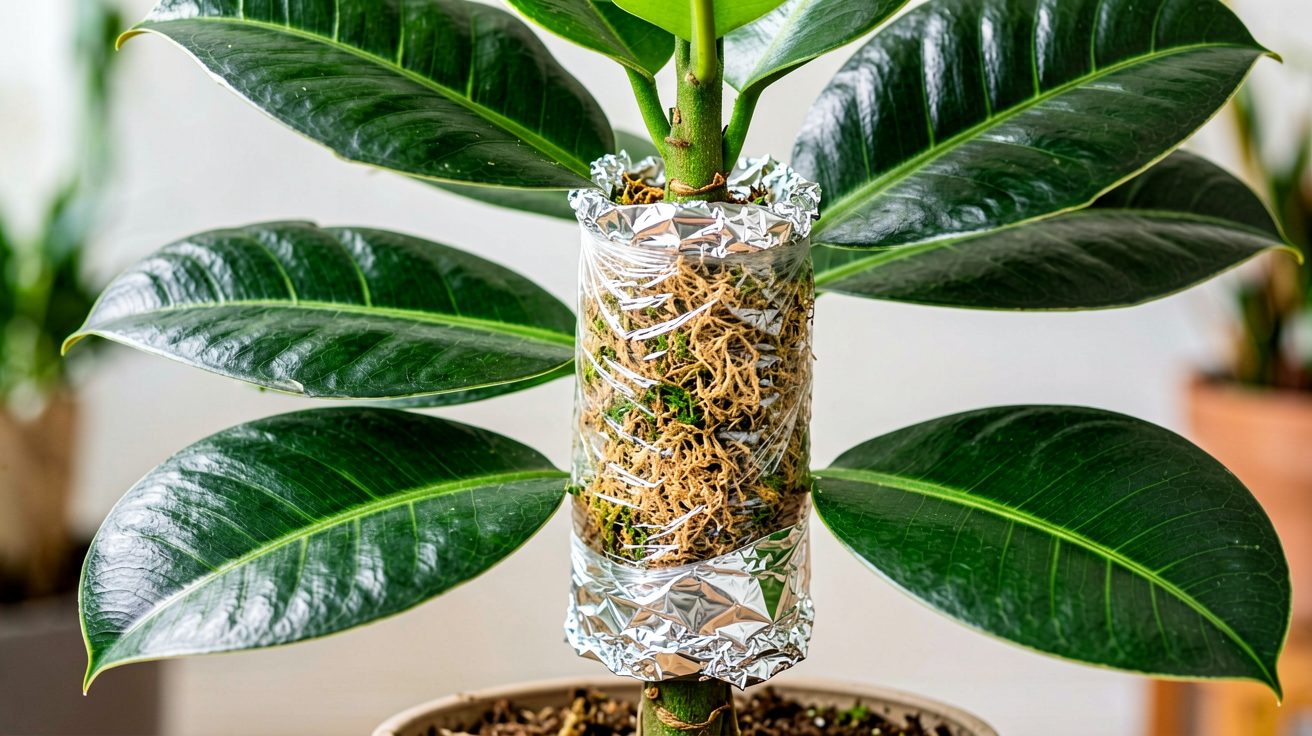
Wrap the moss ball tightly with plastic wrap or a clear plastic bag. The wrap should overlap itself several times and extend two to three centimeters beyond the moss on both ends. Twist or fold the top and bottom edges snug against the stem and secure them with twist ties, electrical tape, or grafting tape. The seal needs to be tight enough that water vapor cannot escape, but not so tight that you strangle the stem or restrict the flow of sap. A good test is to gently squeeze the bundle and feel for air leaks at the top and bottom seals.
Wrap the outside of the plastic bundle with a single layer of aluminum foil. The foil does three things at once. It blocks light, which encourages roots to grow toward the darker cambium surface rather than the brighter outer layer of the moss. It prevents algae from colonizing the inside of the moss ball, which would compete with the developing roots for nitrogen. It also moderates the temperature inside the bundle so the cambium does not cook in direct sun or freeze near a cold window. Once the foil is in place, the air layer is complete and you only need to wait.
How long roots take and how to check without breaking the seal
Ficus elastica typically produces visible white roots inside the moss ball within four to eight weeks when air layering in spring or early summer. The exact timing depends on three factors. Warm temperatures between 21 and 27 degrees Celsius speed up root formation. Bright indirect light on the leaves above the wound provides the energy the cutting needs to push roots. Active growth on the mother plant, indicated by a new leaf unfurling at the apex, signals that the cambium is biologically primed to root.
You can check progress without unwrapping the bundle. Squeeze the moss ball gently. A well-developed root mass will make the bundle feel firm and resist compression, similar to a tightly packed tennis ball. A bundle that still feels soft and squishy means the roots have not filled out yet. You can also look for visual cues by holding the bundle up to a bright light. Roots inside the moss ball show up as fine white threads branching through the dark moss. If you see a dense web of white roots wrapping around the inside of the plastic, the air layer is ready to sever.
If the eight-week mark passes with no roots, do not panic. For a deeper dive into diagnosing stalled air layers, see air layering troubleshooting guide. Ficus elastica is slow to wake up in cooler months, and a bundle that fails in winter will often succeed if you simply re-wrap with fresh moist moss and wait until spring. The most common reason for failure is moss that dried out, which is why you should re-wet the bundle by injecting water with a syringe or spray bottle through a small puncture in the plastic every two to three weeks. If the moss smells sour or turns black, the bundle has rotted and you need to start over with fresh moss after recutting the girdle.
Severing and potting the new rubber plant
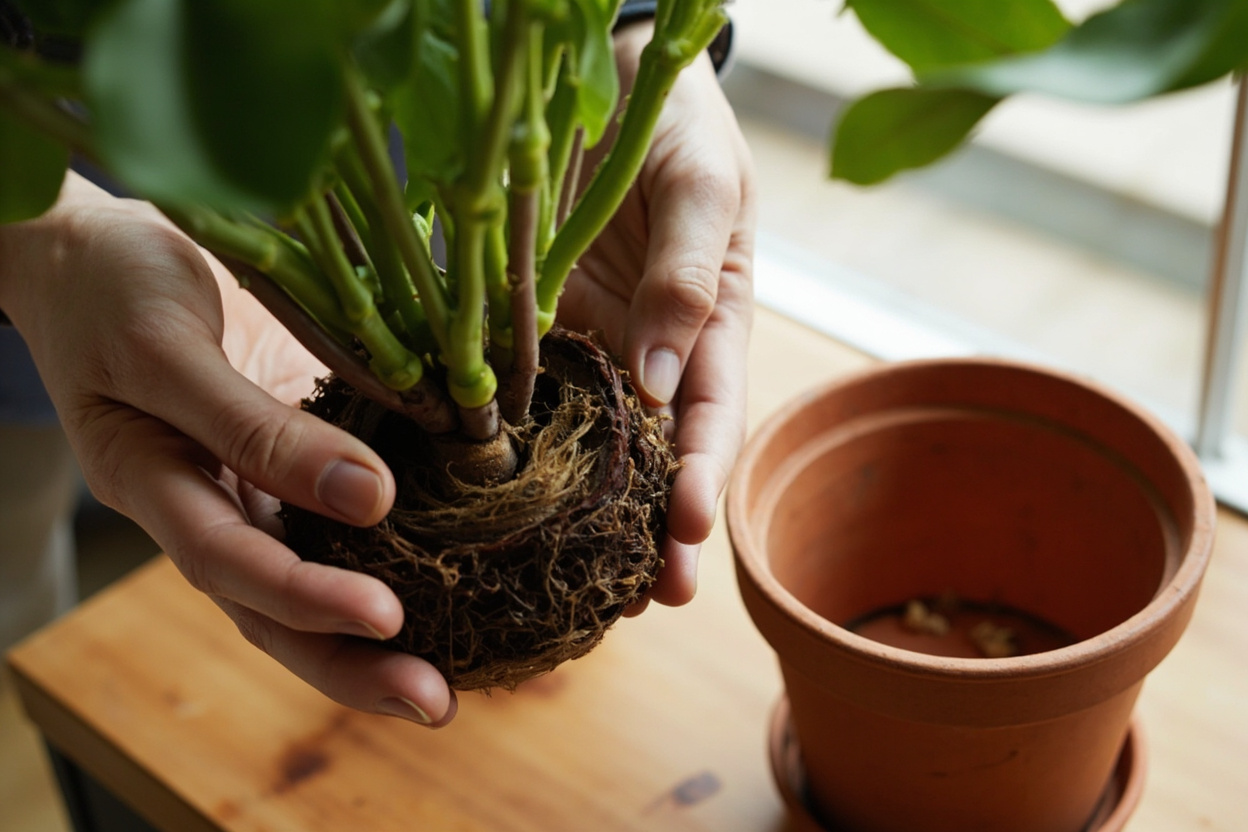
Once the root mass is dense and white, sever the stem just below the bottom of the moss ball with a clean sterilized blade. Make a single cut at a slight angle, which sheds water away from the wound and reduces rot risk. Remove the plastic wrap and foil but leave the moss ball intact. Do not tease the roots apart or strip the moss off, because the fine white feeder roots are fragile and will snap if handled roughly.
Pot the new plant in a container that is one size larger than the moss ball, typically a 15 to 20 centimeter pot for a single-stem cutting. For substrate detail, see best plants for air layering. Use a well-draining mix of two parts peat or coco coir, one part perlite, and one part bark or coarse sand. Pre-moisten the mix with clean water so it is damp but not soggy, and confirm the pot has working drainage holes before planting. Plant the cutting deep enough that the moss ball is fully buried and the stem stands upright without a stake. Firm the mix gently around the stem to eliminate air pockets.
Water thoroughly until it runs from the drainage holes, then let the top two centimeters of mix dry out before watering again. Place the new plant in bright indirect light, ideally near an east or south facing window, where it will get consistent warmth during the aftercare period.
Maintaining high humidity around the new cutting for the first two weeks helps the root mass transition from the moss environment into the surrounding potting mix. A clear plastic bag tent over the pot, propped so it does not touch the leaves, will keep humidity high while the new feeder roots push into the peat and perlite substrate. Open the bag for one hour each day to refresh the air and prevent fungal growth.
Recovery signs to watch for in the first month: a slight firmness returning to the leaves that may have wilted briefly after the sever, no further leaf drop, and visible new growth from the apex within four to six weeks. If the cutting stays wilted past two weeks, lift it from the pot and check the root ball for white roots; partial roots mean the cutting needs another two to four weeks before it can sustain full foliage. The biggest mistake at this stage is overwatering out of fear the cutting will wilt. A newly potted rubber plant with a dense root ball needs less water than the mother plant because it has no extending roots to dry out the surrounding mix. Keep the new plant in bright indirect light for the first two weeks while it recovers from the move, then transition it back to its preferred bright spot near a south or east facing window.
The mother plant will respond to being cut by pushing one or two new leaders from dormant nodes just below the girdle, similar to the recovery pattern described in rubber plant brown leaves. Within four to six weeks you should see new leaf buds swelling. Do not fertilize the mother plant for a month after the cut, because fresh fertilizer on a freshly wounded root zone can burn new feeder roots. Resume normal feeding once new growth is visible. The new potted cutting can be fertilized lightly after six weeks, once the roots have anchored into the surrounding mix.
Troubleshooting common air layering problems on rubber plants
If the moss ball dries out and the cambium never roots, the most likely cause is a poor seal at the top or bottom of the plastic wrap. Lift the bundle, re-soak fresh sphagnum moss, and re-wrap. If the girdle has already started to callus over with a thin brown layer, recut the wound to expose fresh cambium before re-wrapping. Rooting hormone at the recut stage doubles the chance of success on the second attempt.
If the stem snaps at the girdle before roots form, the cut was too deep and severed the xylem. There is no reliable way to rescue this. The mother plant will usually push a new leader from the nearest node below the snap, but the air layer itself is lost. Cut cleanly above the nearest healthy node, dust the wound with cinnamon as a natural fungicide, and let the mother plant heal.
If roots form but turn brown or black instead of white, the moss was too wet and the roots rotted before they could branch. Cut below the rotted section, recut the girdle higher up the stem where the wood is fresher, and re-wrap with moss that has been squeezed out much more thoroughly. The rule of thumb is that the moss should feel like a damp kitchen sponge, not a wet one. If you can squeeze a stream of water out of the ball with light pressure, it is too wet.
What to do with the mother plant after the air layer
A rubber plant that has been air layered will respond with vigorous new growth from below the girdle, because the apical dominance of the removed top releases the dormant buds along the stem. In most cases the mother plant will push two or three new leaders within two months, which gives you a fuller, bushier plant in the same pot without any additional cuttings. If the mother plant looks leggy after the cut, you can air layer a second section lower down on the stem eight to twelve weeks after the first cut, repeating the process until the entire cane has been converted into a set of bushy new plants.
The bottom line is that air layering a rubber plant is the highest-success method for rescuing a leggy specimen, and the only method that lets you keep a tall, mature plant while producing a new rooted copy at the same time. With clean tools, fresh sphagnum moss, and a four to eight week rooting window, even first-time propagators will see a dense white root mass ready for potting.
Turn any PDF statement into a clean sheet
Skip the typos and the hours of copying. Our converter handles any bank statement format and outputs Excel, CSV, or QBO for QuickBooks. No file retention, free to try.
Convert your statement