
A failing air layer is not always a lost air layer. Three failure modes are recoverable: rotted moss with roots still alive underneath, partial roots with healthy callus, and dried moss where the cambium is still alive. Triage first, then pick the matching salvage path. The no-roots troubleshooting guide covers what failed in detail; this page is the recovery procedure for the air layers that can still be saved.
The temptation when you open a moss ball and see rot, dry medium, or only a few white threads is to declare the air layer a failure and start over. Sometimes that is correct. More often, the work is salvageable, and starting over costs another 4 to 12 weeks of waiting. A 30-second triage step tells you which case you are in. This recovery procedure covers vegetative propagation rescue on woody-stemmed and semi-woody houseplants (rubber plant, fiddle leaf fig, magnolia, camellia, dracaena, schefflera, dieffenbachia, money tree, azalea, and holly), and the same triage applies whether the air layer was started in spring active growth, summer active growing, or a fall revival window before the parent goes dormant.
Air Layering Triage: Is Your Air Layer Salvageable?
Open the moss ball and look at three things: the medium (rotted, dried, or healthy), the roots (none, partial, or full), and the cambium (green-white, brown, or black). Three combinations are recoverable. One is a lost cause.
The recoverable combinations are rotted moss with live white roots underneath, partial roots with healthy callus at the wound, and dried moss with the cambium still green-white at the cut. The lost cause is a fully rotted wound with black cambium and zero live tissue. The rest of this page walks the three salvage paths and the lost-cause case at the end. For the full diagnostic of what failed, the no-roots diagnosis page covers the symptom-by-symptom breakdown. If you want to understand the wound anatomy itself, the cambium (the thin green-white layer just under the bark where adventitious roots form) sits between the phloem and the xylem; that is where new roots and the callus that precedes them originate on the mother plant.
The Three Recoverable Failure Modes (and What They Look Like)
Each recoverable mode has a visible signature at the cut. Learn to read it before you act.
Mode 1: Rotted Moss With Live Roots Underneath
The sphagnum is black, slimy, or sour-smelling, but underneath the rot you find at least a handful of white roots that are still firm. The rot came from overwatering the moss ball or from rain saturating an outdoor air layer. The roots are alive because they were already past the rot zone when the medium failed.
Mode 2: Partial Roots With Healthy Callus
The moss is healthy but only a few short white roots have formed at the wound. The cambium above the roots shows a clean white-to-green callus. The air layer is slow, not dead. Partial roots mean the plant is still committing to rooting but has not finished the job.
Mode 3: Dried Moss With Live Cambium
The moss has gone bone-dry and shrunk away from the wound, but the cambium at the cut is still green-white when you nick it with a knife. No roots have formed yet, but the tissue is alive. The failure was the medium drying out, not the cambium dying. For substrate behavior under failure, the sphagnum moss vs perlite comparison covers which medium resists drying or rot in your climate.
Salvage Path 1: Rotted Moss With Live Roots Underneath
If you have a rotted moss ball but live white roots underneath, the salvage is straightforward. Cut above the rot, clean the roots, pot up small, and recover in high humidity.
Step 1: Cut Above the Rot
Unwrap the plastic wrap or cling film and set it aside. Rinse the rotted sphagnum away under tepid water so you can see the wound. Using a sterilized knife (or sterilized pruners for woody stems), cut the branch 2 to 3 cm below the wound on the parent side. You want to remove the rot zone entirely. Keep the new-plant side intact so the live roots stay attached. If the wound shows clear girdling damage where rot ate through the bark in a ring, cut further back to wood with intact cambium above and below.
Step 2: Clean the Roots
Rinse the roots in tepid water to remove every trace of rotted medium. Rot spores cling to dead sphagnum and will continue killing roots in the new pot if you leave any behind. Trim any root that is brown, mushy, or sour. Keep only firm white roots. The root mass you preserve here becomes the root ball of the new potted plant; aim for at least 5 to 8 firm white threads before you commit to potting up.
Step 3: Pot Up Small in a Sterile Mix
Pot the salvaged plant in a 10 cm to 12 cm pot with drainage holes and a sterile, well-draining mix. Half peat, half perlite works for most woody houseplants; you can substitute orchid bark for perlite if you have it on hand. Water once to settle the medium, then let the top 1 cm dry before watering again. The standard pot-up and potting up procedure in the air layering pillar guide walks through pot sizing and aftercare in detail.
Step 4: High-Humidity Recovery
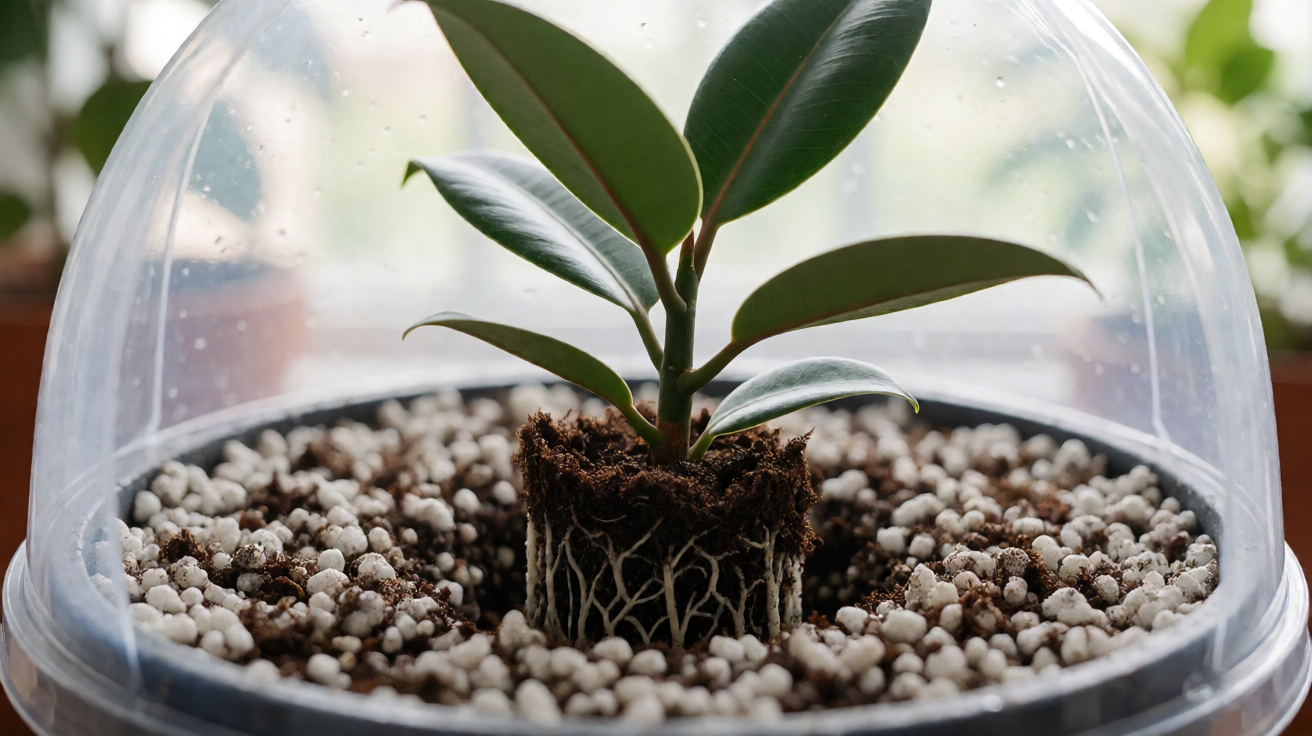
Bag the new plant in a clear plastic bag tent for 2 to 3 weeks to keep humidity high while the salvaged roots recover. Open the bag for 10 minutes daily to prevent mold. Expect new leaf growth within 4 to 6 weeks if the salvage took. If you see new leaves, the roots are recovering.

Salvage Path 2: Partial Roots With Healthy Callus
Partial roots with healthy callus means the air layer is slow, not dead. The salvage is to cut, pot up small, and treat the plant as a slow starter for the next 4 to 6 weeks.
Cut and Pot Up as Usual
Unwrap the moss ball, snip the branch below the wound as you would for a fully rooted air layer, and pot up in a 10 cm pot with the same sterile mix. Partial-root plants do not need a different medium. They need patience.
Slow-Starter Aftercare
Bag the new plant for the first 2 weeks to reduce transpiration while the partial root system catches up. After 2 weeks, open the bag gradually over 3 to 4 days before removing it entirely. Expect slower leaf growth than a full-root air layer. Do not fertilize until you see a new leaf; the partial roots cannot take up fertilizer yet.
For species that root reliably even from partial-root salvage, the best plants for air layering list ranks species by rooting speed and success rate, which helps when you plan the next air layer attempt.
Salvage Path 3: Dried Moss With Live Cambium
If the moss dried out but the cambium is still green-white, the air layer is paused, not dead. Re-moss with fresh, pre-soaked sphagnum, wrap, and wait.
Step 1: Confirm the Cambium Is Alive
Nick the cambium at the wound with a sterilized knife. If the layer underneath is green-white, the tissue is alive. If it is brown or black, the cambium has died and this salvage path will not work.
Step 2: Re-Moss With Fresh Sphagnum
Remove the dried moss ball entirely. Soak fresh sphagnum in tepid water, squeeze out the excess, and re-wrap the wound in a fresh moss ball the same size as the original. Apply rooting hormone to the wound if you did not use it on the first attempt. Wrap in plastic and seal as you would for a new air layer.
Step 3: Wait 6 to 10 Weeks
The re-mossed air layer needs 6 to 10 weeks to make up for lost time. Keep the moss ball consistently moist, not soaked. Check weekly by feel through the plastic. If re-mossing fails after 10 weeks, the cambium has likely died and you should switch to water propagation on a cutting from the same branch.
When to Switch Methods
If the second air layer attempt on the same branch fails, the cambium has exhausted its rooting energy. Switch to water propagation on a fresh cutting below the failed wound. The air layering vs water propagation comparison covers when each method fits which stem type.
When Salvage Is a Lost Cause (and What to Do Instead)
Three cases mean the salvage is not worth attempting. Cut cleanly, accept the loss, and start over with a fresh branch on a clone you can identify as a separate individual from the parent plant.
Lost Cause 1: Fully Rotted Wound With Black Cambium
If the cambium at the wound is black and mushy, the tissue is dead. No salvage path will restart it. Cut the branch back to healthy wood on the parent plant and start a new air layer 5 to 10 cm above the failed wound. The parent will usually branch above the cut.
Lost Cause 2: Parent Branch Already Dead
If the parent branch above or below the air layer has died back, the cambium connection is broken. Salvage the rooted portion if any white roots exist, pot it up, but do not expect vigorous growth. The disconnected branch is living on its stored energy and will decline over months. For species-specific restart procedures on fresh branches, the rubber plant air layering guide and the fiddle leaf fig air layering guide walk through restart on Ficus elastica and Ficus lyrata.
Lost Cause 3: Zero Callus and Zero Roots After 14 Weeks
If the air layer has zero callus and zero roots after 14 weeks of consistent moisture and temperature, the cambium has rejected the wound. Cut it off, propagate by water or stem cutting on a fresh section of the same branch, and accept that this branch does not air layer. Not every branch on every plant will cooperate; species selection matters, and so does apical dominance on the parent plant. If the branch you tried was a strongly apical leader, wound healing often stalls because the parent keeps pushing growth to the tip instead of the wound. Try a lateral shoot lower on the plant next time, where apical dominance is weaker and the cambium is more willing to commit energy to callusing and root formation.
Glossary of Recovery Terms (and Where to Read Next)
Three terms carry the recovery vocabulary: callus (the white-green healing tissue at the wound), white roots (firm, bright roots that are still alive), and cambium (the thin green-white layer just under the bark where new roots form). For full terminology on every air layering term used in this page, the air layering glossary covers each one in detail, including wound healing, failed air layer, and recovery vocabulary you may see in troubleshooting threads.
If your salvage worked, the new plant needs the same aftercare as any air layer: bright indirect light, consistent moisture, and no fertilizer until you see new leaf growth. The standard procedure in the air layering pillar guide walks through the full pot-up and aftercare sequence when you are ready to plan the next attempt.
Turn PDF Bank Statements Into Workable Spreadsheets
Your bank statement is a mess of numbers, but your books shouldn't be. Use our converter to get Excel, CSV, or QBO files — ready for QuickBooks.