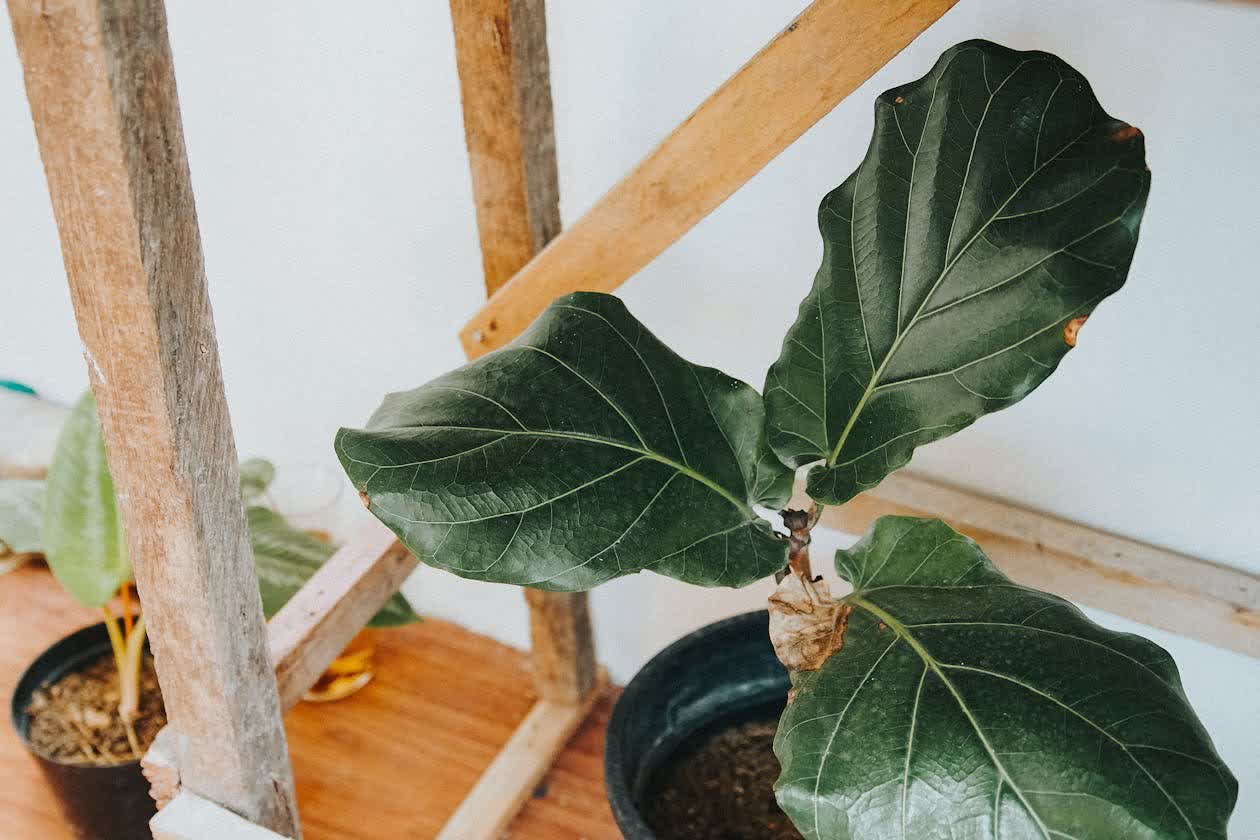
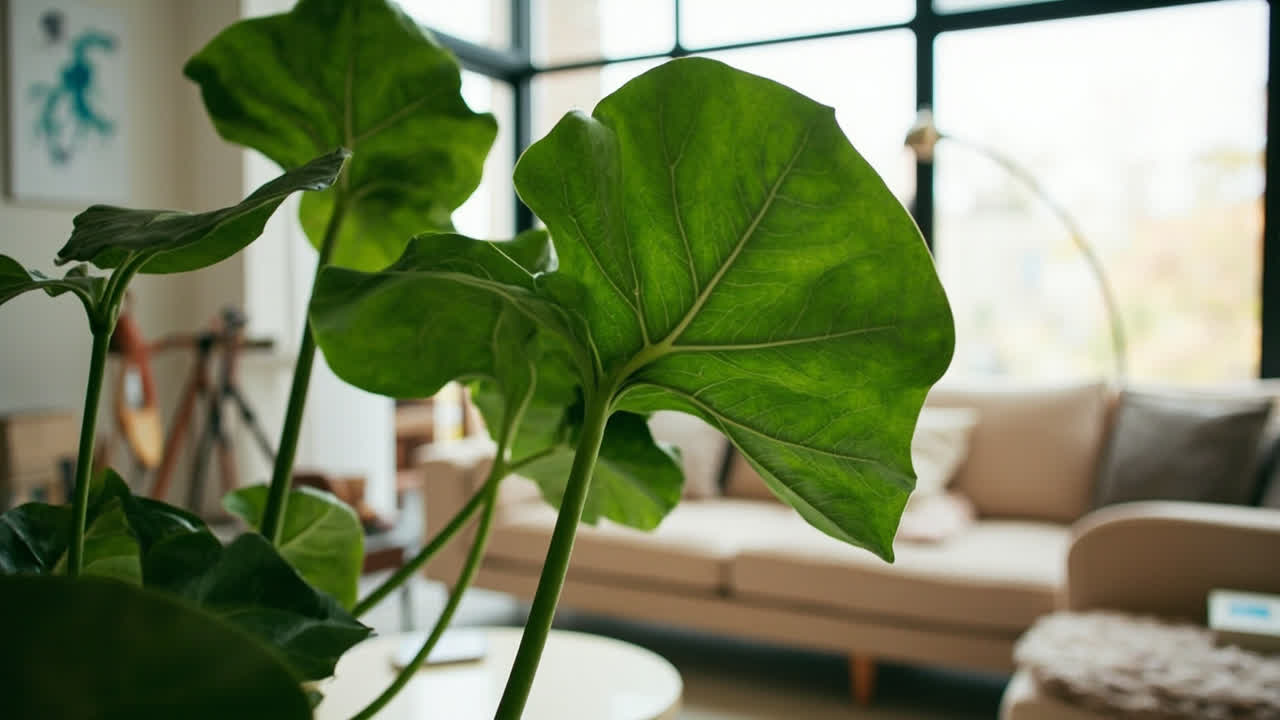
The most common mistake with fiddle leaf figs is repotting them on a calendar — once a year, every spring, whether they need it or not. But fiddle leaf figs don’t grow much in the first place, and moving them into fresh soil too soon is one of the fastest ways to lose a perfectly healthy plant.
You’ve probably noticed your fiddle leaf fig sitting in the same pot for over a year now, looking roughly the same. That’s normal. Fiddle leaf figs are slow, deliberate growers even in good conditions — you’re looking at 1–2 feet of new growth per year in a healthy specimen. If yours isn’t producing new leaves, it doesn’t automatically mean it needs a bigger pot.
The Three Signs That Actually Mean Repotting Time
Roots are the most reliable signal, but they’re easy to misread if you’re not looking closely. Here’s what to watch for:
First — roots circling the interior of the pot. Tip the pot slightly and look at the drainage holes. Do you see roots pushing out? That’s a clear sign, but it’s not the first one. The earlier warning is roots you can see through the pot wall, or a pot that bulges slightly because the root ball has filled every inch of available space. By the time roots come out the bottom holes, you’ve already waited a season too long.
Second — water runs straight through in seconds. If watering your fiddle leaf fig results in water immediately pouring out the bottom with virtually no absorption, the soil may have become hydrophobic or the roots have so thoroughly filled the container that water is simply finding the path of least resistance. This isn’t always a repotting signal on its own, but combined with any other sign it’s worth investigating.
Third — the plant has noticeably stopped growing even though light and feeding are adequate. If you’ve been fertilizing regularly and the spot hasn’t changed and the plant just isn’t pushing new leaves, the root system may have exhausted the available soil volume and is essentially self-limiting its growth.
The Worst Time to Repot a Fiddle Leaf Fig
Late autumn and winter are the worst windows for fiddle leaf fig repotting, even if the plant appears to need it. These plants grow primarily in spring and summer, with a slower metabolic phase from roughly October through February. Repotting during that slow period means the roots can’t heal into the new soil efficiently, and you’re more likely to see root stress show up as brown spots or leaf drop weeks later. The plant isn’t doing anything active down there — it’s mostly just sitting.
If your fiddle leaf fig is showing a minor root-bound sign right now in the slower season, the best move is to wait until you see the earliest signs of spring growth — usually a new leaf starting to push at the top — and then repot as the active growth begins. The energy the plant is generating will go straight into root recovery and new leaf production.
What You’ll Need Before You Start
Gather everything before you touch the plant. Once a fiddle leaf fig is out of its pot, the window for efficient root work is short — the fine root hairs that do most of the water and nutrient uptake start to deteriorate within 20–30 minutes of air exposure. Having everything ready means the whole process takes five minutes instead of fifteen.
You’ll need a pot 2 inches wider in diameter than the current one. That extra 2 inches is enough — going bigger is a common mistake. Too much new soil holds moisture against roots that expect relatively fast drainage, and you’ll trade a tight root ball for root rot instead. The pot must have at least one drainage hole. Terracotta breathes better than plastic, which means soil dries out faster — important if you tend to overwater. A glazed ceramic pot works too, just adjust your watering frequency accordingly.
For soil, fiddle leaf figs want something that drains well but retains some moisture. A standard indoor potting mix amended with perlite works fine — roughly 70% potting mix to 30% perlite by volume. If you want to get closer to what these plants experience in their native range, add about 10% orchid bark or coco coir to improve aeration. Commercial aroid mixes sold for monsteras and philodendrons also work well for fiddle leaf figs since they share similar soil preferences. Trade-off: Perlite-heavy mixes drain fast, which reduces root rot risk — but they also dry out faster, so you’ll need to water more frequently in summer.
What to Check Before Buying a New Pot
Measure the current pot’s diameter at the rim. If it’s an 8-inch pot, your next pot should be 10 inches. If it’s already 12 inches or larger, you may only need 1 inch of added diameter. The root ball should sit with about 1 inch of clearance on all sides inside the new pot. Any more than that and the soil volume will stay too wet between waterings.
Step-by-Step: Repotting Without Killing the Root System
Step 1: Water the Plant the Day Before
Repotting when the soil is bone dry means the root ball falls apart and you lose the fine root network. Water it thoroughly the day before you plan to repot, so the root ball holds together when you slide it out. It should be moist but not dripping wet.
Step 2: Slide the Plant Out Carefully
Turn the pot on its side and gently work the root ball out. You may need to run a knife along the inside edge of plastic pots. Never yank from the stem. If it won’t come, water it again and wait 30 minutes. The root ball should slide out in one piece — if it crumbles, you may have waited too long or the soil may have dried out too much.
What happens next is important: examine the root ball. Healthy roots are firm and white or tan. Dark, mushy, or smelly roots indicate rot — trim those with clean scissors before proceeding. If more than a third of the root mass is compromised by rot, step back to a smaller pot and improve drainage rather than going bigger.
Step 3: Loosen the Outer Roots Gently
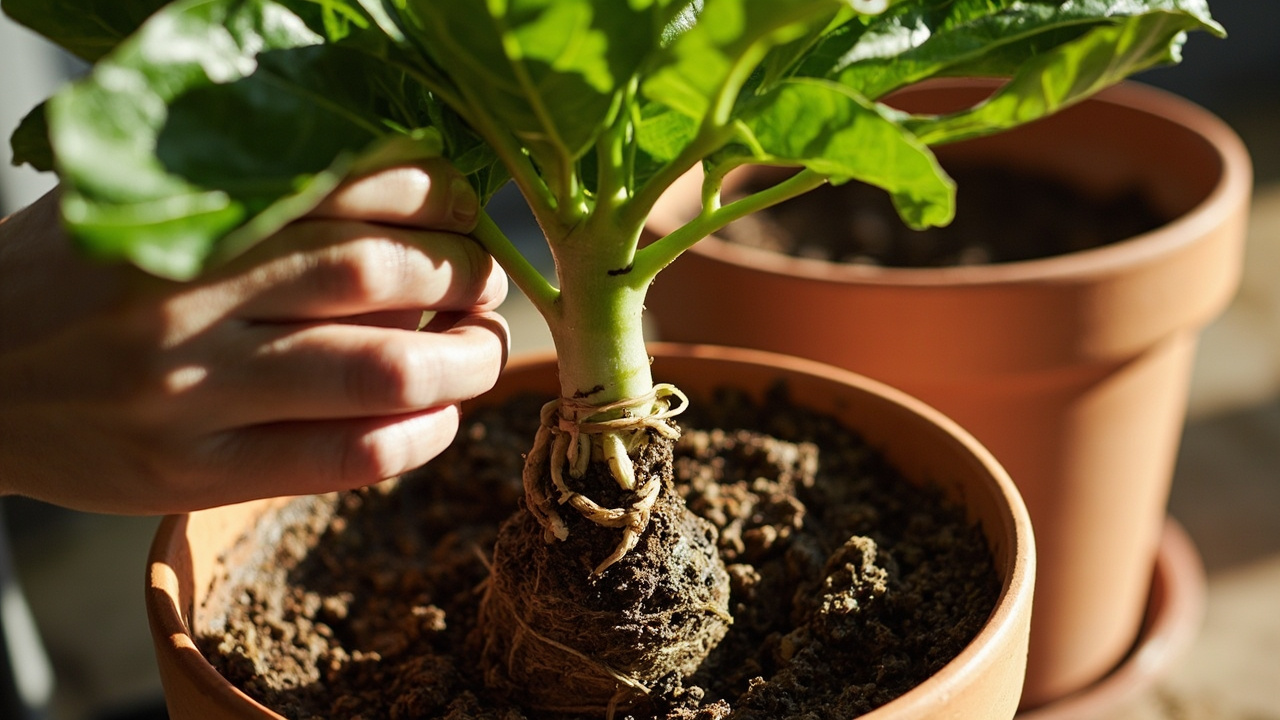
Once the root ball is out, loosen the outer layer of roots with your fingers — about the top inch. Don’t go deep and don’t aggressively tear the root ball apart. The goal is to encourage outward growth into the new soil rather than having roots continue circling in the same pattern. This is especially important if the plant has been root-bound for more than a season.
Step 4: Position in the New Pot
Add a layer of fresh soil to the bottom of the new pot — enough so the top of the root ball sits about 1 inch below the pot rim. This allows room for watering without overflow. Center the plant and fill around the sides with soil, working it in firmly but not compressed. Press the soil gently around the edges — you want good contact between the root ball and the new soil, but you’re not packing it like concrete.
Water thoroughly until you see it drain from the bottom. This settles the new soil around the root ball and eliminates any large air pockets. Place the repotted plant back in its spot — same light conditions as before, though it may look slightly stressed for a few days as it adjusts.
After-Repotting Care: What Changes and What Doesn’t
The first few weeks after repotting are when your fiddle leaf fig is most vulnerable. Two things matter most during this window: how you water and when you resume fertilizing. Get either wrong and the root system you just carefully protected gets damaged by the recovery effort itself.
The Recovery Window
For the first two weeks after repotting, your fiddle leaf fig is concentrating its energy on root recovery rather than leaf production. Don’t be alarmed if it looks a little flat or if a few lower leaves yellow and drop — this is normal if it’s under five leaves total. If the whole plant goes limp or you see widespread browning, that’s a signal the roots were damaged or the soil is staying too wet.
What happens next in terms of watering: back off. The root system is smaller relative to the soil volume right after repotting, so the plant’s water needs are lower. Wait until the top 2 inches of soil are dry before watering again — test with your finger rather than a schedule. Overwatering during this recovery phase is the most common post-repotting mistake.
Feeding After Repotting
Don’t fertilize for at least 6 weeks after repotting. The fresh soil contains some nutrients already, and the roots are still healing — pushing growth with fertilizer during this window creates salt buildup around roots that are already recovering from the stress of being moved. Resume your normal feeding schedule only after you see the plant pushing at least one new leaf.
Trade-off: Waiting to fertilize means slower initial recovery — but fertilizing too soon can burn newly forming root hairs, which will set the plant back further than waiting would have.
When to Leave Your Fiddle Leaf Fig Alone Entirely
If your fiddle leaf fig is in good health, producing leaves regularly, and shows only one of the root-bound signals — leave it alone. These plants tolerate being slightly root-bound better than almost any other common houseplant. Many collectors have fiddle leaf figs that have been in the same pot for three or four years and are still pushing new growth every spring.
The decision framework: roots visibly circling or coming out the drainage holes + noticeably slowing growth + watering needs have changed significantly (either it dries out almost immediately or water sits for days). When all three converge, it’s time. When it’s only one, watch and wait.
If the plant is already stressed — brown spots, recent leaf drop, pest issues — fix those problems first before repotting. Stressed plants don’t have the energy reserves to recover roots and leaves simultaneously, and you risk losing the whole plant.
For more on diagnosing what is actually going wrong with your fiddle leaf fig, see our guide to fiddle leaf fig problems and how to fix them. And if you are just getting started, our fiddle leaf fig care guide covers everything from light requirements to watering frequency.
From Bank Statement to QuickBooks-Ready File
That manual cleanup you just read about? This tool skips it. Turn your PDF into QBO for QuickBooks without storing your data anywhere.
Start Converting